
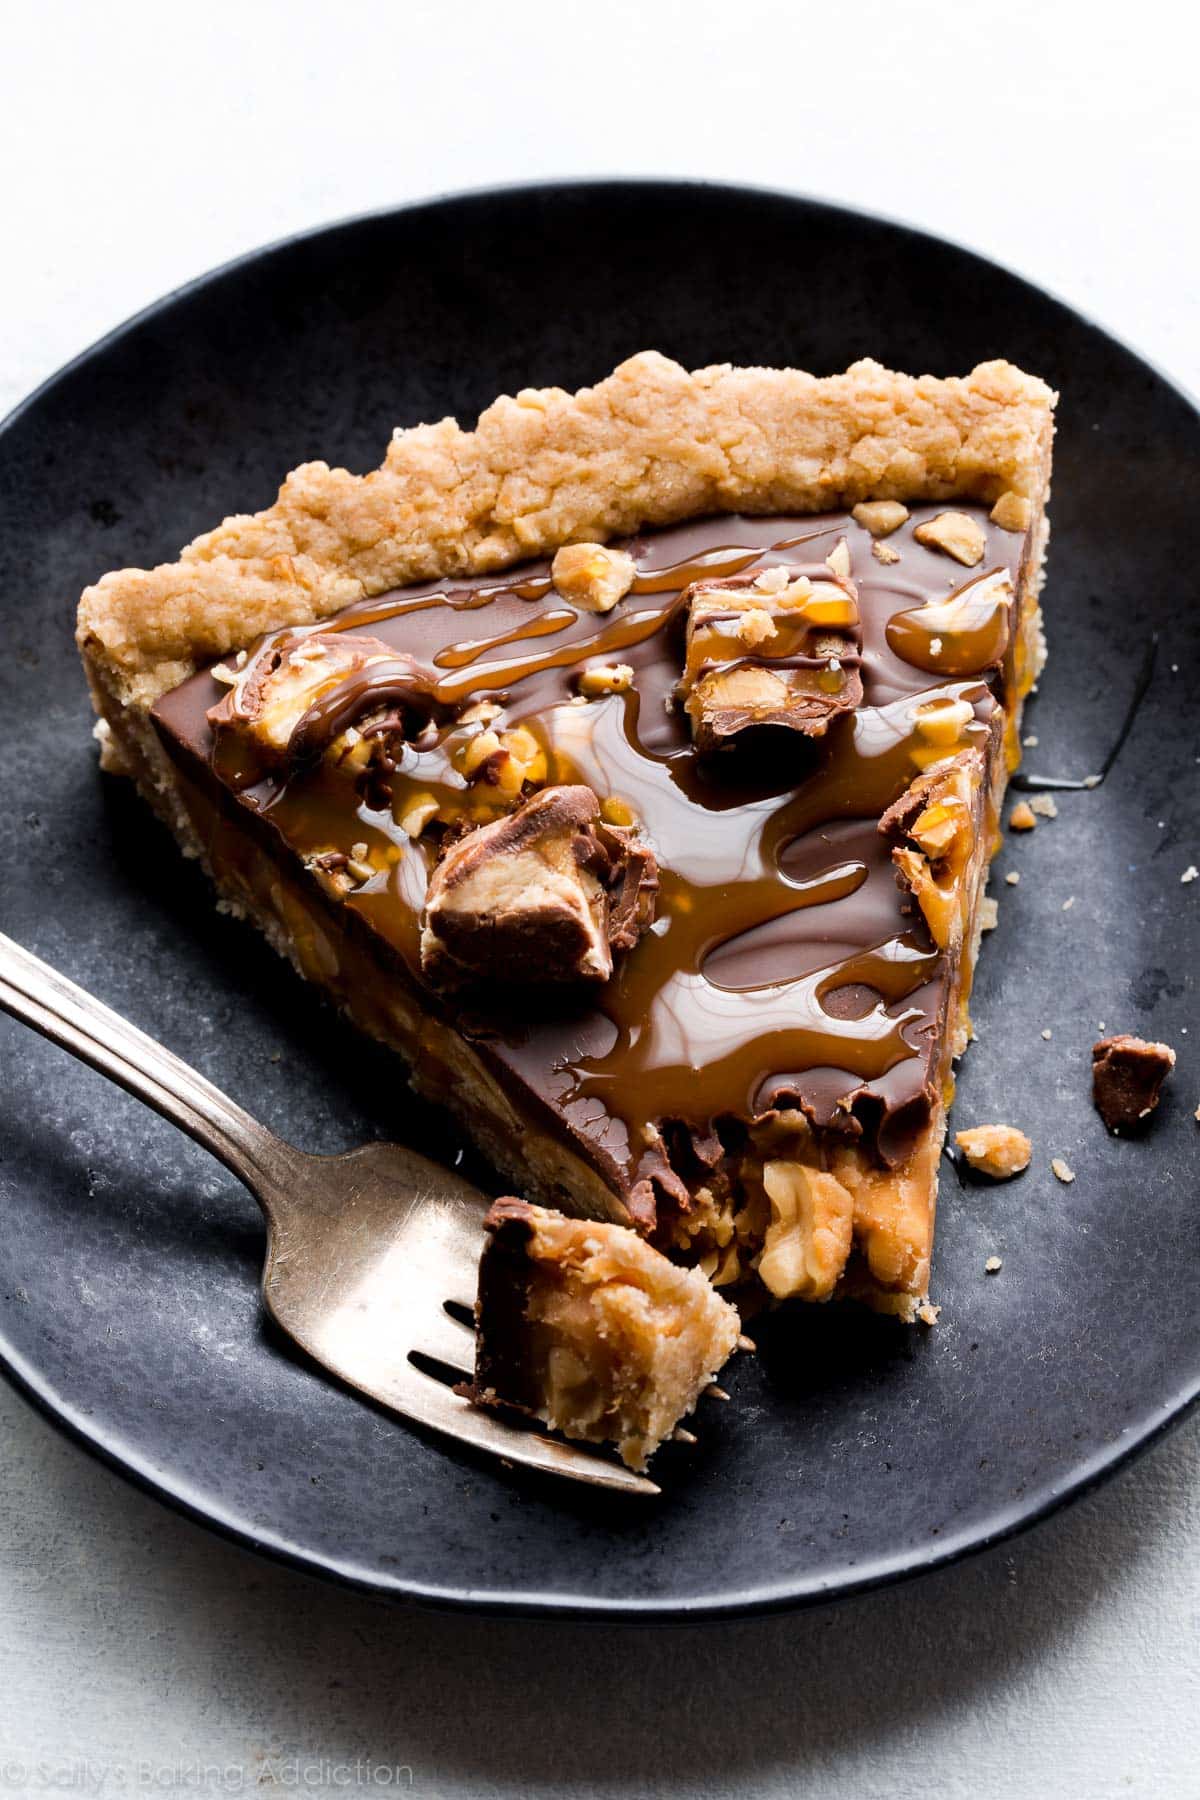
Because pi day is next week! And while celebrating with math is one option, I prefer to add an E and celebrate with all things pie instead. Even if that pie is really a tart. Who knew math could be so very deeeeeelicious?
I wanted to follow up from Monday’s complete sprinkle loaded magical sugar bomb with a sweet, salty, sultry little number. Today we’re combining a toasty peanut crust with a caramel nut filling and peanut butter milk chocolate topping. Finishing it off with chopped Snickers and salty peanut crumbs. I made this the other weekend on our trip up in the mountains and retested it this past Monday, just to make sure it was totally worth your while. The verdict? YES. Very much worth everyone’s while.
Now can you please come pry this tart from my hands before I have a 3rd slice and say toodaloo to my self control forever??
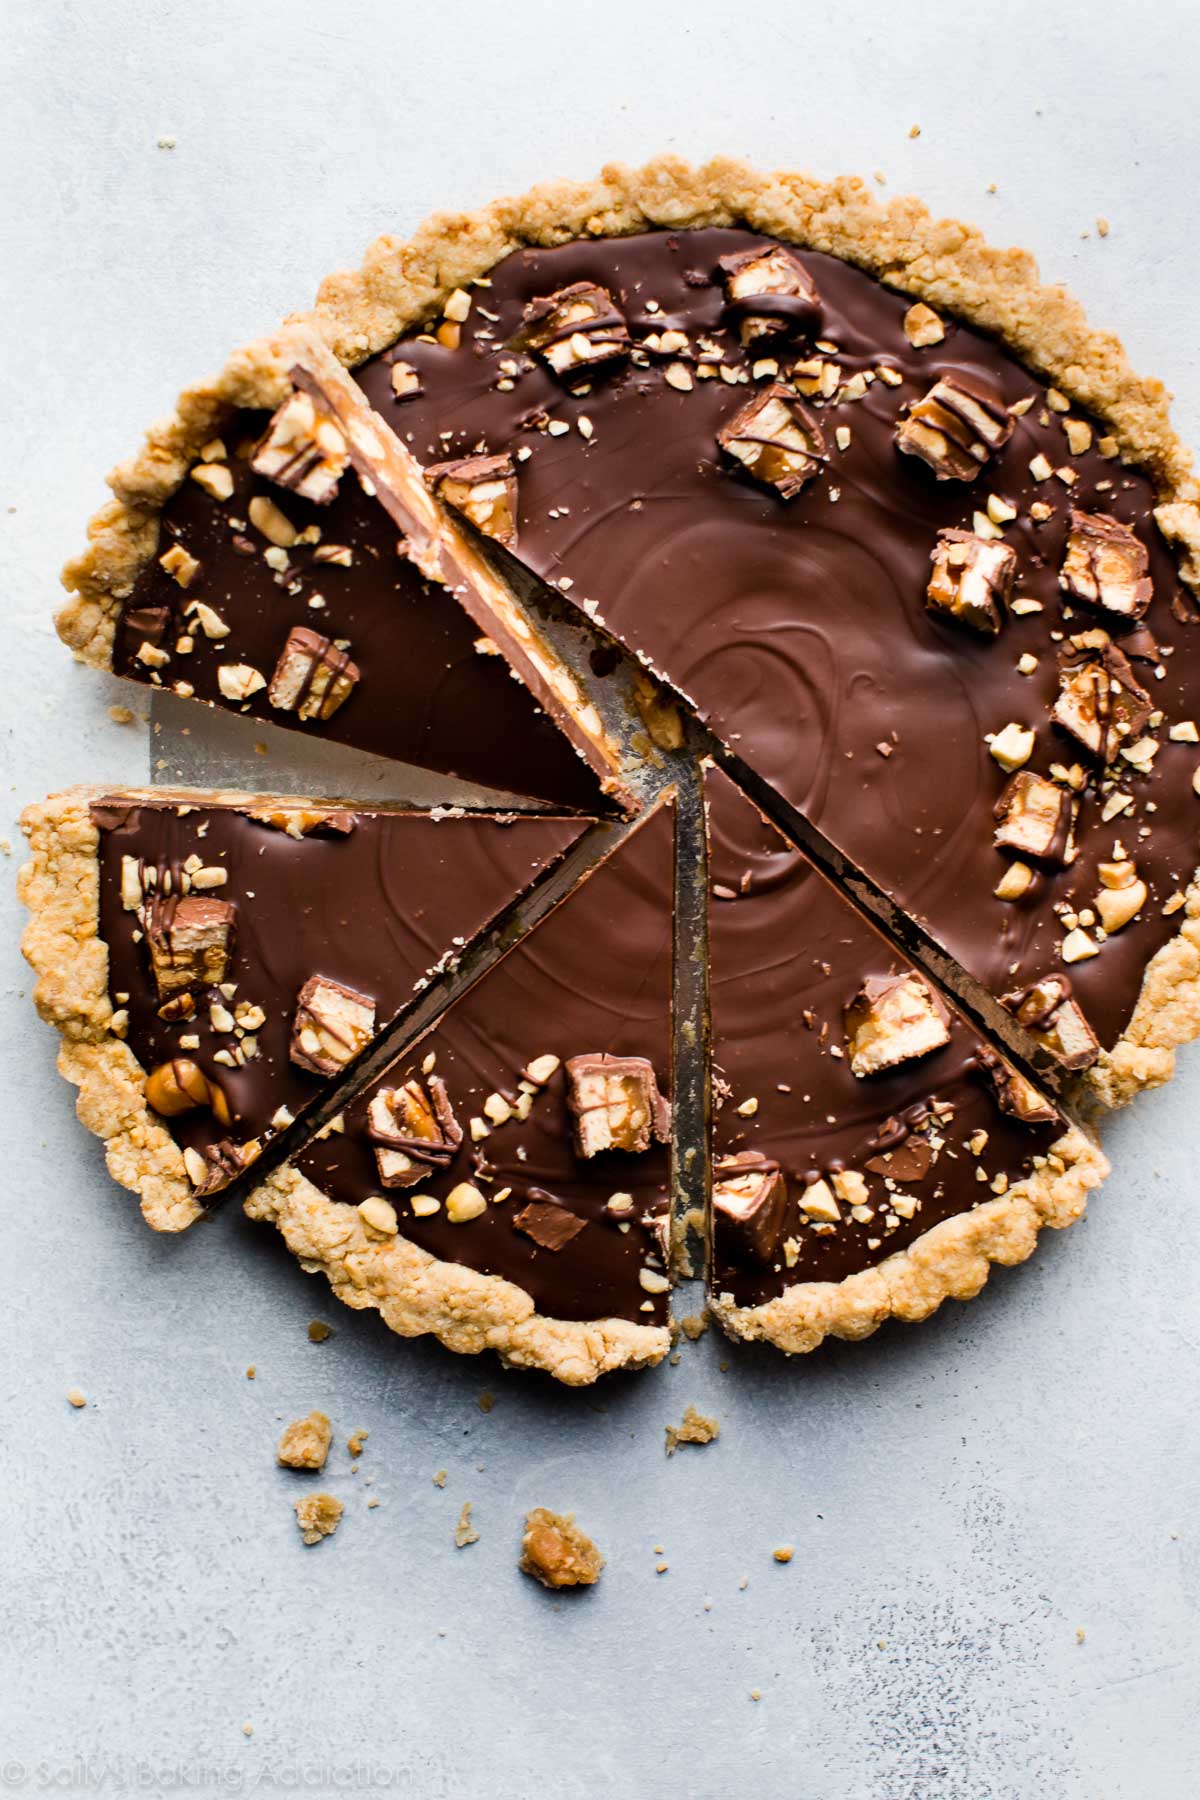
While calories mouthwatering flavors are in abundance, this is a super simplified recipe. I know I always say that but I PROMISE it’s the caramel-y truth. The crust takes a few minutes to come together and is the most “tricky” component (if you can even call it tricky!). I’ll include all of the crust step photos for you below the recipe. But here’s what to know now:
3 Layers To Love
- Peanut Crust made from peanuts, flour, brown sugar, cold butter, + ice water.
- Caramel Nut Filling made from homemade caramel + salted peanuts.
- Chocolate Peanut Butter Topping made from just chocolate + peanut butter.
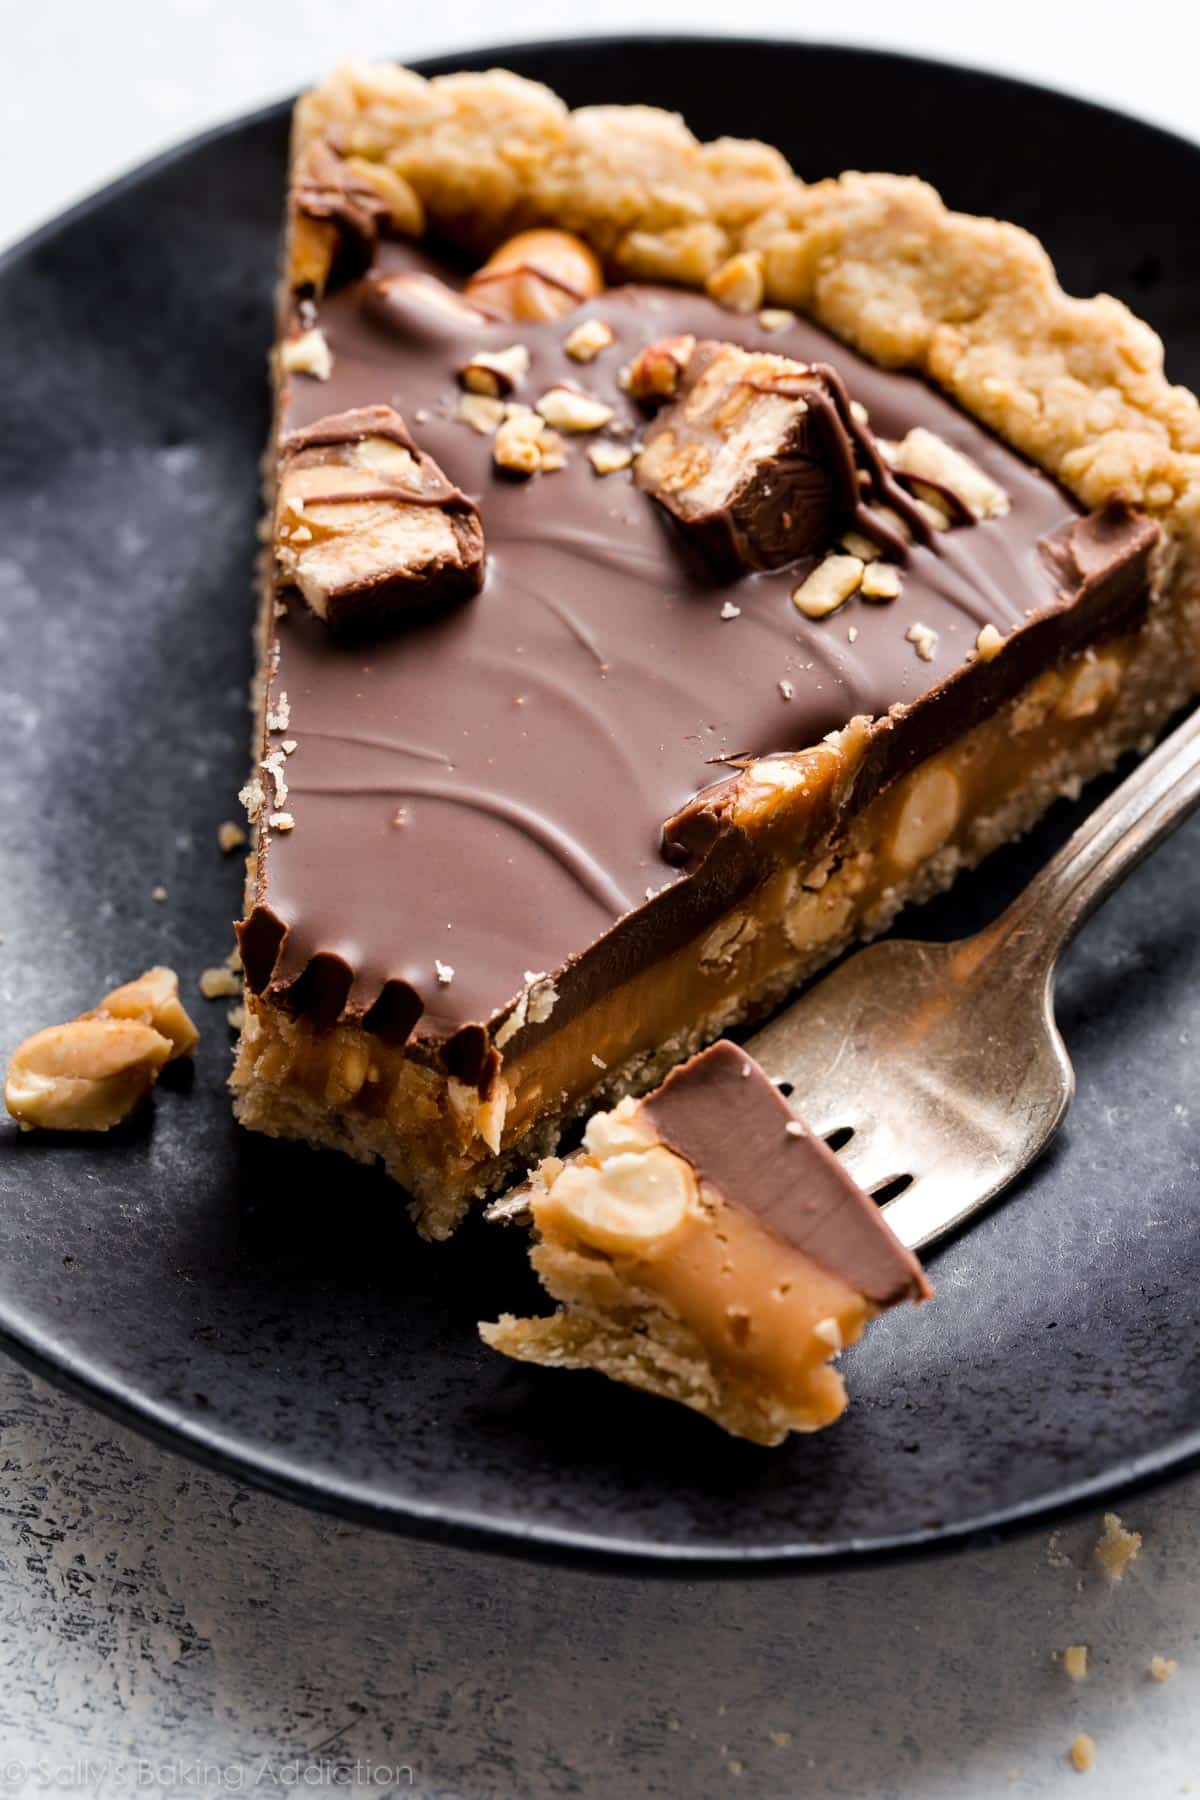
There’s milk chocolate, peanut butter, caramel, and salty peanuts all in one bite. Just like a Snickers bar. And there’s chopped Snickers too! Plus a super tender and melt-in-your mouth peanut crust, unlike any I’ve ever tasted before. Once the crust is prepped, pre-bake it so it cooks, becomes all toasty, and stays intact.
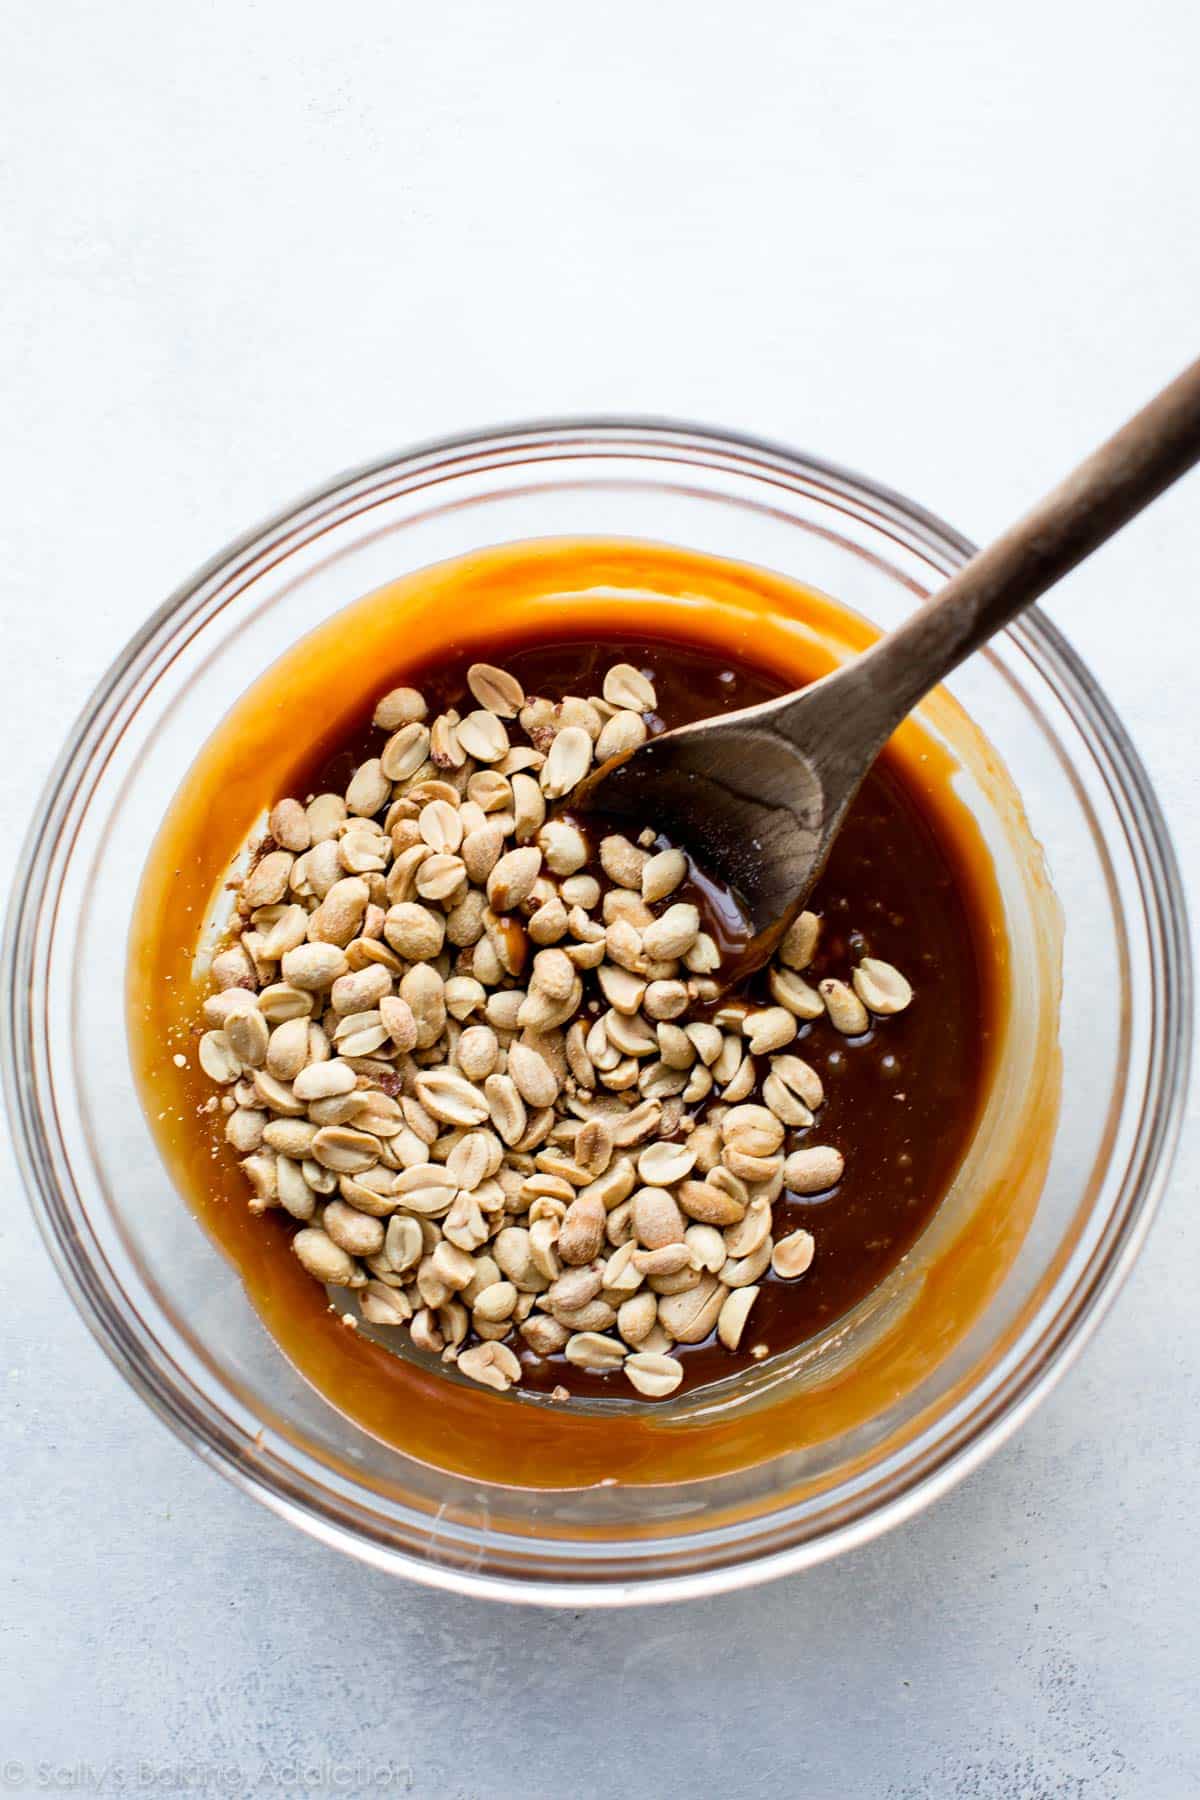
If you’ve made my 4 ingredient salted caramel before, you’ll be happy to know it’s the base of the caramel filling. Reduce the salt in the caramel because you’ll stir in 1 cup of salted peanuts. If you use unsalted peanuts, however, make sure you add the salt to the caramel filling. I include this in the recipe notes below.
So we have the pre-baked crust, the caramel nut filling, now what? Let’s top the whole thing with the melted chocolate + peanut butter. Seriously just give me a spoon with this stuff. Same topping we use for peanut butter cup tart, too.
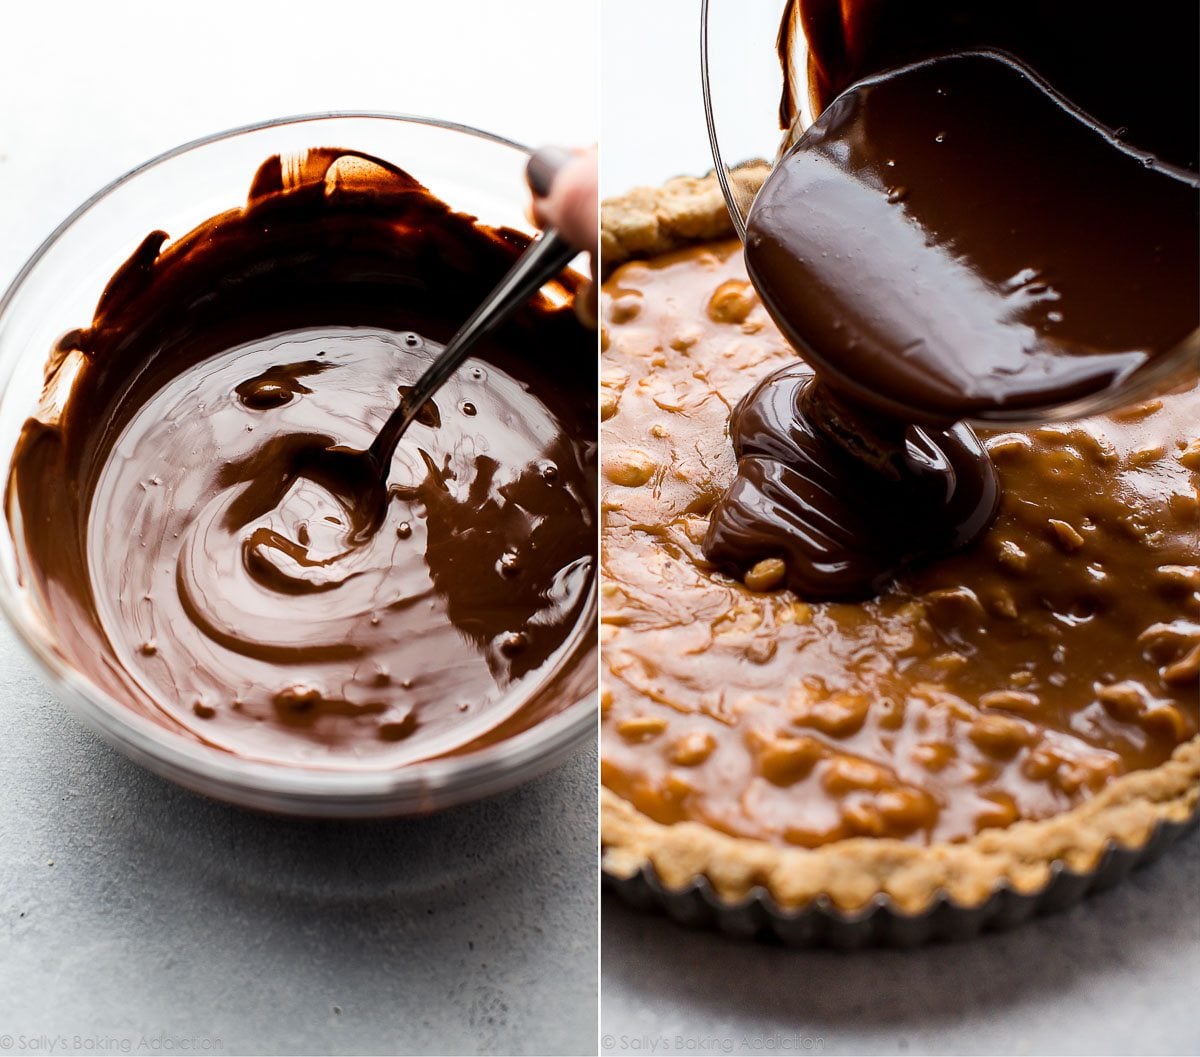
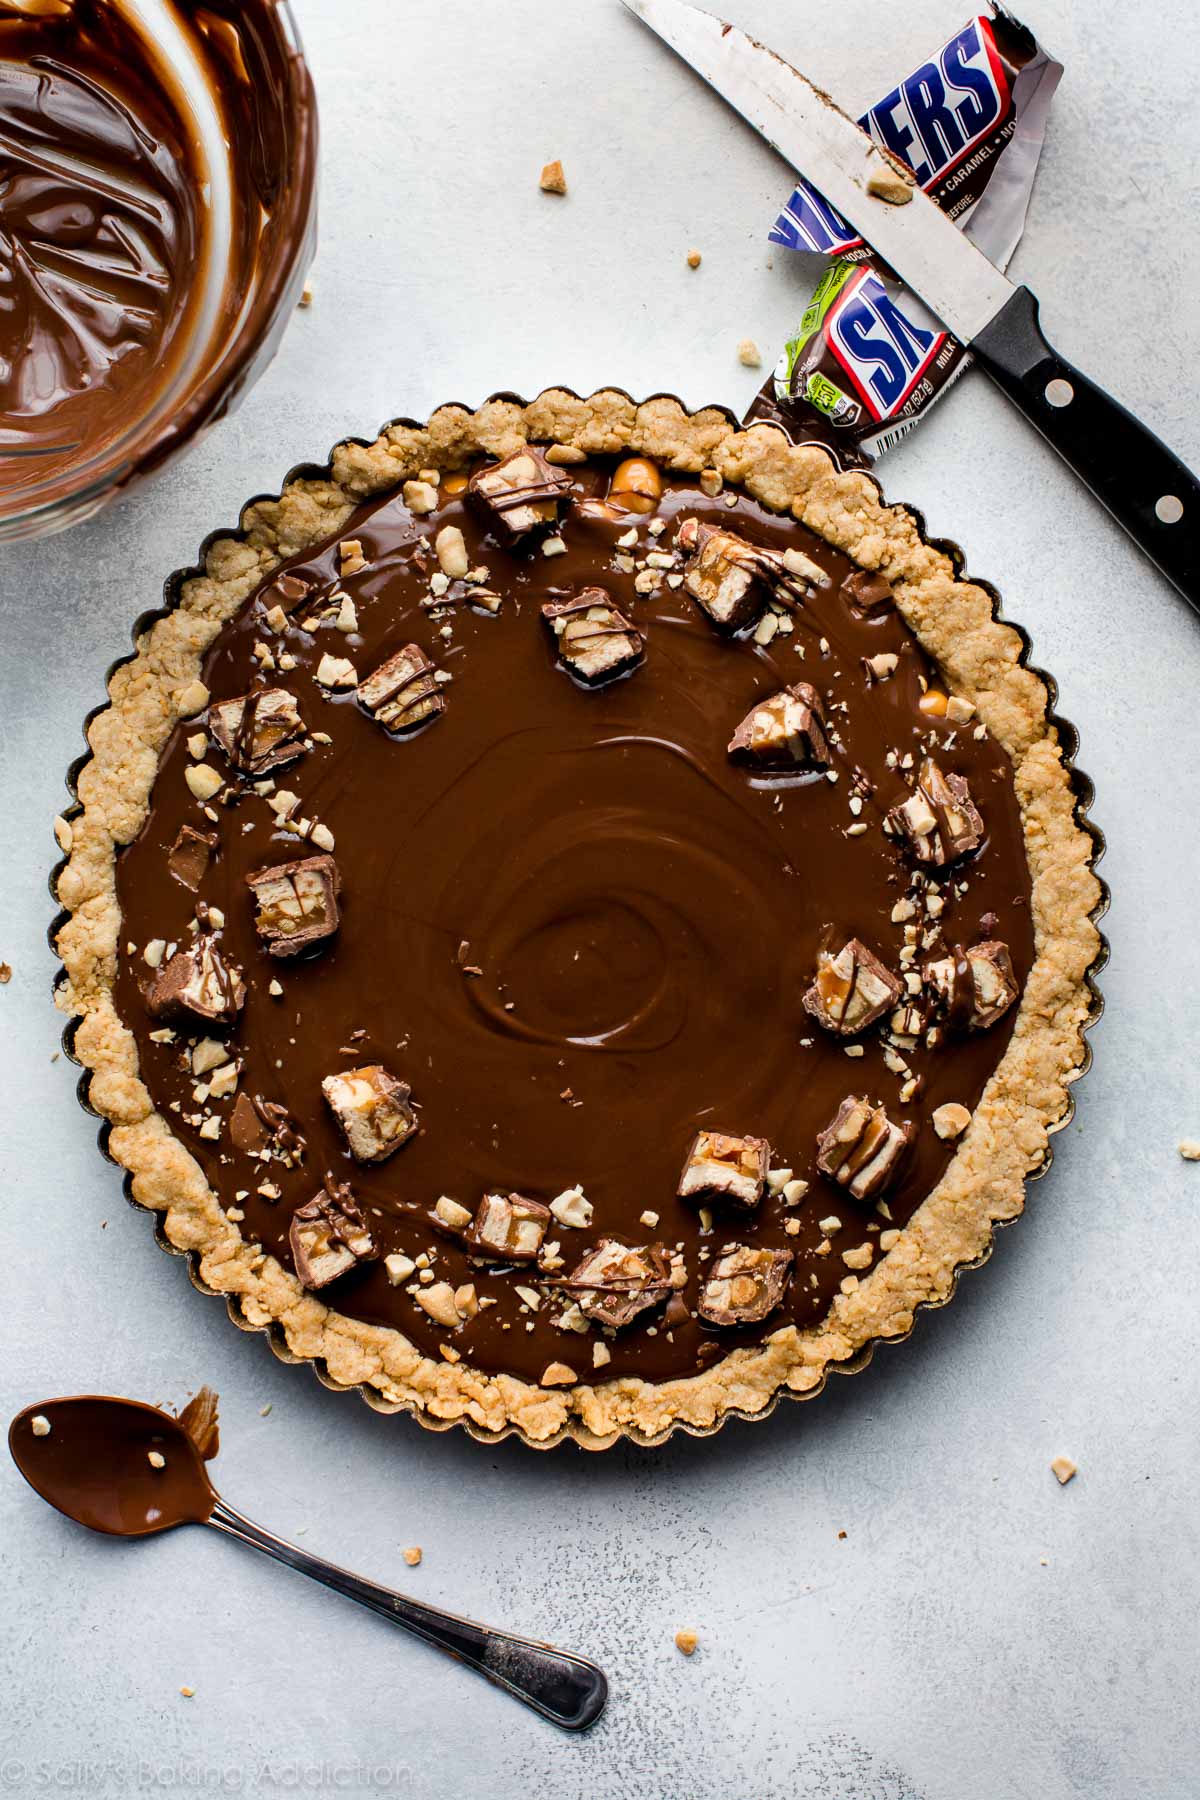
Make sure you don’t freeze the tart. Rather, stick it in the fridge for a few hours to set up. Freezing the caramel = rock hard caramel! Rather, we want a nice soft, smooth, chewy caramel and a few hours in the fridge will help us get there. You can freeze the tart to enjoy at a later time though—see my make-ahead tip!
More Reasons To Make This Snickers Caramel Tart
- The crust and caramel for the filling can both be made ahead. So if time’s a concern, you can absolutely begin a day or two before.
- You don’t need to bake the filling + topping! Just spread both into the pre-baked crust and refrigerate.
- Decorate the pie however you’d like whether that’s chopped Snickers bars, a little extra caramel drizzle, crushed peanuts, sea salt, etc
- Truly, this is one of the best desserts I’ve ever made. And that’s a direct exclamation from my husband who usually just says “this is good.”
Crust step-by-step shots and helpful notes below the recipe.
More Snickers Recipes
- Snickers Cupcakes
- Snickers Cheesecake Bars
- Caramel Snickers 7 Layer Bars
- Caramel Snickers 7 Layer Bars
Snickers Caramel Tart
- Prep Time: 45 minutes
- Cook Time: 20 minutes
- Total Time: 2 hours, 45 minutes
- Yield: serves 8-10
- Category: Dessert
- Method: Baking
- Cuisine: American
Description
This Snickers caramel tart combines caramel, salty peanuts, chocolate, and peanut butter for one irresistible sweet and salty dessert!
Ingredients
- 1 and 3/4 cups (220g) salted roasted peanuts, divided*
- 1 cup (125g) all-purpose flour (spooned & leveled)
- 2 Tablespoons (25g) light brown sugar
- 1/4 teaspoon salt
- 1/2 cup (8 Tbsp; 113g) unsalted butter, cold and cubed
- 3 Tablespoons (45ml) ice water
- 1 cup (290g) homemade salted caramel* (the full recipe)
- 6 ounces milk or semi-sweet chocolate, coarsely chopped
- 2 Tablespoons (31g) creamy peanut butter
- optional: chopped Snickers bar, crushed peanuts, extra caramel for topping
Instructions
- I encourage you to check out the step-by-step photos for the crust below this recipe before beginning.
- For the crust: Preheat the oven to 350°F (177°C). Using a food processor, pulse 3/4 cup peanuts, the flour, brown sugar, and salt together until it reaches the consistency of coarse meal. Add the cubes of cold butter and pulse until the mixture turns into pea-sized crumbs. Transfer mixture to a large bowl. Slowly stir in 3 Tablespoons of ice water. You only want to add enough water to bring the dough somewhat together. Using floured fingers or the bottom of a flat and lightly floured measuring cup, press the dough evenly into a 9-inch tart pan. You want it extremely tight in the pan. You’ll need to use pie weights for the next step, so line the crust with aluminum foil or parchment paper and add pie weights. If you do not have pie weights, prick the crust a few times with a fork so no air bubbles form.
- Bake (with pie weights) for 18-20 minutes. Remove from the oven and allow to slightly cool as you prepare the filling.
- For the filling: Mix the salted caramel and 1 cup of peanuts together. If the salted caramel was made ahead of time, slightly warm it so that it can easily be poured. Pour caramel nut filling into crust.
- For the topping: Using a double boiler or microwave, melt the chocolate and peanut butter together until smooth. If using the microwave, stop and stir every 15 seconds until melted. Spread over caramel nut filling. Garnish with optional toppings, if desired.
- Chill in the refrigerator, uncovered, for 2-3 hours or until set. Store leftovers in the refrigerator.
Notes
- Make Ahead & Freezing Instructions: This is the perfect recipe to make ahead of time and there are several ways to do it. You can prepare the entire dessert, cover tightly, and keep in the refrigerator for 3 days before serving. If the caramel is too firm, let it sit at room temperature for a couple hours before cutting. Or you can prepare the crust in steps 2 and 3, allow to cool, and refrigerate for up to 2 days. You can also prepare the salted caramel for the filling up to 1 week in advance. Tart freezes well for up to 3 months. Thaw overnight in the refrigerator and bring to room temperature to soften the caramel before serving.
- Special Tools (affiliate links): Food Processor | Glass Mixing Bowls | 9-inch Tart Pan | Pie Weights | Black Serving Plate
- Peanuts: I suggest salted roasted peanuts for best flavor. You can use unsalted if you prefer, see next note + use 1 teaspoon salt in the crust.
- Chocolate: You need 6 ounces of pure chocolate. Pure baking chocolate is sold in 4 ounce bars, so you need 1.5 bars. I recommend Baker’s or Ghirardelli brands, both solid in 4 ounce bars in the baking aisle. Instead, you can use 3/4 cup chocolate melting wafers (I like Ghirardelli brand) or chocolate chips. Nestlé Toll House milk chocolate chips work wonderfully here!
- Caramel: If you use salted peanuts as suggested, reduce salt in salted caramel sauce to 1/4 teaspoon. If you are using unsalted peanuts, follow the salted caramel recipe as listed with 1 teaspoon of salt. You’ll need 1 cup (290g) of salted caramel, which is the entire recipe.
Let’s take a look at how the peanut crust is made. This crust is exactly like the toasted hazelnut crust from my Nutella tart, only we’re subbing in peanuts for the toasted hazelnuts. You’ll need a food processor for this crust—otherwise, a pastry cutter will be just fine.
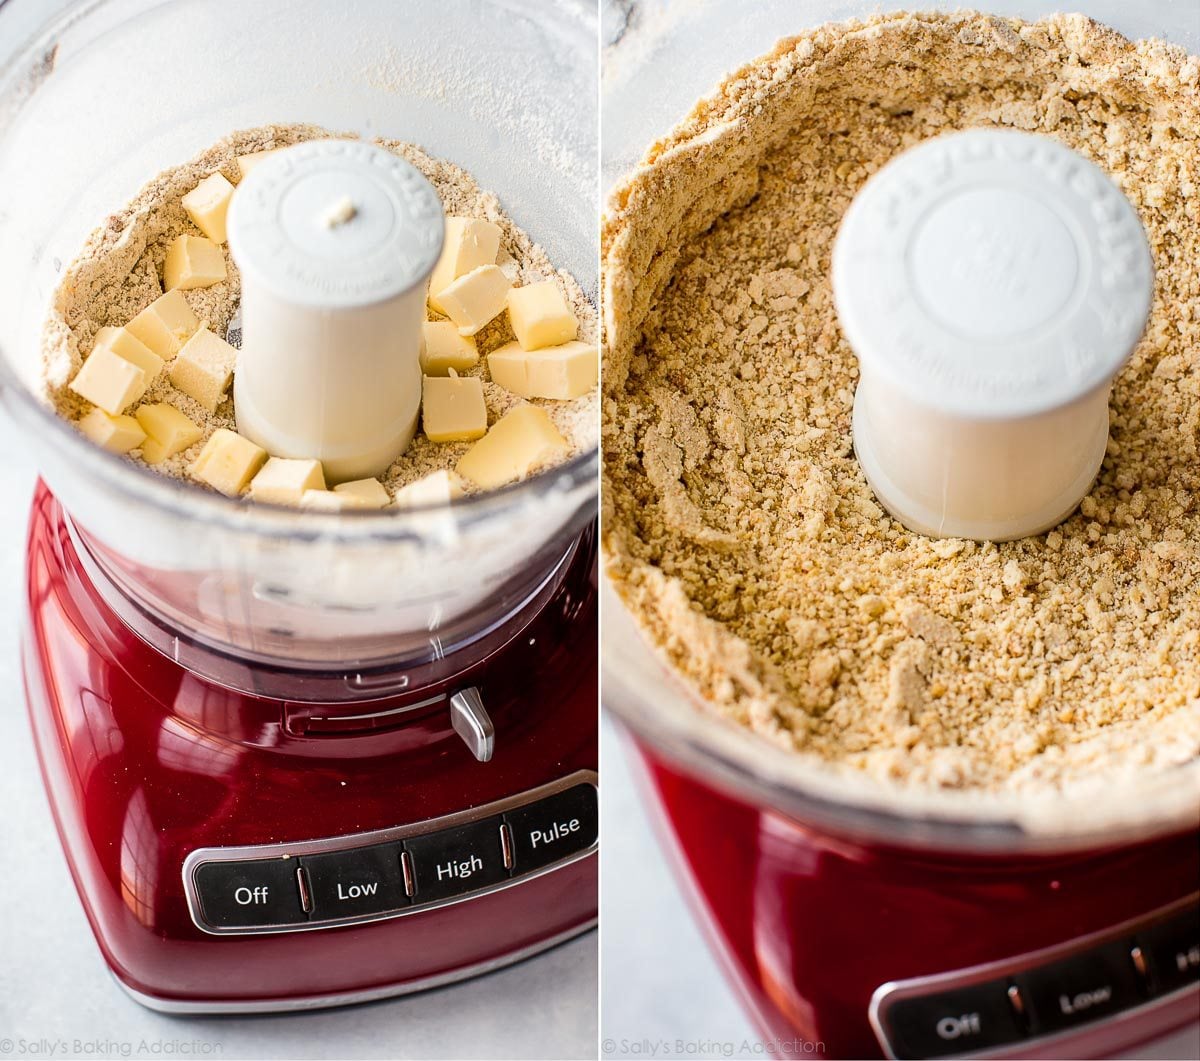
Remember to always use cold butter and cold ice water. Temperature is everything in baking, but it’s of utmost importance in pie and tart crusts. Cold cold cold! After the dry ingredients are pulsed with the butter into crumbs, pour it into a bowl and stir in some ice water. It’s the wintertime right now and therefore, it’s super dry out. I had to use about 3.5 Tablespoons of ice water. Keep the time of year in mind when preparing pie crust. Humidity (or lack thereof) makes a difference!
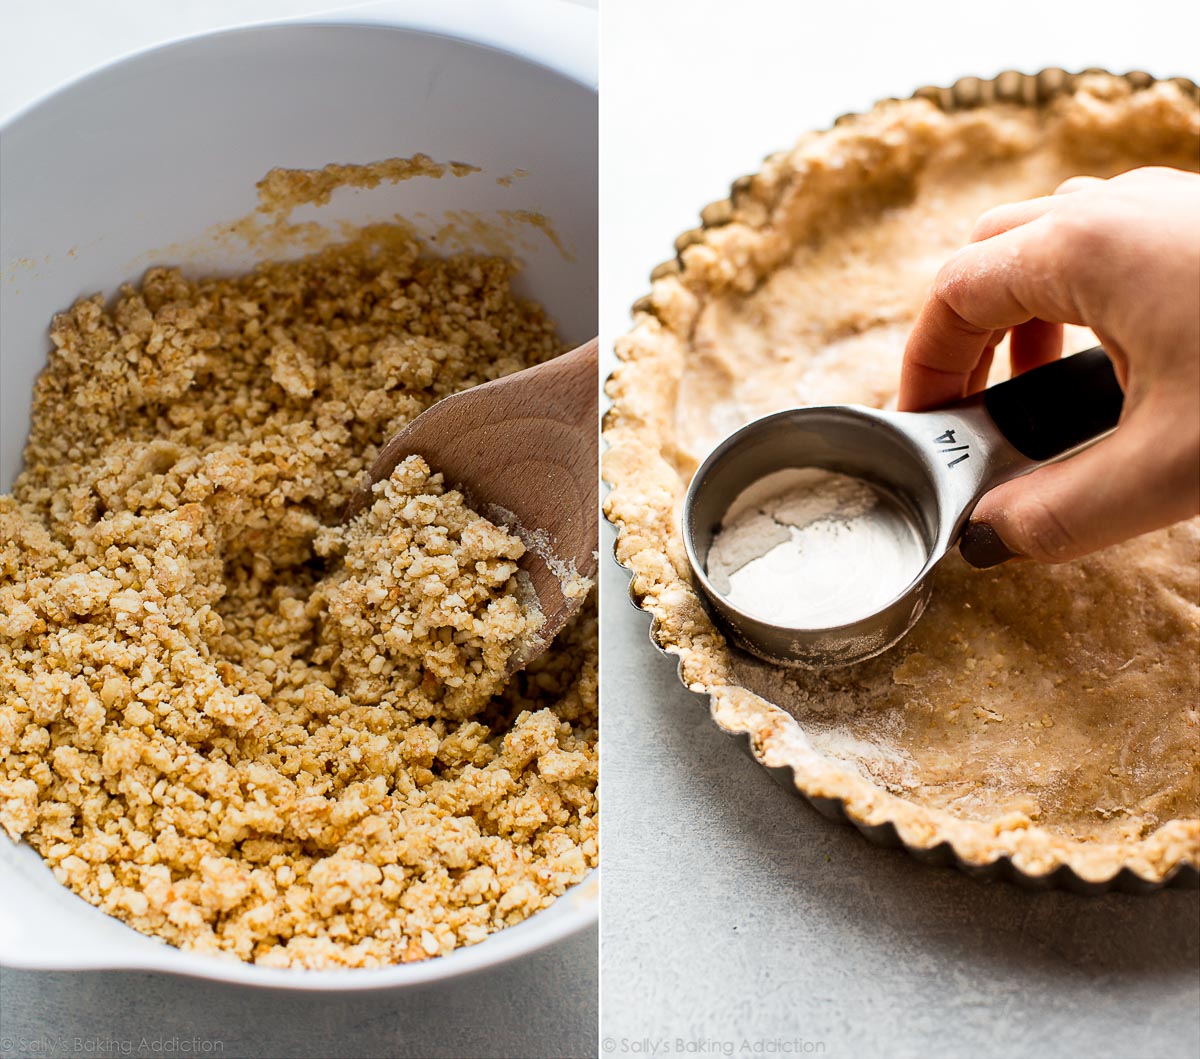
Left photo: the water mixed in. Get your hands dirty to really combine those crumbs together. Then mold it into an un-greased tart pan right photo. (If you don’t have one, here is the tart pan I own and love. You can use it to make my spiced pumpkin tart, too.) I use floured hands + a floured measuring cup to really pack that crust tightly into the pan.
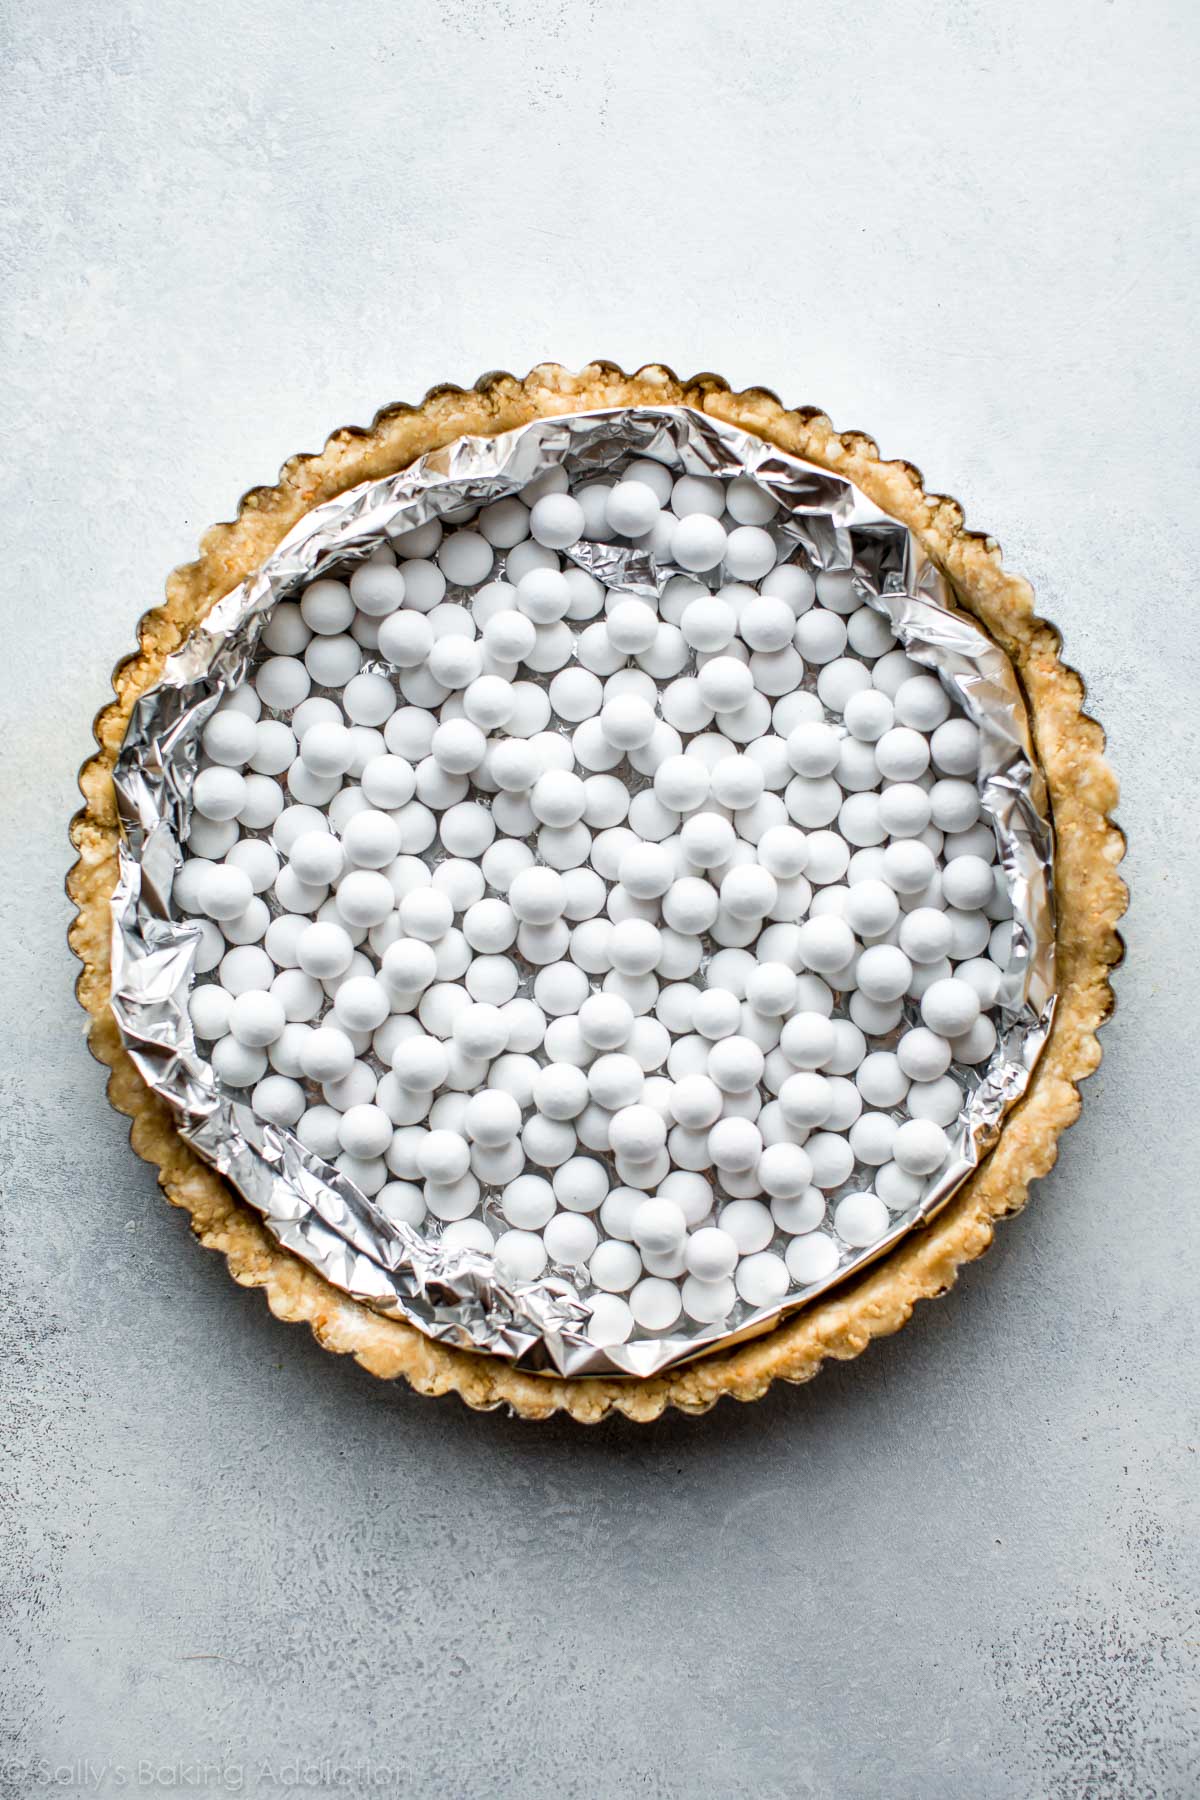
Pie weights! Crucial here. If you do not have pie weights, prick a few holes into the crust and blind bake without them.
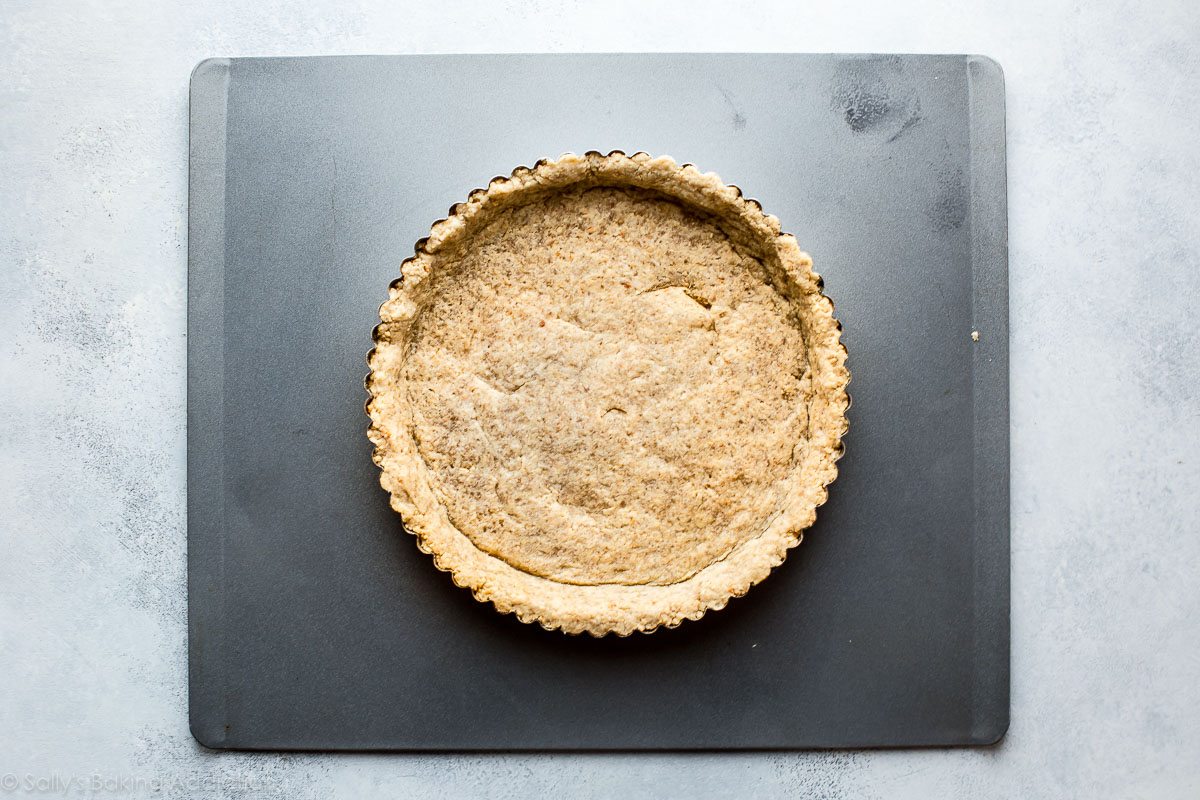
There we go! Crust is completely baked and ready for the caramel nut filling in step 4. Have fun, bakers!








Reader Comments and Reviews
Can I double the recipe for the crust?
Hi Devorah, we’d recommend making 2 separate crusts rather than doubling. With the added volume of ingredients in the food processor, we fear it may overwork the crust dough by doubling.
Do you think I could make this in a springform pan? If I did should I double the crust and filling quantities?
Hi Maya, you could try using a 9-inch springform pan for this recipe. We wouldn’t recommend doubling it (this is best as a thinner tart), just make as is and know that the crust won’t go up very high on the sides of your springform. Let us know how you like it!
You should add that you have to refrigerate between the filling and topping layers (not optional), so the caramel can set before you pour over the chocolate topping. I thought it was enough just to let the caramel and chocolate cool and I did not get those nice layers.