

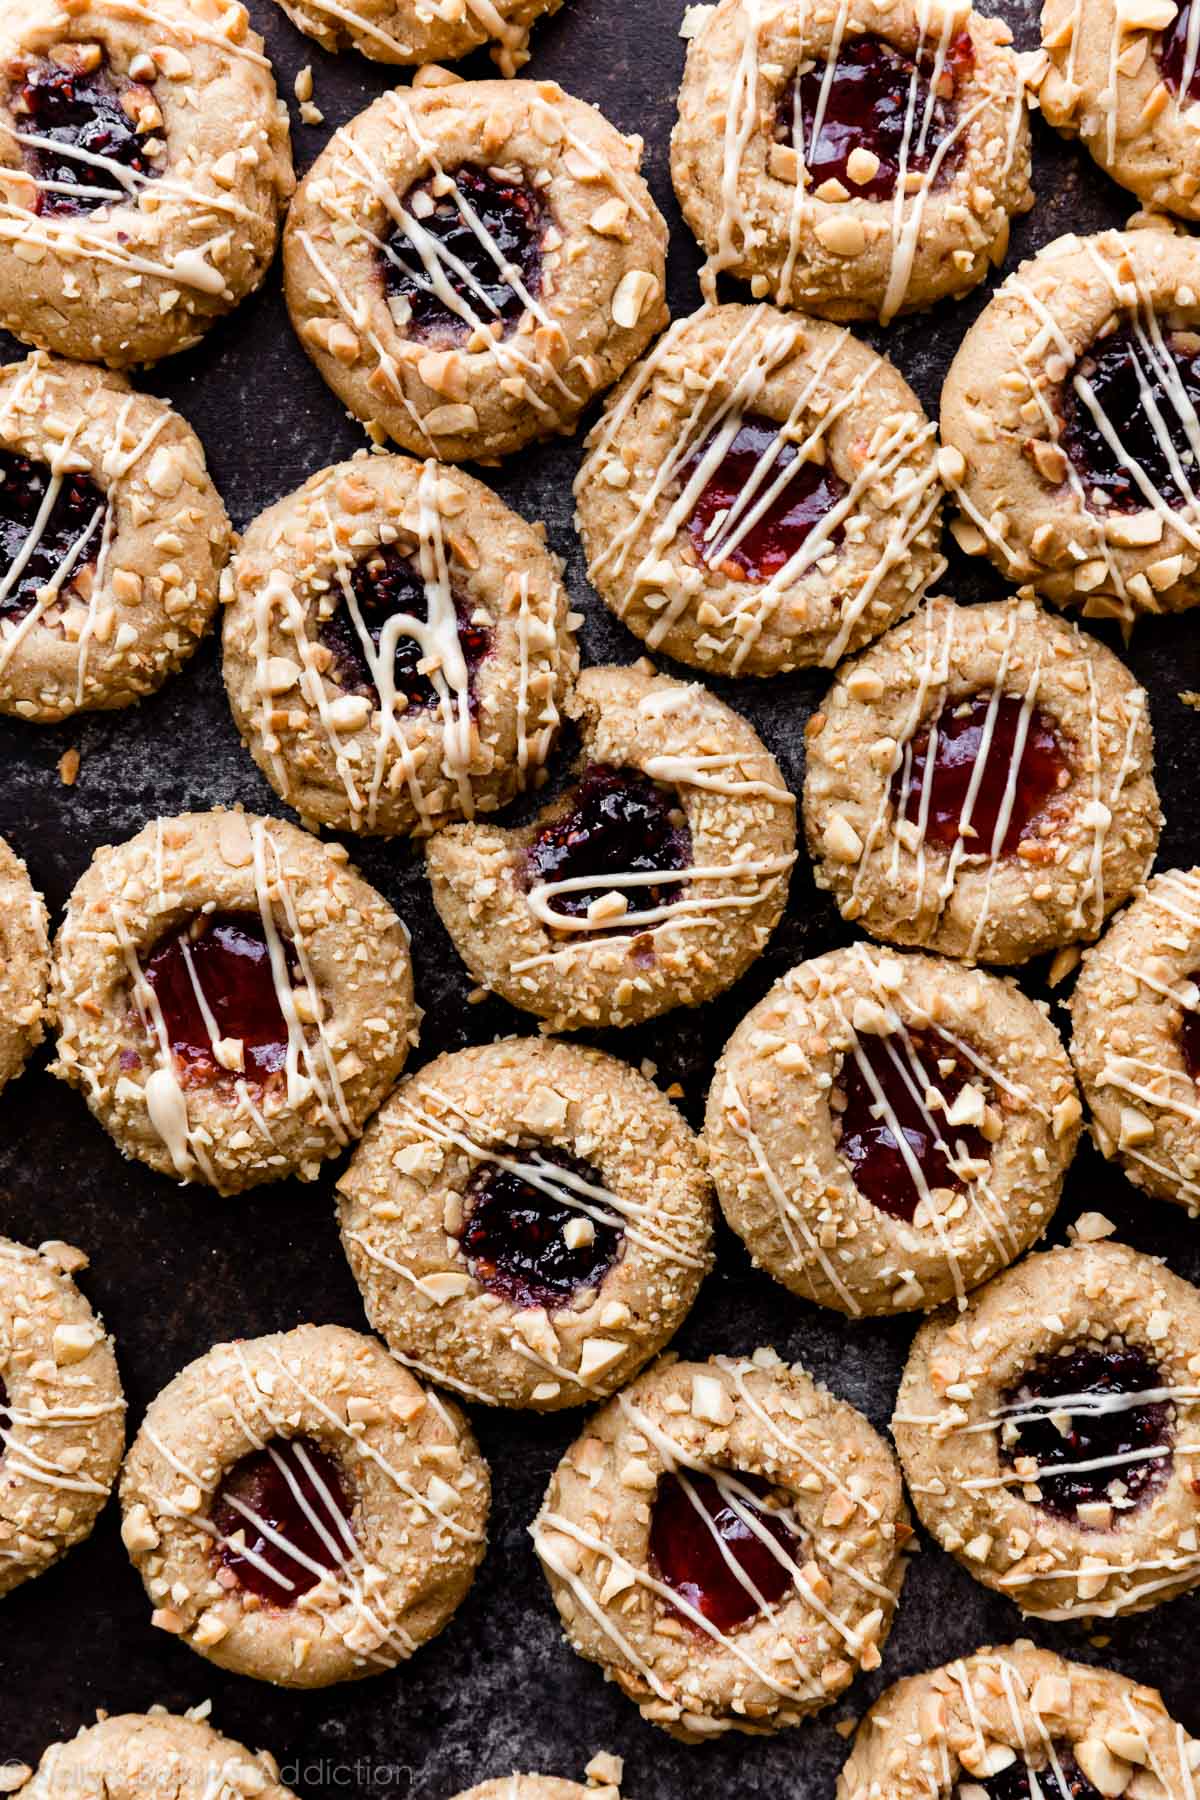
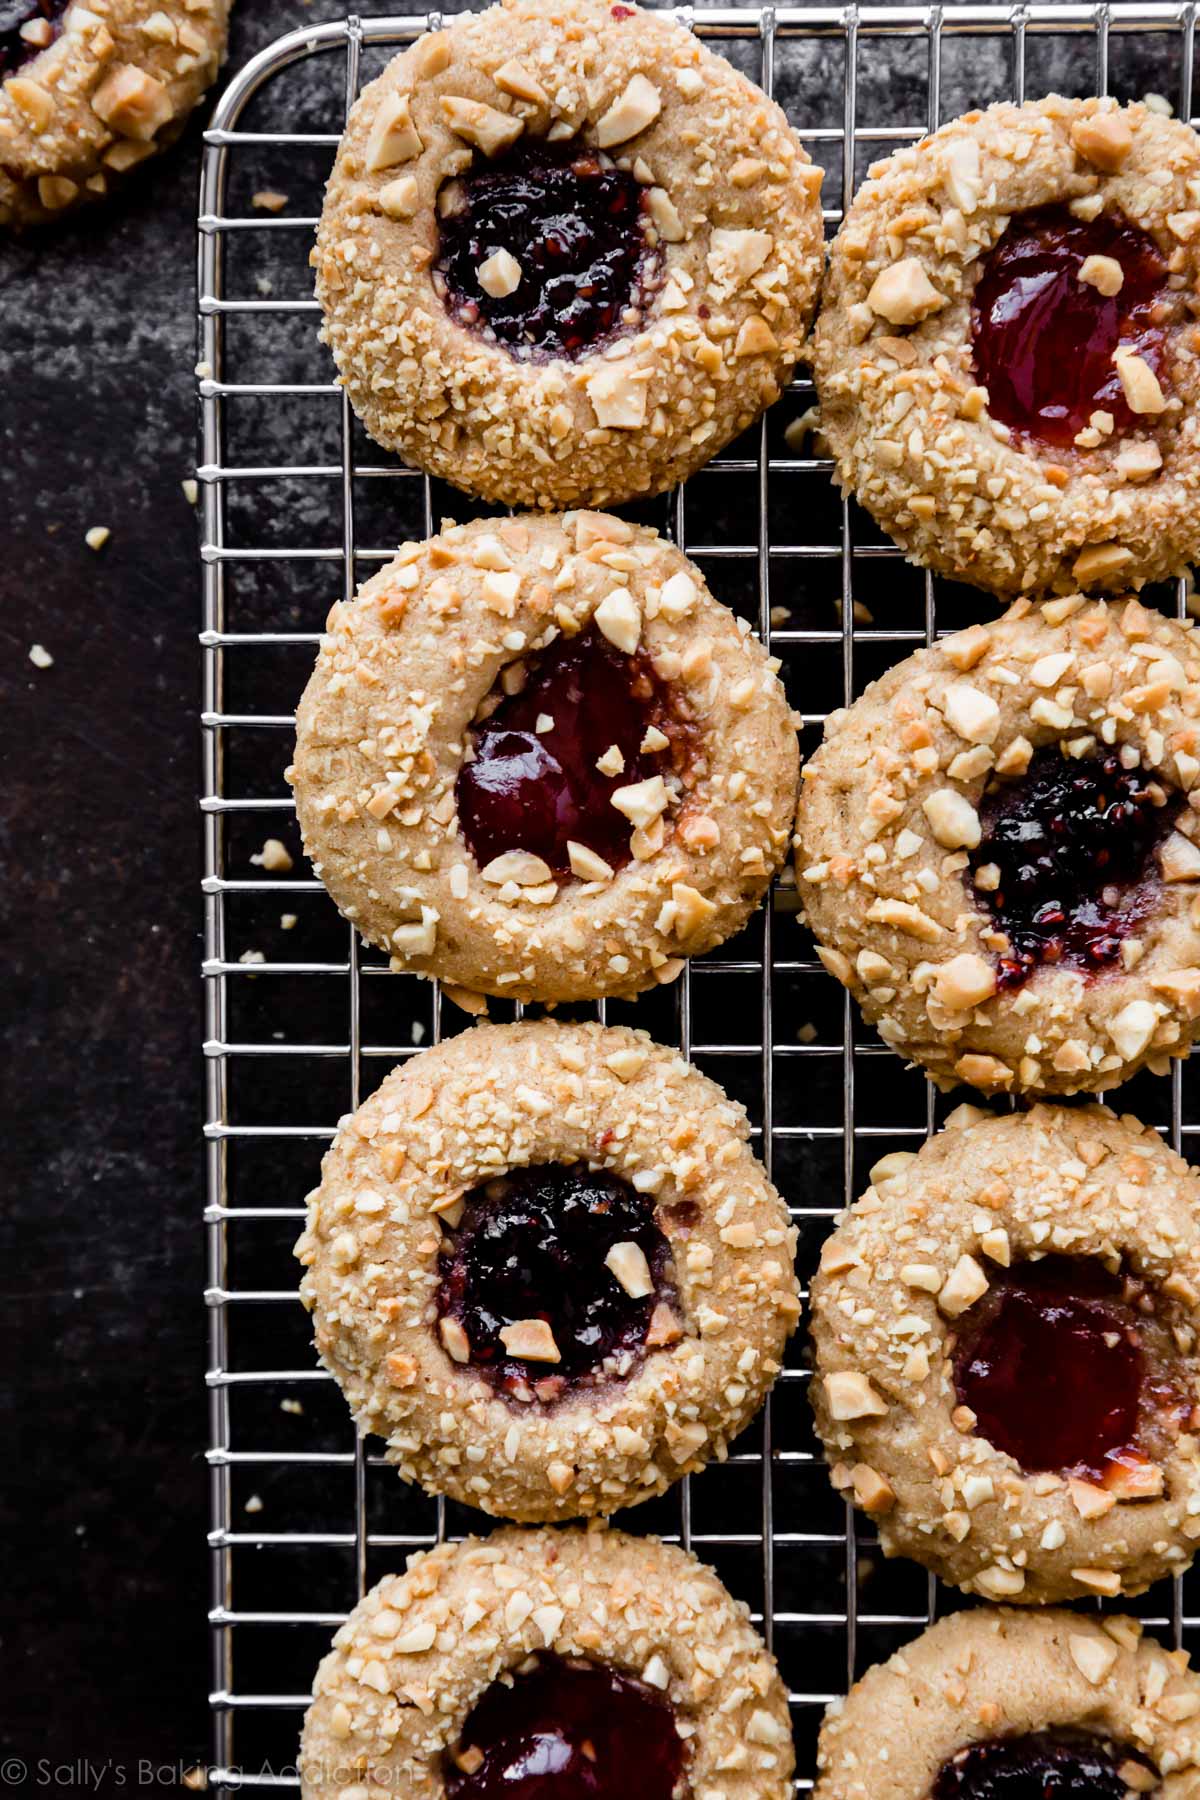
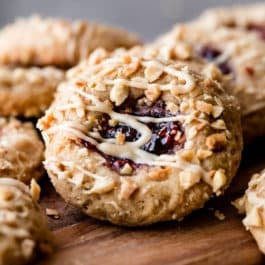
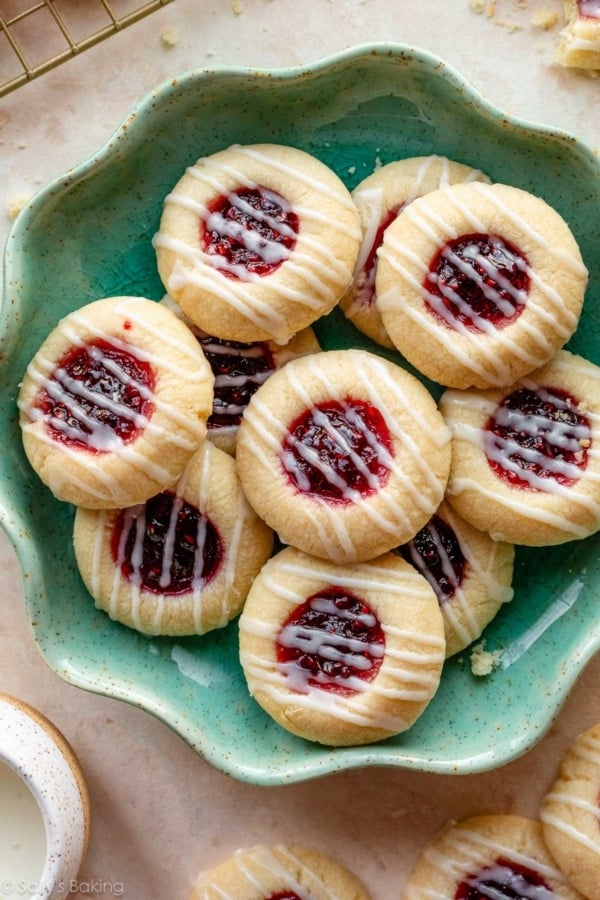
These peanut butter jam thumbprints combine extra soft peanut butter cookies, salty peanuts, and a sweet jam filling. Use your favorite jelly flavor like strawberry, grape, or raspberry. Add a simple drizzle of peanut butter white chocolate for extra flair. Chilling this cookie dough is imperative, so make sure you follow the recipe closely.
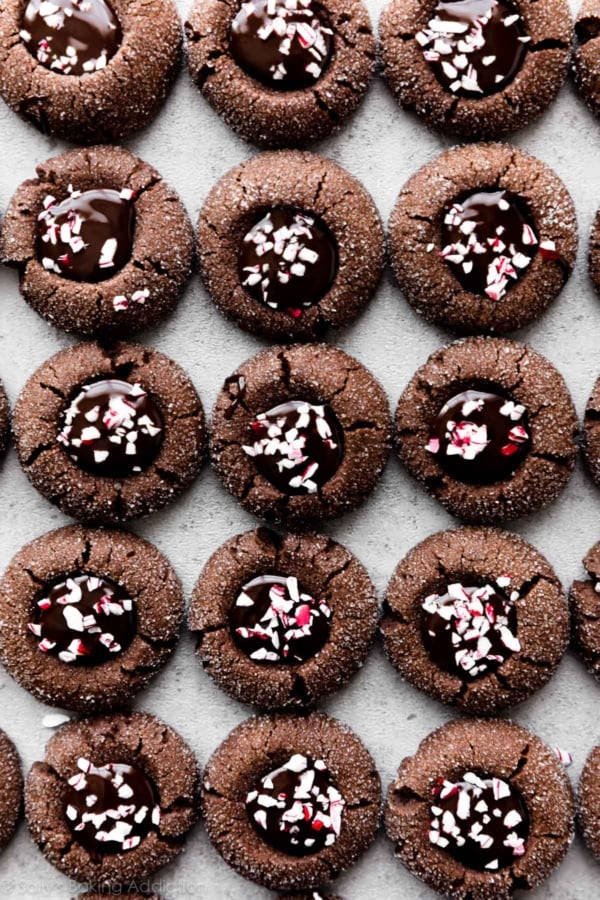
First, I know chocolate is supposed to be “the best” with PB, but give me raspberry jam and peanut butter any time of day, any day of the year. (No offense, peanut butter filled brownie cookies.)
And second, this recipe is from my cookbook Sally’s Cookie Addiction! Easily one of the best cookies in the book, these peanut butter & jelly thumbprint cookies are extra soft with mega peanut butter flavor. Have you tried them yet? I didn’t stray from the recipe much, but I did add a white chocolate peanut butter drizzle because why not… 😉
Why You’ll Love These Peanut Butter Jam Thumbprints
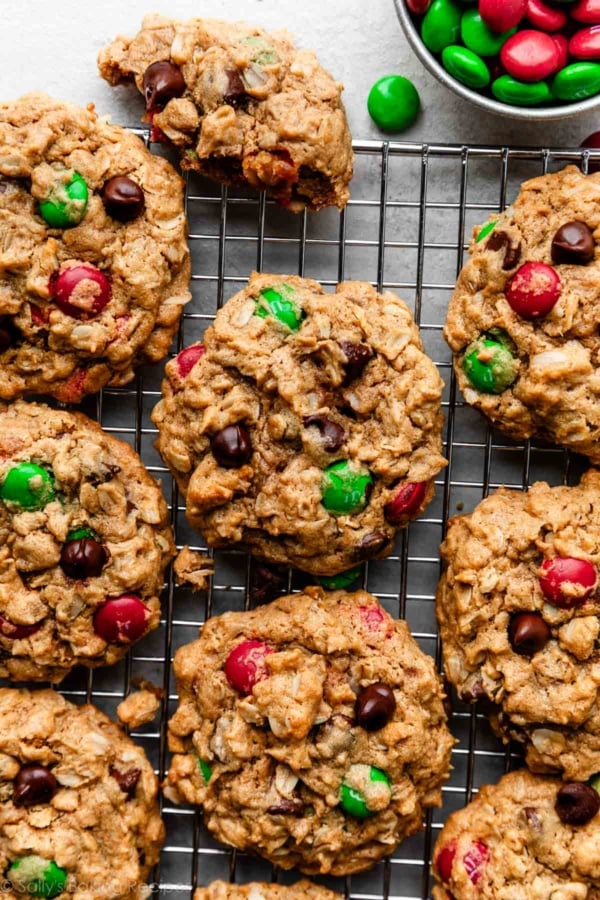
Today’s recipe is my super soft peanut butter cookies recipe only with jam in the center. (Note that the plain version uses *slightly* more flour.) They’re melt-in-your-mouth soft and what I use when making peanut butter blossoms, peanut butter M&M cookies, and peanut butter chocolate swirl cookies, too.
Here’s why you’ll love them:
- Extremely soft
- Irresistible peanut butter flavor
- Sweet jam filling
- Salty crushed peanuts
- Peanut butter white chocolate topping that sets
How to Make Peanut Butter Jam Thumbprints
- Whisk the dry ingredients together.
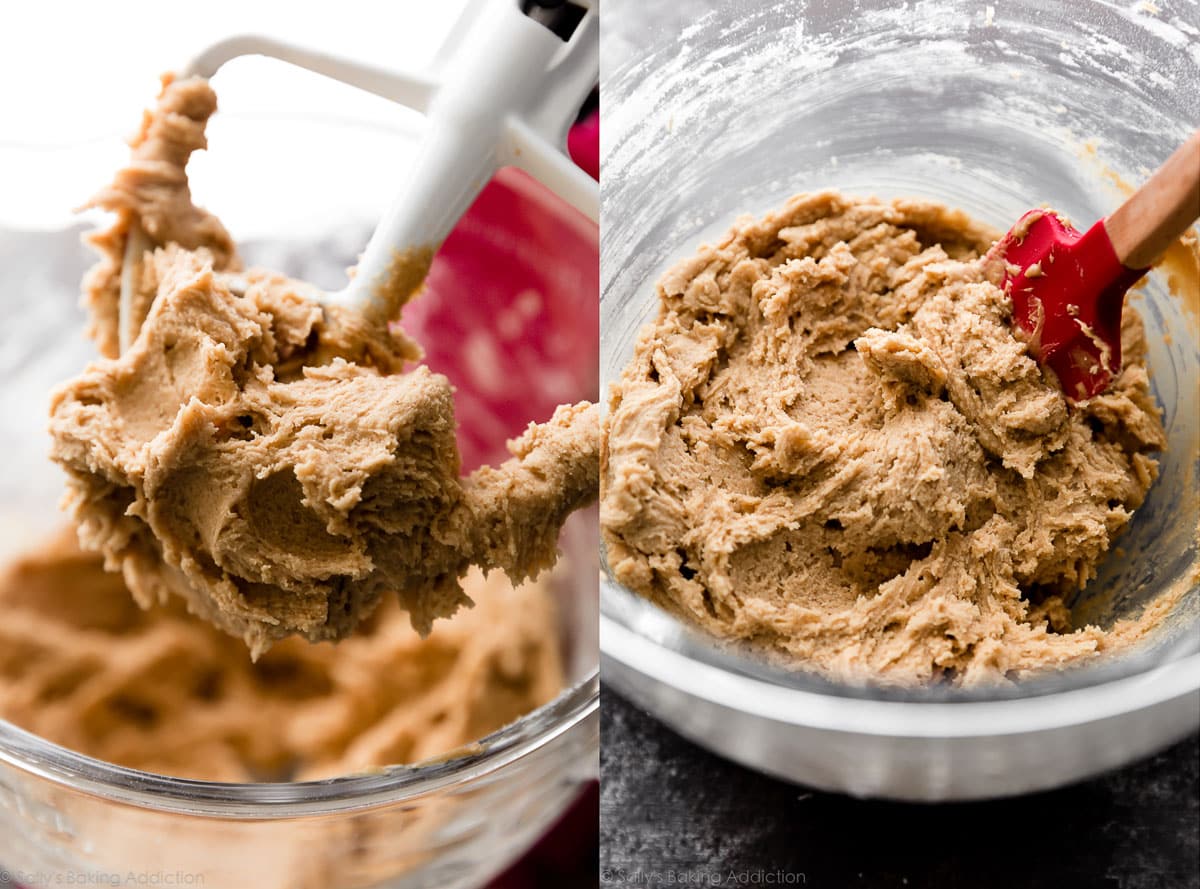
- Cream the wet ingredients together.
- Combine the wet and dry ingredients together. The dough is extra soft.
- Refrigerate cookie dough. 1 hour is ideal.
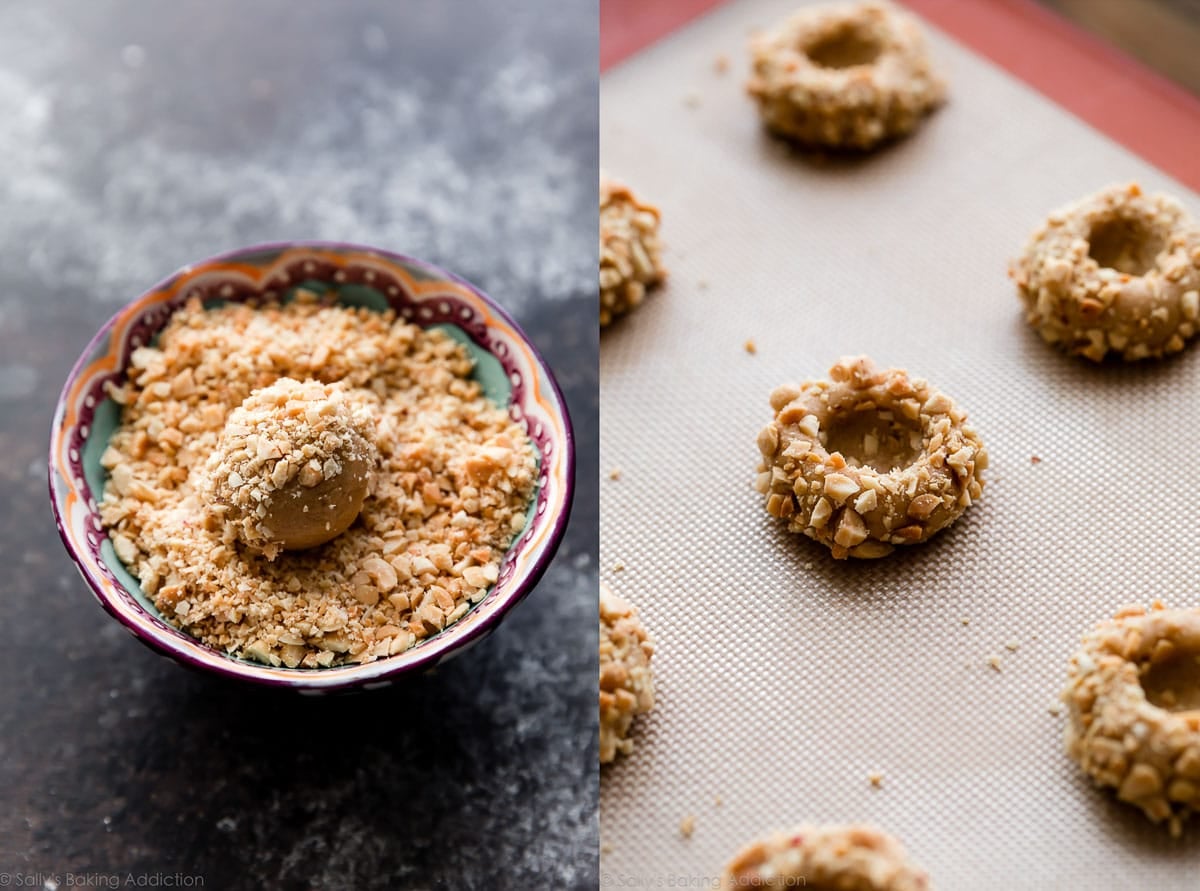
- Roll cookie dough into balls. Use about 1 scant Tablespoon of dough each.
- Indent each cookie. Use the end of a wooden spoon or silicone spatula. Remember when I taught you that with my chocolate peppermint thumbprints? This way you don’t dirty your thumbs or get dough under your nail AND you obtain a perfect uniform indent in each cookie. Of course, you can still use your thumb if that’s easiest for you!
- Chill the indented dough. 2 hours is best.
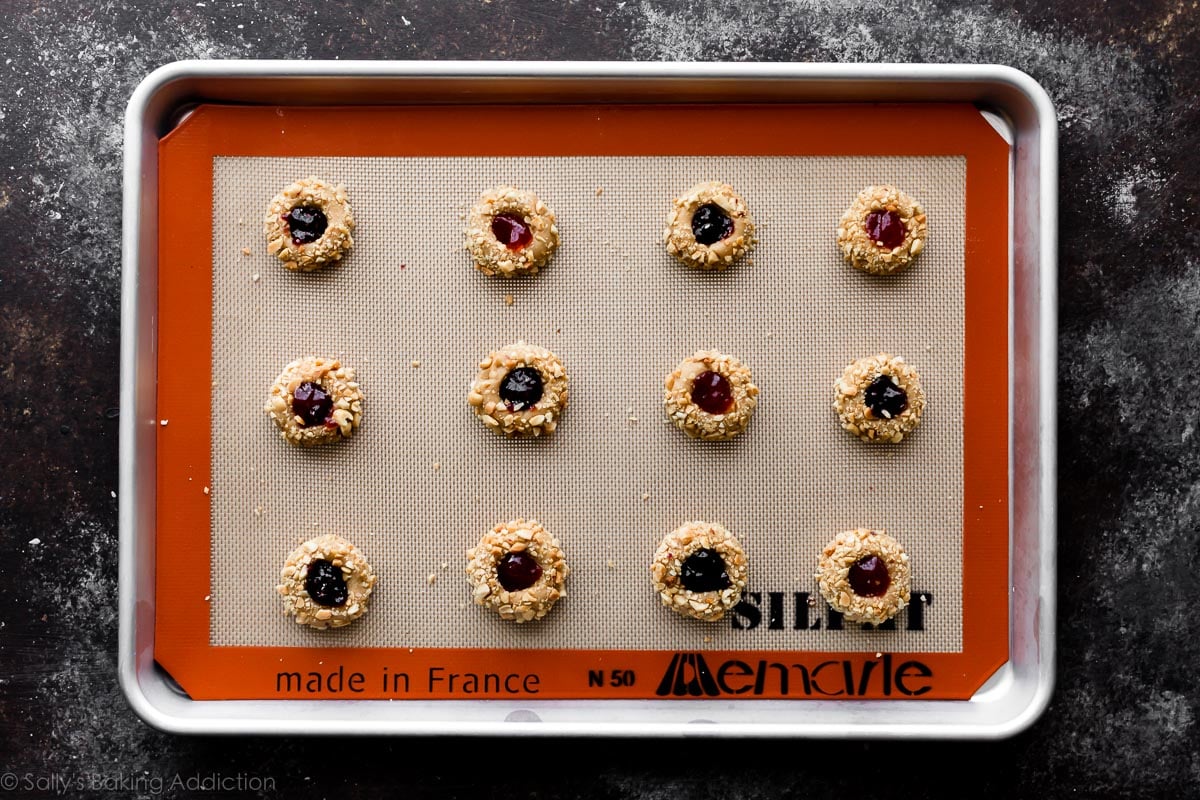
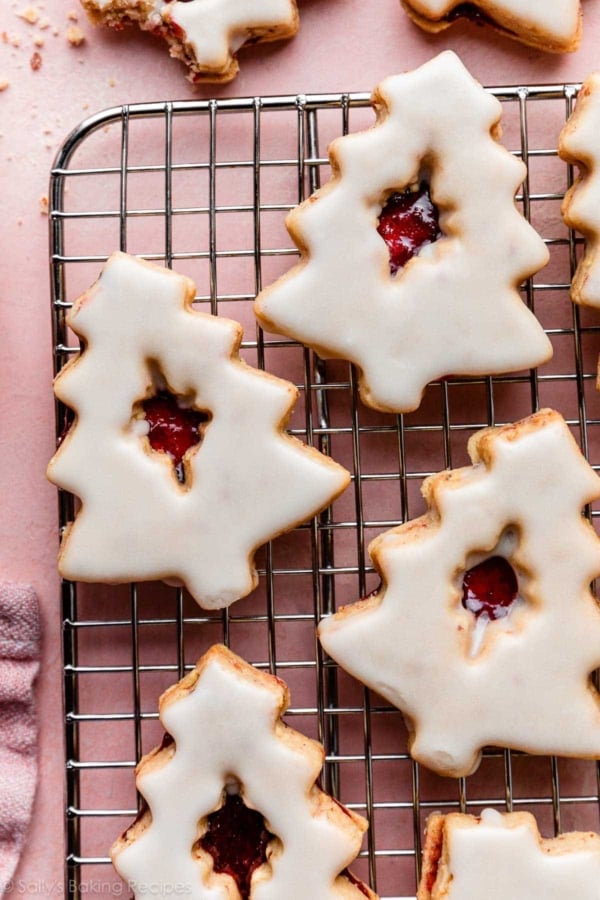
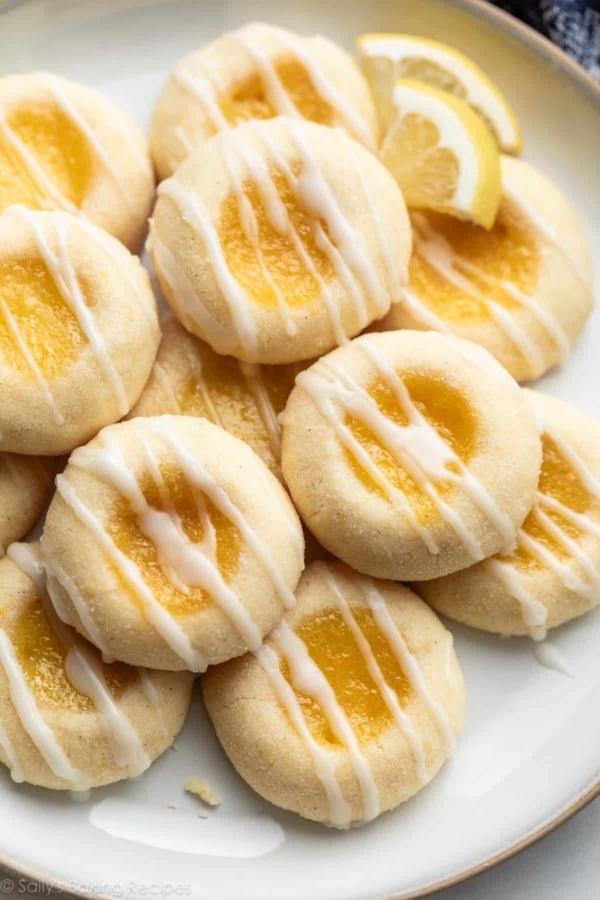
- Fill with jam. You can fill the indented cookies with jam before or after you chill them. I’ve done it both ways, no problem. You need 1/2 teaspoon of jam for each, the same amount of lemon curd I use to fill my lemon thumbprint cookies, too.
- Bake. The cookies take about 12-13 minutes.
- Drizzle with peanut butter white chocolate. See below!
Chill the Cookie Dough for 3 Hours
I wrote a post on how to prevent cookies from spreading. If you have trouble with your cookies spreading, I highly recommend reviewing it. My #1 tip is to chill the cookie dough. This is imperative with many of my cookie recipes, like chocolate chip cookies. Since this cookie dough (and the baked cookies) is so soft, you actually need to chill the cookie dough twice. It sounds more dreadful than it actually is.
- First Chill is 1 Hour: After you mix together the cookie dough, cover it and place it in the refrigerator for 1 hour. Do yourself a favor and make the cookie dough the night before, so it’s one less step to do the day you bake the cookies. Roll the dough into balls, roll into crushed peanuts, then indent them.
- Second Chill is 2 Hours: Chill the shaped cookie dough for 2 hours. Place all of the shaped dough on a baking sheet or a few plates, cover, and refrigerate for 2 hours.
3 hours total chill time isn’t so bad, it’s just that you need to break it up. I’ve tested this cookie recipe numerous times, both when I was writing my manuscript and again last month. At least three hours of chilling is the ONLY WAY to guarantee your beautiful PB&J thumbprint cookies hold their shape.
If you’re making multiple batches of Christmas cookies this season, you can use this time to make a quick no-chill recipe like shortbread cookies or spritz cookies.
Best Peanut Butter & Jam to Use
- PB: The best peanut butter to use is processed peanut butter, Jif or Skippy are my preferred brands for baking, just like when you make peanut butter chocolate chip cookies. It’s dessert, you’re allowed to use the processed stuff. Natural-style is my choice for eating, but it doesn’t produce the same type of cookie as its processed counterpart. Natural peanut butter lends dry, crumbly cookies.
- Jam: No rules here! Use your favorite flavor jam, jelly, or preserves. I usually use raspberry preserves and/or strawberry jelly because we always have both on hand. Anything goes—grape, blueberry, blackberry, peach, you name it.
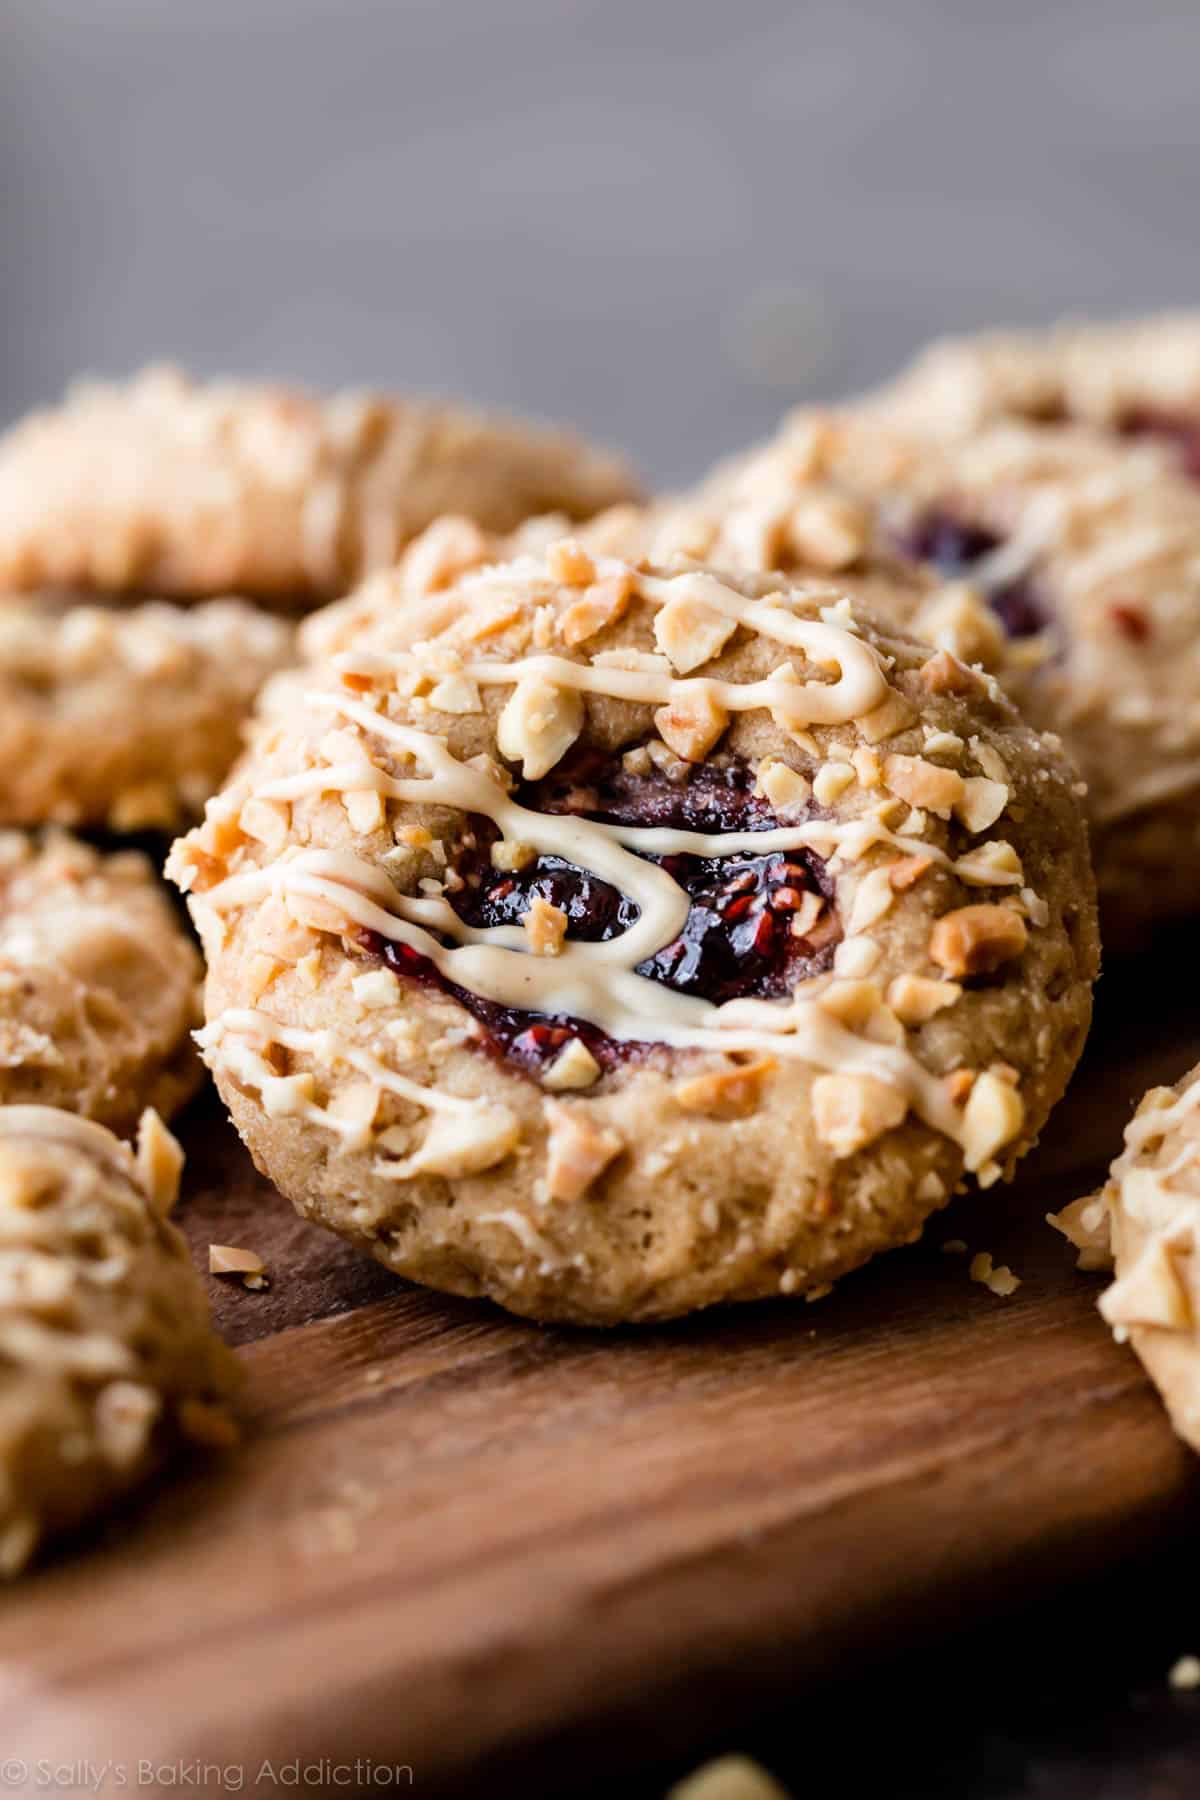
Peanut Butter White Chocolate Topping
This is totally optional, but if you want to dress up your peanut butter jam thumbprints, add a drizzle of peanut butter white chocolate. Melt 4 ounces of pure white chocolate, then stir in a heaping Tablespoon of creamy peanut butter. Drizzle all over the cookies. I always use a squeeze bottle for drizzling, but a spoon or fork works, too.
‘Tis the season to be… jelly!
Peanut Butter Jam Thumbprints
- Prep Time: 25 minutes
- Cook Time: 13 minutes
- Total Time: 4 hours (includes chilling)
- Yield: 32 cookies
- Category: Desserts
- Method: Baking
- Cuisine: American
Description
These peanut butter jam thumbprints combine extra soft peanut butter cookies, salty peanuts, and a sweet jam filling. Use your favorite jelly flavor like strawberry, grape, or raspberry. Chilling this cookie dough is imperative, so make sure you follow the recipe closely.
Ingredients
- 1 and 1/4 cups (156g) all-purpose flour (spooned & leveled)
- 1/2 teaspoon baking soda
- 1/4 teaspoon salt
- 1/2 cup (8 Tbsp; 113g) unsalted butter, softened to room temperature
- 1/2 cup (100g) packed light or dark brown sugar
- 1/4 cup (50g) granulated sugar
- 1 large egg, at room temperature
- 3/4 cup (195g) creamy peanut butter*
- 1 teaspoon pure vanilla extract
- 3/4 cup (110g) finely chopped salted peanuts*
- 6 Tablespoons (120g) jam*
Peanut Butter White Chocolate Drizzle
- one 4-ounce quality white chocolate bar (113g), finely chopped*
- 1 heaping Tablespoon creamy peanut butter
Instructions
- Whisk the flour, baking soda, and salt together in a medium bowl. Set aside.
- In a large bowl using a hand mixer or a stand mixer fitted with a paddle attachment, beat the butter on medium-high speed until smooth, about 1 minute. Add the brown sugar and granulated sugar and beat on medium-high speed until creamed, about 2 minutes. Add the egg and beat on high speed until combined, about 1 minute. Scrape down the sides and up the bottom of the bowl and beat again as needed to combine. On medium-high speed, beat in the peanut butter and vanilla until combined.
- Add the dry ingredients to the wet ingredients and mix on low until combined. Dough will be thick and soft. Cover and chill the dough for at least 1 hour (and up to 2-3 days) in the refrigerator.
- Remove dough from the refrigerator and roll into balls, 1 scant Tablespoon (5/8 ounce or 18g) of dough each. Roll each ball into crushed peanuts. Indent your thumb or the bottom end of a silicone spatula or wooden spoon into the center of each dough ball to make a crevice. Place each on 1 or 2 large plates or a lined large baking sheet. Loosely cover the dough balls and chill for 2 hours (and up to 2 days).
- Preheat oven to 350°F (177°C). Line 2-3 large baking sheets with parchment paper or silicone baking mats.
- Remove dough balls from the refrigerator and arrange on the baking sheets 3 inches apart. Spoon heaping 1/2 teaspoon of jam into each indent.
- Bake for 11-13 minutes or until lightly browned on the sides. The jam won’t look completely set, but will set as the cookies cool. Mine usually take the full 13 minutes.
- Remove from the oven. Allow cookies to cool on the baking sheet for 5 minutes before transferring to a wire rack to cool completely.
- Optional White Chocolate Drizzle: You can melt the white chocolate in a double boiler or the microwave. If using the microwave: place the chopped white chocolate in a medium heat-proof bowl. Melt in 20 second increments in the microwave, stirring after each increment until completely melted and smooth. Stir in peanut butter and drizzle lightly over cookies. Allow the drizzle to set completely at room temperature for about 30 minutes or in the refrigerator for 15 minutes.
- Cookies stay fresh covered at room temperature for 2 days or in the refrigerator for up to 1 week.
Notes
- Make Ahead & Freezing Instructions: Make the cookie dough and chill it in the refrigerator for up to 4 days. Up to 2 days in step 3 and up to 2 days when chilling again in step 4. Unbaked cookie dough balls freeze well for up to 3 months. Allow them to thaw overnight in the refrigerator, then roll in peanuts, make an indent into each, and continue with step 5. Baked cookies, with jam filling and with or without drizzle topping, freeze well for up to 3 months. Thaw overnight in the refrigerator and bring to room temperature, if desired, before serving.
- Special Tools (affiliate links): Glass Mixing Bowl | Whisk | Electric Mixer (Handheld or Stand) | Silicone Spatula or Wooden Spoon | Baking Sheets | Silicone Baking Mats or Parchment Paper | Cooling Rack | Double Boiler (optional for melting chocolate) | Squeeze Bottle (optional for drizzling chocolate)
- Peanut Butter: It’s best to use a processed peanut butter like Jif creamy or Skippy creamy. I do not suggest using natural style, oily peanut butter. Crunchy peanut butter adds peanut chunks as well as a more crumbly texture. I recommend using creamy in this recipe.
- Peanuts: For a salty/sweet cookie, I recommend using roasted salted peanuts. If desired, you can use unsalted or raw (not roasted) peanuts. You can skip the crushed peanut coating if desired, too.
- Jam: Use any jam, jelly, or preserves you enjoy with peanut butter. I usually use strawberry jelly and/or raspberry preserves, whichever I have on hand.
- Optional White Chocolate Drizzle: For the best results, use a 4 ounce “baking chocolate” bar found in the baking aisle. I prefer Bakers or Ghirardelli brands. Do not use white chocolate chips for the drizzle, as they contain stabilizers preventing them from melting into the proper consistency.
- Be sure to check out my top 5 cookie baking tips AND these are my 10 must-have cookie baking tools.


Reader Comments and Reviews
hi! If i dont want to use Peanut butter, can i simply take it out of this recipe? Thanks!
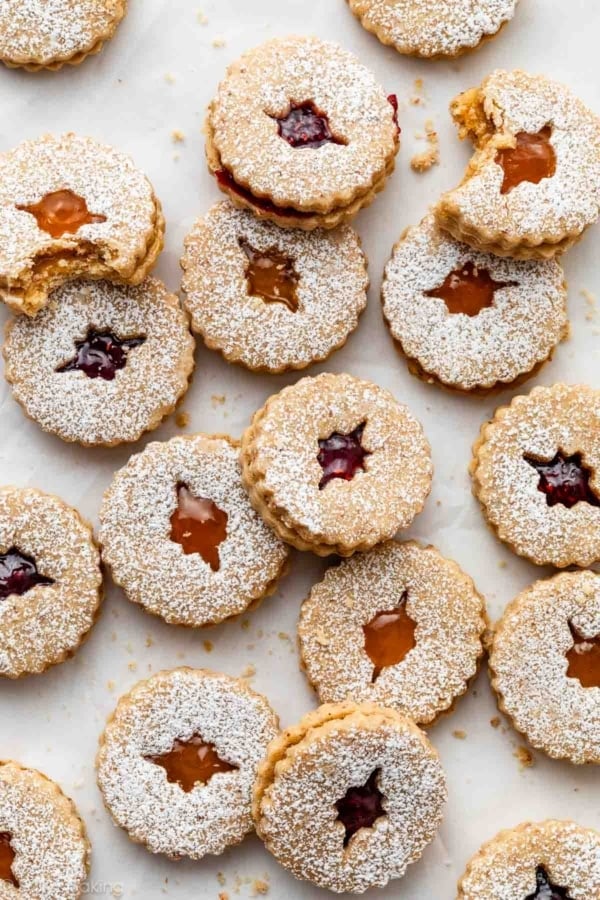
Hi Danielle! We recommend using our raspberry almond thumbprint cookies recipe instead.
Thank you for your respond, i scaled flour , and i used peanut butter with out sugar and salt , should i use sugar one?
Hi Sami, that could be the culprit — you’ll want to use a creamy processed peanut butter like Skippy or Jif that contain sugar and salt.
Hi sally thank you , your recipe is so delicious , i have a question could you help me please? I made this recipe , when i wanted to make a ball with dough after 1 hour chiling , it cracked, and afer baking there was much oil in the pan and cookies are oliy, how can i make this cookie better?
Hi Sami, we’re happy to help troubleshoot. How did you measure your flour? Be sure to spoon and level (or use a food scale) to ensure that too much flour doesn’t make its way into the dough. Too much of the flour can dry out the cookies and cause the cracking you mention. What type of peanut butter did you use? An oilier peanut butter could be making them oily. Thanks so much for giving these a try!
I love the look and taste of these! However, like many other readers, I also experienced a fair amount of spreading. My cookies weren’t flat, but they weren’t quite as cute and round as the ones in these photos. Next time I would definitely add a little extra flour and ideally refrigerate the formed cookies overnight so they keep their shape a bit better.
I did also notice that my peanuts didn’t seem to stick all that well – Is there anything I can do to improve the ‘stickage’? My dough was fairly soft when I formed and rolled it, but I had a hard time getting the peanuts to stick (even after pressing them in gently) and once they were baked A LOT fell off.
can we use homemade jam as well? if we feel ambititious?? How ahead of time do yoou recommend?
Hi Lauren! Yes, you can use any jam or preserves, including homemade!
I made these for the first time. Delicious!!. I ran out of jarred jam, so I used freezer jam for the last few cookies, the jam on those melted into the cookie dough. Where as the ones with the jarred jam were perfect. Will definitely make these again.
These turned out perfect! I baked them from frozen and filled them with homemade guava jam. I saw Libby’s comment that they add an extra egg because they only buy natural peanut butter, and it worked out well. (I have a deep prejudice against Skippy! )
Thank you for this recipe, and all your recipes, with excellent and specific guidance. Sally’s is my go-to for technique and because it’s so clearly and carefully laid out, I tend to have great success even when I make my own creative substitutions. I had a half-used jar of biscoff spread in my cupboard and was planning to make the biscoff blondies (and still kind of want to) but when I realized that I had a jar of opened artisanal jam in the fridge that was on the verge of spoilage, thumbprints were the answer. So I subbed the peanut butter for biscoff spread (offset by a little tahini for complexity and salt), went a tad light on the white sugar, and omitted the chopped peanuts. Both my batches spread a bit (I think I’d use a tbs less butter next time, especially since there’s so much palm oil in the biscoff spread) but the cookies still came out cute and delicious. The butter temp and chilling periods were definitely critical and tips I’ll continue to use in other baking projects.
Help!!! Please. I’ve made these over and over and they are so loved by the people who try them. My problem is the peanuts. How on earth do I get peanuts chopped small? If I very carefully use my KitchenAid processor I get peanut butter. So I sit and hand chop (ugh) piles of peanuts. No matter how I try I can’t get peanuts to stick to the raw dough ball. I work so hard and TRY so hard but I can’t get the chopped peanuts to stick to the dough. Please, if there anything I can do? I’m about to give up on these great cookies.
Hi Nancy! We’re so glad these cookies are a hit for you. To chop peanuts, we use a large, sharp knife and a cutting board – it can be a little tricky! Are the peanuts not sticking to the dough because the pieces are too big? Rolling the dough ball in your hands to warm it up a bit will help the peanuts stick better. You can always skip the crushed peanut coating if desired as well. Hope this helps!
Many thanks. What I’ve been doing ( ~blush~blush~ ) is cutting/chopping each peanut with a paring knife, one at a time. I just wait for a good TV program and start cutting a big jar of peanuts at a time and store in the freezer. I’ve bought every little chopper I see in a store or ebay. Useless. I’ll try again with a big knife on a cutting board.
Hi Nancy, I put my peanuts in a ziplock bag and pound them with a meat tenderizer or something heavy.
Hi: I tried these cookies, but was not successful. I’m assuming (hoping) my butter was too soft AGAIN!! This was my second attempt. Can I use mini cupcake pans instead of “thumb print”?
Thanks for your help.
Elaine
Hi Elaine, I would LOVE for these thumbprint cookies to turn out for you. I’m sorry you had so much trouble. We haven’t tested these in a mini cupcake pan but it should work. You can also see if reducing the butter by 1 Tbsp helps (less butter, less spread– use 7 Tbsp). Additionally, freezing the shaped cookies before baking (with the jam in the center) will definitely help them hold shape better. I recommend 20-30 minutes in the freezer. Let us know how it goes!
I tried this recipe in the mini cupcake tins. They did come better, but the jelly/preserves seemed to have melted into the cookie dough. Although I had trouble with this recipe, not a cookie is left in the tin! I’ll definitely try them again.
Sally, I’ve baked so many of your phenomenal treats and they always turn out perfectly! You really are my go-to! I’m also a fairly adept baker and I followed the recipe to a tee, including the chilling time. Unfortunately, these spread like water and the jam turned out to be more of an icing on a flat cookie rather than in the hole. Now, that said… the flavor and consistency are fantastic! So I wonder whether I could chill them in the freezer instead for a better result? I’m disappointed but I’m willing to risk it again!
Hi Claire, I would LOVE for these thumbprint cookies to turn out for you. I’m sorry you had so much trouble. See if reducing the butter by 1 Tbsp helps (less butter, less spread– use 7 Tbsp). Additionally, freezing the shaped cookies before baking (with the jam in the center) will definitely help them hold shape better. I recommend 20-30 minutes in the freezer. Let me know how it goes!
Sally’s peanut butter recipes are always perfection and this one is no exception! I filled mine with the chocolate ganache from Sally’s Chocolate Peppermint Thumbprint Cookies, but I omitted the peppermint extract. The result was FANTASTIC! These turned into the much fancier cousin of peanut butter blossoms. PS: I did not bake the ganache but filled the cookies after they had cooled. I did have to re-indent after baking, but this was no big deal.
This recipe is great! I made these with raspberry/black raspberry jam – will probably use preserves next time as I prefer the consistency. The only thing I would change is that I needed about half as much of the drizzle as the recipe calls for. Delicious!
Any idea in the nutrients in this cookie
Hi Jennifer, I’m unsure of the nutritional info of this recipe, but there are many great online calculators like this one: https://recipes.sparkpeople.com/recipe-calculator.asp
OMG, forgot to mention that I baked these yesterday and they are amazing thanks, Sally.
If I’m chilling the dough balls is step 4 for up to 2 days do I place them right on the cookie sheets line with parchment or silicone baking mat or should I wait for them to come to room temp it placing them right on the mat from fridge how long do they bake for ?
Hi Linda, The dough should be cold going into the oven so that the cookies maintain their shape – so no need to let them come back to room temperature! If you chill them for 2 days they will likely take closer to 13 than 11 minutes to bake but every oven is different so keep your eye on them and remove when they are lightly browned on the sides.
Hi Sally. Is it possible to use gluten free flower? Or a wheatfree flower (like rye, spelt, oat etc)?
Hi Kat, We haven’t tested this with different flours. Let us know if you try!
Oh oh oh so good! I closed my eyes and was instantly 6 years old again, transported by peanut butter and jelly cookies. These are delicious!
I’m that person: the one who can’t follow a recipe without tweaking something.
I only buy natural peanut butter, and reading the notes about “dry and crumbly”, I added an extra egg. I also added sugar, a pinch of salt, dash of Vietnamese cinnamon and a healthy grind of nutmeg to add to the crushed peanuts before rolling. Adds a nice grown up touch.
I am also spoiled rotten and have harvested 35 pounds of strawberries so far this year, so I used a jar of homemade jam. Can’t beat that!
These are amazing! They came out perfect! I’m a cookie fanatic and can’t wait to try more of your recipes. My husband and I also made your chewy chocolate chip cookies. I love your tips and advice with each recipe.
Great recipe! I reduced the flour to 3/4 cup and added 1/2 cup of PB2 or powdered peanut butter for additional flavor and protein and also added 1/2 tsp of baking powder. I rolled them in sugar, not crushed peanuts, and then I baked them at 350 degrees convection for 9 minutes. They did not flatten.
These were a huge hit with everyone that tried them. They are adorable and delicious! I used 1 preserve and 1 jam, both turned out amazing. I can’t keep my husband out of them!
Excellent recipe. The best peanut butter cookie I have ever made !!
Thanks for the response!
I will be making these again, the flavor was great even though they weren’t pretty.
I will defiantly try your suggestions and I may try to add an extra tablespoon of flour. But today is all about molasses cookies. I’m going to try your recipe today!
Thanks again for the suggestions.
Tried these this evening. All looked good till I baked them off. Not sure what happened. They flattened out on me. Followed directions to a t, even fridge times. Maybe I should have left them in fridge longer. Now most of them look like a flat cookie so
It’s a blob of jelly on them. Any ideas?
Hi Patrick! A few things that can help for next time. The 3 tips I have for you are to make sure your room temperature butter isn’t too warm (check out this post). Also be sure you are chilling the cookie dough both times. Chilling for longer after the cookies are shaped will definitely help. The colder the cookies, the less they will spread. And finally, use processed peanut butter. I usually use Skippy or Jif for these.
Normally, I wouldn’t bother making a cookie like this, because my picky sons wouldn’t like the peanuts on the outside. BUT, since I was going to a get-together for women, and needed to bring a dessert to share, I made these. I love these unique, little cookies. They’re so different from what I usually make. I loved the texture of the peanuts on the outside, but what I think really makes them special is the white chocolate PB drizzle. I love that you can freeze these as well! These are delish! Thanks for another great recipe, Sally!
These were a huge hit! I did omit rolling them in crushed peanuts. Instead I made a graham cracker crust recipe and rolled them in that. Amazing!
These look delish! Could I sub salted butter (it’s what I have on handling and omit the salt?
Sure can! No need to omit the salt in the recipe.
Could I substitute Nutella for the peanut butter in these cookies, and perhaps roll them in crushed hazelnuts and fill with more Nutella? Someone in my family has a peanut allergy so of course we have to avoid peanut butter, but Nutella and other nuts are perfectly okay 🙂
Hi Erin, I don’t see why that wouldn’t work! They would be pretty sweet but so delicious! Please let me know if you try it!
Hello Sally, I made the recipe from your book several times the past year but it spread every time (of course I chilled the dough and even longer than the required minimum). As another of your recipe (that I hadn’t tested yet) spread also this week, I really hope with this kind of updated recipe of your book I won’t have the same surprise! Can’t wait because it tasted great though. Thanks for the recipe as I was looking for a Christmassy PB cookie 🙂
Hi Eva! These cookies spread out, as all cookies do, but they shouldn’t completely flatten out. My suggestions for you are to make sure your butter isn’t too warm (see my room temperature butter post– it is vastly helpful and makes a difference!) and try adding another 2 Tbsp of flour to the cookie dough so it’s a bit stronger. I hope these help!
I have a question. If the recipe calls for peanut butter and peanuts, if I were to use Just crunchy PB wouldn’t that work? I know you say it makes them more crumbly but shouldn’t that work?
Thanks for your great blog! I’ve learned SOOOO much!
Hi Sherry! The cookie dough balls are rolled into the peanuts– the peanuts aren’t in the cookies, if that makes sense. Crunchy PB works, but it’s thicker and isn’t as creamy, so the finished cookies are a bit crumbly.
Makes perfect since. Should have seen that when I read the recipe! Thank you!