

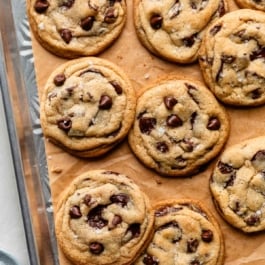
These brown butter chocolate chip cookies take a familiar favorite and elevate it with rich, nutty brown butter. Browning the butter adds deep caramel-like notes that pair perfectly with melty chocolate chips and soft, chewy centers. Note that this recipe requires 2 chill times, but I promise these cookies are worth the wait!
I originally shared this recipe in 2014, and I’ve updated it with new photos, clearer instructions, and more success tips. One minor but helpful change: shape the cookie dough balls before chilling instead of after, which makes the process easier and helps the cookies bake up evenly.
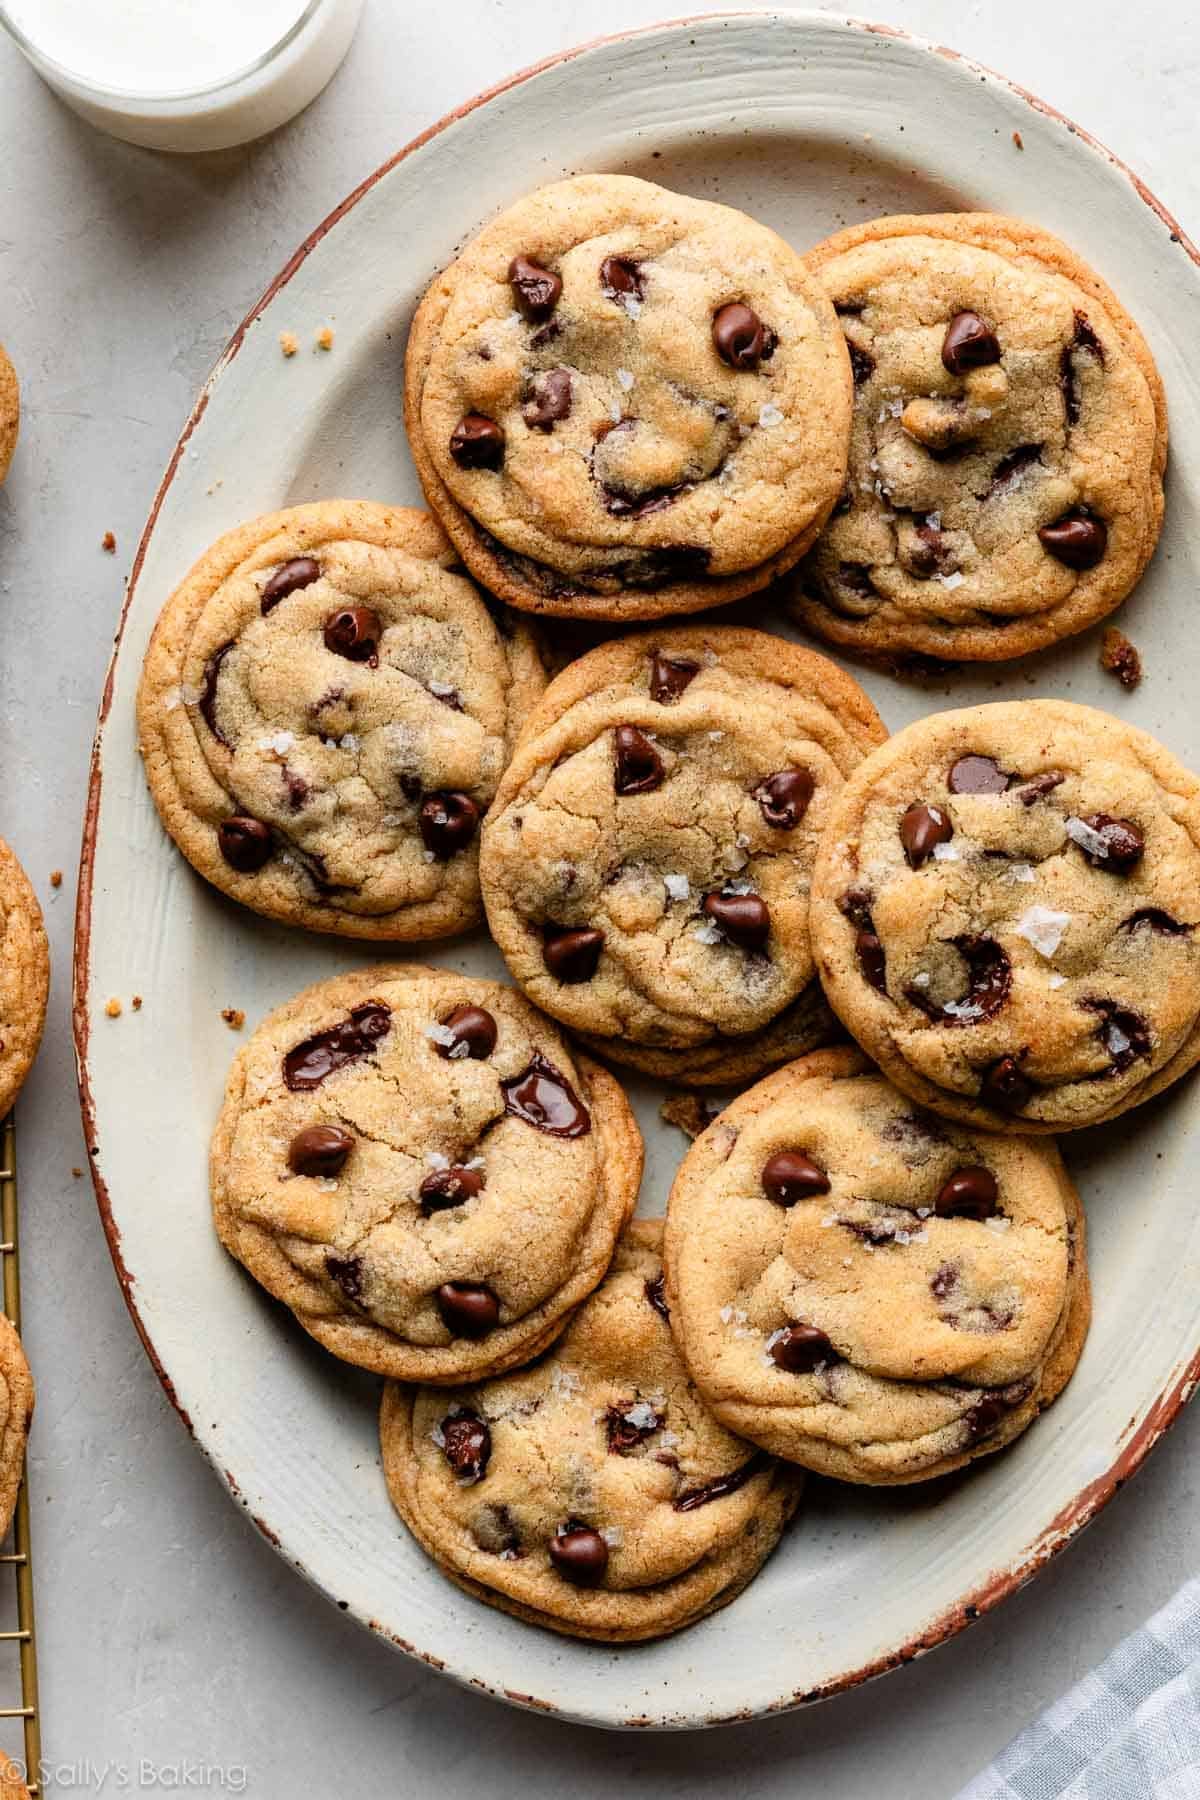
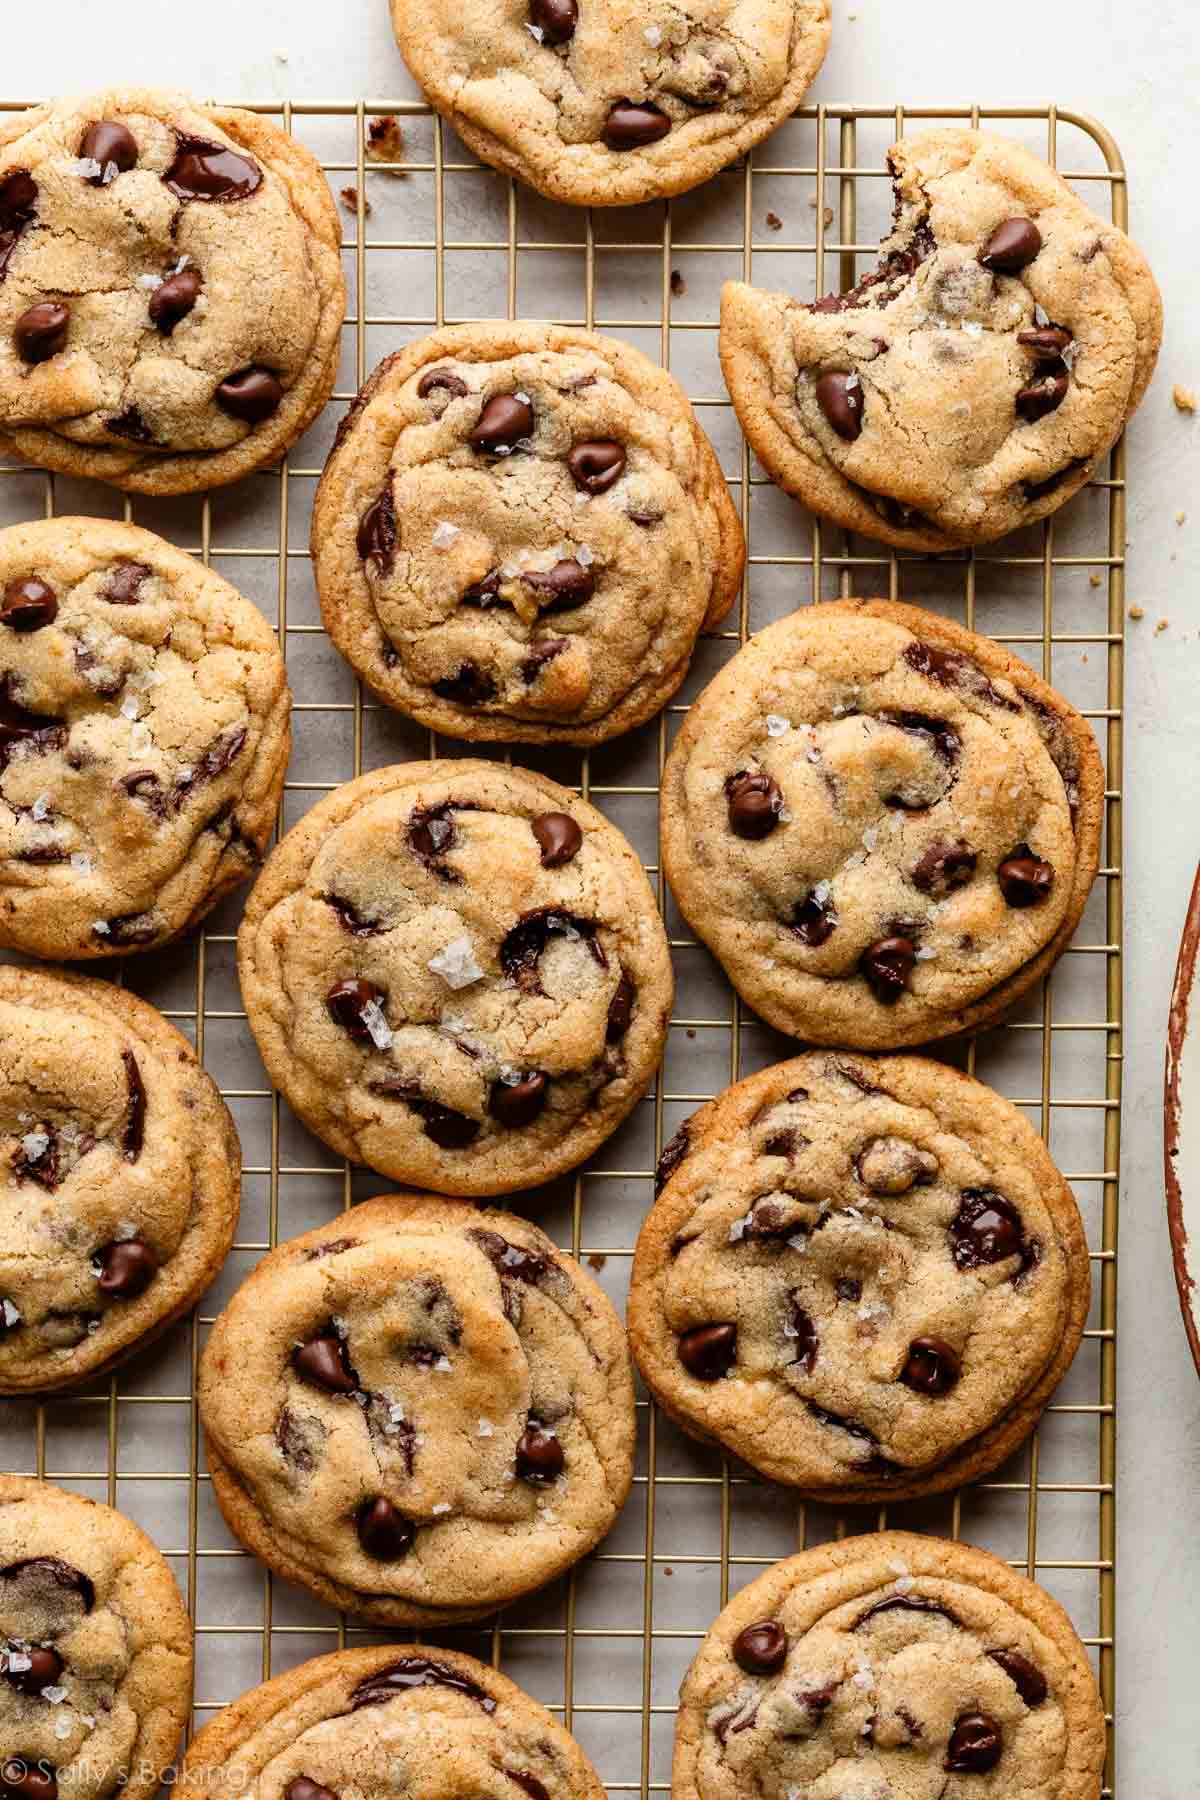
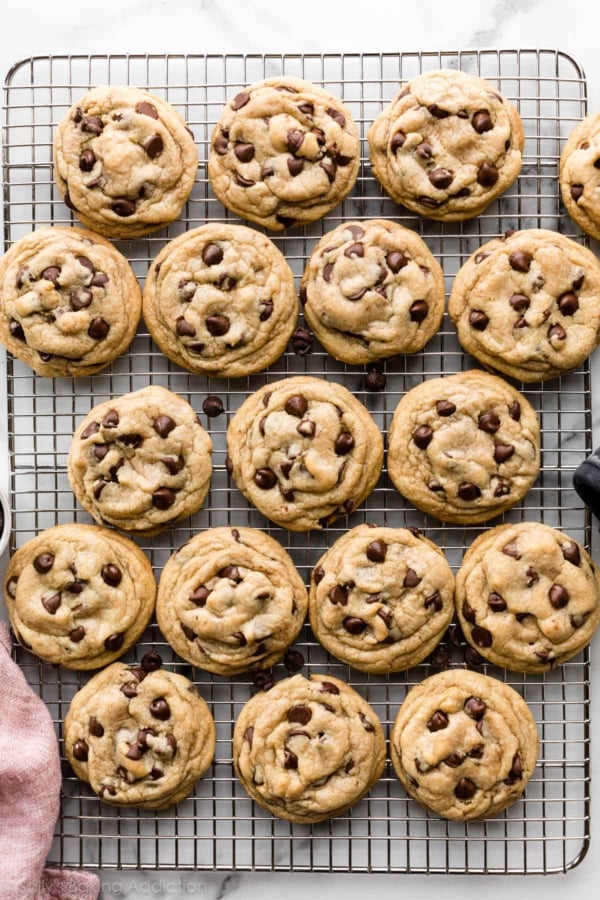
These brown butter chocolate chip cookies take my fan-favorite chewy chocolate chip cookies and elevate them with rich, nutty depth. Browning the butter transforms the flavor like magic, adding subtle caramel-like, toffee notes that pair perfectly with melty chocolate chips. The result? Thick, chewy cookies with soft centers, golden edges, and irresistible depth in every bite.
One reader, Mackenzie, commented: “These cookies are amazing! Well worth the effort to brown the butter, and they’ve become my go-to cookie recipe. ★★★★★”
Another reader, Amie, commented: “I’ve been looking for that ooey-gooey delicious bakery recipe for years—FOUND IT! If you want a warm, soft chocolatey cookie that has that professional bakery flavor—this is it. This is now my ONLY chocolate chip recipe!!!! ★★★★★”
Why These Brown Butter Chocolate Chip Cookies Work
These aren’t just regular chocolate chip cookies with browned butter swapped in. The entire dough is built to support it. Here’s what makes them stand out:
- Cornstarch: Adding cornstarch helps make the texture extra soft and tender. Use it in my shortbread cookies and brown butter marshmallow crispy cookies, too.
- Milk: Browning butter reduces moisture, so adding a splash of milk brings that balance back without weighing down the dough.
- Sugars: Use more brown sugar than white for a chewier, softer cookie.
- Egg + Egg Yolk: An extra egg yolk equals a richer-tasting cookie.
- Quality Chocolate Chips: I love using Ghirardelli semi-sweet chocolate chips and Callebaut chocolate morsels, or a mix of both. The latter is definitely a splurge, but the flavor and melt are incredible if you’re feeling fancy.
- Flaky Sea Salt: An optional topping, this adds the most incredible salty-sweet flavor combo that works wonders with the toffee-like notes of brown butter!
What Is Brown Butter?
Browning butter simply means melting it and continuing to cook it until the milk solids toast. As it cooks, moisture evaporates, the milk solids sink to the bottom of the pan and turn golden brown, and the butter develops a deep amber color. This small extra step completely transforms the flavor, creating a beautifully complex, nutty richness with subtle caramel-like notes that regular melted butter just doesn’t have. It’s a simple technique with a big payoff. If you’d like a detailed walkthrough, I wrote an entire tutorial on how to brown butter.
Try it in recipes like brown butter apple blondies, brown butter pound cake, brown butter cream cheese frosting, and brown butter pecan pie bars.
How to Brown Butter
The first step in this recipe is, you guessed it, browning the butter.
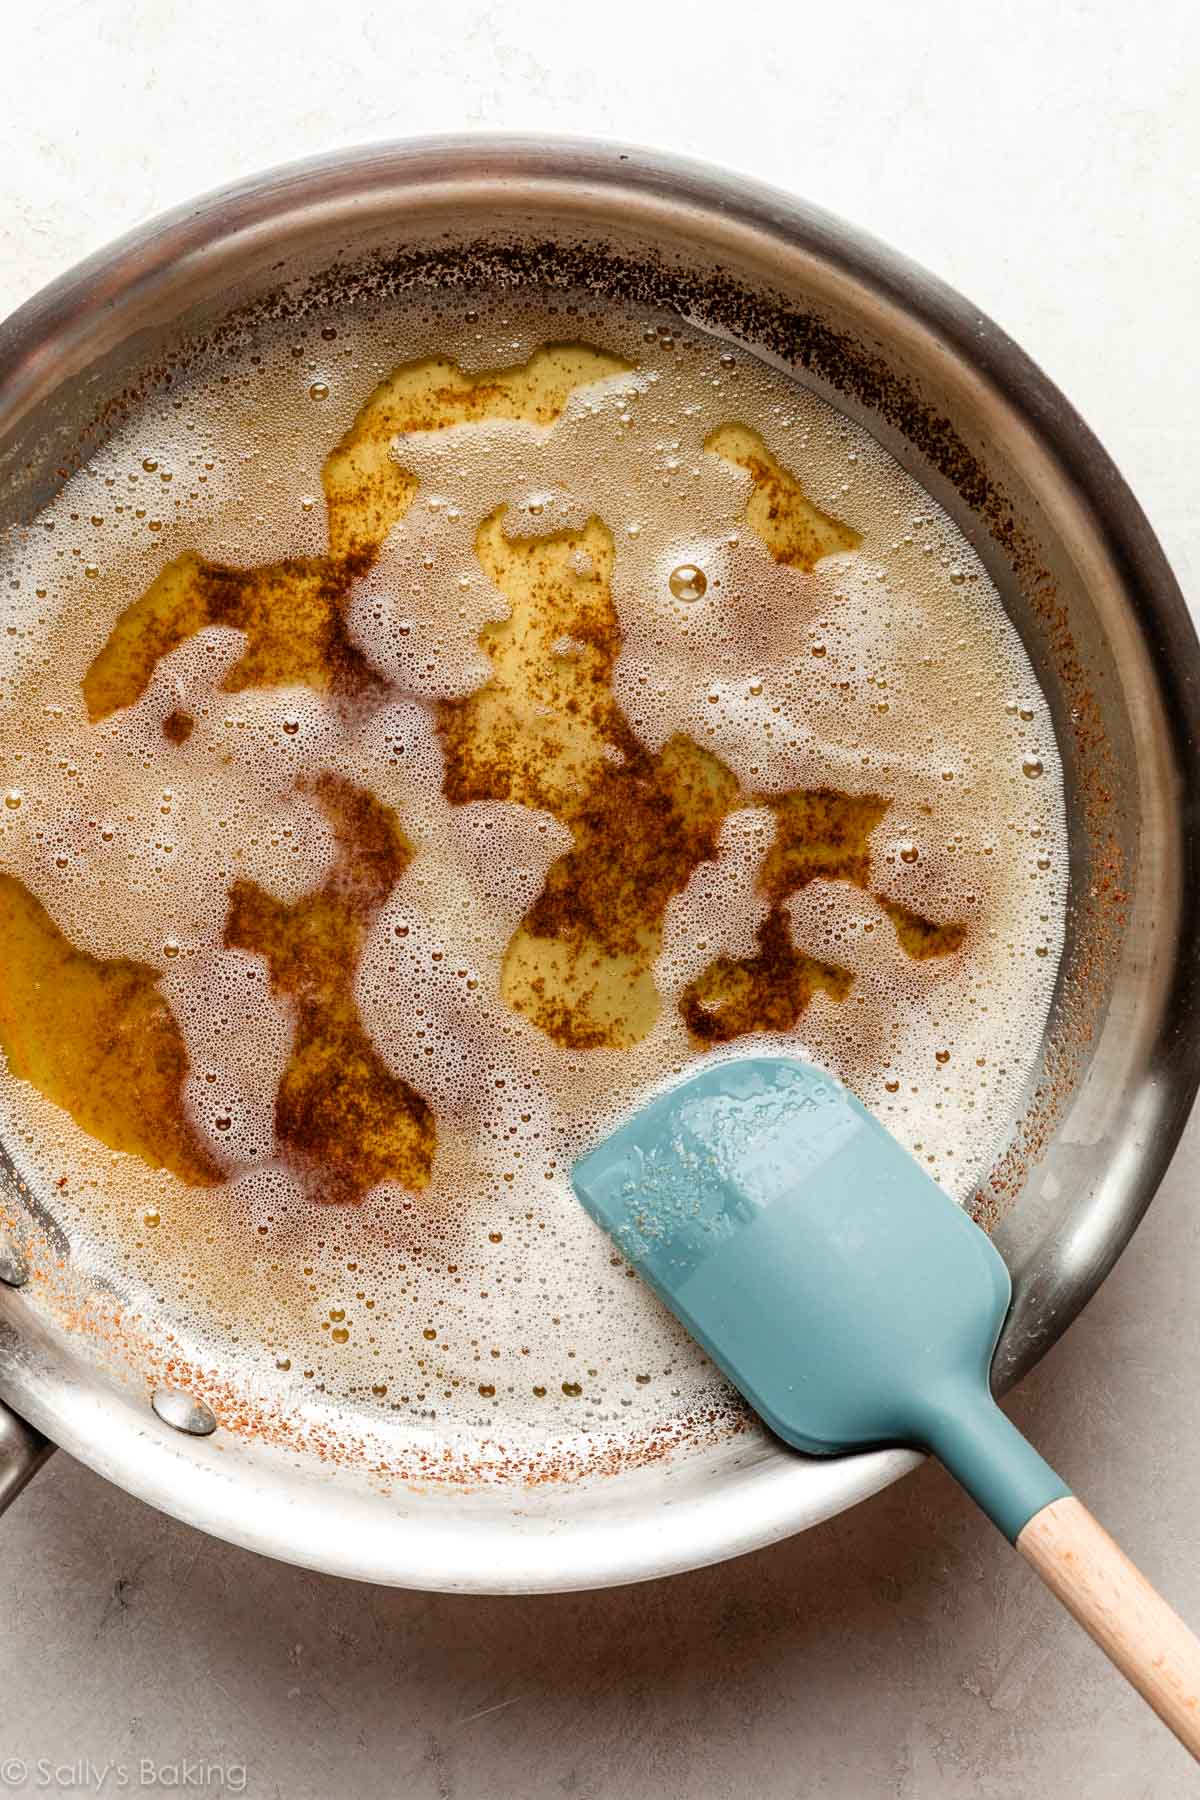
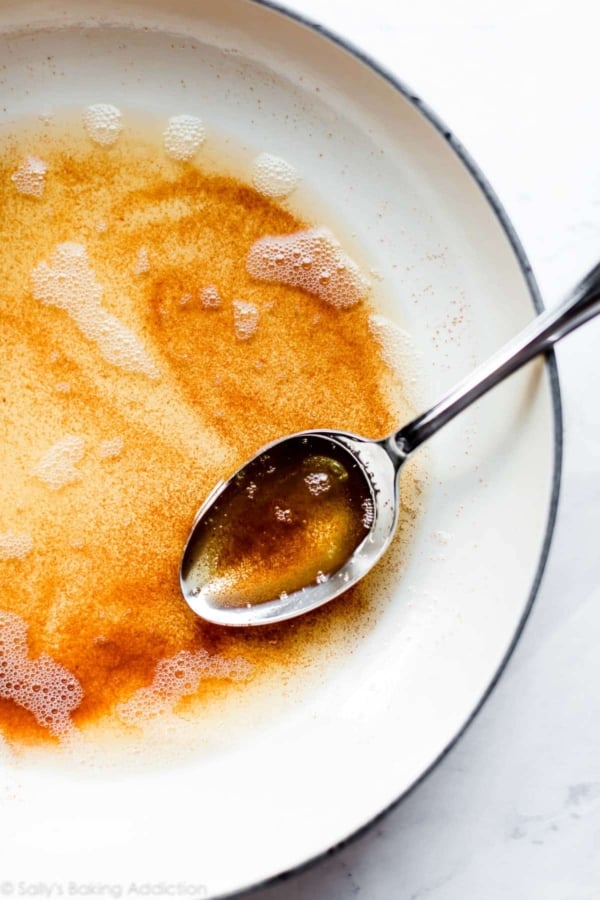
Cut the butter into uniform pieces and place it in a light-colored pan over medium heat (this helps you monitor the color). Stir as it melts, then continue cooking. The butter will foam as the water evaporates and the milk solids toast on the bottom of the pan.
Watch and listen closely as you stir. The butter will turn deep golden amber in color, smell a little nutty, and the sizzling will quiet down. Immediately remove from heat and pour into a heatproof bowl. Don’t leave behind any of the browned bits… they’re packed with flavor!
Brown Butter & Moisture Loss
Browning butter can turn a good cookie into a great one, but you can’t simply swap it into any recipe without adjustments.
Why? Moisture loss. During browning, butter loses about 20–35% of its water content. That’s a significant amount, and if you don’t account for it, your cookie dough may be crumbly and/or the cookies may spread too much. Adding extra butter won’t fix the issue either—you’d just be increasing the fat.
The solution is simple: add a little liquid to the dough. Browning butter delivers unbeatable flavor, but the dough needs moisture added back intentionally. In my brown butter pumpkin oatmeal cookies, the moisture-rich pumpkin does the job.
In this recipe, 2 Tablespoons of milk restores that balance without weighing the cookies down.
The Butter and Dough Need to Chill
This recipe requires a little planning ahead—there are two chill times, and both matter.
Chill the browned butter: After browning, pour it into a bowl or shallow dish and refrigerate until solid, about 90 minutes. Once firm, cream it with the sugars just as you would softened butter.
This is solidified browned butter:
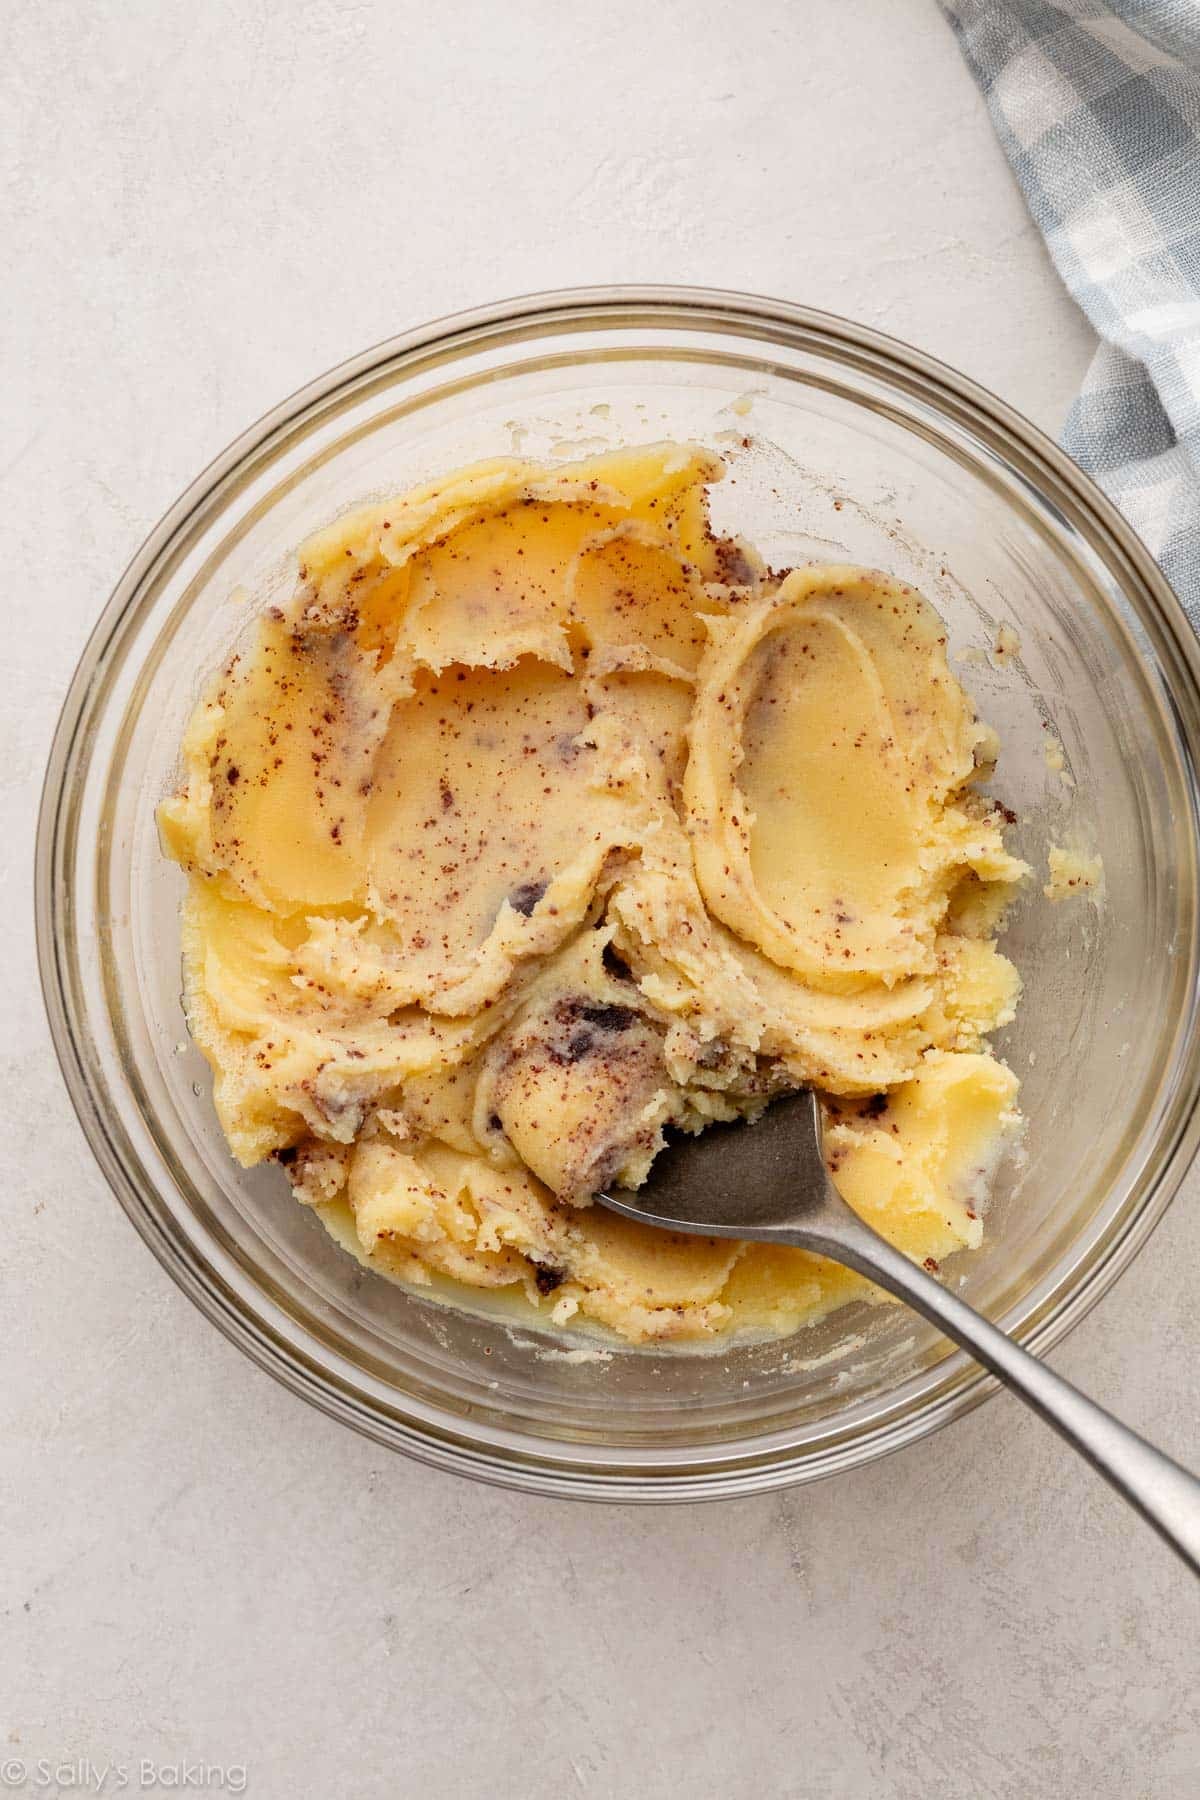
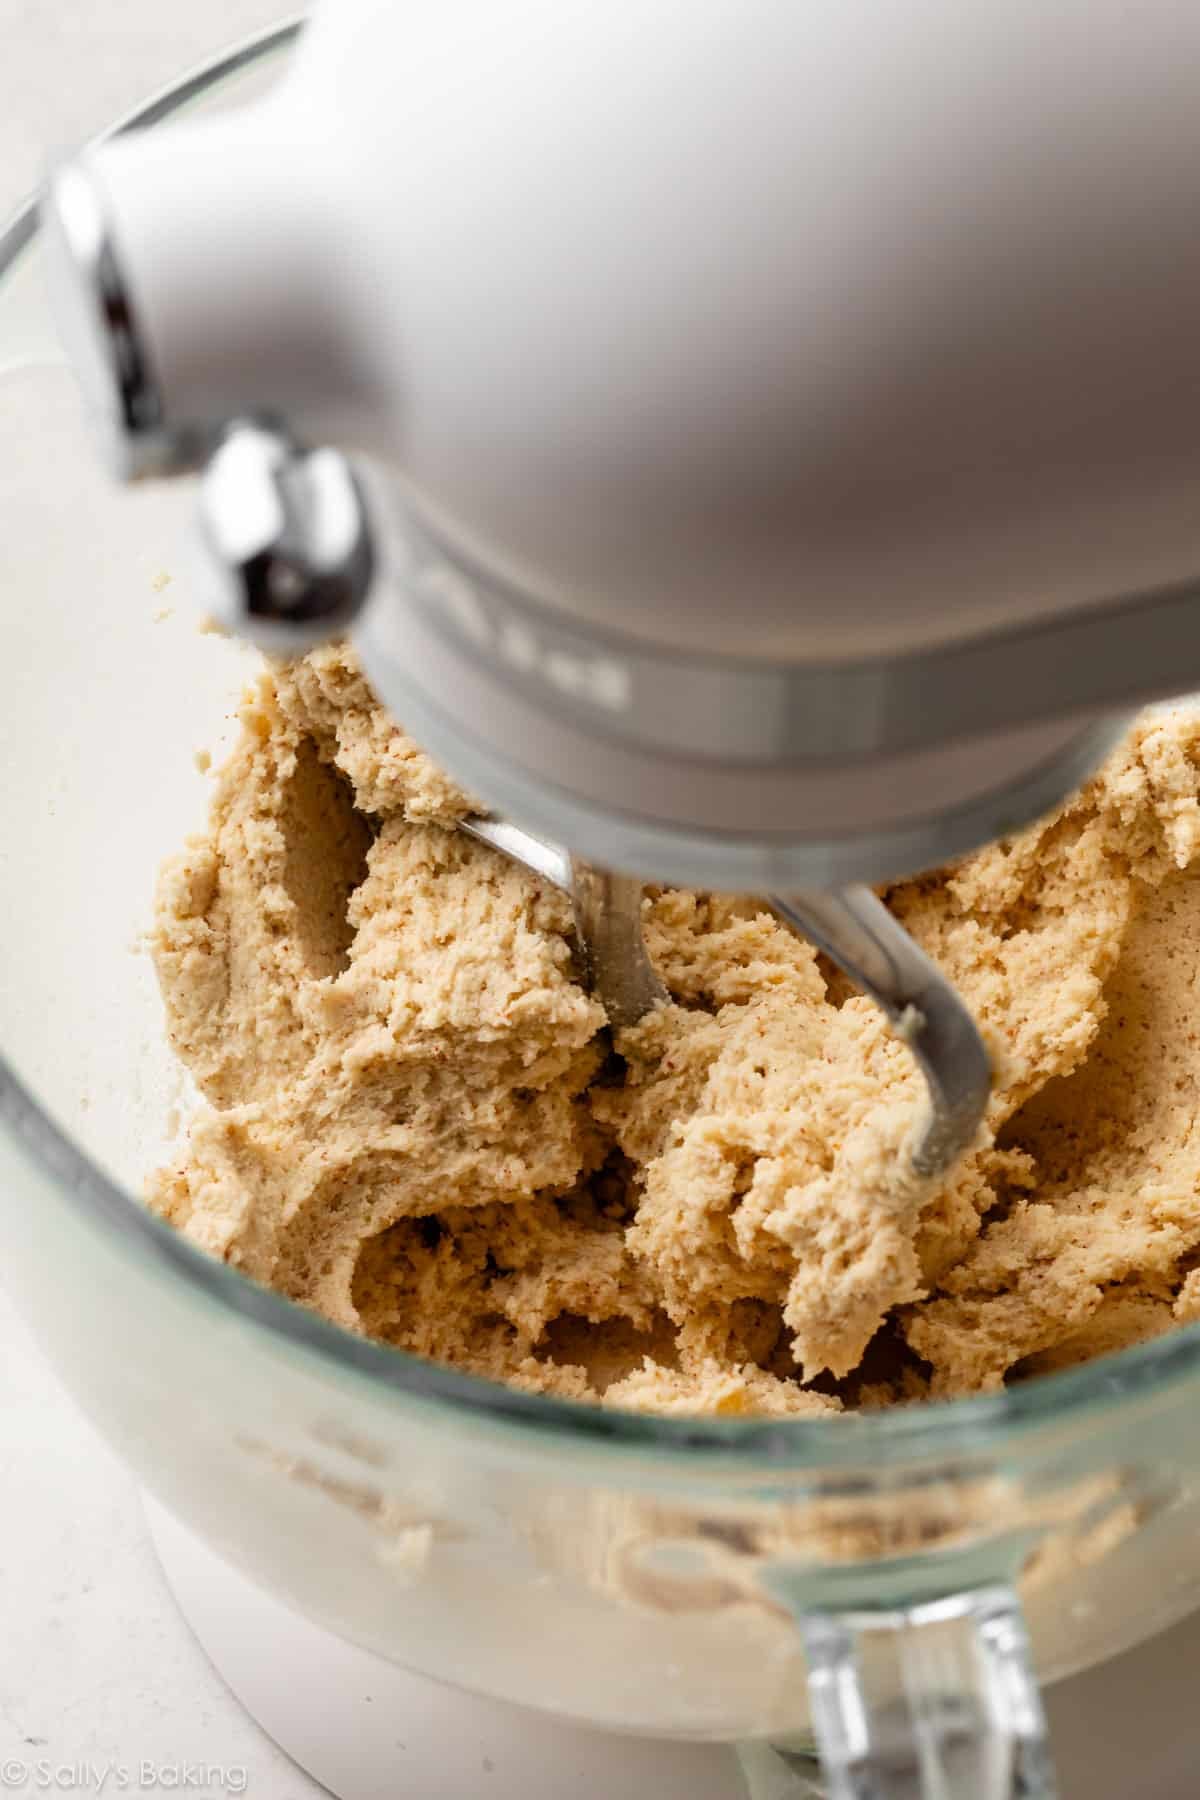
Here is the creamed browned butter and sugars:
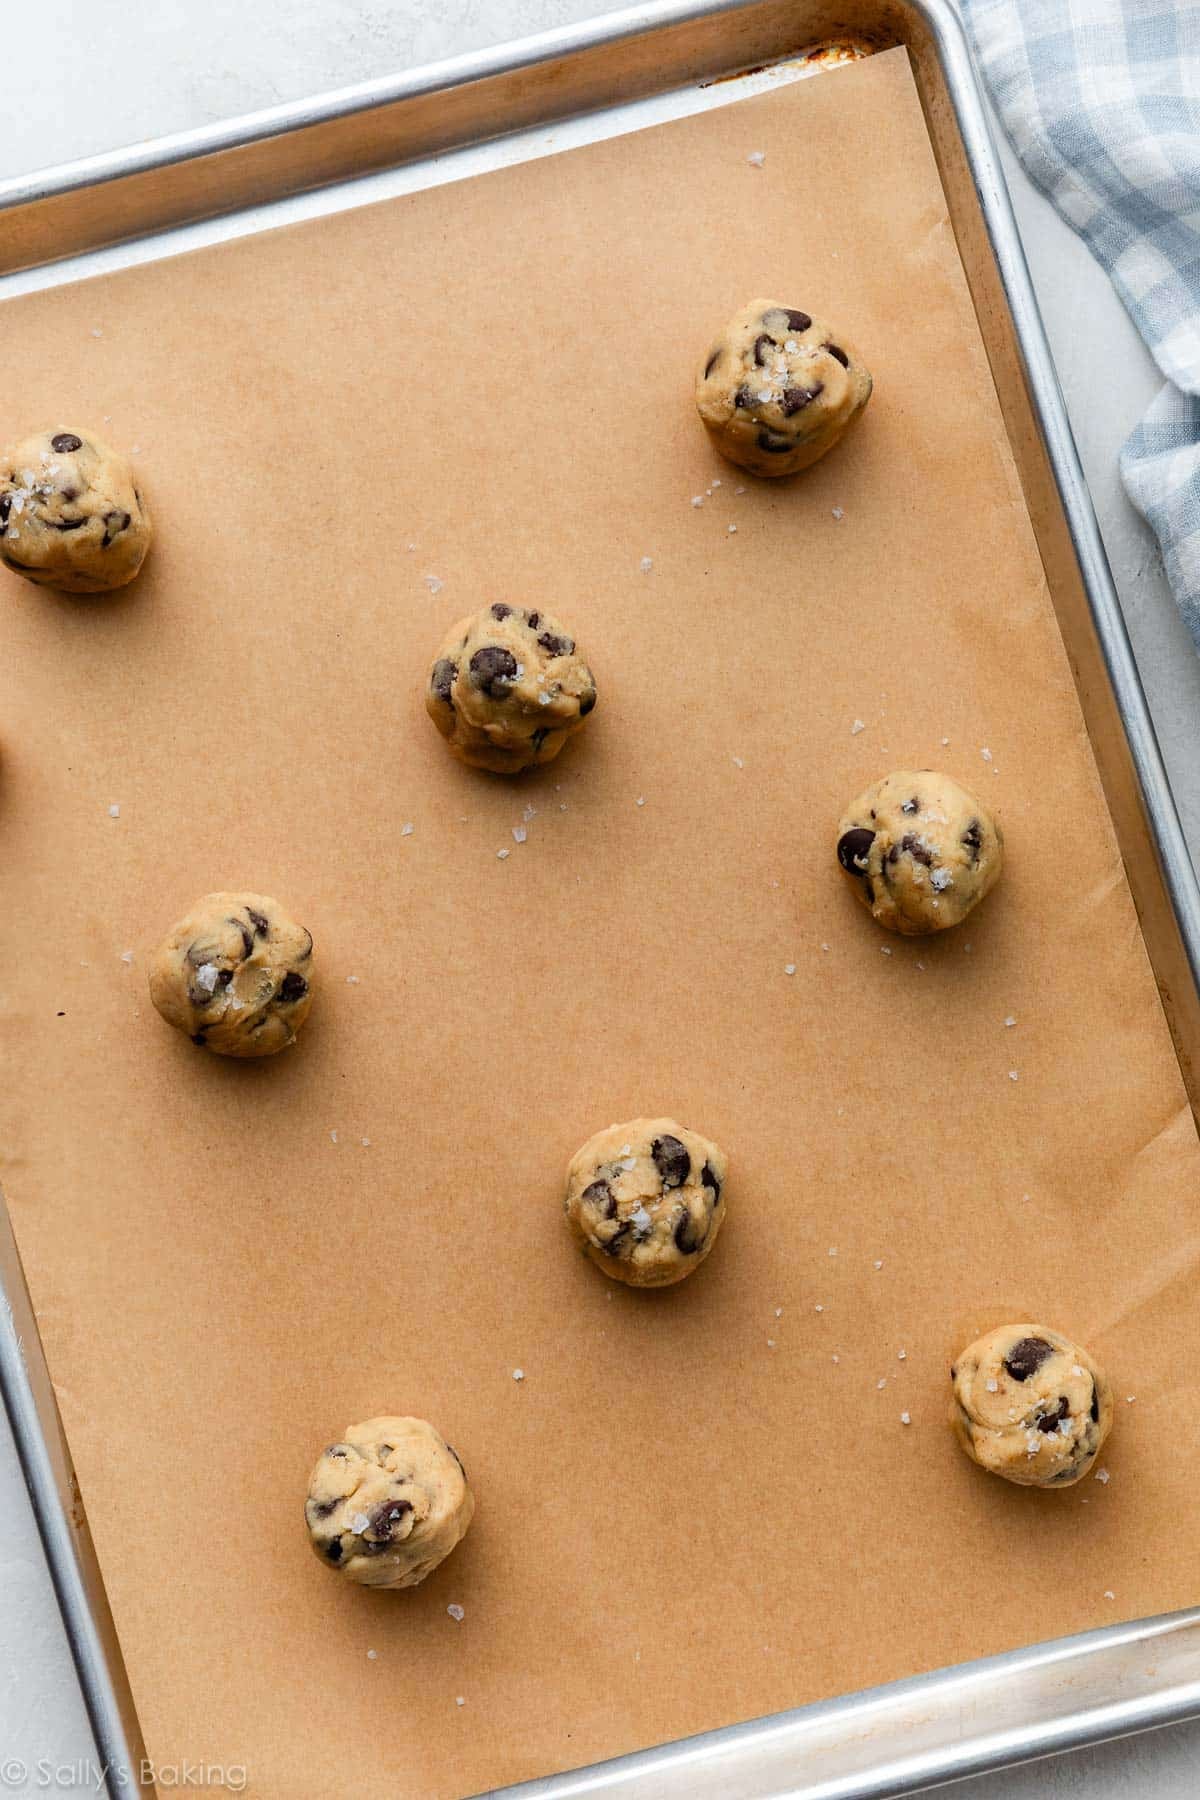
Chill the dough balls: Scoop the dough into 45g (about 2 Tablespoons) portions, roll/shape, and refrigerate for at least 2 hours before baking.
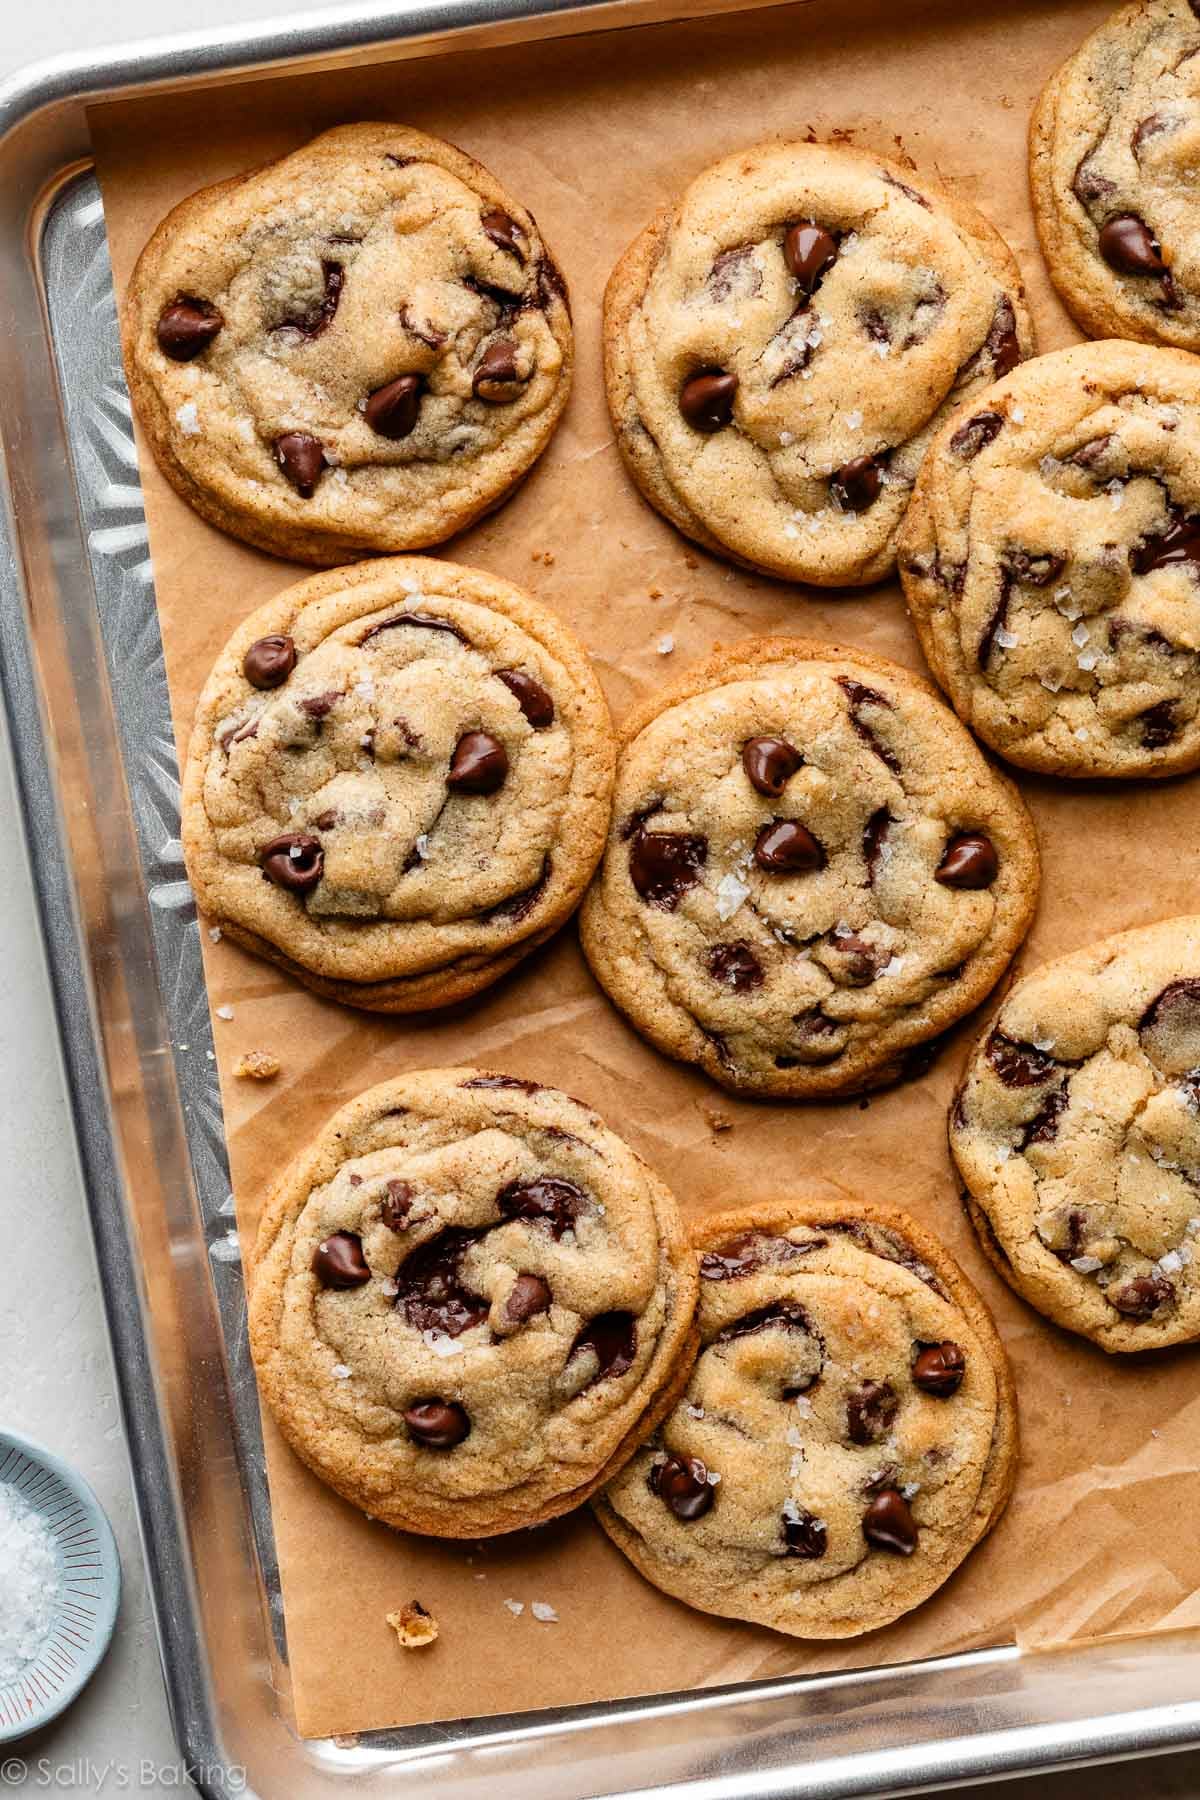
Chilling prevents the cookies from spreading into greasy puddles and intensifies the flavor as the brown butter settles into the dough. The result? Thick cookies with soft, buttery centers and lightly crisp edges—well worth the wait!!
Once you’ve browned your butter and chilled both it and your dough, these cookies bake into beautifully thick rounds with soft, buttery interiors and edges that crisp ever so slightly. Over the years, we’ve found that baking these at 375°F (191°C), slightly warmer than usual, helps set the shape quickly so the cookies stay thicker.
Make-Ahead Tip: This is an excellent freezer-friendly dough. Freeze the shaped cookie dough balls and bake straight from frozen (add 1 extra minute). Fresh brown butter chocolate chip cookies whenever the craving hits? Yes, please! 🙂 See how to freeze cookie dough.
Looking For The Right Chocolate Chip Cookie?
- Want a classic, no-brown-butter version? Try my Chewy Chocolate Chip Cookies.
- Looking for extra buttery brown butter and toffee flavors? Try my Brown Butter Toffee Chocolate Chip Cookies.
- In the mood for oatmeal cookies? Try my Oatmeal Chocolate Chip Cookies.
- Want pure brown butter flavor in a thick, chewy cookie? You’re in the right place.
Brown Butter Chocolate Chip Cookies
- Prep Time: 45 minutes
- Cook Time: 13 minutes
- Total Time: 5 hours (includes chilling)
- Yield: 26-28 cookies
- Category: Cookies
- Method: Baking
- Cuisine: American
Description
These brown butter chocolate chip cookies are thick, soft, and chewy with deep caramel-like flavor from toasted butter. The dough includes an extra egg yolk for richness and a touch of milk to replace lost moisture. Plan ahead for two chill times—your patience is rewarded with bakery-style cookies every time.
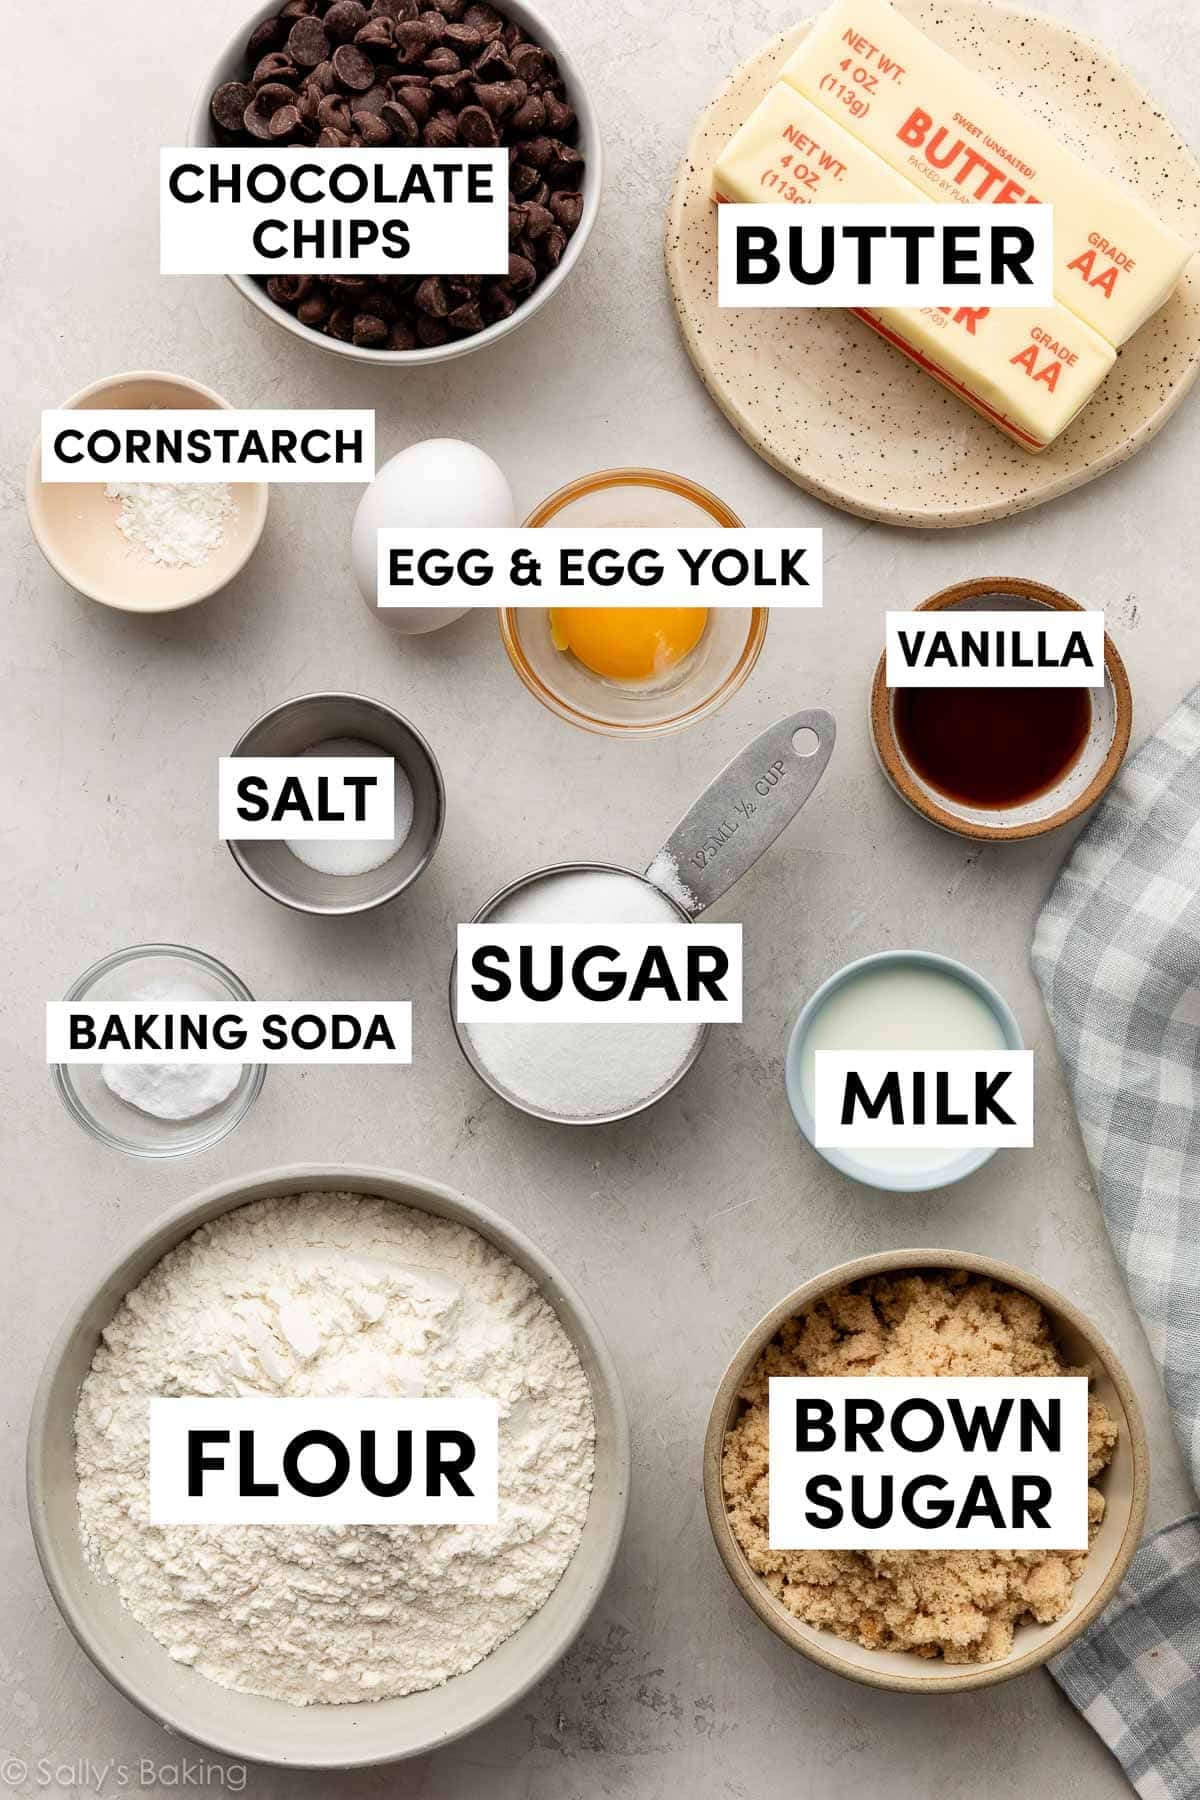
Ingredients
- 1 cup (16 Tbsp; 226g) unsalted butter
- 1/2 cup (100g) granulated sugar
- 1 cup (200g) packed light or dark brown sugar
- 1 large egg + 1 egg yolk, at room temperature
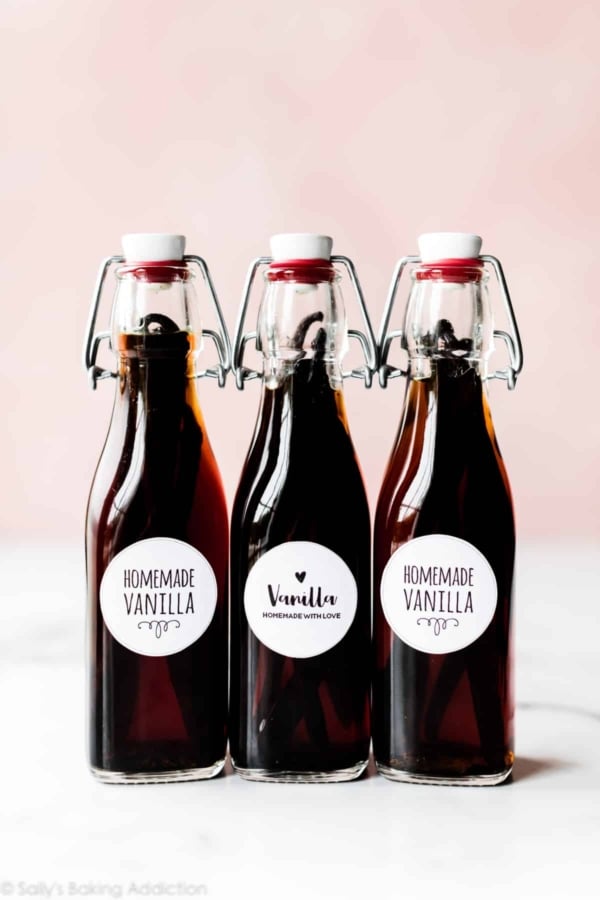
- 2 teaspoons pure vanilla extract
- 2 and 1/2 cups (313g) all-purpose flour (do not scoop; weigh or spoon & level)
- 1 teaspoon cornstarch
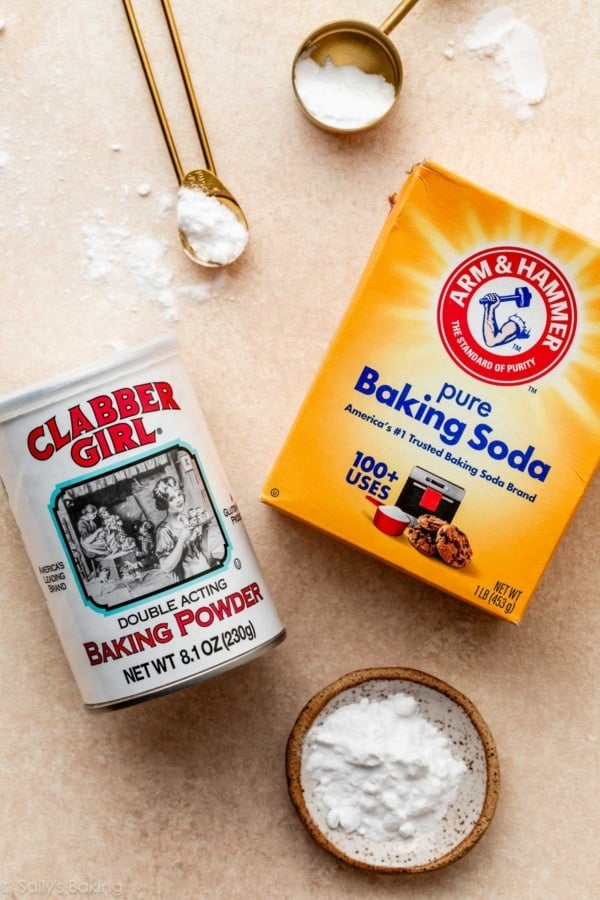
- 1 teaspoon baking soda
- 1/2 teaspoon salt
- 2 Tablespoons (30ml) milk, warmed or at room temperature
- 1 and 1/2 cups (270g) semi-sweet chocolate chips
- optional: flaky sea salt, for topping
Instructions
- Brown the butter: Slice the butter into pieces and place in a light-colored skillet. The light colored helps you determine when the butter begins browning. Melt the butter over medium heat and stir or whisk constantly. Once melted, the butter will begin to foam. Keep stirring/whisking. After 5–7 minutes, the butter will begin browning and you’ll notice lightly browned specks begin to form at the bottom of the pan, which are the milk solids toasting. Cook until it is golden in color. Once browned, remove from heat immediately and pour into a heatproof bowl, including all of the browned bits (flavor!). Let cool for 10 minutes, then place in the refrigerator and chill until solid, about 90 minutes. After about 30 minutes, tightly cover the bowl.
- Remove the solidified brown butter from the refrigerator and spoon it into a large bowl (or the bowl of your stand mixer). Using a handheld mixer or stand mixer fitted with a paddle attachment, beat on high speed for 1–2 minutes until smooth and creamy. It may look slightly grainy at first—keep beating and it will come together. If the butter is too firm to cream, let it sit at room temperature for 5–10 minutes. You can also microwave it for 5–8 seconds to slightly soften it, but do not melt it; it should remain solid, just softened enough to beat smoothly.
- Add the brown sugar and granulated sugar and beat on medium-high speed until lightened in color and combined, about 2 minutes. Add the egg, egg yolk, and vanilla extract and beat until combined. Scrape down the sides and bottom of the bowl as needed.
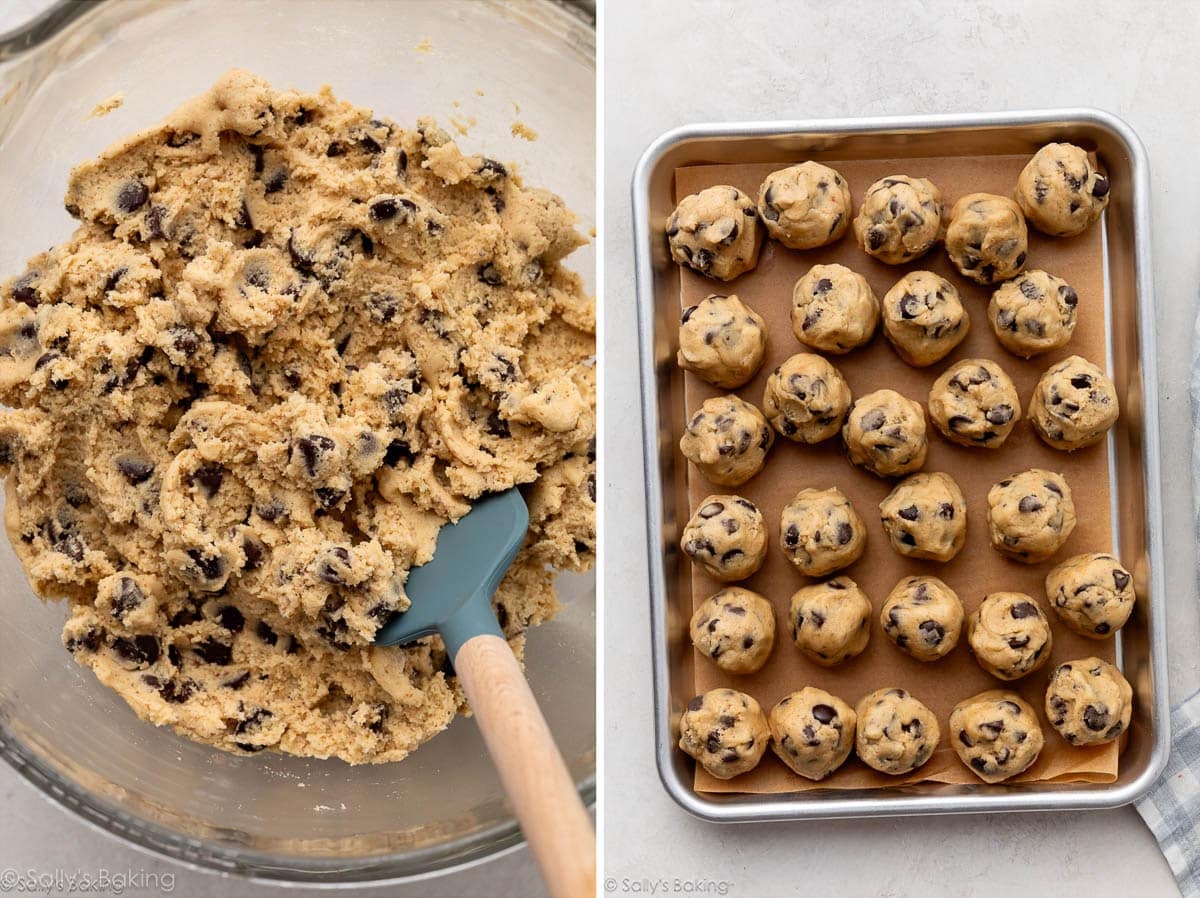
- In a separate bowl, whisk together the flour, cornstarch, baking soda, and salt. Add the dry ingredients to the butter mixture and mix on low speed until just combined. With the mixer running on low, drizzle in the milk and mix until incorporated. The cookie dough will be thick and soft. Add the chocolate chips and mix until evenly distributed.
- Scoop and roll the dough into balls, about 2 Tablespoons or 45g each. Shape them taller rather than wide—almost like a cylinder. This helps the cookies bake up thicker. Place the dough balls on a lined baking sheet or plate, cover, and refrigerate for at least 2 hours or up to 3 days.
- Preheat oven to 375°F (191°C). Line large baking sheets with parchment paper or silicone baking mats. Set aside. Arrange 8 dough balls per baking sheet, spacing them about 3 inches apart. Sprinkle sea salt, if using, on top of the dough balls.
- Bake for 12–14 minutes, or until the edges are lightly golden brown. The centers will look soft when you remove them from the oven. Cool on the baking sheet for 5 minutes. During this time, you can press a few extra chocolate chips into the tops (just for looks!). The cookies will slightly deflate as they cool. After 5 minutes, transfer to a wire rack to cool completely.
- Store in an airtight container at room temperature for up to 5 days.
Notes
- Make Ahead Instructions: You can make the cookie dough and chill it in the refrigerator for up to 3 days. Baked cookies freeze well for up to 3 months. Thaw at room temperature. Unbaked cookie dough balls freeze well for up to 3 months. Bake frozen cookie dough balls for an extra minute, no need to thaw. Read my tips and tricks on how to freeze cookie dough.
- Special Tools (affiliate links): Light-Colored Skillet or Stainless Steel Skillet | Electric Mixer (Handheld or Stand) | Baking Sheet | Silicone Baking Mat or Parchment Paper | Medium Cookie Scoop | Cooling Rack | Flaky Sea Salt
- Why Do I Solidify the Browned Butter? Solidifying the browned butter allows you to cream it with the sugars, which creates structure and gives the cookies a thicker texture. Using melted brown butter will produce a thinner, denser, and possibly greasy cookie.
- Extra Egg Yolk: The extra yolk adds richness and chewiness without making the cookies cakey; do not skip.
- Why Add Cornstarch? Cornstarch helps create a softer, thicker cookie by tenderizing the crumb. If needed, you can leave it out.
- Milk: Browning butter reduces moisture, so adding a splash of milk brings that balance back without weighing down the dough. I recommend reduced-fat milk, though whole milk and nondairy milks work in a pinch.
- Oven Temperature Update: Over the years, we’ve found that baking these at 375°F (191°C), slightly warmer than usual, helps set the shape quickly so the cookies stay thicker.
- Be sure to check out my top 5 cookie baking success tips AND these are my 10 must-have cookie baking tools.


Reader Comments and Reviews
Hey Sally! I’ve got a couple questions about these cookies. What is the shortest amount of time that I can chill these cookies on the second chill? These looked amazing and I want them in my life as soon as possible. If I was wanting to make these into sandwich cookies, can I make frosting from brown butter as well? Thanks so much!
3 hours for that 2nd chill– you can make frosting from brown butter, too! Make sure it is softened and not liquid.
I made these : chopped up heath tofee bars in them and reduced chocolate chips. Same recipe, otherwise. Turned out really well! Thank you for a reliable, functional recipe that allows me to add my own flair to the base mix.
Just came out the oven! Totally delicious and beautiful too! I used dark brown sugar and they look beautifully golden. I used white chocolate chips because some how I ran out of my giant bulk of semi sweet but I think they’re a winner anyway. just wanted to report back they are worth the time and waiting for everything to chill. Thanks Sally!
I followed the recipe to a T!!! Turned out just like your cookies Sally! I chilled my dough overnight because I didn’t have the time to bake it the same day and they turned out wonderful. Thanks for sharing your recipe…
LOVE these cookies! Thank you so much! I sprinkle a little coarse salt on them before they go into the oven. Yum!
Hi! I just baked these, and they are quite flat. They are chewy, flavorful and yummy, but they did not come out like yours. This is the first time of all the recipes (of yours) that they did not come out right. Thoughts?
Can I use salted butter for the browned butter? Would you cut down on the salt in the recipe??
Thank you for this recipe! It’s going to be amazing!
Absolutely! I would reduce the salt in the recipe to 1/4 teaspoon.
Hi sally!! I just made these babies, the flavor is amazing but I baked them for about 18 minutes and they still do not seem cooked on the bottoms and leave behind greasy spots on the sheets. This has happened for a few other of you cookie recepies and I was wondering if you had any suggestions. Maybe add another tablespoon or two of flour? Thanks!
Cora, a little more flour should help. I’d say about 3 more Tablespoons.
Hi Sally,
Is it okay to chill the brown butter overnight? Want to make the brown butter tonight and the cookie mixture tomorrow.
Please do let me know. Dying to try this recipe!
Absolutely, yes!
Cookie nirvana. Texture and flavor that evolves. So rich I feel satisfied after eating two and like a glutton after having three. I prefer my butter a little browner than the recommended directions, though. 🙂
Try adding 1.5 teaspoons of mint extract instead of vanilla, you’ll thank me!
Thank you for the super helpful description of browning butter. These were phenomenal! I’ve made many batches since trying this for the first time. I always read your posts and try to follow your directions exactly and I’m glad I do because chilling in this recipe is e-v-e-r-y-t-h-I-n-g & completely necessary.
One batch I did use mini-chocolate chips because my friend prefers them (she says they get that “Panera taste” with chocolate chips in every bite), but, I could eat them with any add-in. I’ve shared this recipe more than any other recipe from your site.
Now that you’ve gotten your readers hooked on brown butter, any chance you’ll develop a brown butter frosting? Thanks for another amazing cookie recipe – you really are THE cookie lady!
These were not as buttery tasting as I was hoping for, but the browned butter did give a wonderful flavor that I had not experienced yet. However, the flavor was overshadowed by the amount of chocolate chips. I love chocolate, but I would greatly reduce the amount if I make these again. Maybe 1/2 – 2/3 the amount the recipe states.
I have made these before and they were AMAZING!! My fiance doesn’t normally like Choc Chip Cookies BUT he loved these 🙂
P.S can you use full fat milk instead of low fat?
Low fat is best. You want just a little bit of moisture without adding substantial fat to the dough.
I just made these as gifts for several of my professors to thank them for their influence on me since I’m graduating. I saw one of them the next day and most of the cookies were already gone! (She’d hidden two more from her husband, haha). Everyone who’s tried one of these has said they were fantastic!
Hey Sally!
Can’t wait to give these babies a try! I just browned the butter and am waiting for it to cool! The house smells absolutely marvelous!! One question, is there a reason you upped the temperature on these cookies opposed to your chewy cookie recipe from 325 to 350? Is it something about the brown butter? I love to hear all about your “cookie science”! It’s the only science I truly understand! 😉
For larger cookies (such as the chewy chocolate chunks), I usually like baking them at a lower temperature to ensure the entire cookie bakes through rather than just the edges or even just the top. These cookies are smaller, so 350 works just fine. Enjoy!
These are AMAZING. Thanks for another delectable cookie recipe. I check your website throughout the week and it is always the highlight of my day when there’s another sweet treat to try! My goal is to try all of your cookie recipes. Onto your new Dark Chocolate Chunk Oatmeal Cookies next. 😀 Can’t wait until your new cookbook is released this fall.
I’m making these cookies for the SECOND time THIS week!! I made a half of a batch Sunday night and they were gone BEFORE dinner on Monday! Needless to say I will be making full batches from here on! I would thank you but you are ruining my diet! I’m now hooked on browned butter everything!!!
These cookies are amazing!! They are my husband’s new favorite. I made these over a month and a froze half of the baked cookies. They were just as good as when they were freshly baked. *HINT* I love putting them in the microwave for a few seconds to get the chocolate chips soft. Question…Last time I baked them all in the same day. Today I don’t have time. Can they sit overnight or will that do something to the batter?
Hi Karen! You may definitely chill the cookie dough overnight– cover tightly.
These were good, but not worth the effort. I personally like your regular soft batch chocolate chip cookies the best. These tasted so similar and were so much more involved to make. I had friends and family do a side by side taste test and all agree: not much different.
WOW! These were amazing. My hubby didn’t believe that I made these! Thank you so much for all the amazing pictures. Now…about that adorable spatula. Where on earth did you get that? I have to have that now. Hehe. 🙂
Hi Sally,
I just browned my butter, and I find I have significantly less than 1 cup after browning. How much liquid butter in liquid form should I have for this recipe? Should I add more? Thanks!
That is completely normal. As long as you start out with the correct amount of butter. Browning the butter reduces it.
These are the best chocolate chip cookies ever. Period. They look perfect and taste better than any I have ever made. I also added 2 tsp. of molasses just because I love that flavor.
Hi Sally!
I want to make these but have a question about that extra egg yolk. Why is that extra egg yolk required? If I use two eggs would that totally ruin these cookies? I don’t really want to waste an egg yolk. Thanks for any input.
I like to use an extra egg yolk in come of my cookie recipes to make the cookies extra rich and chewy. An entire egg *should* be ok. The cookies won’t be as tender.
Another great recipe, Sally! All of my coworkers loved them/thought I was evil for trying to break their new diet. 🙂
Sally, guess what, in a earlier comment I made on december 24th, I told you I couldn’t wait to eat these cookies, so hehehehe I made them, and ate them on Christmas (girl, that butter was amazing, that nutty smell when you’re browning it.. can’t describe it), and of course I shared them with my family and it was a blast, by afternoon cookies were already a delicious memory… so, thank you so much for this recipe, the way you explain every step is amazing, you can’t go wrong..
Wish you a Happy New Year!!!!…
Hi Sally!
These cookies truly are amazing! I made them today for day 3 of Christmas festivities with my in-laws. My husband said they taste so high end. I prepared the butter Christmas Eve (hoped to make them for Santa, but we were pooped once my family left), then I made the dough last night. These are definitely my new go-to chocolate chip cookies! Adding the chips after baking is brilliant, by the way-it adds such lovely touch to the aesthetics. I did make the orange cinnamon rolls for Christmas morning as planned. They we’re great! I was shocked to find our foil was gone, so I baked them without. I know this dried them out a little bit, but the flavor wasn’t compromised at all. Mmm mmm mmm. Now it’s time to kick the treadmill into high gear as I’ve been a glutinous gal since Thanksgiving. Ha ha ha. Tis the season! Have a great night !
Sally,
Thank you so much for your hard work and diligence in creating amazingly masterful recipes! I’ve always loved all your recipes and seriously ONLY come to your site when it’s time to bake up something sweet. My only question is — can I brown the butter And chill is overnight to use in the recipe the next day? Or will it not scoop as easily and I’ll need to set it to room temp before using it in the recipe? Thanks for your help!!
Hi Desiree! Yep, you may chill the brown butter overnight. And no need to bring to room temperature– just cream it as directed until smooth.
Hi Sally! So I made these cookies last night (well, I made the dough sunday and baked them last night). I noticed that my cookies turned out to be much flatter than your pictures shows. I rolled the dough into balls and even froze the balls because of my time crunch last night (thank goodness I did – I was up until midnight baking!). I also made your chocolate butterschotch toffee bit cookie recipe and the same thing happened to them. However, the pumpkin snickerdoodle cookies i made at the same time turned out perfectly.
Do you have any idea what I may have done incorrectly to cause this? They still taste wonderful, but are a bit harder than expected. I also noticed that my pan (for these cookies specifically) had what look to be a lot of extra grease on it after baking them – not sure if that had something to do with it? I baked them on a silicon mat on a half sheet pan.
Thanks for your help!
Hmm. It sounds like there may not be enough flour in your cookie doughs. Are you at high altitude by chance? Anyway, flour is what helps soak up the grease and helps prevent spreading. I suggest adding 2 Tablespoons to the doughs– this will help!
Omg. Sally! Thank you for this post! I was the one who asked you about it on the chewy chocolate chunk cookie recipe! Since then I had made your brown butter pretzel and m&m cookies and they were absolutely amazing but I still yearned for something closer to the chewy chocolate chunk cookies! Oh my THANK YOU SO MUCH! I have to try these out!
Question though, what’s the difference between this and the brown butter pretzel m&m cookie? I mean aside from the add-ins of course. I was wondering what the difference is in the cookie dough texture!!! Cant wait for your reply!
P.S. Its highly likely I’ll be using this as a base dough for my White Choco Cranberry, White Choco toffee bits and regular choco chips!
Ah yes! Both recipes are tasty, but these are a little more rich, smooth, and soft.
I’m so happy you provided instructions for making brown butter! My mom can’t eat chocolate and was wondering if you have a suggestion for another type of chip to use? Thanks! Huge fan :)!
instead you can use 1 and 1/2 cups of any of these: peanut butter chips, butterscotch chips, cinnamon chips (I find them at Walmart– yum!), toasted pecans, toffee bits, the possibilities are endless!