
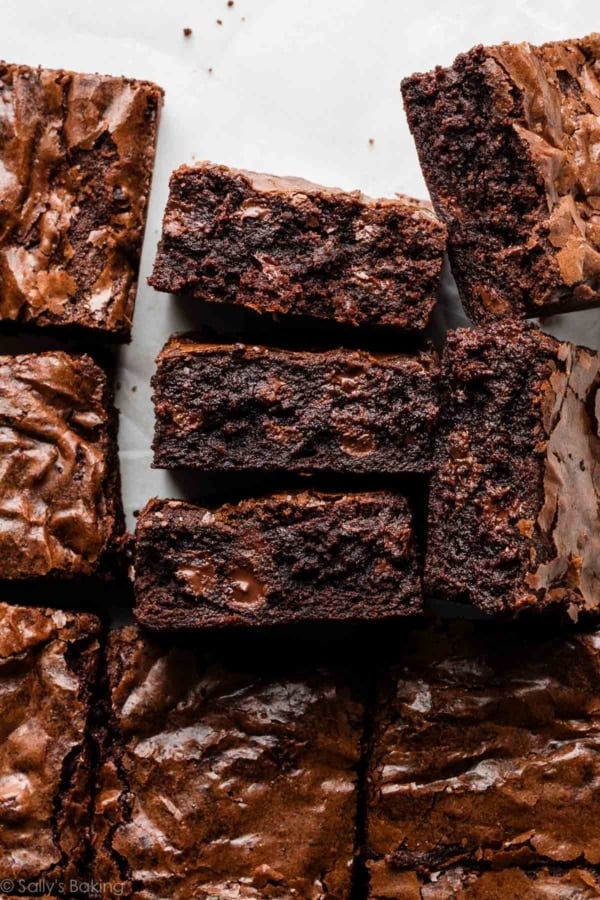
This 9×13-inch pan brownie recipe yields a large batch of rich, dense, and intensely chocolatey brownies with shiny crackly tops and melt-in-your-mouth centers. Based off my most popular brownie recipe and developed specifically for a 9×13-inch pan, this recipe makes even more seriously fudgy brownies that are perfect for sharing.
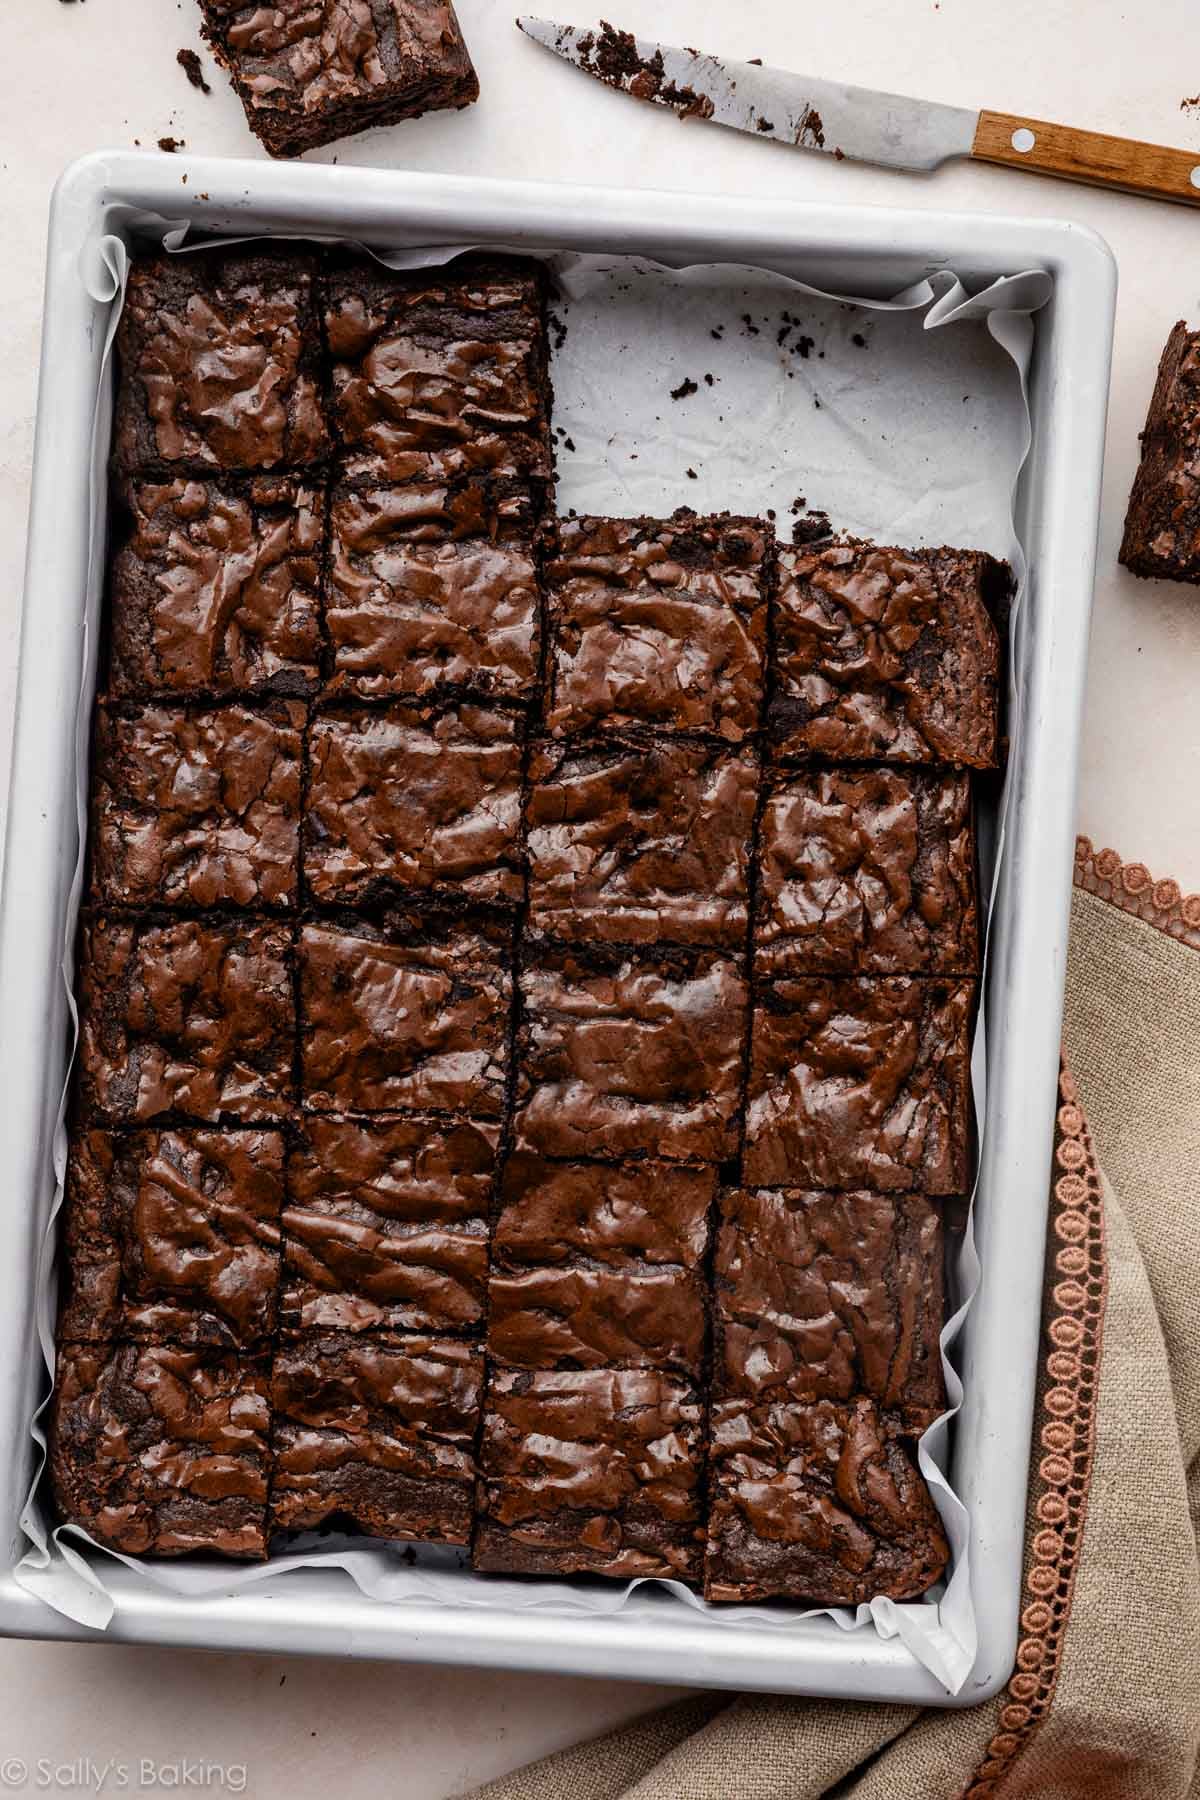
If you’re looking for a big-batch brownie recipe that bakes up perfectly with shiny crackly tops, ultra-fudgy centers, and rich chocolate flavor in every bite, your search is over!
This 9×13-inch pan brownie recipe is based on my beloved seriously fudgy homemade brownies, but carefully developed for a larger pan so the brownies stay thick, dense, and deeply chocolatey… not thin or cakey.
Perfect for parties, bake sales, potlucks, or simply stocking your freezer with emergency chocolate, this recipe makes a generous pan of brownies with bakery-style texture and the richest chocolate flavor.
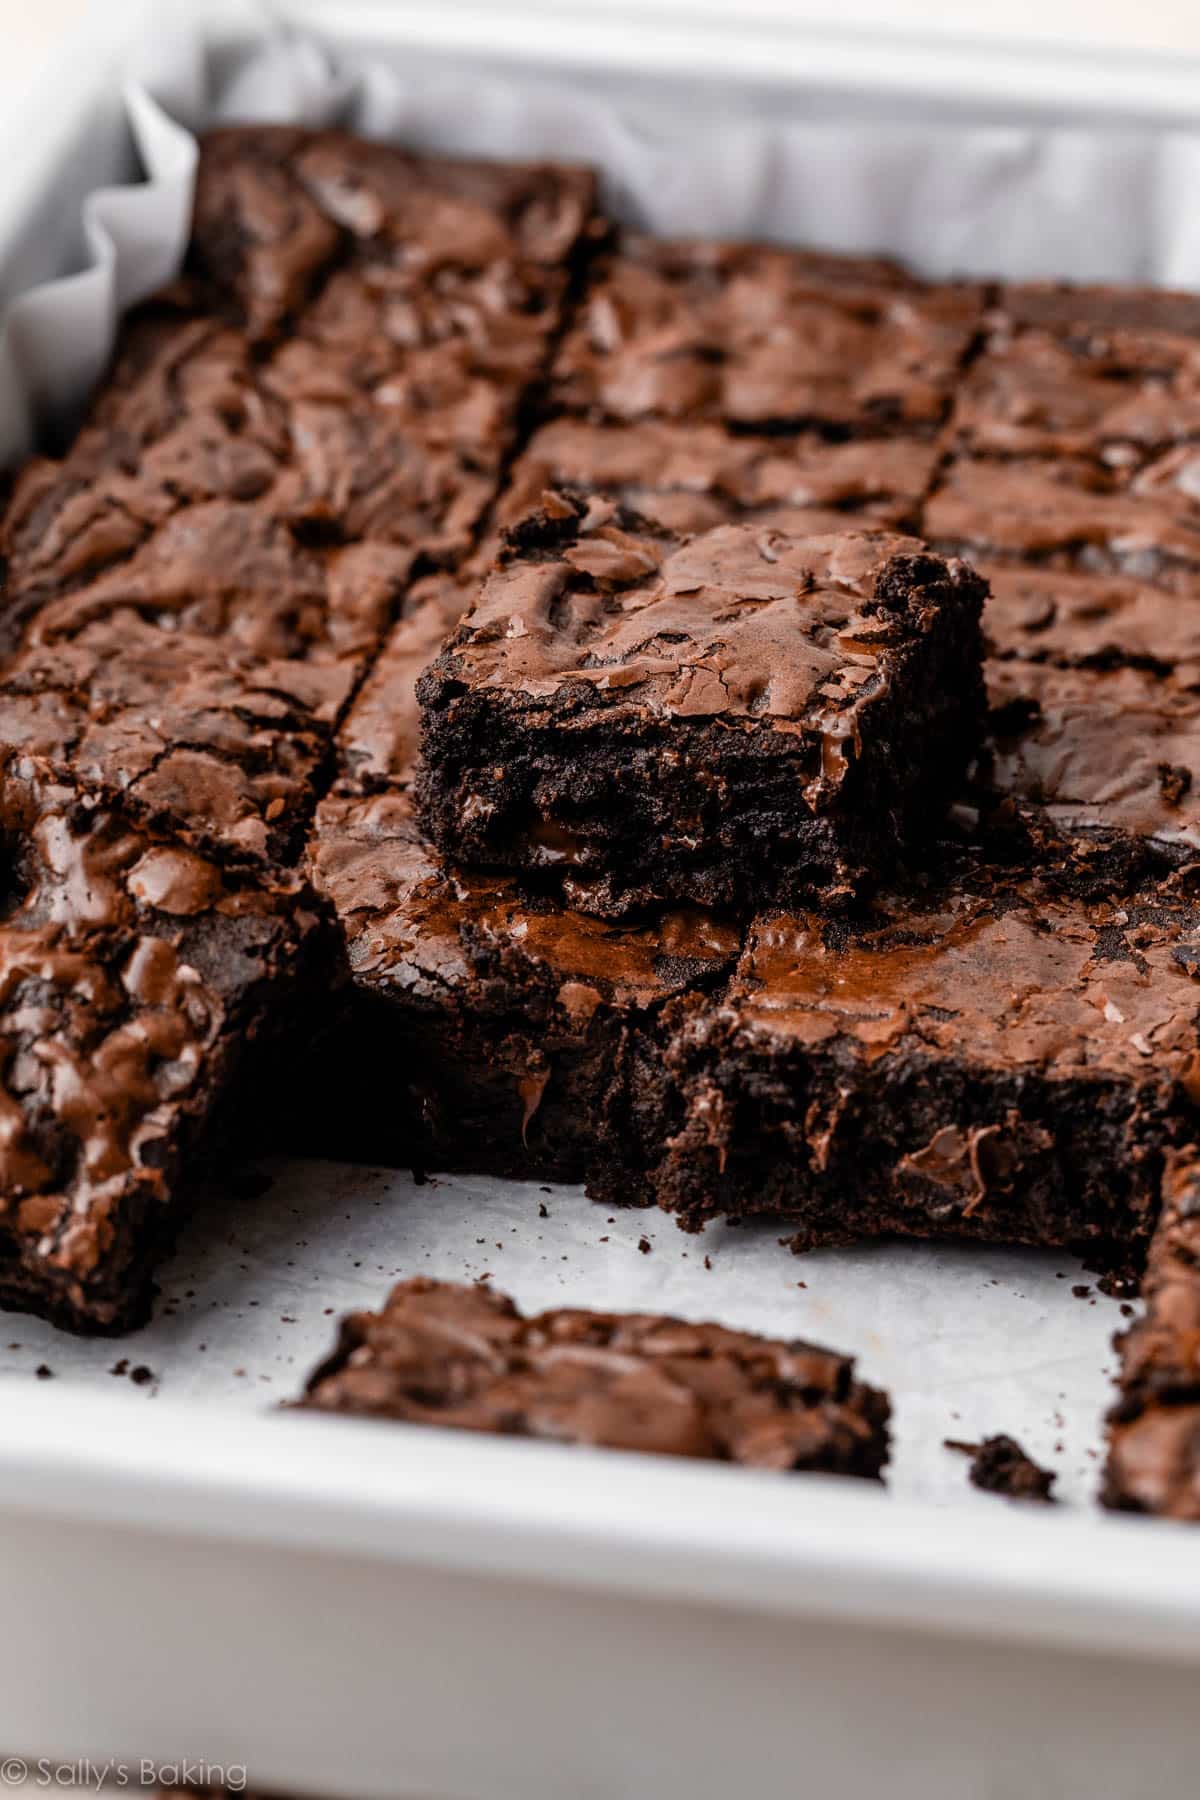
Why You’ll Love This 9×13-Inch Brownie Recipe:
- Thick, dense, extra fudgy brownies
- Shiny, crackly brownie tops
- Chewy edges + gooey centers
- Rich chocolate flavor from 3 sources of chocolate
- Big batch recipe for a 9×13-inch pan
- Make-ahead and freezer-friendly
- Stay soft and chewy for days
And unlike many large-pan brownie recipes that turn out dry or cakey, these brownies retain their dense, moist texture thanks to a careful ratio of ingredients, as well as our extensive recipe testing!
Recipe Testing Brownies for a 9×13-Inch Pan
My team and I made 15(!!!) test batches in our quest to perfect a brownie recipe developed for a 9×13-inch pan. This recipe is based off my reader-favorite recipe for seriously fudgy homemade brownies, but it wasn’t as simple as multiplying all the ingredients by 1.5x. (Or 1.44x, which is the actual amount of additional area a 9×13-inch pan has compared with a 9×9-inch pan.)
When I originally published that brownie recipe in 2017, I made it in a 9×13-inch pan. However, the brownies were a bit thin; and over the years, I switched to a smaller pan for thicker brownies. They’re excellent.
However, I wanted to revisit the recipe and properly scale it up because sometimes we just need a large batch of homemade brownies! The goal here was to effectively scale up that recipe without losing what makes it special: an intensely fudgy texture with rich chocolate flavor. Brownies can quickly turn cakey in a larger pan if there’s too much flour or not enough fat. However, these keep the same rich consistency because we use:
- Melted chocolate and cocoa powder
- Melted butter and oil for flavor + moisture
- Both granulated and brown sugar
- Equal parts flour and cocoa powder
The result? Large-batch brownies with chewy edges, melt-in-your-mouth middles, and that signature tissue-thin shiny crackly top. Perfection.
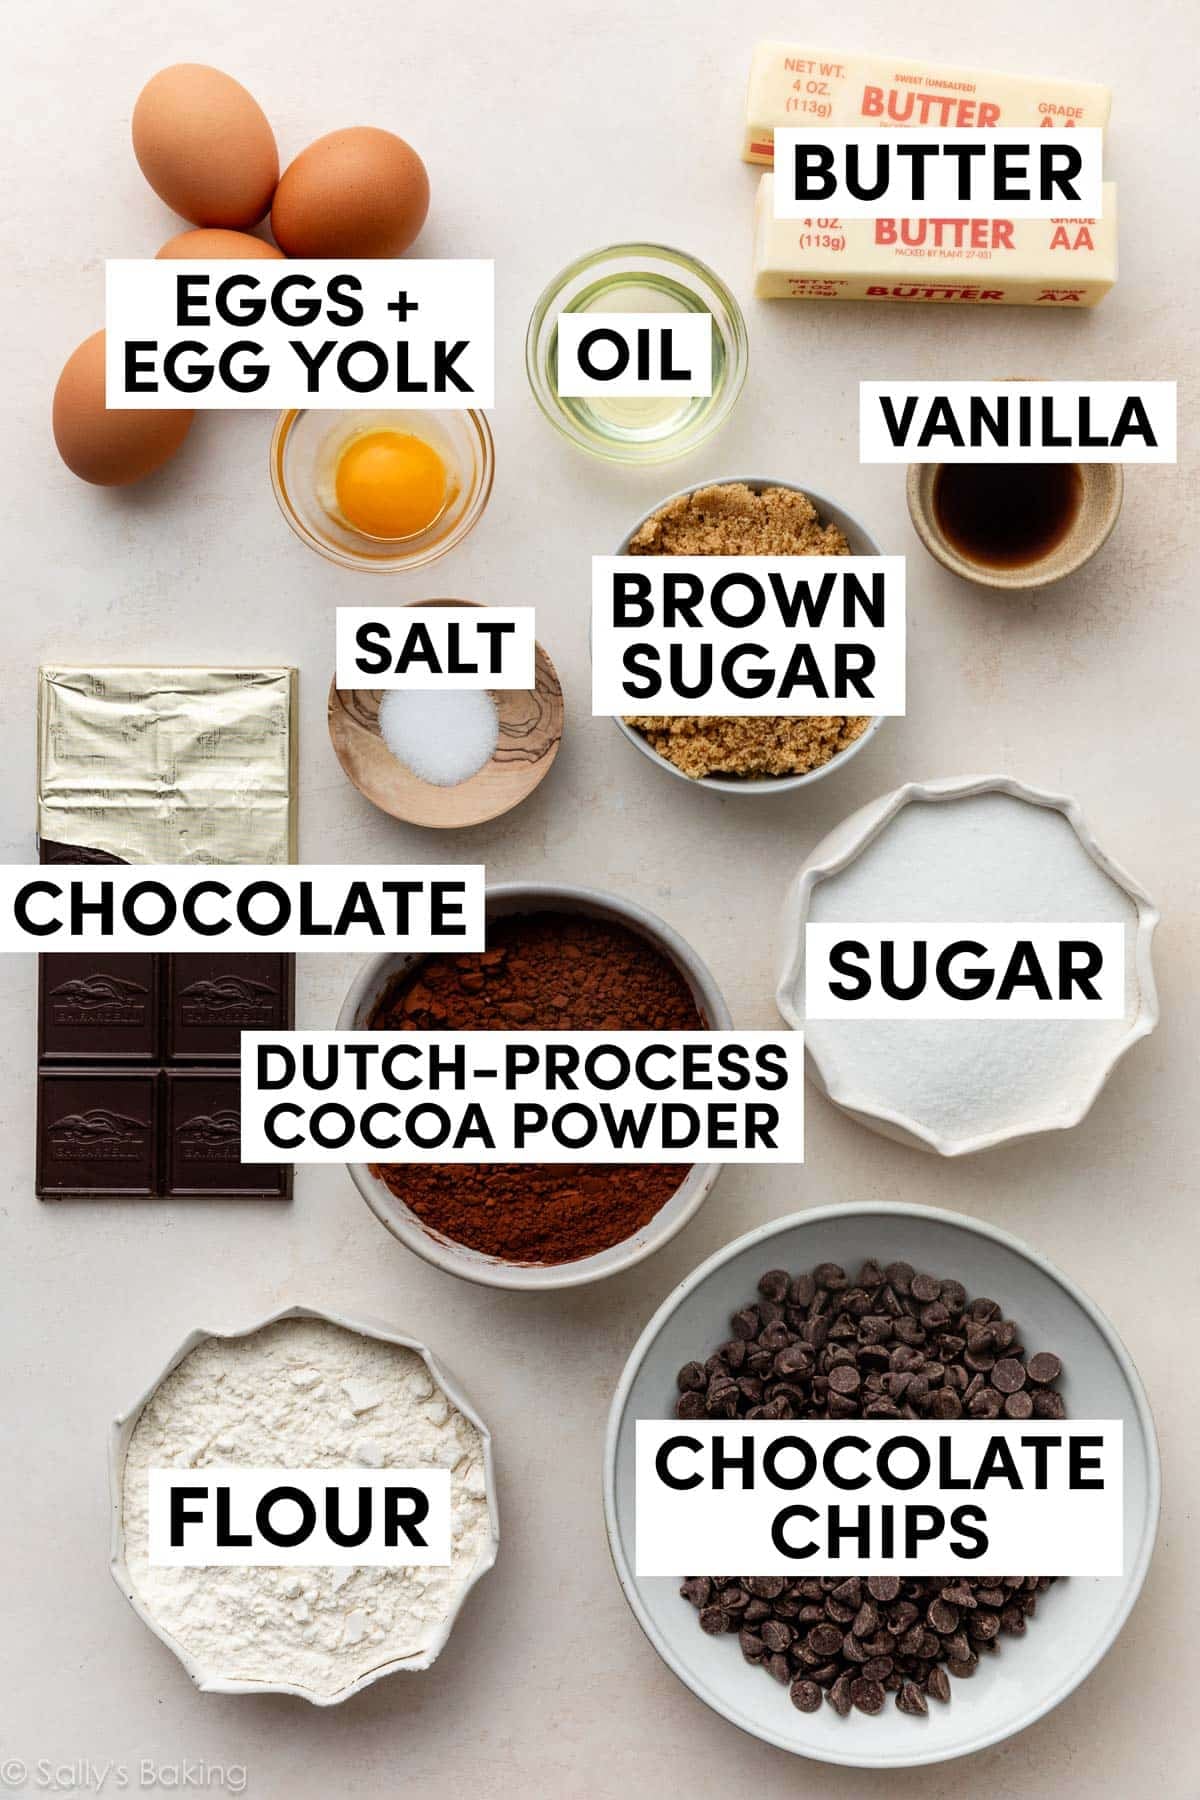
Key Ingredients You Need
- Mostly butter with a touch of oil: There is no question about it… butter provides the best flavor in brownies. However, in our many rounds of testing, the larger pan of brownies kept coming out slightly dry. Finally, we swapped a bit of the butter for oil, which is what makes for extra moist chocolate cake. The moment we tasted that batch, we knew we’d found the solution.
- Chocolate: You need 4 ounces (1 standard bar) of either semi-sweet or bittersweet baking chocolate. Chop it up and melt it with the butter.
- Sugar and brown sugar: Sugar does much more than sweeten brownies. It liquifies as they bake, creating a softer center, and migrates to the top, creating that shiny, crackly surface characteristic of a good brownie. The original homemade brownies recipe uses all white granulated sugar, but our larger batches weren’t quite sweet enough. They also tasted a bit dry. So, we swapped some of the white sugar for brown sugar, which has more depth of flavor. As a bonus, it provides extra moisture as well!
- Eggs, plus 1 egg yolk: Eggs are one of the most important ingredients in brownies. They bind, add richness, and provide structure. To properly scale up the recipe, and to keep such a large batch of brownies chewy and moist, we found 1 extra egg yolk is essential. You need 4 whole eggs, plus 1 additional yolk.
- Dutch-process cocoa powder: Though natural cocoa powder can be used, I strongly suggest a Dutch-process cocoa powder (I really like this brand) for a richer, smoother chocolate flavor.
- Chocolate chips: You may think these brownies have enough chocolate already that you could leave out the chocolate chips, but these aren’t optional! They help bulk up the batter so the brownies are thick, plus they help create an ultra-rich, moist brownie texture.
You also need flour, vanilla extract, and salt.
Helpful Recipe Notes
- Warm melted chocolate and butter are the base of this recipe. Warm ingredients help to dissolve the sugar, which helps prevent grainy brownies.
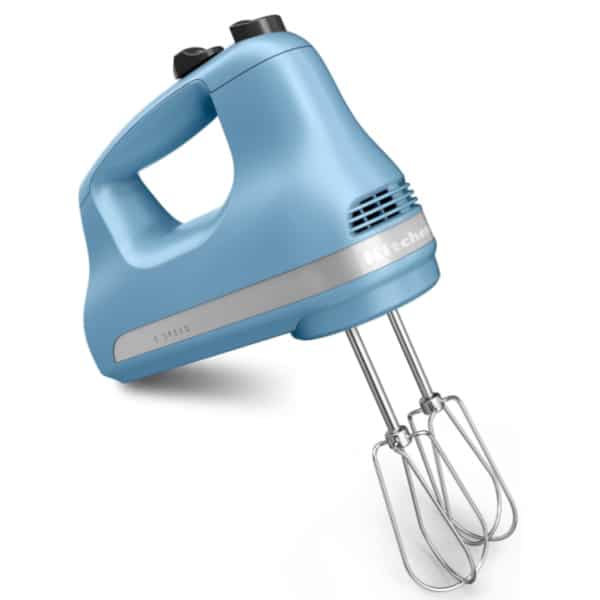
- This recipe requires an electric mixer, either handheld or stand. You’ll use it to whip the eggs (and additional egg yolk) with the sugars. Whipping these ingredients is the secret to a shiny, crackly, tissue-thin brownie top. As you beat them, the sugar begins dissolving into the eggs while air incorporates into the mixture, creating structure and volume. Then in the oven, the heat continues dissolving the sugar and forms that delicate glossy crust brownies are famous for. Whip until the mixture reaches the ribbon stage: pale yellow, thickened, and almost custard-like in consistency.
- Don’t skip parchment paper. Line your 9×13-inch pan for easy removal and clean slicing.
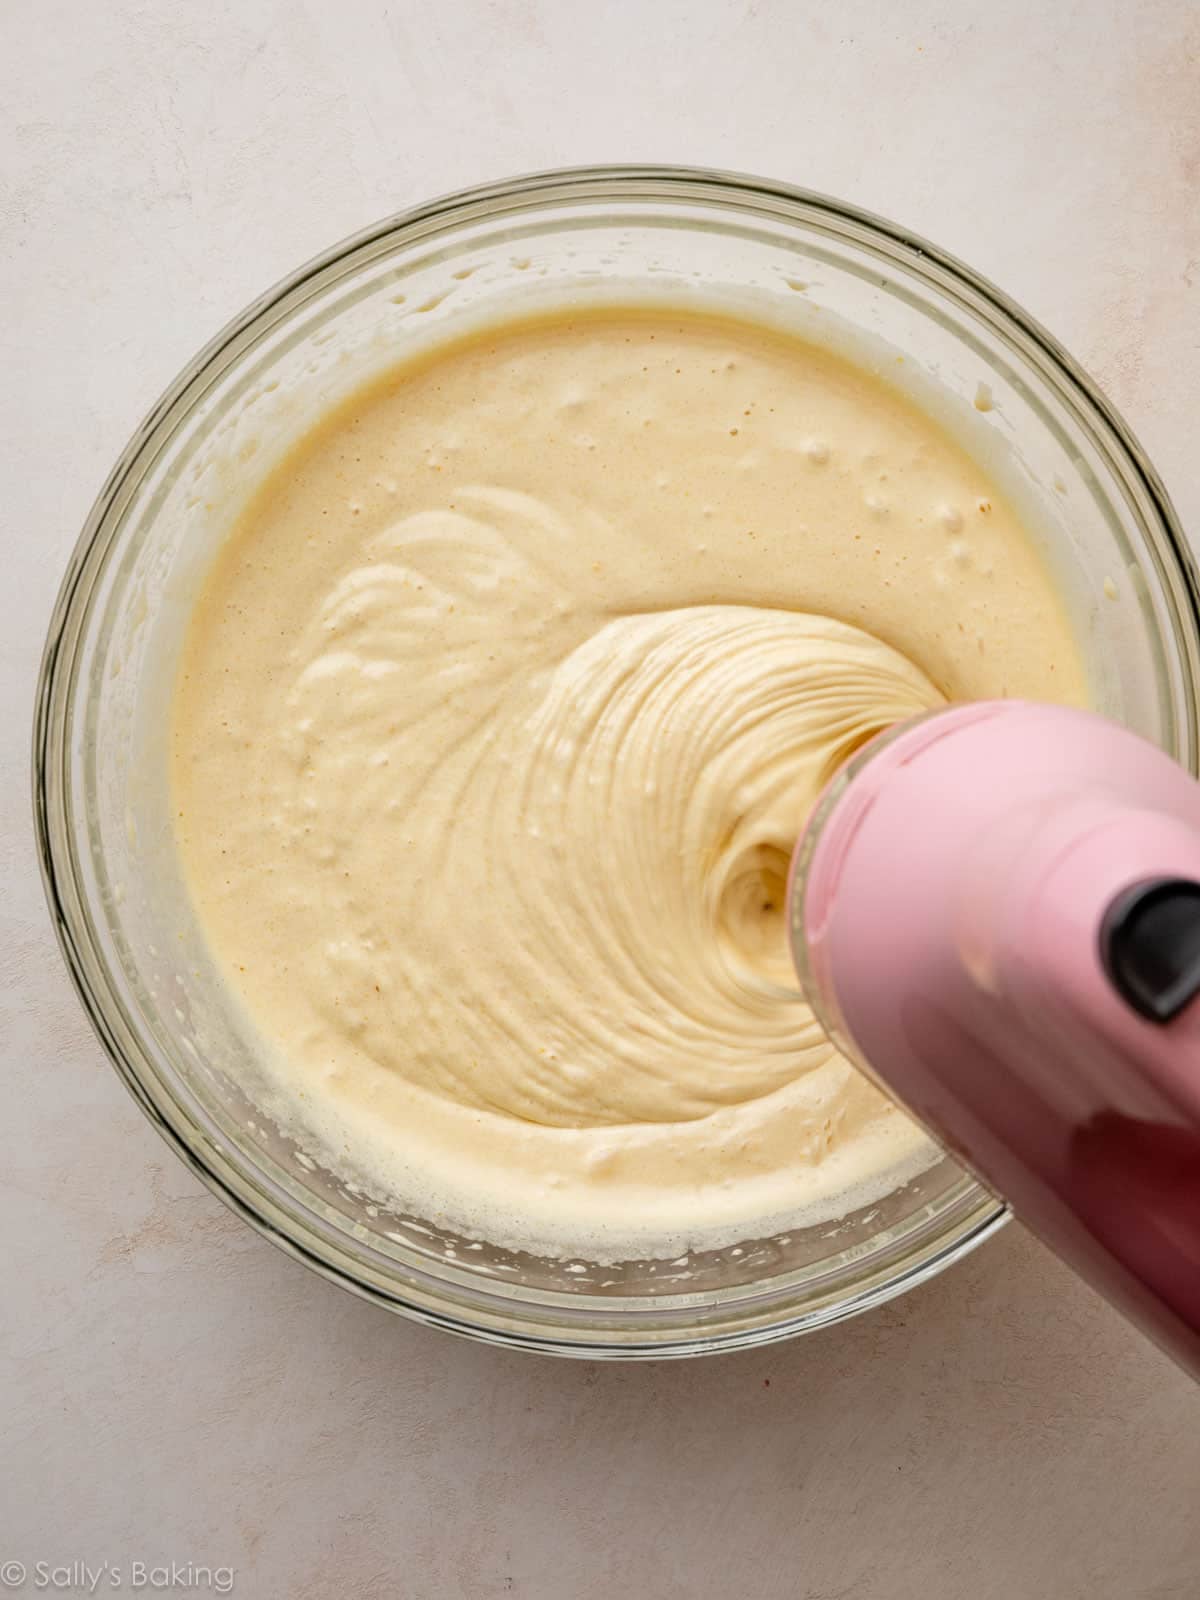
Why Is It Called the Ribbon Stage?
If you stop whipping and lift the beaters or whisk attachment up out of the bowl, the mixture should fall in a continuous stream that creates a trail of folded ribbon lines on the surface that remain visible for 10–30 seconds before they disappear back into the mixture. King Arthur Baking has a helpful article about this, if you’d like some more information and visuals.
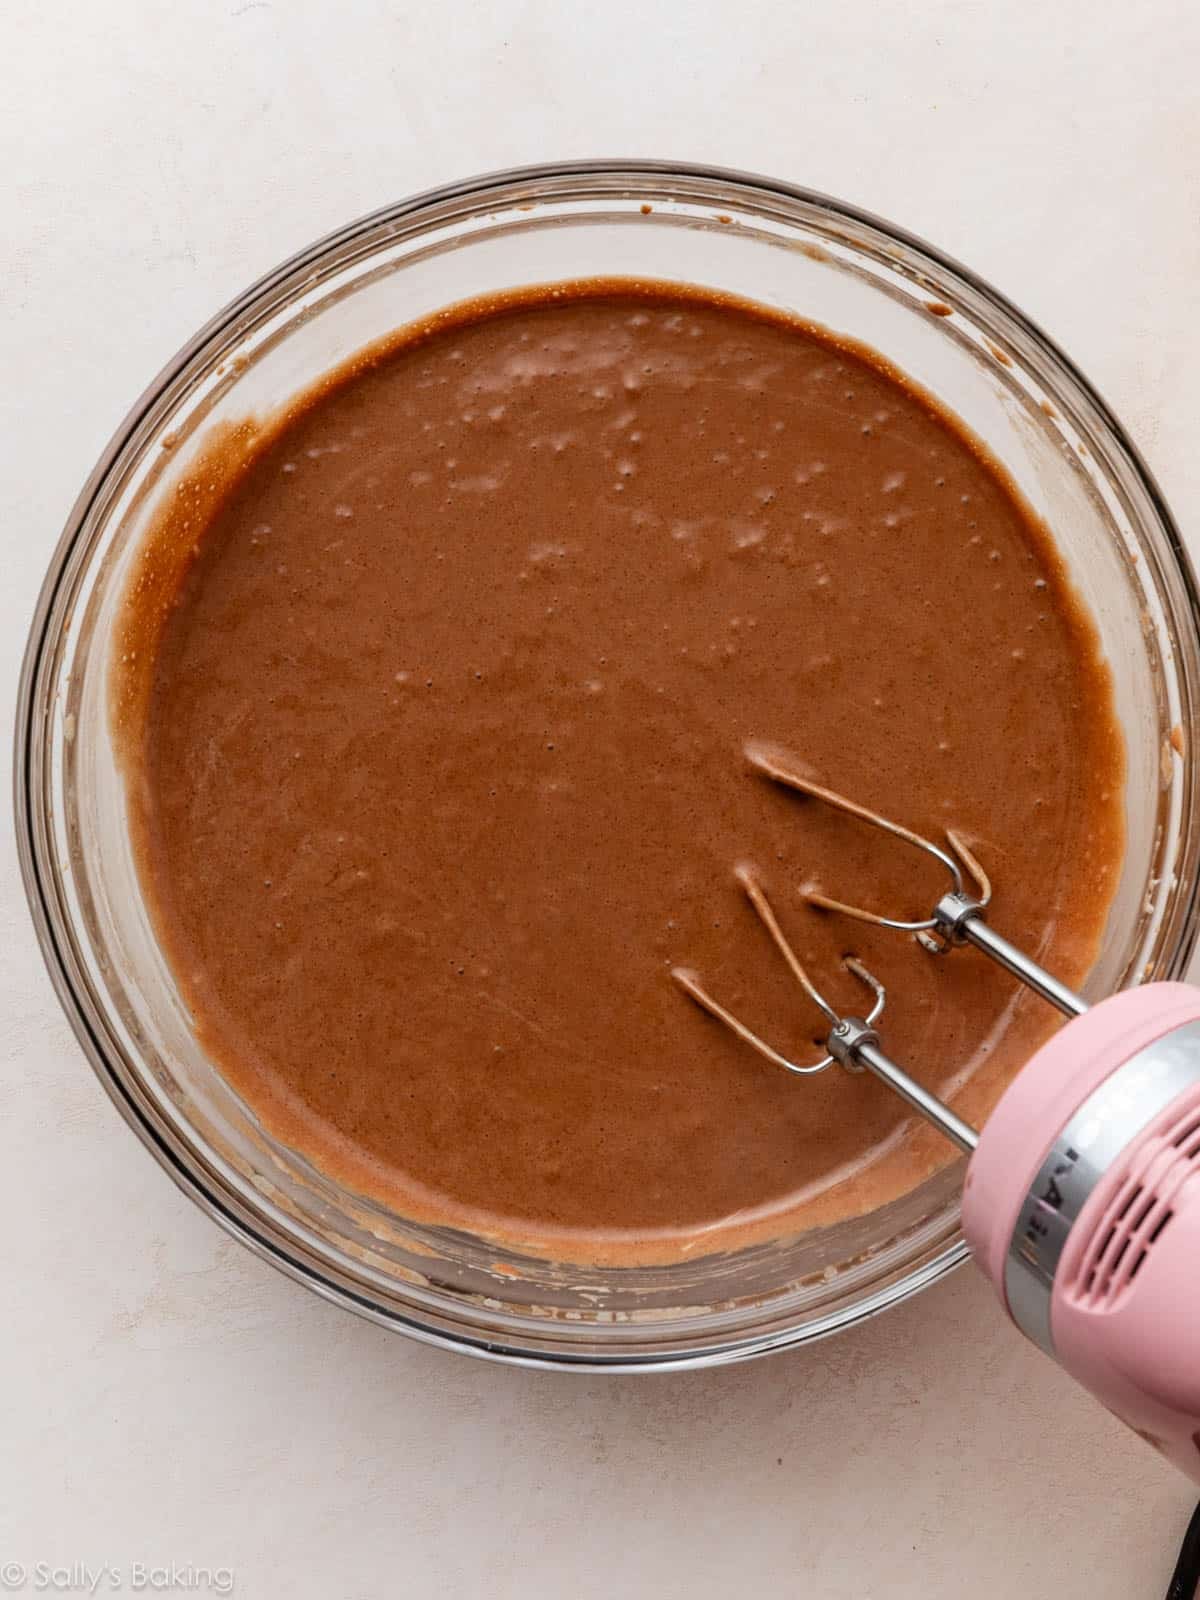
Add the melted chocolate/butter to the whipped eggs and sugars, then add the oil and vanilla:
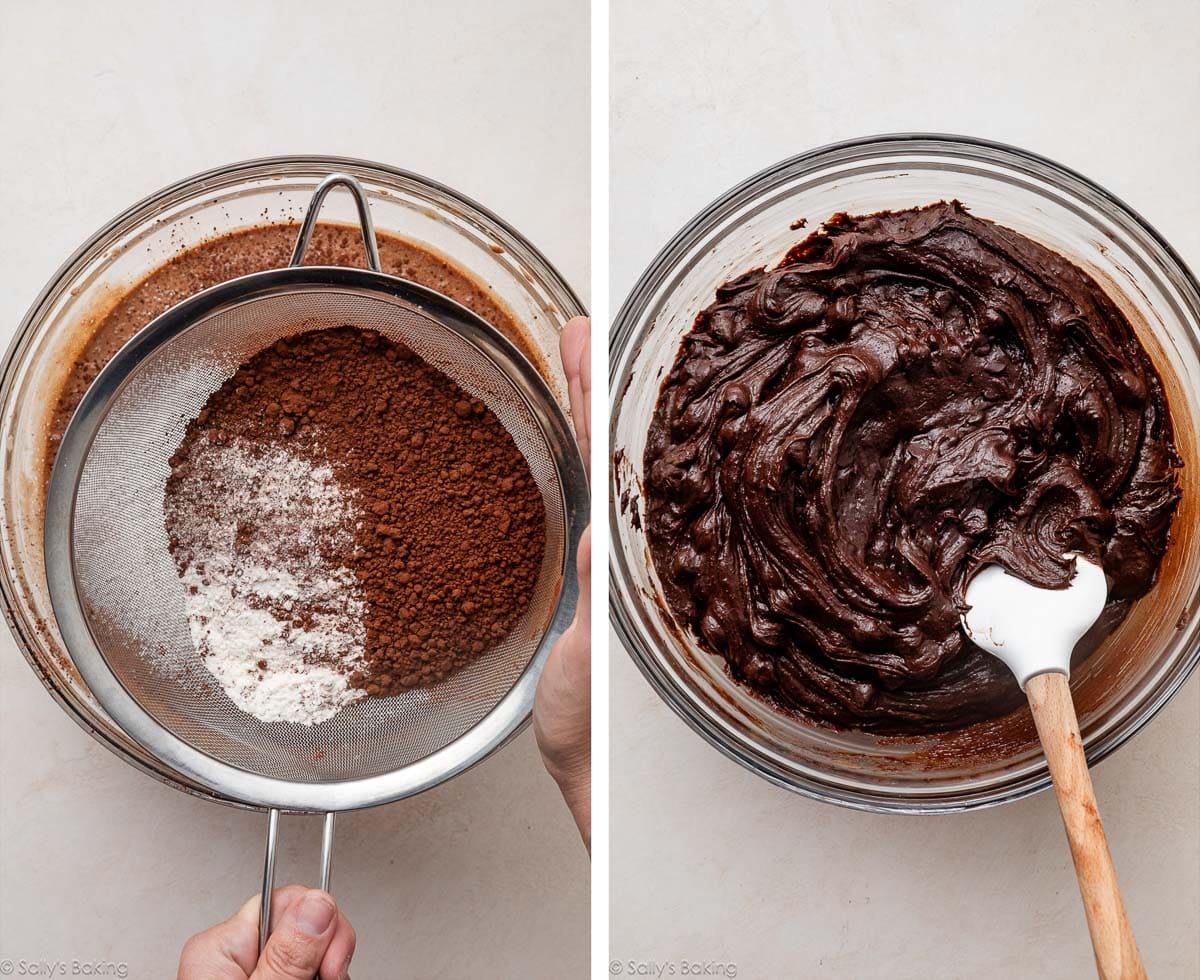
Sift in the dry ingredients, and then fold in the chocolate chips. Expect a thick batter:
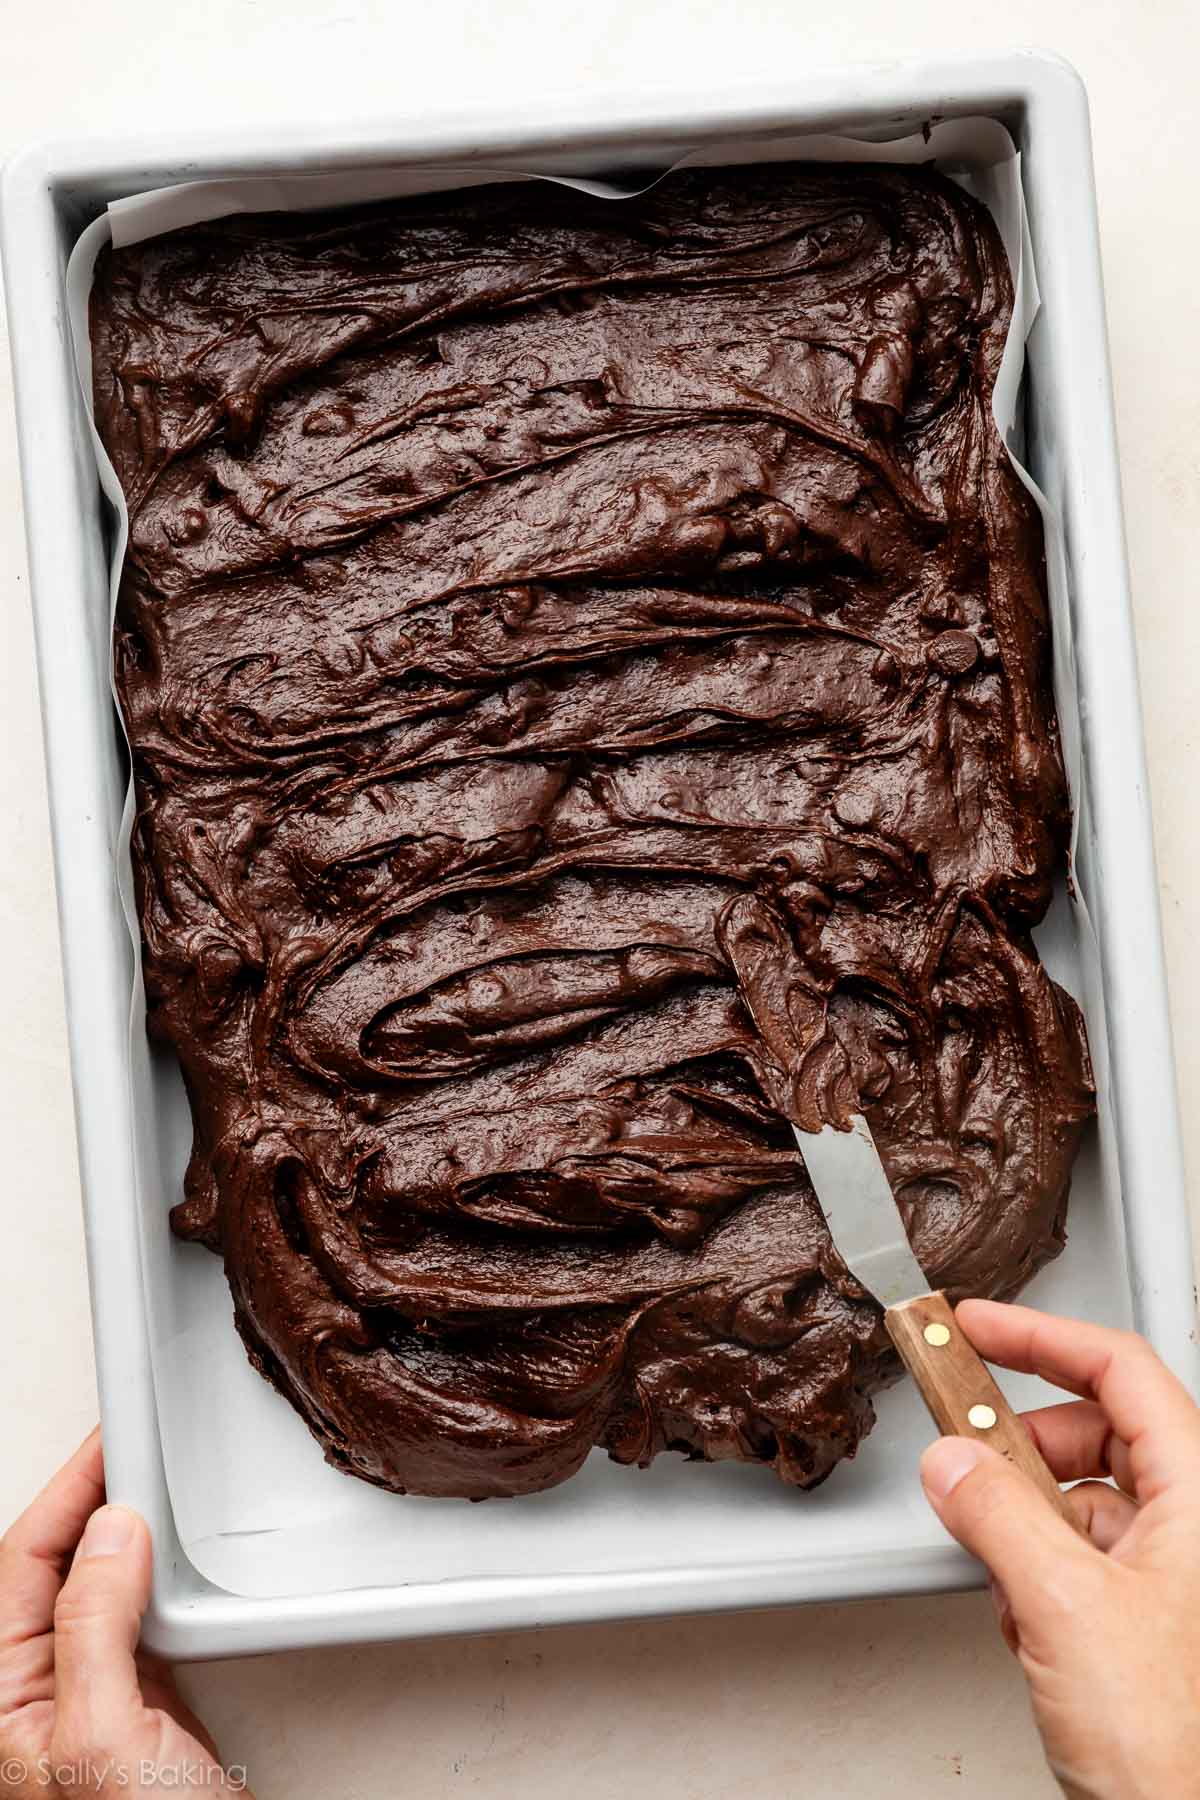
The Best 9×13-Inch Pan for Brownies
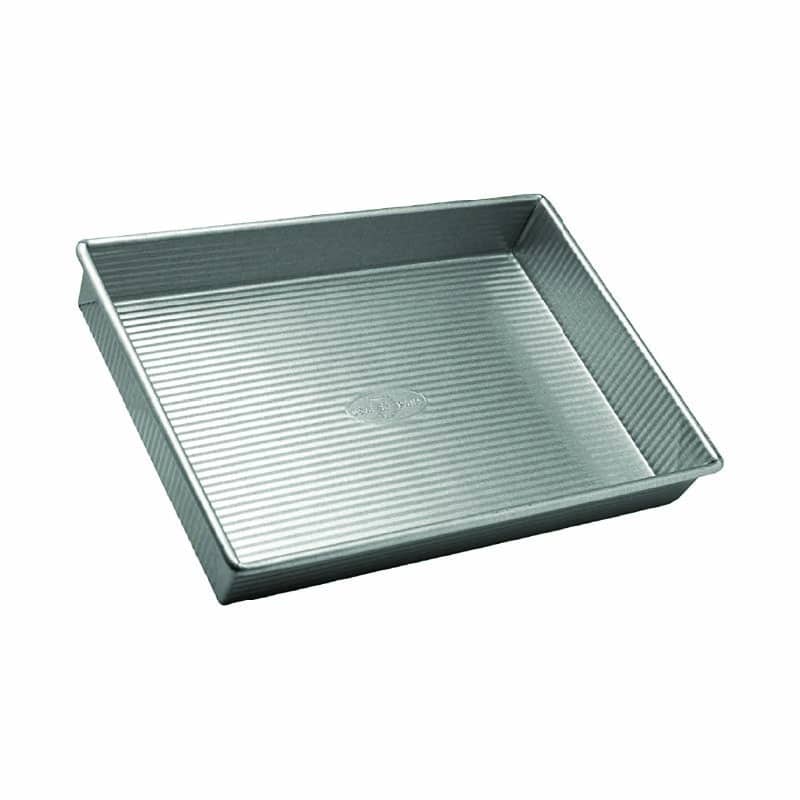
I strongly recommend using a light-colored metal baking pan for brownies. Metal pans conduct heat quickly and evenly, which gives the most consistent texture and bake time. Avoid dark-colored metal if you can; they can heat the brownies too quickly.
Glass pans heat slower AND retain heat longer, so brownies tend to take longer for the centers to bake through, while the edges over-bake.
Stick with a silver metal pan for brownies—like this one or this one.
How to Tell When Brownies Are Done Baking
This can be tricky, so here’s how to determine when these brownies are done:
- Set the timer to 30 minutes as soon as the brownies go into the oven.
- Stick a toothpick in the center and pull it out. If the toothpick comes out thickly coated in wet batter, the brownies need more time.
- Continue to check the brownies with a new toothpick every 2 minutes. If moist crumbs are clinging to the toothpick, the brownies are done. You don’t want a clean toothpick—that would mean your brownies are overbaked and might be dry. 32 minutes is the most these brownies have ever taken in my oven (if using a light-colored metal baking pan).
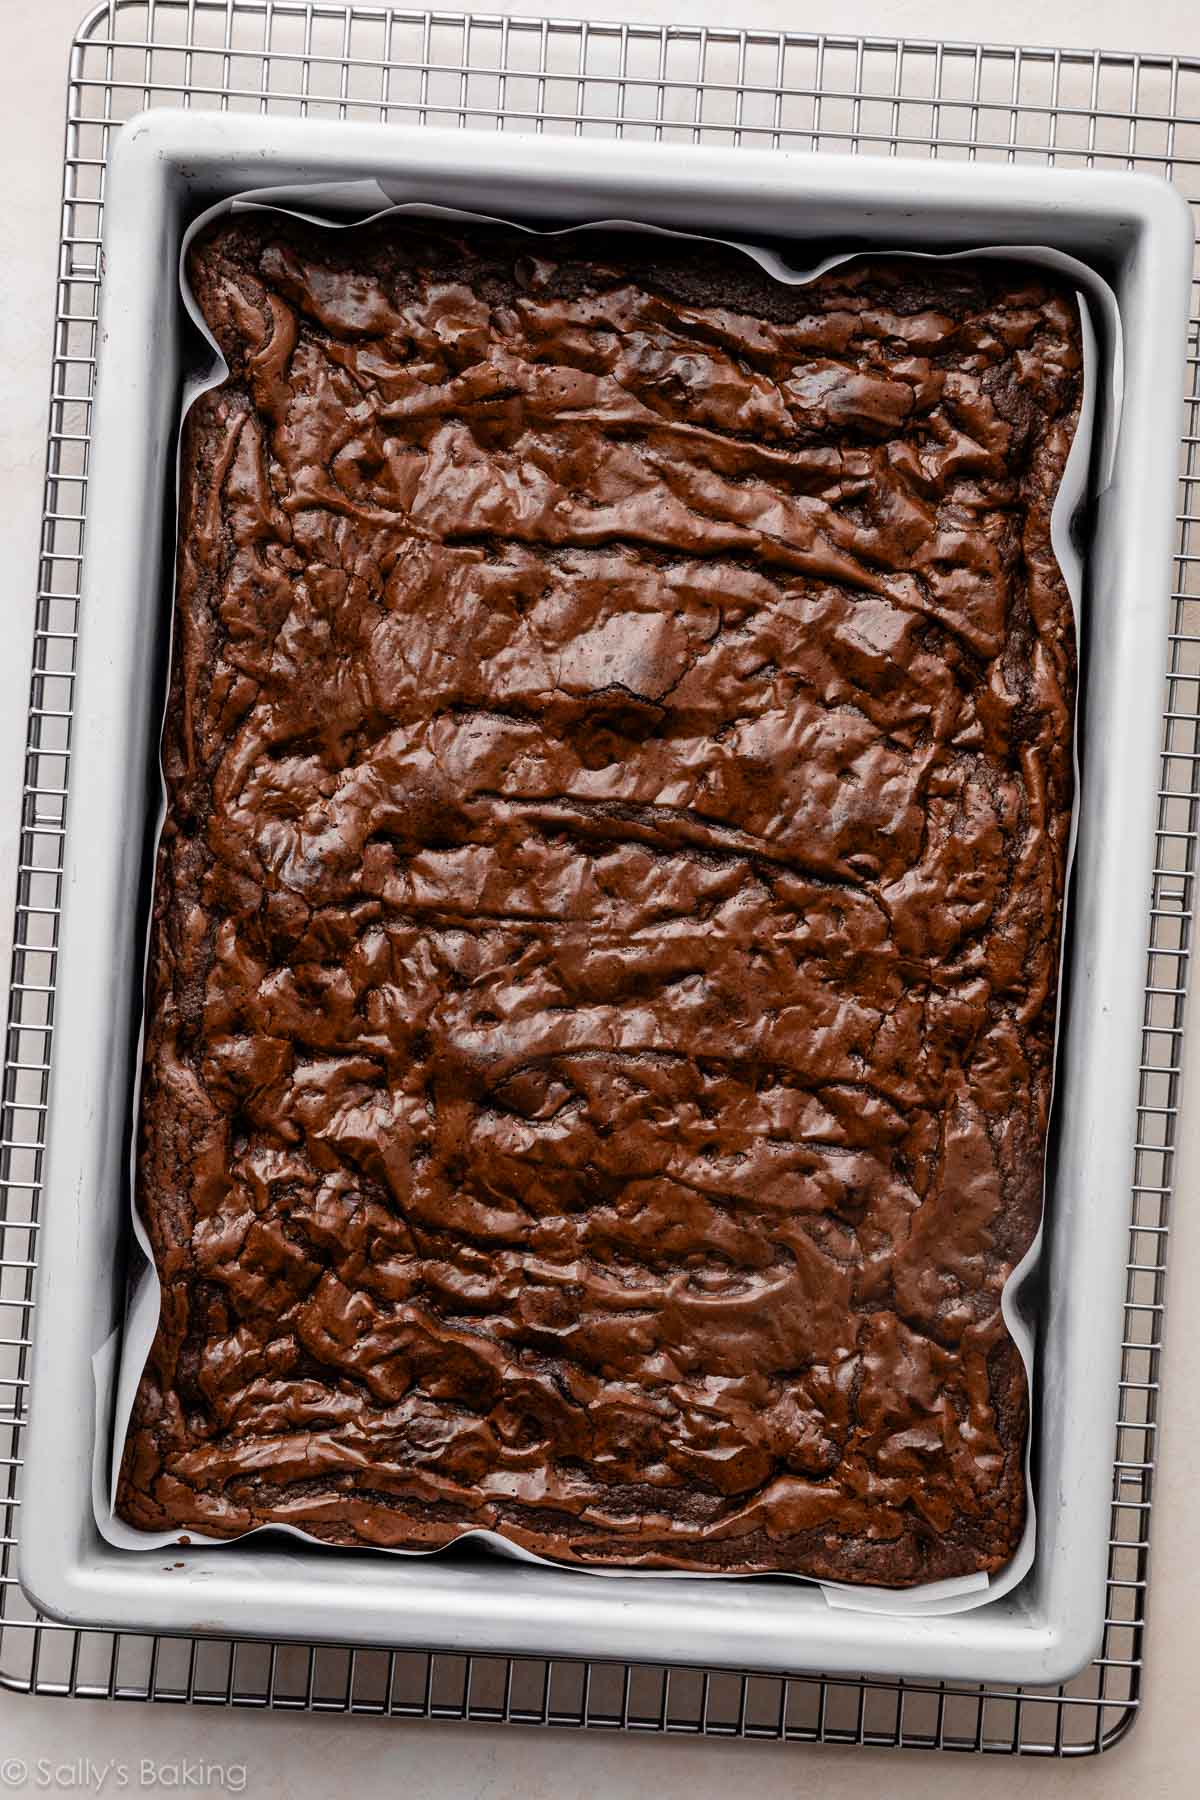
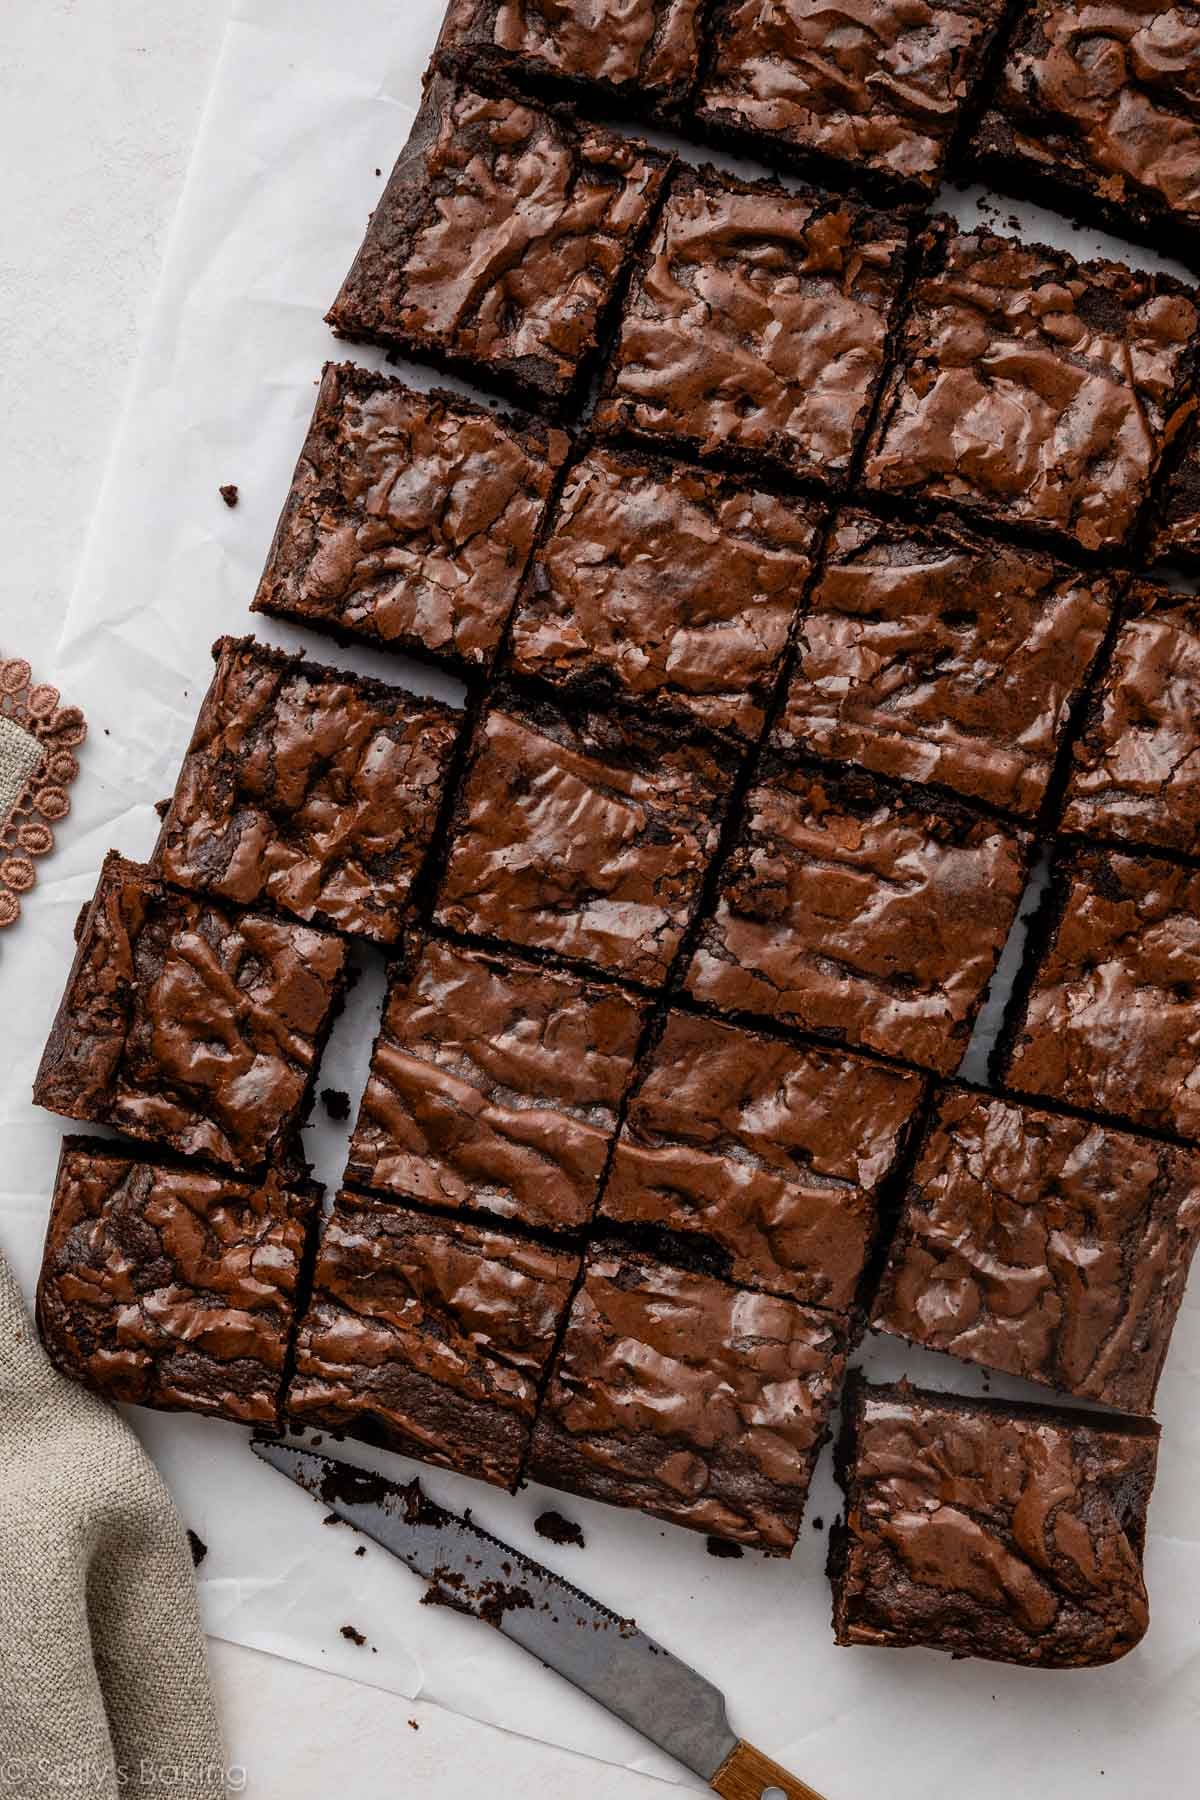
Now comes the hard part: waiting for the brownies to cool completely before cutting them. I know, it’s torture! But fully cooled brownies slice much more cleanly and develop an even fudgier texture. If you need a brownie recipe you can dig into right away, try this skillet brownie!
Too much flour usually causes cakey brownies. Be sure to weigh or spoon and level your flour and cocoa powder so you don’t accidentally overmeasure.
Absolutely! Fold in 1 cup chopped walnuts or pecans with the chocolate chips.
Use this very similar recipe for seriously fudgy homemade brownies, which yields 16 brownies in a 9-inch square pan.
You can, but brownies baked in glass pans often take longer and can turn overly chewy and tough around the edges. See the section above on the best pan to use for brownies.
You could use a whisk instead, but it will take some arm muscle and a longer time of vigorous whisking to get the eggs and sugar to reach ribbon stage. I recommend an electric hand mixer or stand mixer with a whisk attachment.
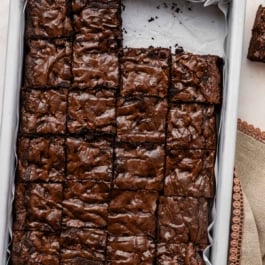
9×13-Inch Pan Brownie Recipe
- Prep Time: 15 minutes
- Cook Time: 30 minutes
- Total Time: 45 minutes
- Yield: 24 brownies
- Category: Dessert
- Method: Baking
- Cuisine: American
Description
Developed specifically for a 9×13-inch pan, this recipe yields a large batch of chewy, fudgy, rich bakery-style brownies that are perfect for sharing.
Ingredients
- 1 cup (16 Tbsp; 226g) unsalted butter, sliced into 16 Tbsp-size pieces
- 4 ounces (113g) semi-sweet chocolate, coarsely chopped
- 1 and 1/2 cups (300g) granulated sugar
- 1/2 cup (100g) light brown sugar
- 4 large eggs + 1 egg yolk, at room temperature
- 2 Tablespoons (28g/30ml) vegetable oil
- 1 Tablespoon pure vanilla extract
- 1 and 1/4 cups (156g) all-purpose flour (spooned & leveled)
- 1 and 1/4 cups (105g) unsweetened Dutch-process cocoa powder
- 1 teaspoon salt
- 1 and 2/3 cups (300g) semi-sweet chocolate chips
Instructions
- Preheat the oven to 350°F (177°C) and line a 9×13-inch metal baking pan with parchment paper, leaving an overhang to lift out the finished brownies (makes cutting easier!). Set aside.
- In a small microwave-safe bowl or liquid measuring cup, combine the butter and chopped chocolate. Melt in 30-second increments, stirring after each, until completely melted and smooth. Set aside to slightly cool while you continue.
- In a large bowl using a handheld or stand mixer fitted with a whisk attachment, combine the granulated sugar, brown sugar, and eggs. Beat on medium-high speed until the sugar begins to dissolve and the mixture is pale and ribbon-y, about 4 minutes.
- Pour the warm melted butter/chocolate into the bowl with the sugar/egg mixture, add the oil and vanilla, and beat or whisk to combine.
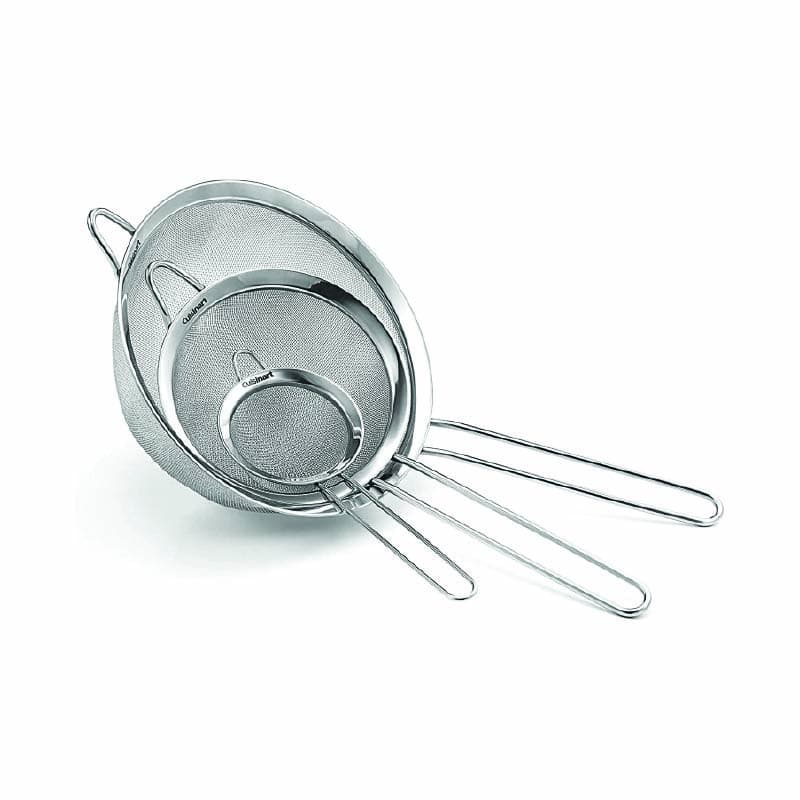
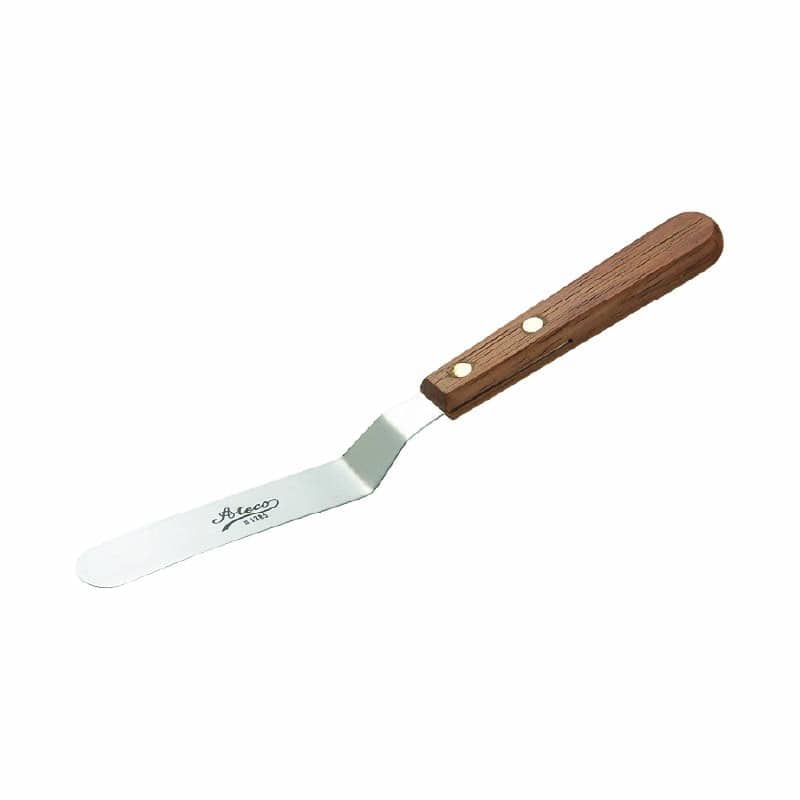
- Using a fine mesh sieve, sift the flour, cocoa powder, and salt into the batter, then whisk or beat on low speed until combined. Fold in the chocolate chips. The batter will be very thick. Spread evenly into the prepared pan. (A small offset spatula is helpful here.)
- Bake for 30 minutes, then test the brownies with a toothpick. Insert the toothpick into the center of the pan. If the toothpick is completely coated in wet batter, return the brownies to the oven for 2 more minutes. If the toothpick comes out with moist crumbs clinging to it, the brownies are done. Err on the side of under-baking, as the brownies will continue to set as they cool. (A completely clean toothpick means the brownies are over-baked!)
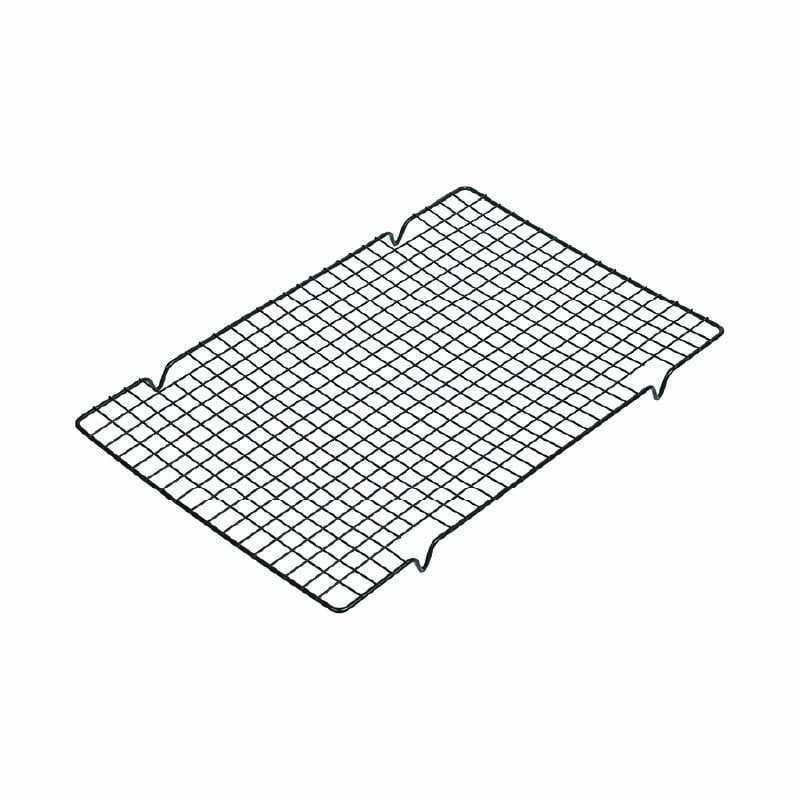
- Remove from the oven and place on a cooling rack to cool completely in the pan. When cool, lift the brownies out by using the parchment overhangs and transfer to a cutting board. Use a sharp knife to cut into squares.
- Cover and store leftover brownies at room temperature for up to 1 week.
Notes
- Make-Ahead & Freezing Instructions: Brownies freeze well for up to 3 months. Thaw overnight in the refrigerator, then bring to room temperature before serving.
- Special Tools (affiliate links): 9×13-Inch Metal Baking Pan (such as this one or this one) | Parchment Paper | Glass Mixing Bowls | Electric Mixer (Handheld or Stand) | Fine Mesh Sieve | Silicone Spatula | Offset Spatula | Cooling Rack
- Chocolate: Baking chocolate is typically sold in 4-ounce (113g) bars. I suggest Ghirardelli, Baker’s, or Lindt brands; in either semi-sweet (56% cacao) or bittersweet (60% cacao).
- Cocoa Powder: You can use either natural or Dutch-process cocoa powder in this recipe. I strongly recommend Dutch-process (such as this brand) for a smoother chocolate flavor.
- Smaller Batch: Use this very similar recipe for seriously fudgy homemade brownies, which yields 16 brownies in a 9-inch square pan.







Reader Comments and Reviews
This recipe makes a wonderful, thick brownie. I usually put a layer of ganache on brownies but these look so good, I hate to cover the top. Would ganache be just too much chocolate? 🙂 Thanks for the recipes.
Could I make a larger batch? Like a half sheet?
Hi Allie, we haven’t tried doubling it and baking in a half sheet pan, so we don’t know how they would turn out, and are unsure of the baking time. For best results, make the batter as written twice and bake in two 9×13-inch pans.
Is there a way I can make these in a cupcake tin, specifically the mini ones?
We’re sure you could, Ashely! We’re unsure of the bake time needed.
I just made these brownies today. My question is this, can I reduce the amount of cocoa? We find they taste and smell a little strong of cocoa and the cocoa I used said Dutch cocoa. Thanks.
Hi Rachel, we do not recommend reducing the amount of cocoa powder here. The ratios of ingredients you see here are key for best results.
I always come to this website first when I need a baking recipe. This time, I needed a brownie recipe for my son’s birthday sleepover. These were a HIT! Thank you all so much for this.
Is the oven should be up and down or only down because it burn on top and not finished at inside
My first ever attempt at making homemade brownies! These are delicious. I followed the recipe exactly and appreciated the thorough directions. My family sampled four brownies & I wrapped the rest for the freezer. I make several flavors of homemade ice cream once a month, so I’ll be making a double fold Ugandan vanilla & chocolate sauce from scratch to pair with the brownies for when guests visit in a couple weeks.
Hi Sally, the recipe has Brown Sugar, but in your video you only used granulated sugar… is the recipe adjusted for both sugar? to prevent having it too sweet?
Hi Roquitto, the video shows brown sugar as well – the written recipe is correct!
5 star all the way!
Hi, I’ve made these once and now I’m on my second go around. They are delicious. I’m wondering about adding espresso powder to make them even more heavenly.
How much do you suggest I add?
Thanks!
Hi Judy! We haven’t tested it, but would start with a couple tsp espresso powder in the batter. Let us know how it goes!
Hi how can I scale this recipe for a small pan cud u plz help me with it
Here’s our very similar brownies recipe baked in a 9×9 inch pan.