

Fluffy, flaky, soft, and extra tall sweet potato dinner rolls are a wonderful accompaniment to a holiday meal—but you don’t have to wait for a holiday to enjoy them. Top with flaky sea salt and serve with homemade cinnamon butter for a side dish that will upstage the main course! If you’re a bread beginner, reference my Baking with Yeast Guide for answers to common yeast FAQs.
This recipe is brought to you in partnership with Red Star Yeast.
My popular soft dinner rolls are flaky, soft, and buttery. And so are today’s sweet potato version. But today’s recipe produces slightly sweeter and richer-tasting rolls. My team and I tested 4 versions until we found the perfect balance of flavor and fluff! My entire family (kids included) have been enjoying these for weeks. We LOVE them.
One reader, Beth, commented: “This was my first time making these dinner rolls, and they were wonderfully flaky and tasty! They rose up nice and high, and they will be a great addition to my Christmas dinner. Thanks, Sally! You make me look really good! ★★★★★”
Another reader, Jessica, commented: “Best rolls I have ever made! My family couldn’t get enough of these delicious, fluffy, buttery rolls this Thanksgiving. Easy recipe and foolproof! ★★★★★”
Here’s Why You’ll Love These Sweet Potato Rolls
- This recipe makes a big batch—20 large rolls—perfect for sharing.
- Super soft texture and subtly sweet, buttery flavor.
- Shorter rise time than regular dinner rolls.
- Make-ahead friendly: Delicious warm and fresh from the oven, but somehow the flavor of these sweet potato rolls is even BETTER after they’ve cooled. This makes this sweet potato dinner roll recipe a great choice for making ahead of time, if your oven is going to be in continual use leading up to a big meal like Thanksgiving.
- Freeze well: Make them even further in advance and freeze them for later.
What Are Potato Rolls?
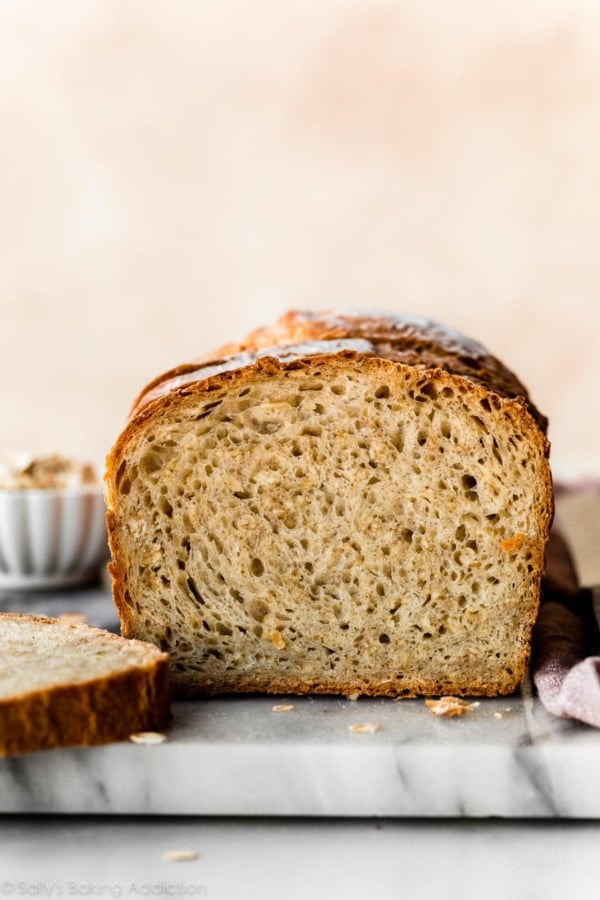
Have you ever had a potato roll? Gorgeously golden on top, and pillowy-soft throughout, potato rolls—traditionally made by the Pennsylvania Dutch—are made with potato flour replacing a portion of wheat flour, giving the bread a sweeter taste and softer texture than regular white rolls. The texture comes from the potato starch and its ability to absorb and retain more moisture than wheat can.
I learned from the brilliant bakers over at King Arthur Baking that the higher the starch level in your bread dough, the more tender your resulting bread will be. The potato (including sweet potatoes) is one of the starchiest vegetables out there. So when you add potato to your bread dough you’re upping the dough’s starch content, effectively increasing the resulting bread’s total liquid retention—which translates to bread with soft, moist texture and a long shelf life.
An added benefit is potatoes also boost the overall nutritional value, making it comparable to whole-wheat bread for fiber and nutrients such as zinc and iron, with significantly more potassium than either white or whole-wheat bread.
Now, we are taking this concept for potato rolls and using sweet potato instead. This means even more sweetness, plus an added boost of vitamin A! (Not trying to pretend these rolls are healthy… but we’ll take our vitamins where we can get them, right?)
Ingredients You Need for This Rich Dough:

While the starch from the sweet potato already makes for a soft texture, we’re also using butter, eggs, and whole milk to make a rich dough that turns out perfectly pillowy yeast rolls. Here’s a quick overview of the difference in these two types of bread doughs:
- Rich dough: The softer the bread, the more fat in the dough. For example, this dough includes whole milk, butter, and eggs. Recipes like my easy cinnamon rolls, pizza pull-apart rolls, and brown butter sage dinner rolls all start with a rich dough.
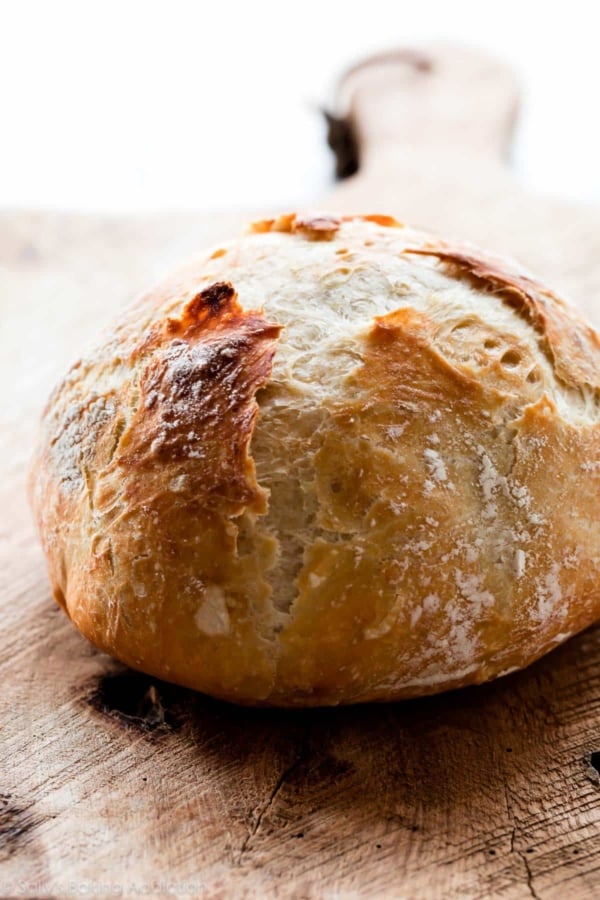
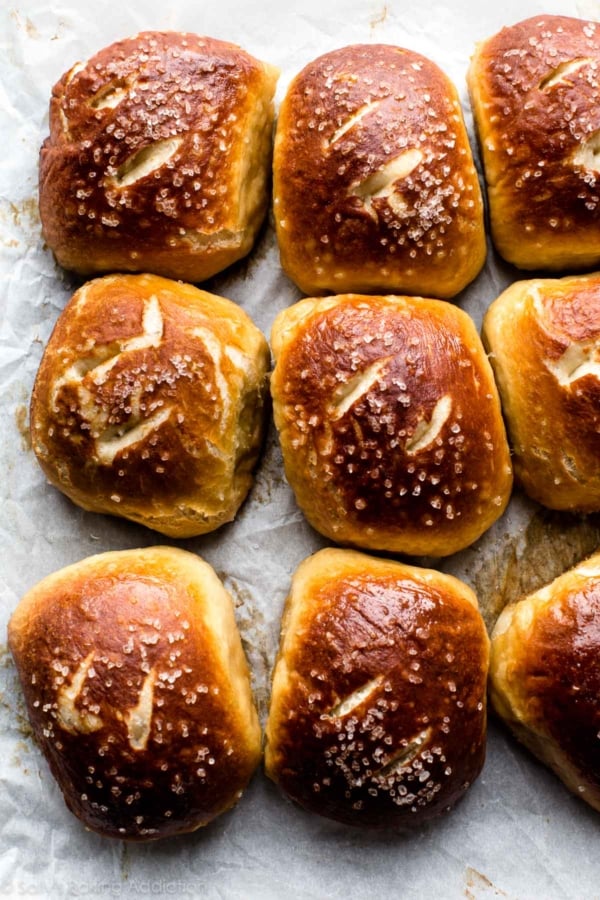
- Lean dough: The crustier and chewier the bread, the less fat in the dough. Recipes like chewy homemade bagels and soft pretzels, pizza dough, and artisan bread all use a lean dough.
You need 8 ingredients total:
- Sweet Potato: You need 1 medium-size sweet potato.
- Milk: Liquid activates the yeast. For the best rolls, use whole milk. Nondairy or low-fat milks work too, but whole milk produces phenomenal flavor and texture.
- Yeast: I always use Platinum Yeast by Red Star, which is an instant yeast. You can use active dry instead with no changes. The Platinum yeast is fantastic because its careful formula strengthens your dough and makes working with yeast simple. You only need 1 standard packet of yeast (2 and 1/4 teaspoons).
- Honey: The honey feeds the yeast, increases its activity, and tenderizes the dough. Plus it adds a subtly sweet flavor—the sweet potato on its own doesn’t add a ton of flavor.
- Eggs: Eggs provide structure, and contribute to the rich softness of these sweet potato rolls. You need 2—the rolls are a bit dry and crumbly with just 1.
- Butter: Butter in the dough promises a flavorful, soft, buttery roll.
- Salt: You can’t make flavorful bread without salt!
- Bread Flour: I use bread flour in my sweet potato rolls because it contains more gluten than all-purpose. Extra gluten helps make finished rolls extra chewy and, um, more bread-like. Technical terms here.
Key Steps in This Recipe
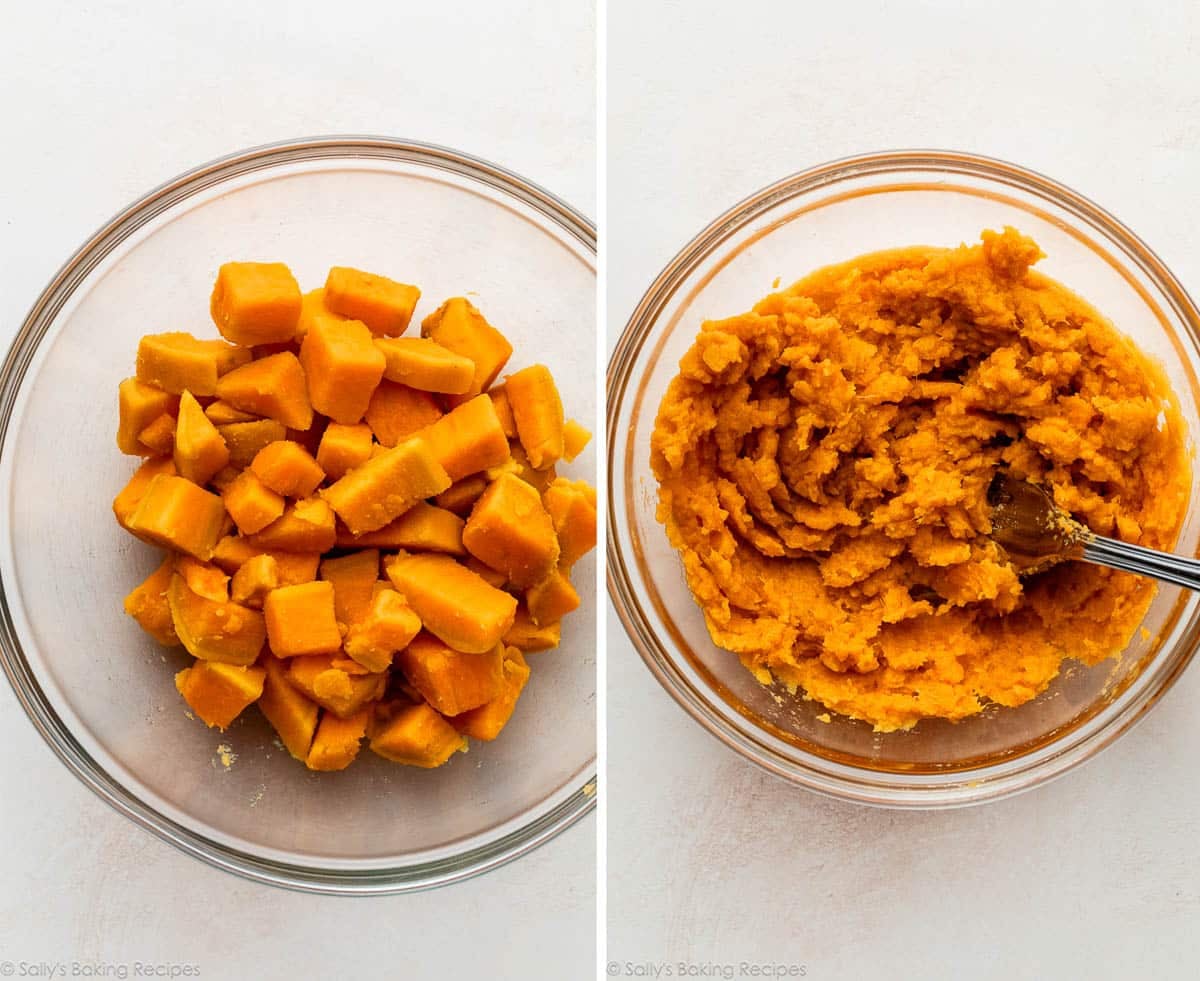
Peel, chop, and boil a sweet potato until tender. This takes about 10–12 minutes. Once your sweet potato is soft, drain and mash it. You can do this with a potato masher, pastry cutter, fork, or even an electric mixer or food processor.
The next step is to proof your yeast, a step I take even if I’m using instant yeast. All you do is mix the yeast with the warm liquid (milk), and a little sugar (honey). Cover and let it sit for 5–10 minutes until foamy and frothy on top. This proves your yeast is active and ready to get to work.
- Are you a bread-baking beginner? Reference my Baking with Yeast Guide for answers to common yeast FAQs.
Then, add the rest of the ingredients to form a soft dough. (The mashed sweet potato will have cooled a bit by now.) Add enough flour for the dough to come together into a kneadable mass; it should be pulling away from the sides of the stand mixer’s bowl.
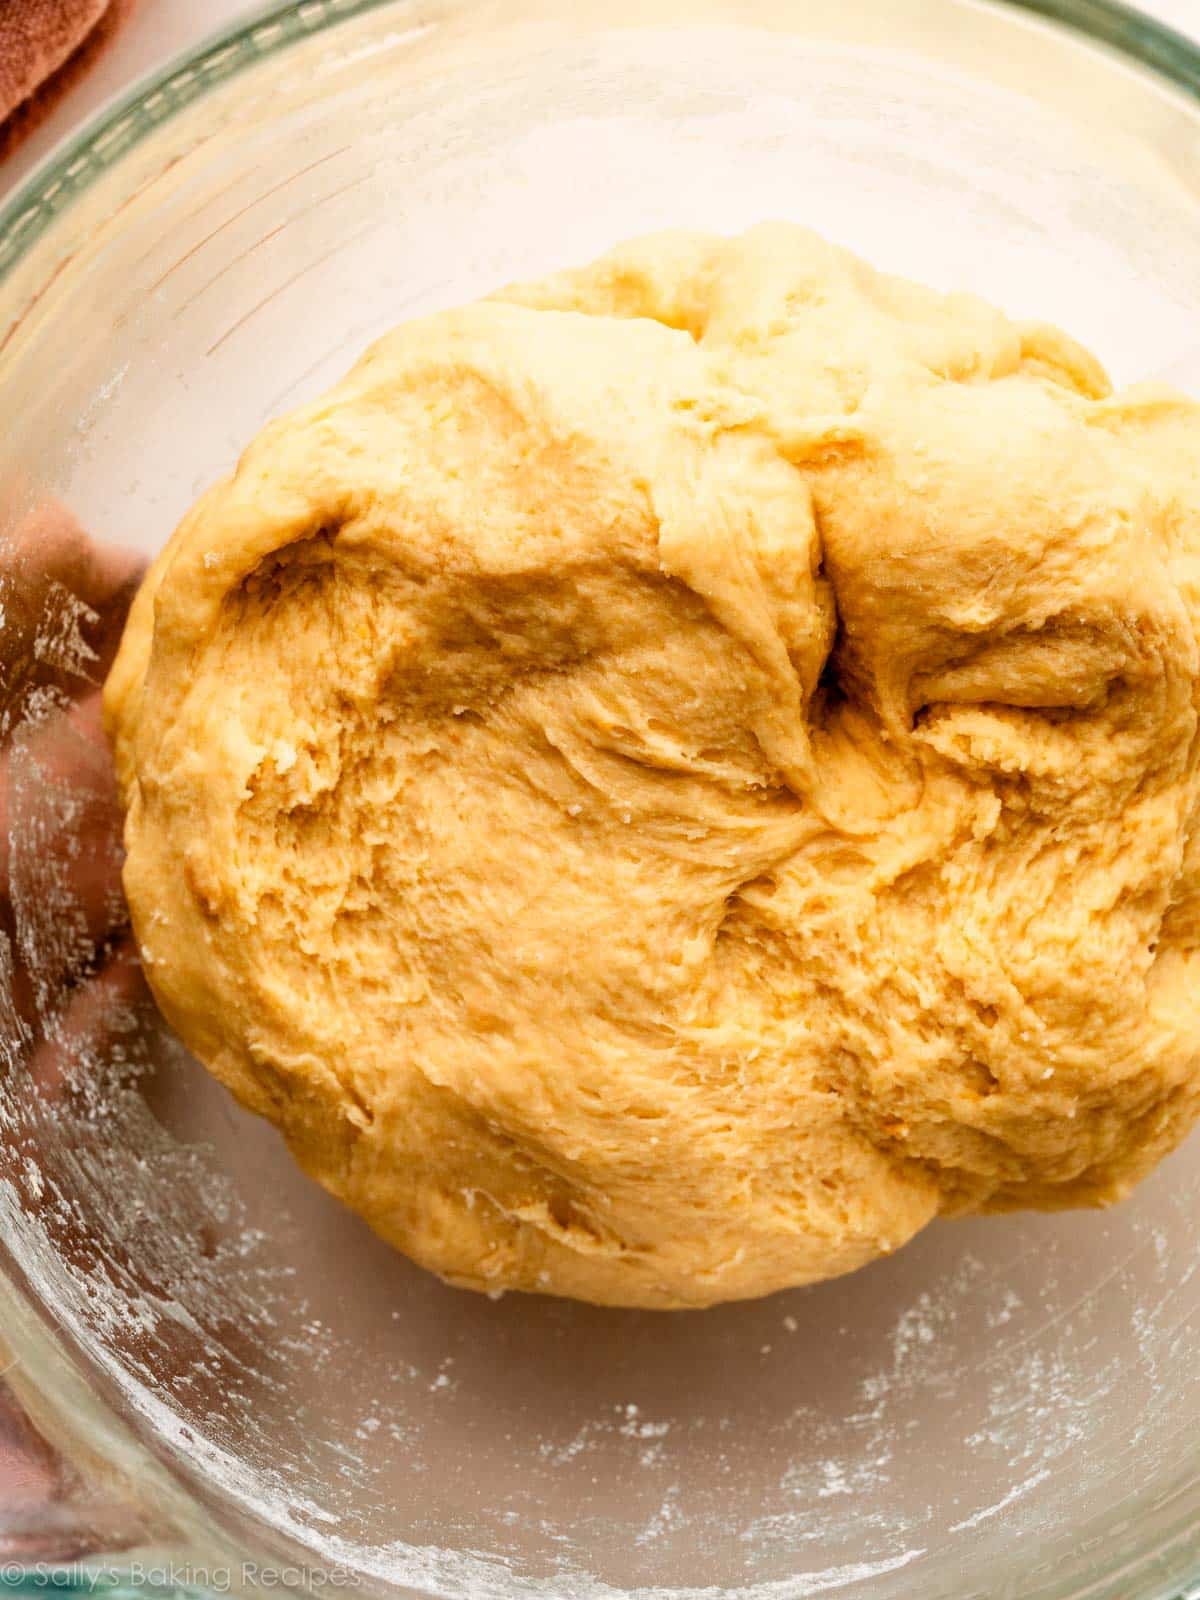
The dough should feel slightly tacky, but not overly sticky. On a lightly floured work surface, using the heels of your hands, stretch and fold the dough with gentle motion. If you’d like a visual of how to knead the dough by hand, you can watch the full video tutorial in my post on how to knead dough.
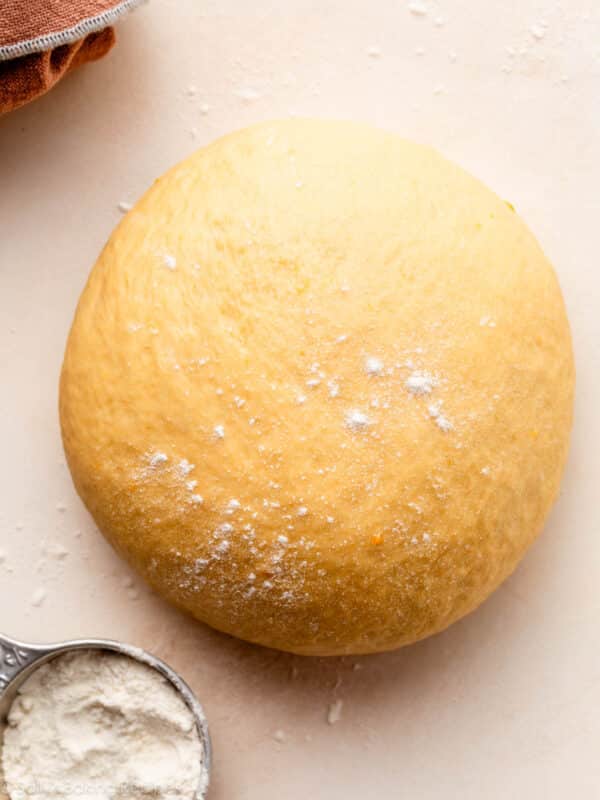
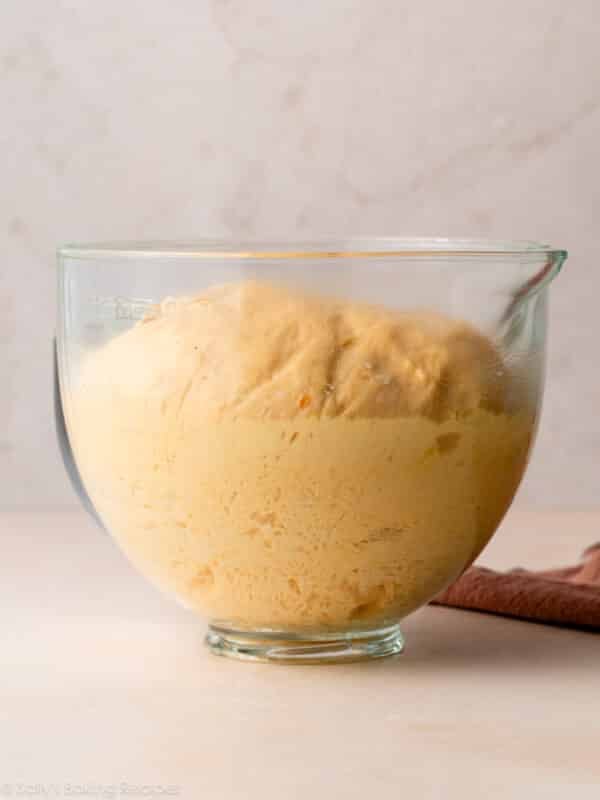
Pictured on the left below is the dough after kneading. It’s smooth and stretchy, and ready to rise. Place the dough in a large greased bowl, turn the dough to coat it in the oil, and then cover it and set it aside. It will double in size in about 1–2 hours, pictured on the right.
Shaping the Rolls
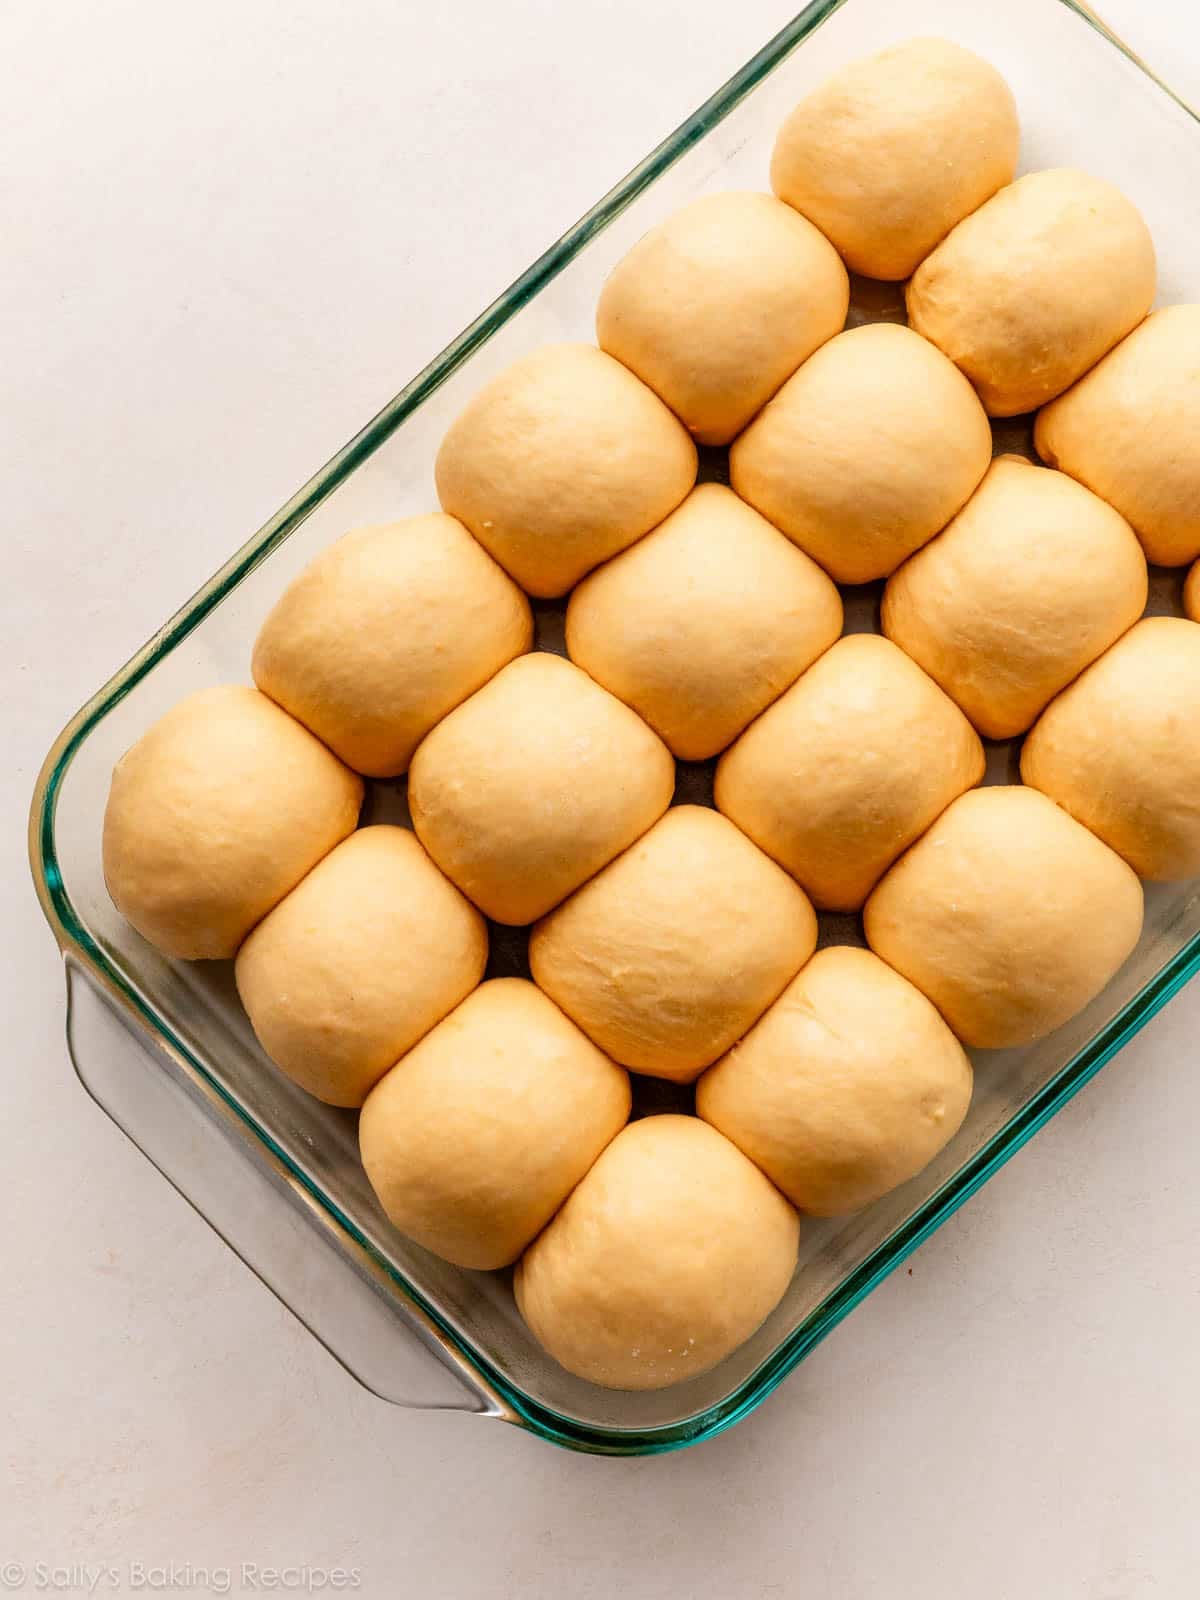
Punch down the risen dough to release the air, and then divide the dough into 20 pieces, roughly equal in size (about 65–75g each—they don’t have to be exact).
Take a piece and stretch the top of the dough while pinching and sealing the bottom. Make sure the rolls are smooth on top and sealed on the bottom. This is the same way we shape the balls for brioche and oatmeal molasses dinner rolls.
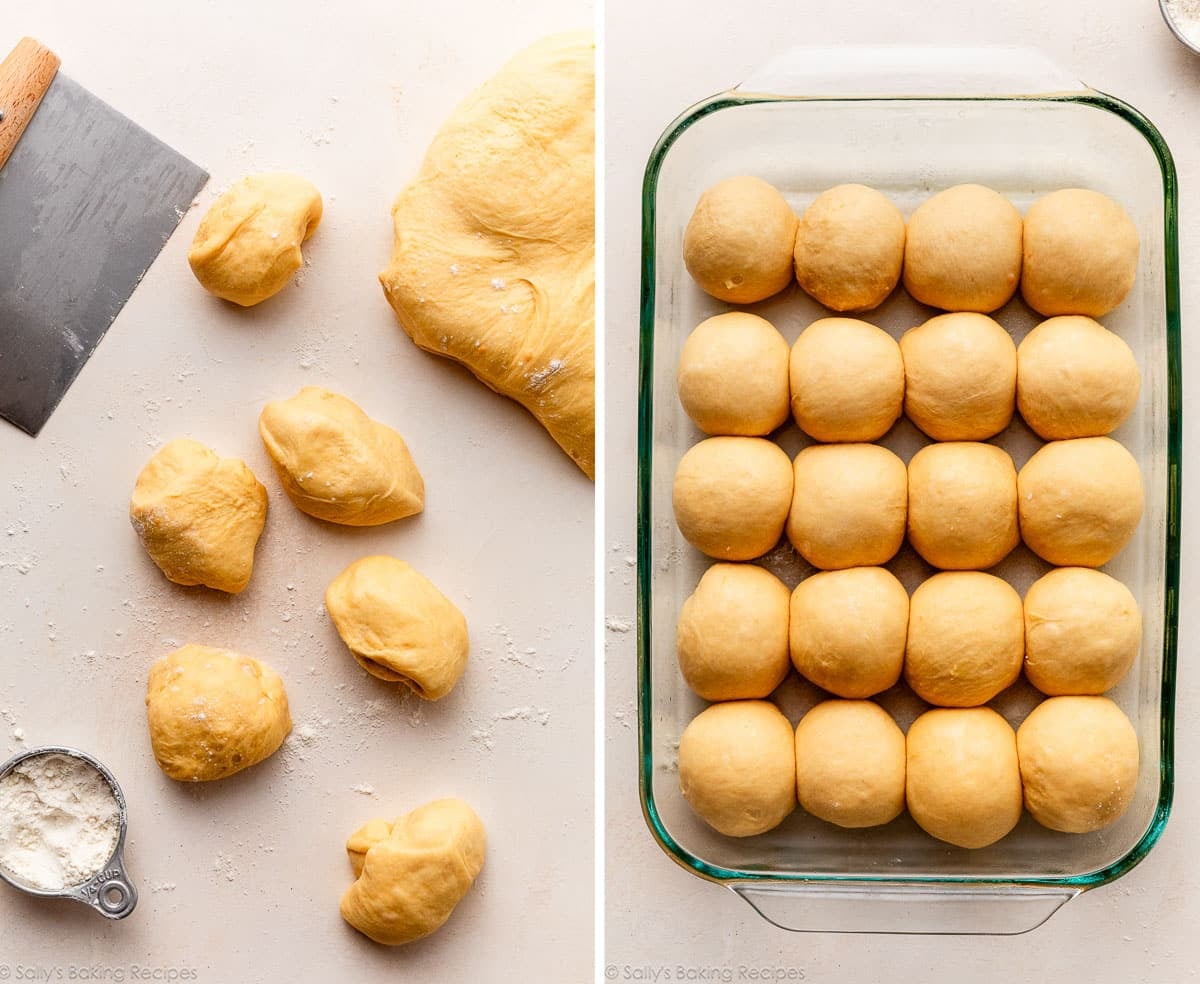
Arrange them in a greased baking pan. A 9×13-inch baking pan is ideal for these sweet potato rolls, but you can bake them on a lined baking sheet or in two 9-inch round or square pans instead.
Loosely cover, and let the shaped rolls rise for another 30 to 45 minutes before baking.
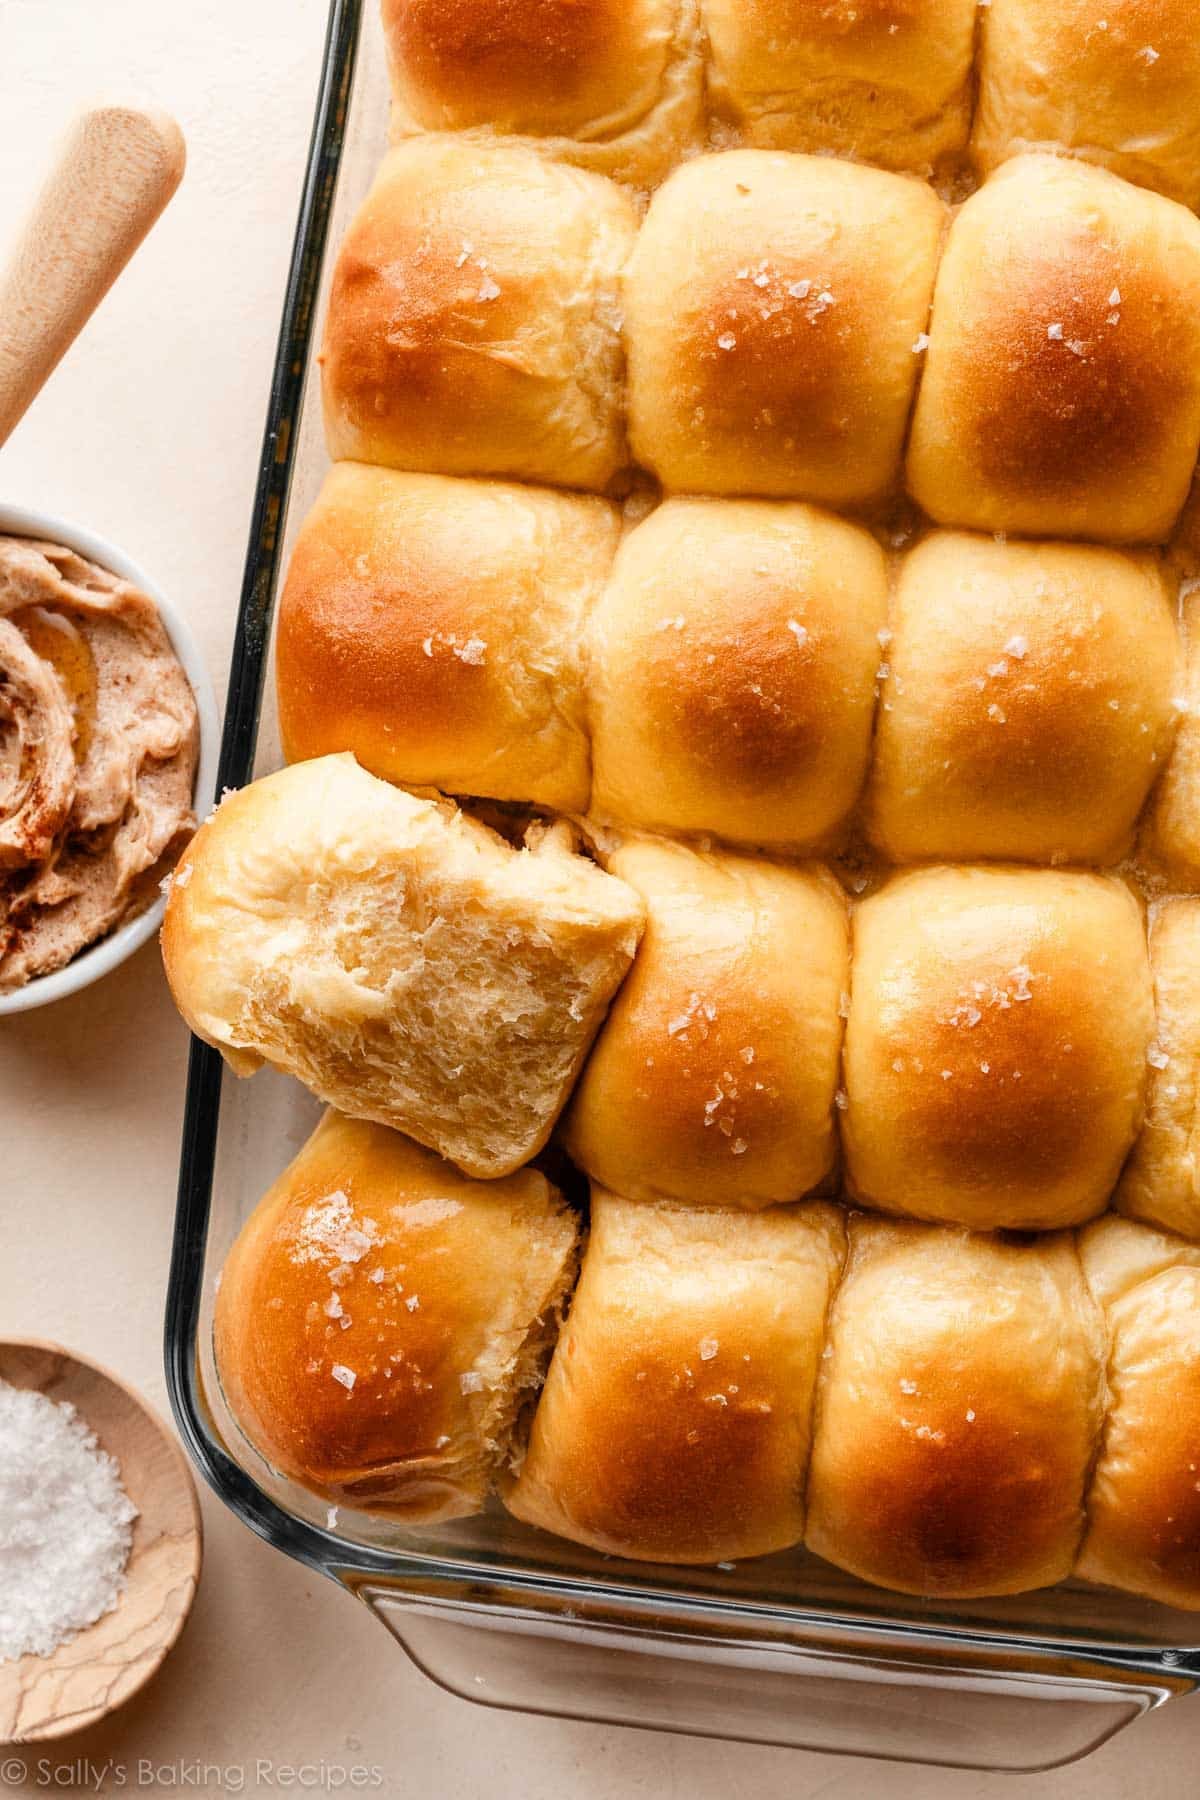
Just wait until you smell these baking! The rolls are done when they’re golden brown on top.
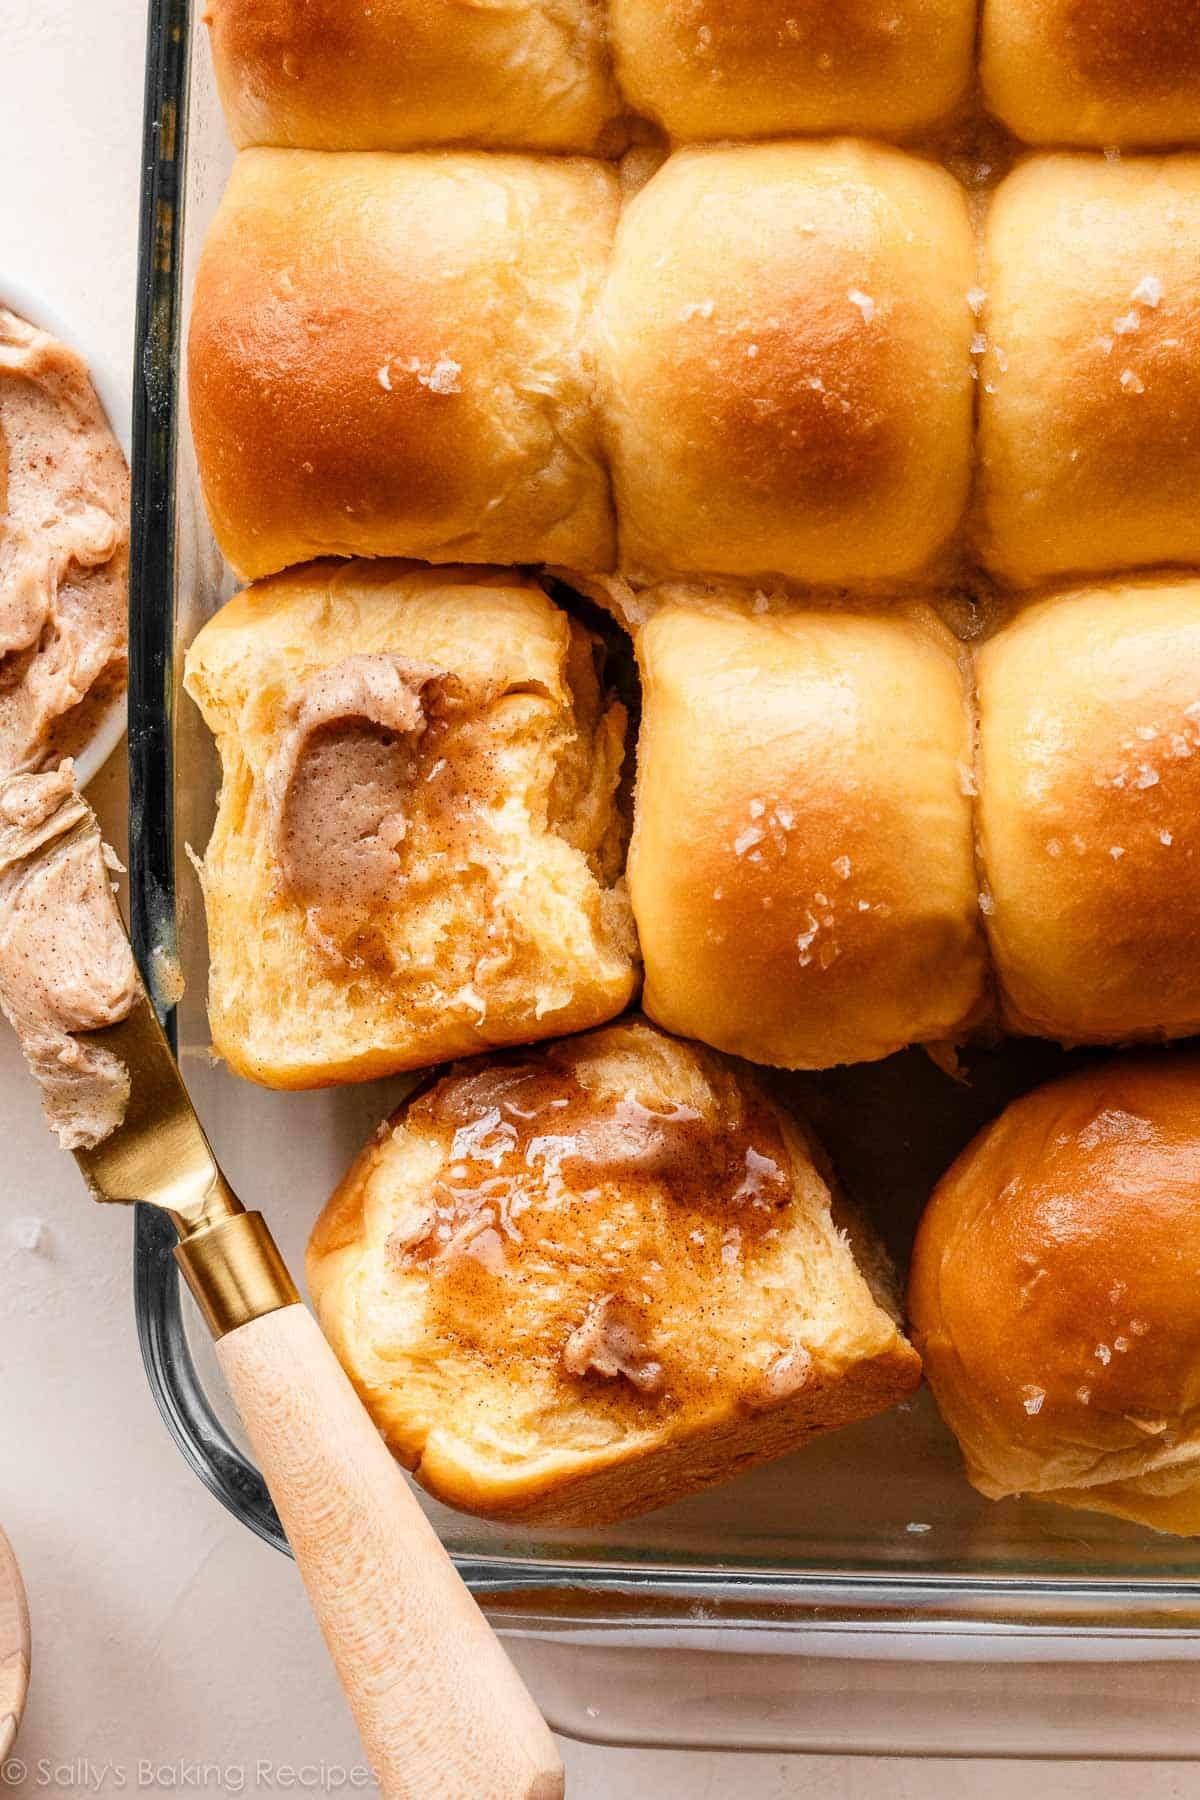
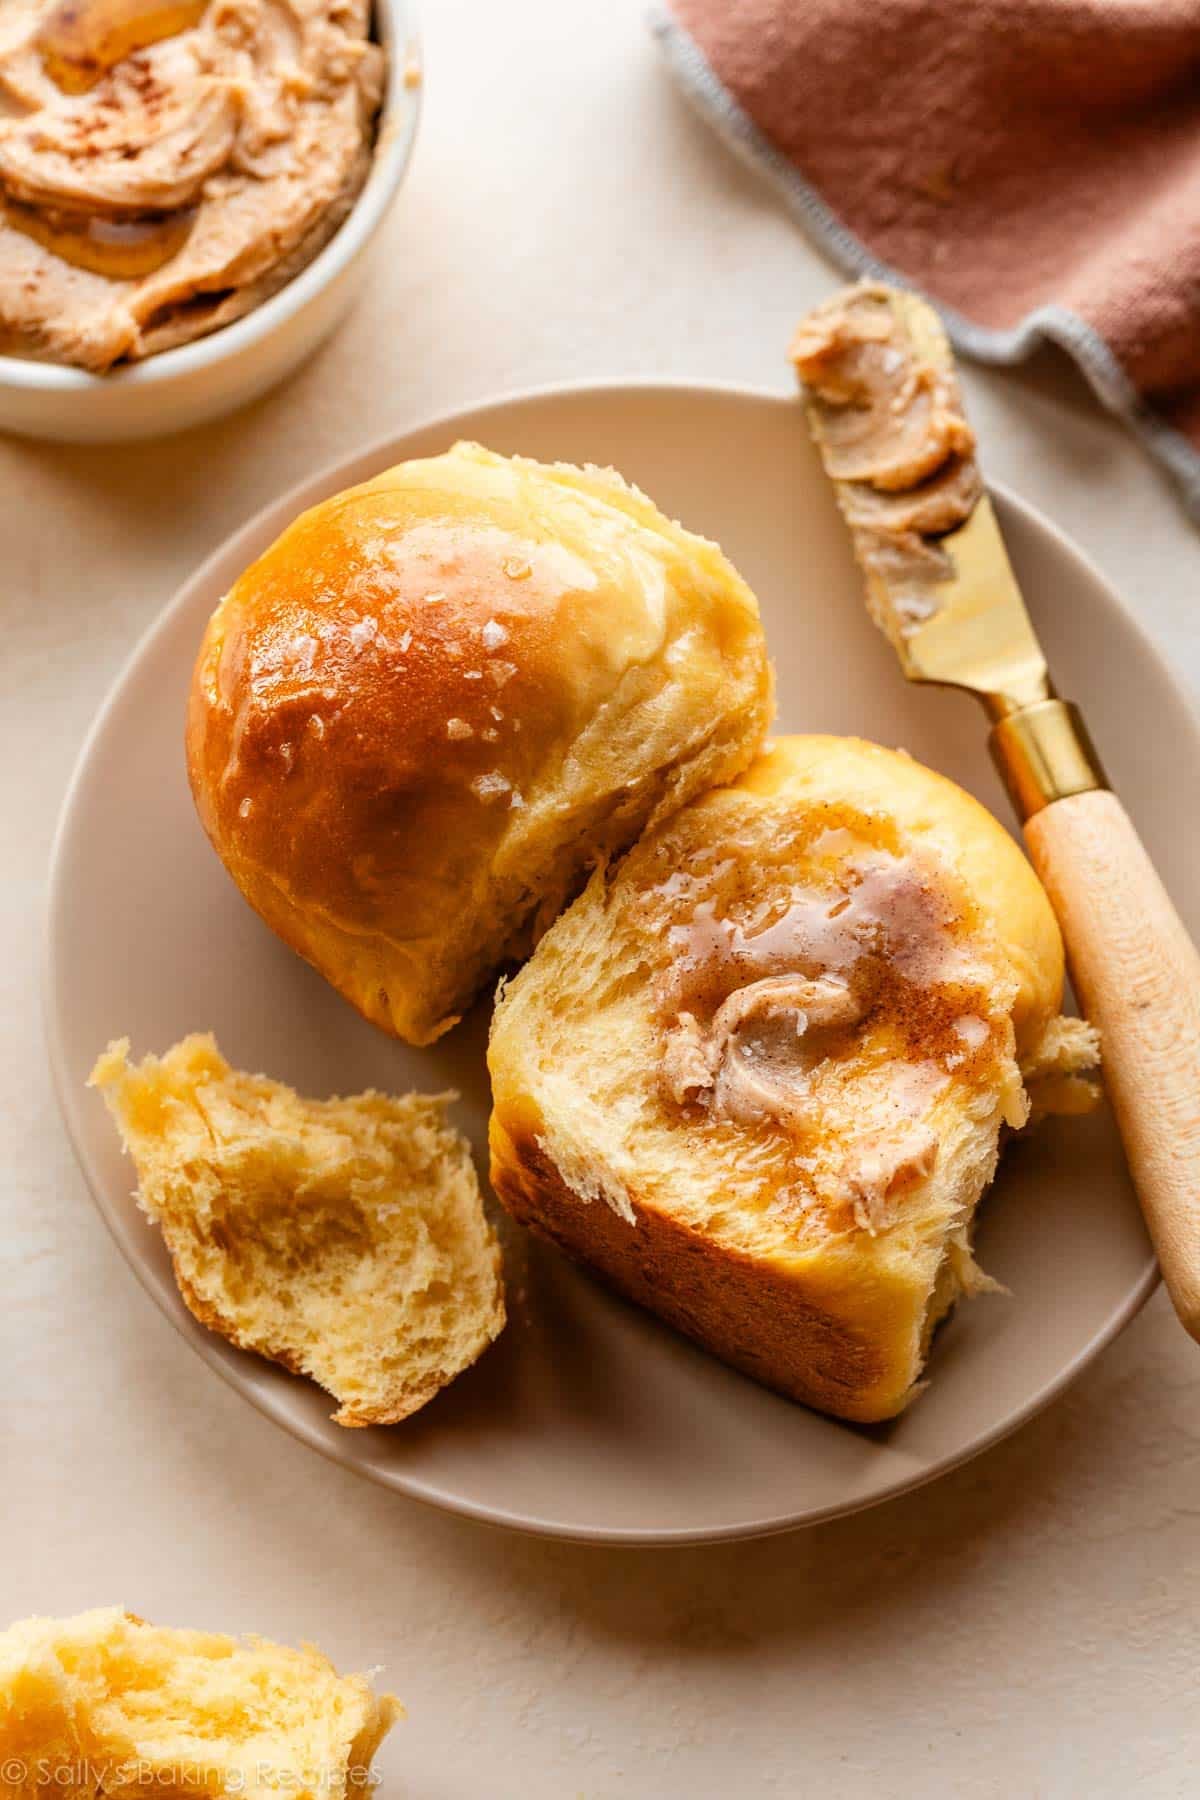
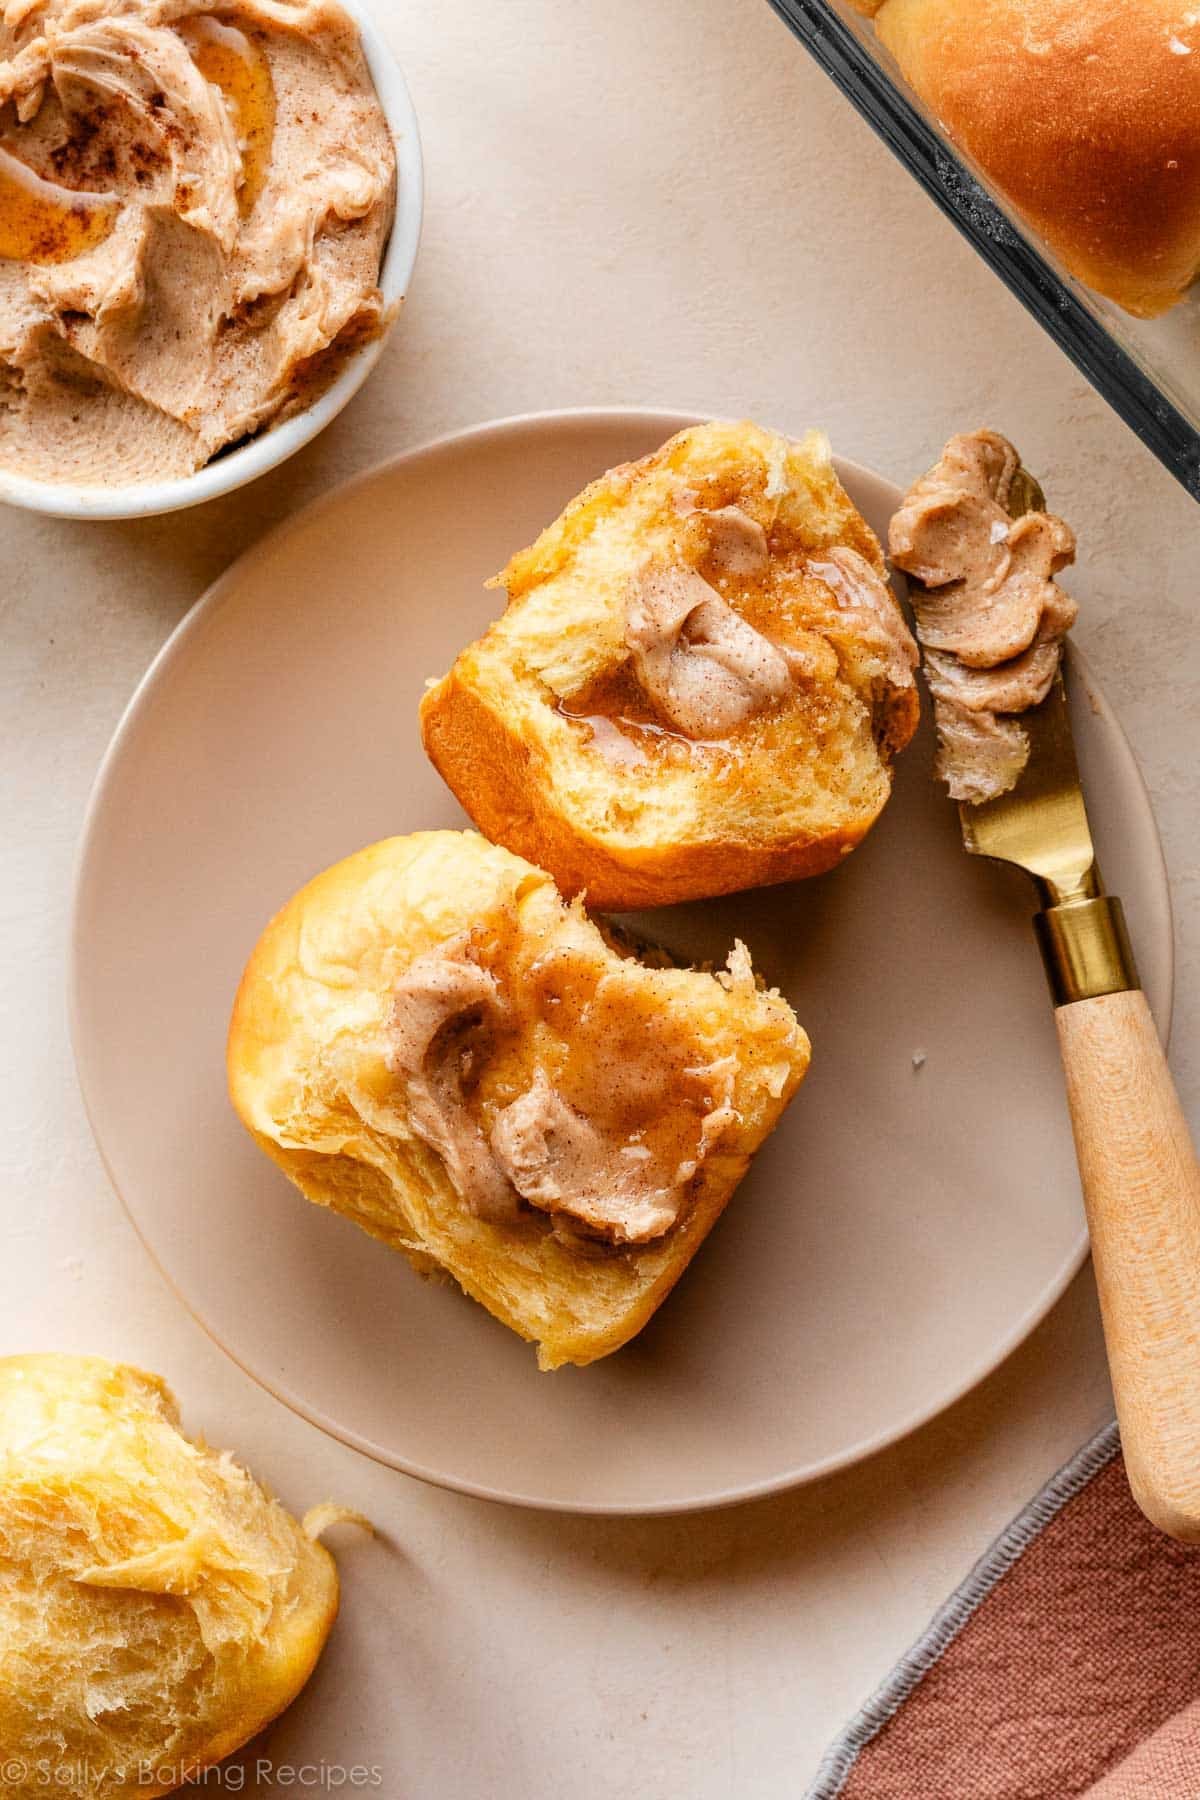
Brush the warm rolls with a little melted butter, and finish with an optional sprinkle of sea salt. If you’d like a recommendation, I use and love Maldon flaky sea salt. (Not sponsored, just what I personally use!)
If you want to take them to the next level, these are AHHHH-mazing with homemade cinnamon butter. (Honey butter too, of course!)
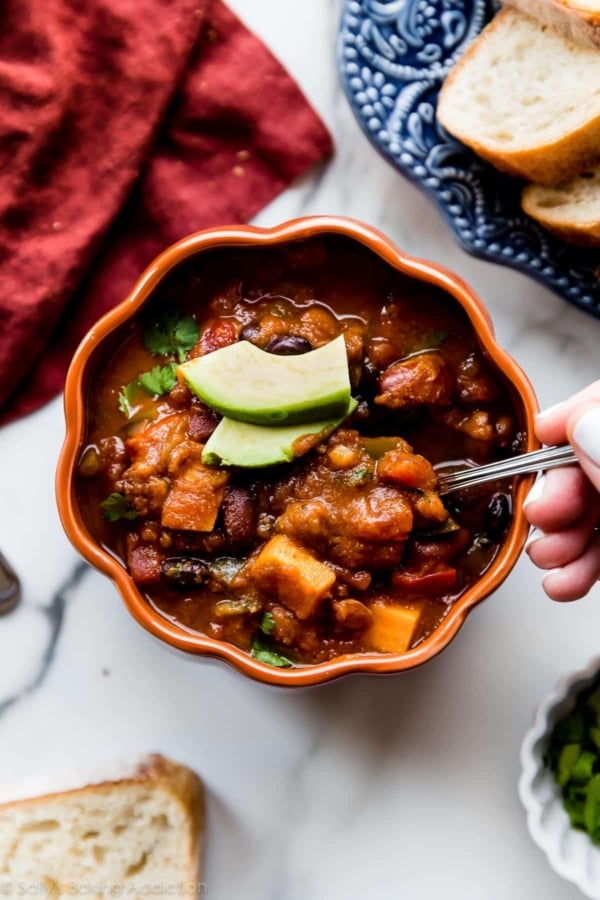
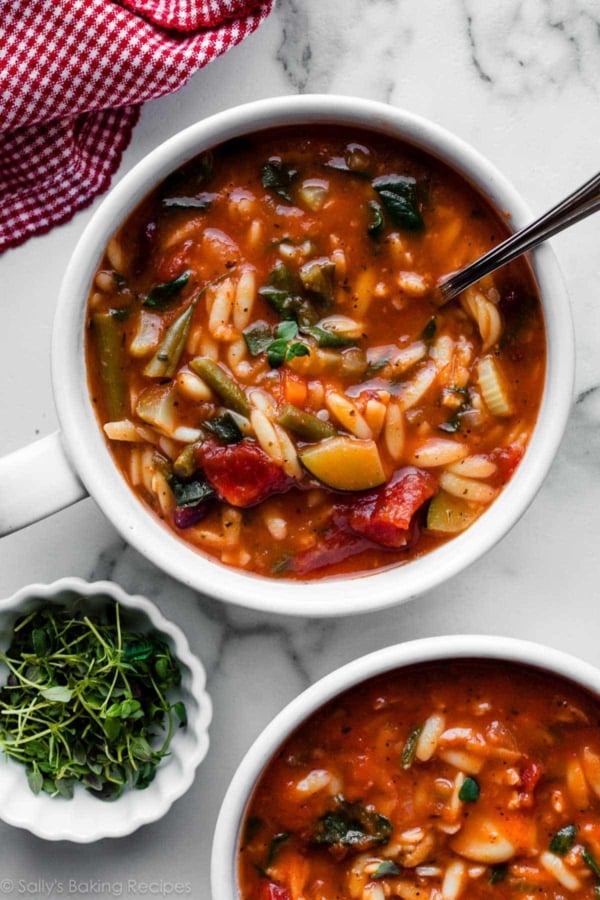
Serve them alongside any of these fall dinner recipes, and here are some more ideas:


Soft Sweet Potato Rolls
- Prep Time: 3 hours, 20 minutes
- Cook Time: 25 minutes
- Total Time: 3 hours, 45 minutes
- Yield: 20 rolls
- Category: Dinner
- Method: Baking
- Cuisine: American
Description
Fluffy, flaky, soft, and extra tall sweet potato dinner rolls are a wonderful accompaniment to a holiday meal—but you don’t have to wait for a holiday to enjoy them. Top with flaky sea salt and serve with homemade cinnamon butter for a side dish that will upstage the main course! If you’re a bread beginner, reference my Baking with Yeast Guide for answers to common yeast FAQs.
Ingredients
- 1 medium sweet potato, about 250–290g, peeled and chopped (to yield 1 cup mashed)
- 3/4 cup (180ml) whole milk, warmed to about 110°F (43°C)
- 2 and 1/4 teaspoons Platinum Yeast from Red Star (1 standard-size packet)
- 1/3 cup (113g) honey, divided
- 2 large eggs, at room temperature
- 5 Tablespoons (71g) unsalted butter, softened
- 1 and 3/4 teaspoons salt
- 5 and 1/2 cups (715g) bread flour* (spooned & leveled), plus more as needed
- optional: 2 Tablespoons (28g) melted butter and flaky sea salt, for finishing
Instructions
- Prepare the sweet potato: Place the chopped sweet potato in a medium saucepan and add enough water to cover. Bring to a boil over high heat, then reduce the heat to medium-high and boil until the sweet potato is very soft and tender, about 10–12 minutes. Drain off the water, then mash the sweet potato as well as you can—a few small lumps are okay. Measure 1 cup (230g) of mashed sweet potato to use in the dough, and set aside to slightly cool. (Do not use more than 1 cup in your dough. Discard or eat any leftover.)
- Proof the yeast: Whisk the warm milk, yeast, and 2 Tablespoons of honey together in the bowl of your stand mixer. Cover and allow to sit for 5 minutes. *If you do not own a stand mixer, you can do this in a large mixing bowl and in the next step, mix the dough together with a large wooden spoon/silicone spatula. It will take a bit of arm muscle. I don’t recommend using a hand mixer because the sticky dough repeatedly gets stuck in the beaters. Mixing by hand with a wooden spoon or silicone spatula is a better choice.*
- Make the dough: Add the remaining honey, eggs, butter, mashed sweet potato, salt, and 1 cup (125g) flour to the yeast mixture. With a dough hook or paddle attachment, mix/beat on low speed for 1 minute. Stop and scrape down the sides of the bowl with a silicone spatula, then add the remaining flour. Beat on medium speed until the dough comes together and pulls away from the sides of the bowl, about 3 minutes. If the dough seems too wet to a point where kneading (next step) would be impossible, beat in more flour 1 Tablespoon at a time until you have a workable dough. Don’t be nervous if you’re adding a lot more flour; there are a lot of variables such as moisture in the sweet potato, humidity, weather, etc. Dough should be soft and a little sticky, but still manageable to knead with lightly floured hands.
- Knead the dough: Keep the dough in the mixer fitted with a dough hook and beat on low speed for an additional 5 full minutes, or knead by hand on a lightly floured surface for 5 full minutes. (If you’re new to bread-baking, my How to Knead Dough video tutorial can help here.) If the dough becomes too sticky during the kneading process, sprinkle 1 teaspoon of flour at a time on the dough or on the work surface/in the bowl to make a soft, slightly tacky dough. After kneading, the dough should feel soft and smooth. Poke it with your finger—if it slowly bounces back, your dough is ready to rise. You can also do a “windowpane test” to see if your dough has been kneaded long enough: tear off a small (roughly golfball-size) piece of dough and gently stretch it out until it’s thin enough for light to pass through it. Hold it up to a window or light. Does light pass through the stretched dough without the dough tearing first? If so, your dough has been kneaded long enough and is ready to rise. If not, keep kneading until it passes the windowpane test.
- 1st Rise: Lightly grease a large bowl with oil or nonstick spray. Place the dough in the bowl, turning it to coat all sides in the oil. Cover the bowl and allow the dough to rise in a relatively warm environment for 1–2 hours or until double in size. (I always let it rise on the counter. Takes about 1 and 1/2 hours. For a tiny reduction in rise time, see my answer to Where Should Dough Rise? in my Baking with Yeast Guide.)
- Grease a 9×13-inch baking pan.
- Shape the rolls: When the dough is ready, punch it down to release the air. Divide the dough into 20 equal pieces, about 65–75g each (doesn’t need to be exact!). A bench scraper is always helpful for cutting dough. Shape each piece into a smooth ball. Arrange in prepared baking pan.
- 2nd Rise: Cover shaped rolls and allow to rise until puffy, about 30 to 45 minutes.
- Adjust oven rack to a lower position and preheat oven to 350°F (177°C). (It’s best to bake the rolls towards the bottom of the oven so the tops don’t burn.)
- Bake the rolls: Bake for 25 minutes or until golden brown on top (internal temperature if taken with an instant-read thermometer should be 190°F), rotating the pan halfway through. If you notice the tops browning too quickly, loosely tent the pan with aluminum foil (I usually add it after 20 minutes). Remove from the oven, brush with melted butter and sprinkle with flaky sea salt, and allow rolls to cool for 15 minutes before serving. We’ve learned that the longer they cool, the better their flavor.
- Cover leftover rolls tightly and store at room temperature for up to 3 days, or in the refrigerator for up to 1 week.
Notes
- Freezing Unbaked Rolls: After shaping the rolls in step 7, but before the second rise, you can freeze them. Place shaped rolls in a greased baking pan, cover tightly, and freeze for up to 3 months. Once frozen, the dough balls won’t stick together anymore and you can place them in a freezer bag if needed. On the day you serve them, arrange the dough balls in a greased baking pan, cover tightly, then let them thaw and rise for about 4-5 hours. Bake as directed. *We find the texture is always a little better when the rolls are fully baked first, then frozen. They thaw and reheat beautifully! See next Note.*
- Freezing Baked Rolls: You can freeze the baked dinner rolls. Allow them to cool completely, then place them in a freezer-safe container or bag and freeze for up to 3 months. Thaw in the refrigerator or at room temperature, then reheat as desired. If reheating the whole pan, lightly cover and reheat in a 300°F (150°C) oven for about 10 minutes or until warm. If you are planning to freeze the baked rolls, omit the melted butter and flaky sea salt finishing step after baking, and instead do that after thawing and reheating.
- Overnight Instructions: Prepare the recipe through step 7. Cover the shaped rolls tightly and refrigerate for up to about 15 hours. At least 3 hours before you need them the next day, remove the rolls from the refrigerator, keep covered, and allow to rise on the counter for about 1-2 hours before baking. Alternatively, you can let the dough have its 1st rise in the refrigerator overnight. Cover the dough tightly and place in the refrigerator for up to about 15 hours. Remove from the refrigerator and allow the dough to fully rise for 2 more hours. Continue with step 6.
- Special Tools (affiliate links): Vegetable Peeler | Saucepan | Potato Masher or Pastry Cutter | Whisk | Stand Mixer or Large Glass Mixing Bowl | Silicone Spatula | 9×13-inch Glass Baking Pan | Bench Scraper | Pastry Brush | Flaky Sea Salt
- No Stand Mixer? If you do not own a stand mixer, you can use a large mixing bowl and mix the dough together with a sturdy silicone spatula or wooden spoon. It will take a bit of arm muscle. Do not use a hand mixer because the sticky dough repeatedly gets stuck in the beaters.
- Baking Pan: I prefer baking the rolls in a glass 9×13-inch baking pan because I find they brown a little too quickly in a metal pan. But as long as you bake the rolls on a lower oven rack and keep your eye on them, any pan is great. You can also bake these rolls in a large cast iron skillet, in two 9-inch round or square baking pans, or on a lined baking sheet. Bake time remains the same.
- Can I Use Regular Potato? Yes. No other changes necessary.
- Can I Use Canned Sweet Potato? I do not recommend it; canned mashed sweet potato is typically thinner in consistency than freshly mashed and will throw off the moisture content in the dough.
- Milk: Whole milk is ideal for the best, richest flavor and texture. Keeping that in mind, feel free to substitute with a lower-fat or nondairy milk.
- Yeast: I always use instant yeast, but if you use active dry yeast, there are no changes to the recipe. Rise times will be slightly longer using active dry yeast. Reference my Baking with Yeast Guide for answers to common yeast FAQs.
- Flour: If you don’t have bread flour, you can use all-purpose flour. All-purpose flour is convenient for most, but bread flour produces chewier dinner rolls. The rolls are still soft and fluffy no matter which you use. Either flour is fine and there are no other changes to the recipe if you use one or the other.


Reader Comments and Reviews
This turned out so well! The rolls were perfectly chewy and fluffy!
Great recipe. Have used it for most of my baking needs. Cheesy pesto rolls. Cinnamon rolls. Korean cheesy garlic buns
Great recipe. Hope to win
I was surprised by how much I like these. I’m not a fan of sweet potatoes, so I was a little apprehensive, but the flavor is light and airy. Texture is fluffy and a bit chewy, which is good. Definitely do watch them over 20 minutes!
I have a large family. Is there any reason I can’t double this recipe or should I make 2 separate batches? Also, would the bake time change if I made the rolls slightly smaller (50ish grams) but still put the same amount of dough called for in the 9×13 pan?
Hi Regina, For the best results we recommend making two separate batches.
Great addition to friendsgiving with friends! Easy to make and so good!
Perfect soft dinner rolls!
These turned out great! Recipe was easy to follow and the rolls had good texture and flavor.
Awesome recipe! The rolls are absolutely delicious and easy to make!
These rolls rose up so nicely, even with doing the overnight option. They are such a beautiful color and texture. My whole family loved them!
Delicious and relatively easy to prepare.
They were soft and the flavor definitely got better with age. The butter was worth it too!
This recipe was fun to make! I can’t say I loved the flavor… I should have added more salt. The sweet potato flavor wasn’t super well defined, but present. More salt may have helped the flavor come through. Made a fluffy dinner roll!
These rolls are amazing and fairly simple to make. I’ll definitely be making these again. They would be great for sliders. The cinnamon butter makes them dessert worthy.
I forgot the five star rating these rolls deserve!!
Delicious sweet potato rolls! Some of the best dinner rolls i have made!
I don’t even know where to begin with these rolls! They are absolutely incredible! Super soft fluffy and the taste was amazing. I was nervous making these but they turned out so well that even my picky kid ate 3 of them!
Hi! I don’t have bread flour, can I use regular flour?
Hi Victoria, see the recipe notes! If you don’t have bread flour, you can use all-purpose flour. All-purpose flour is convenient for most, but bread flour produces chewier dinner rolls. The rolls are still soft and fluffy no matter which you use. Hope you love these rolls!
I’m usually not a dinner rolls person (I’ll take a biscuit over a roll any day!) but these were FANTASTIC! I ended up kneading them longer than I expected, but I trusted the process and they turned out so well. The cinnamon honey butter is a must – I only made a half batch and regretted it!
Soft and delicious! The cinnamon butter paired perfectly with these rolls!
I especially loved these with the cinnamon butter. Yum!
Perfect dinner rolls!! Might have to be a new addition to Thanksgiving dinner. I was so surprised how easy they were to make and how amazing they came out. Paired with the cinnamon butter….chefs kiss!
So delicious! Could barely let them cool down before I dove into one. Totally agree with Sally in that the flavor only gets better the longer they cool! Super easy recipe and a great result. Rolls were buttery and pillowy and so soft! Will be making again for Thanksgiving!!
Absolutely delicious (especially with the cinnamon butter!). I’m a newbie to baking with yeast & Sally’s instructions guided me perfectly!
Made these for the first time. Family loved them with the cinnamon butter. Suggested making a double batch for Thanksgiving. Tried to make them with King Arthur glutten free flour designed for yeast breads. Not happy with those results
Has anyone made these glutten free? If so, can you give suggestions as to how it’s done.
These roll were very easy to make and smelled absolutely delicious while they were baking. I think I finally found a recipe using sweet potatoes that my brother likes!
Great recipe. My family just loved them. Thank you Sally for the great recipe.
These were amazing! The party I took them too had people raving and asking for the recipe. They were especially good with the cinnamon butter recipe from sally as well! I am going to make them again or thanksgiving.
Delicious buns.
YUM. I’m usually not the best at making bread, but these turned out so yummy!!! My family loved them and i will definitely be making them again! Thanks, Sally!
These rolls came out beautifully and got rave reviews. I was nervous waiting for the dough to rise but I just need to be patient. Planning to make them again for Thanksgiving dinner.
This recipe was surprisingly easy, and it’s fun when baking fresh bread always seems to impress guests! The sweet potato makes these rolls unbelievably pillowy. I found they weren’t quite as “fluffy” as I expected but no one around the table seemed to care, and they actually preferred the moistness from the heavily enriched dough. Don’t skip the sea salt – it really contrasts the sweet roll nicely!
Great dinner roll recipes, easy to make, delicious too!!