

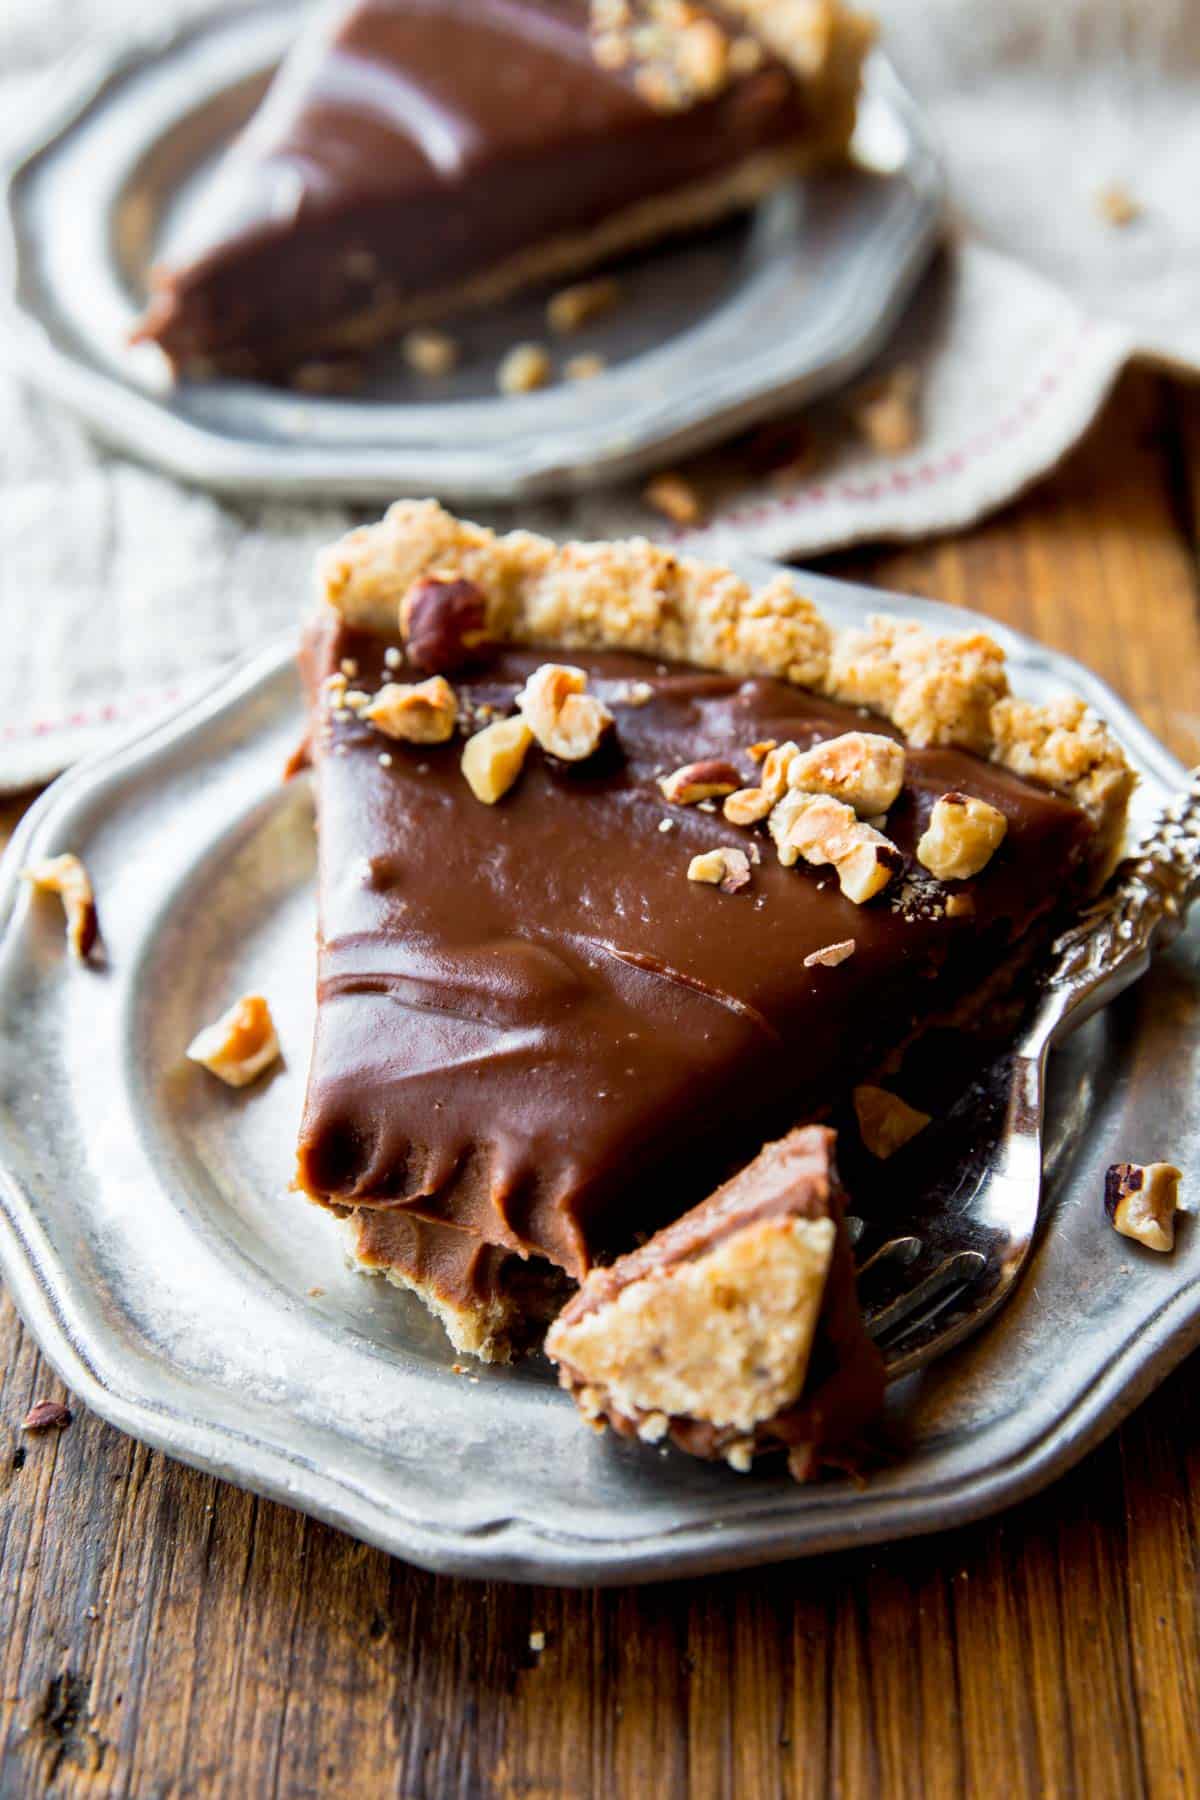
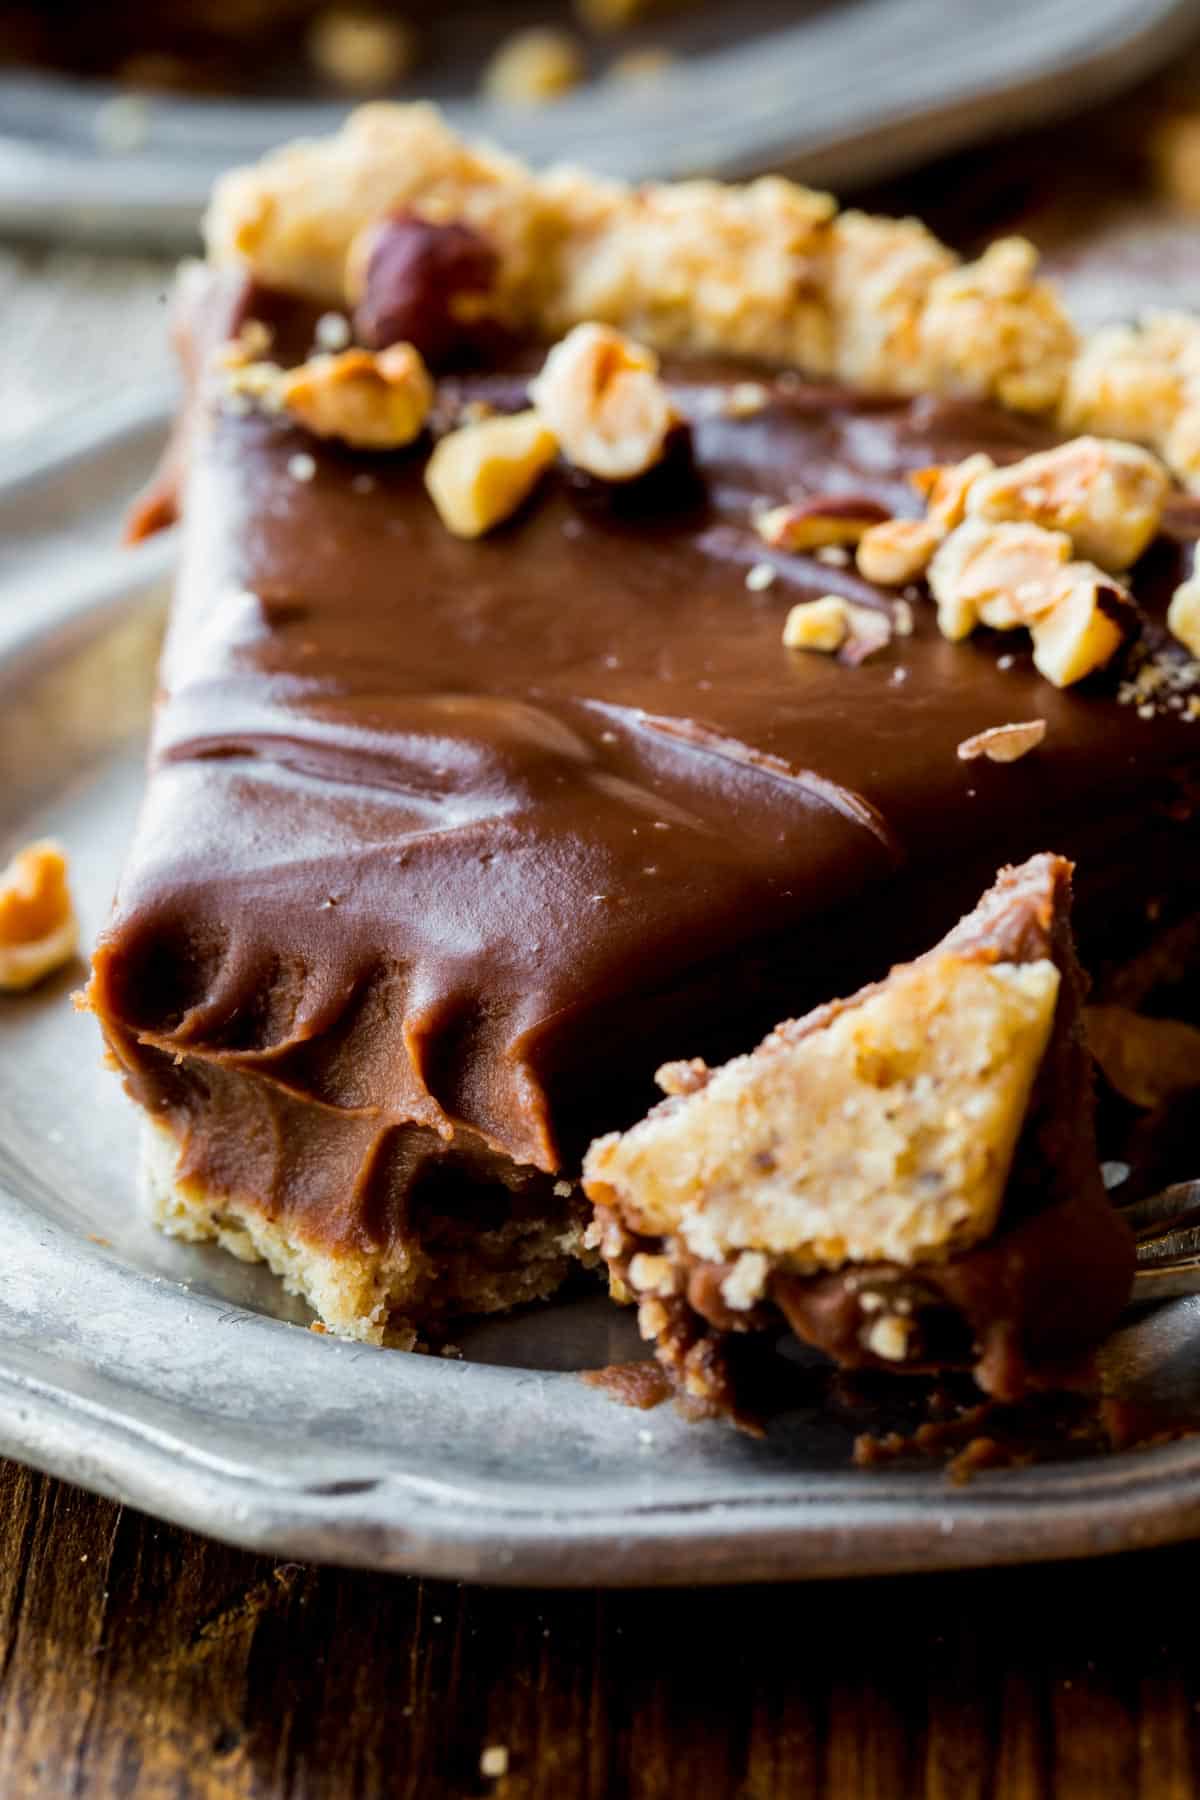
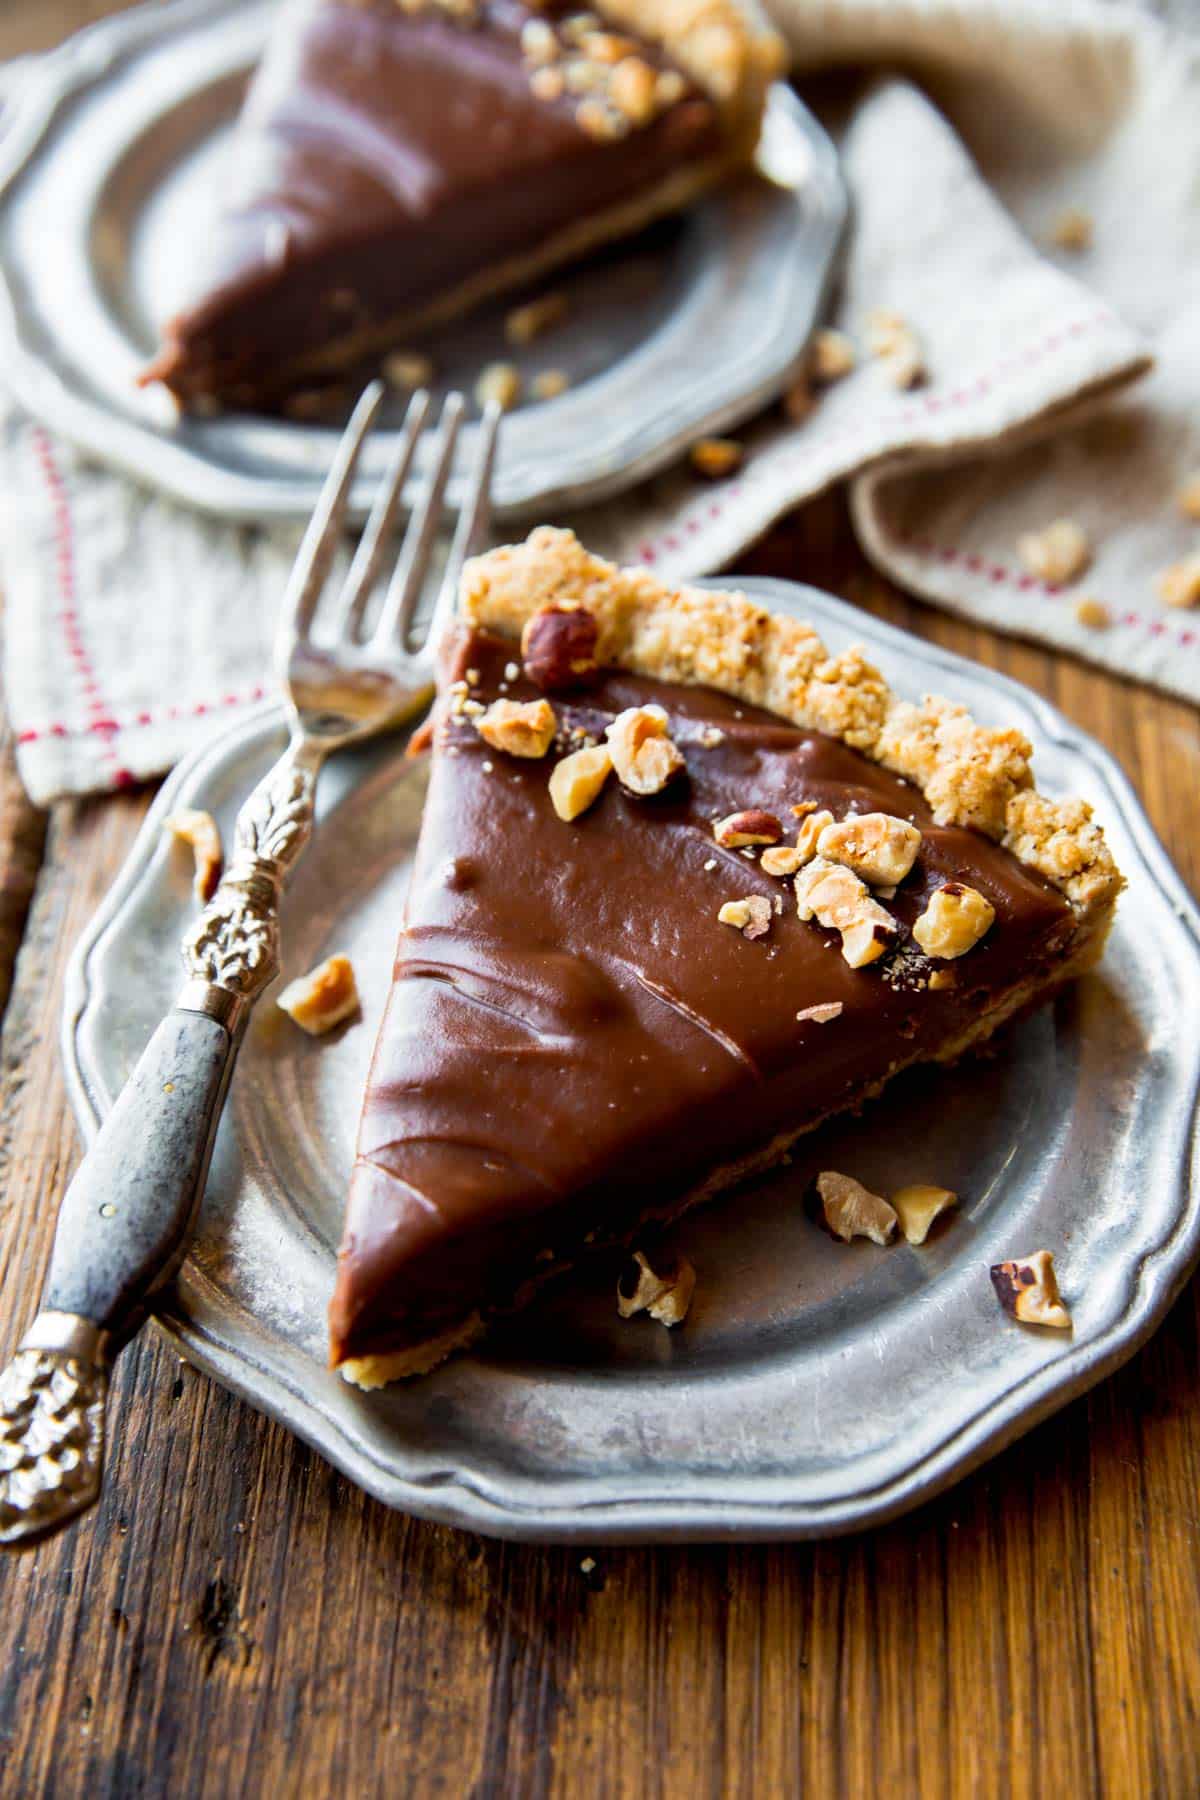
This Nutella tart tastes exactly how it looks: lush. It’s a Nutella ganache of sorts, cooked on the… I’m sorry, wait. Did you read that just now? NUTELLA GANACHE. Like regular chocolate ganache, but even better.
Ok so a Nutella ganache cooked on the stovetop in a matter of minutes and poured into a toasted hazelnut crust. It’s rich, but not quite as rich as you would guess. Who am I kidding, the ingredients are heavy cream and Nutella. It’s exactly as rich as you would guess.
While this is essentially a foolproof recipe (I swear it’s easy), I have a bunch of step shots for you so you can understand exactly what you’re doing with both the crust and the filling. I’ll put all of the step shots below the recipe since there’s quite a few.
But here’s what you need to know right now:
- All of the filling’s flavor comes from Nutella. I was tempted to put chopped up chocolate in the filling as well, but didn’t want anything—even plain chocolate—to take away from Nutella’s own chocolate flavor.
- You’ll only need 5 ingredients for the Nutella filling. And they’re all basic ingredients like cream, cornstarch, Nutella, vanilla, and salt.
- The crust is wonderfully crunchy and a delightful complement to the smooth Nutella filling it holds. Where are all my texture loving friends out there? This dessert is for us.
- Taking a few minutes to toast the chopped hazelnuts beforehand intensifies their flavor, which clearly pairs well with chocolate hazelnut spread!
- Make the crust in your food processor. Just wait until you smell everything coming together. Those toasted hazelnuts are unbelievably dreamy.
- You don’t need to bake the filling! Just spread it inside the pre-baked crust and refrigerate.
- Since this recipe sets up in the fridge, your oven is clear for other Thanksgiving pies. We all really need this!
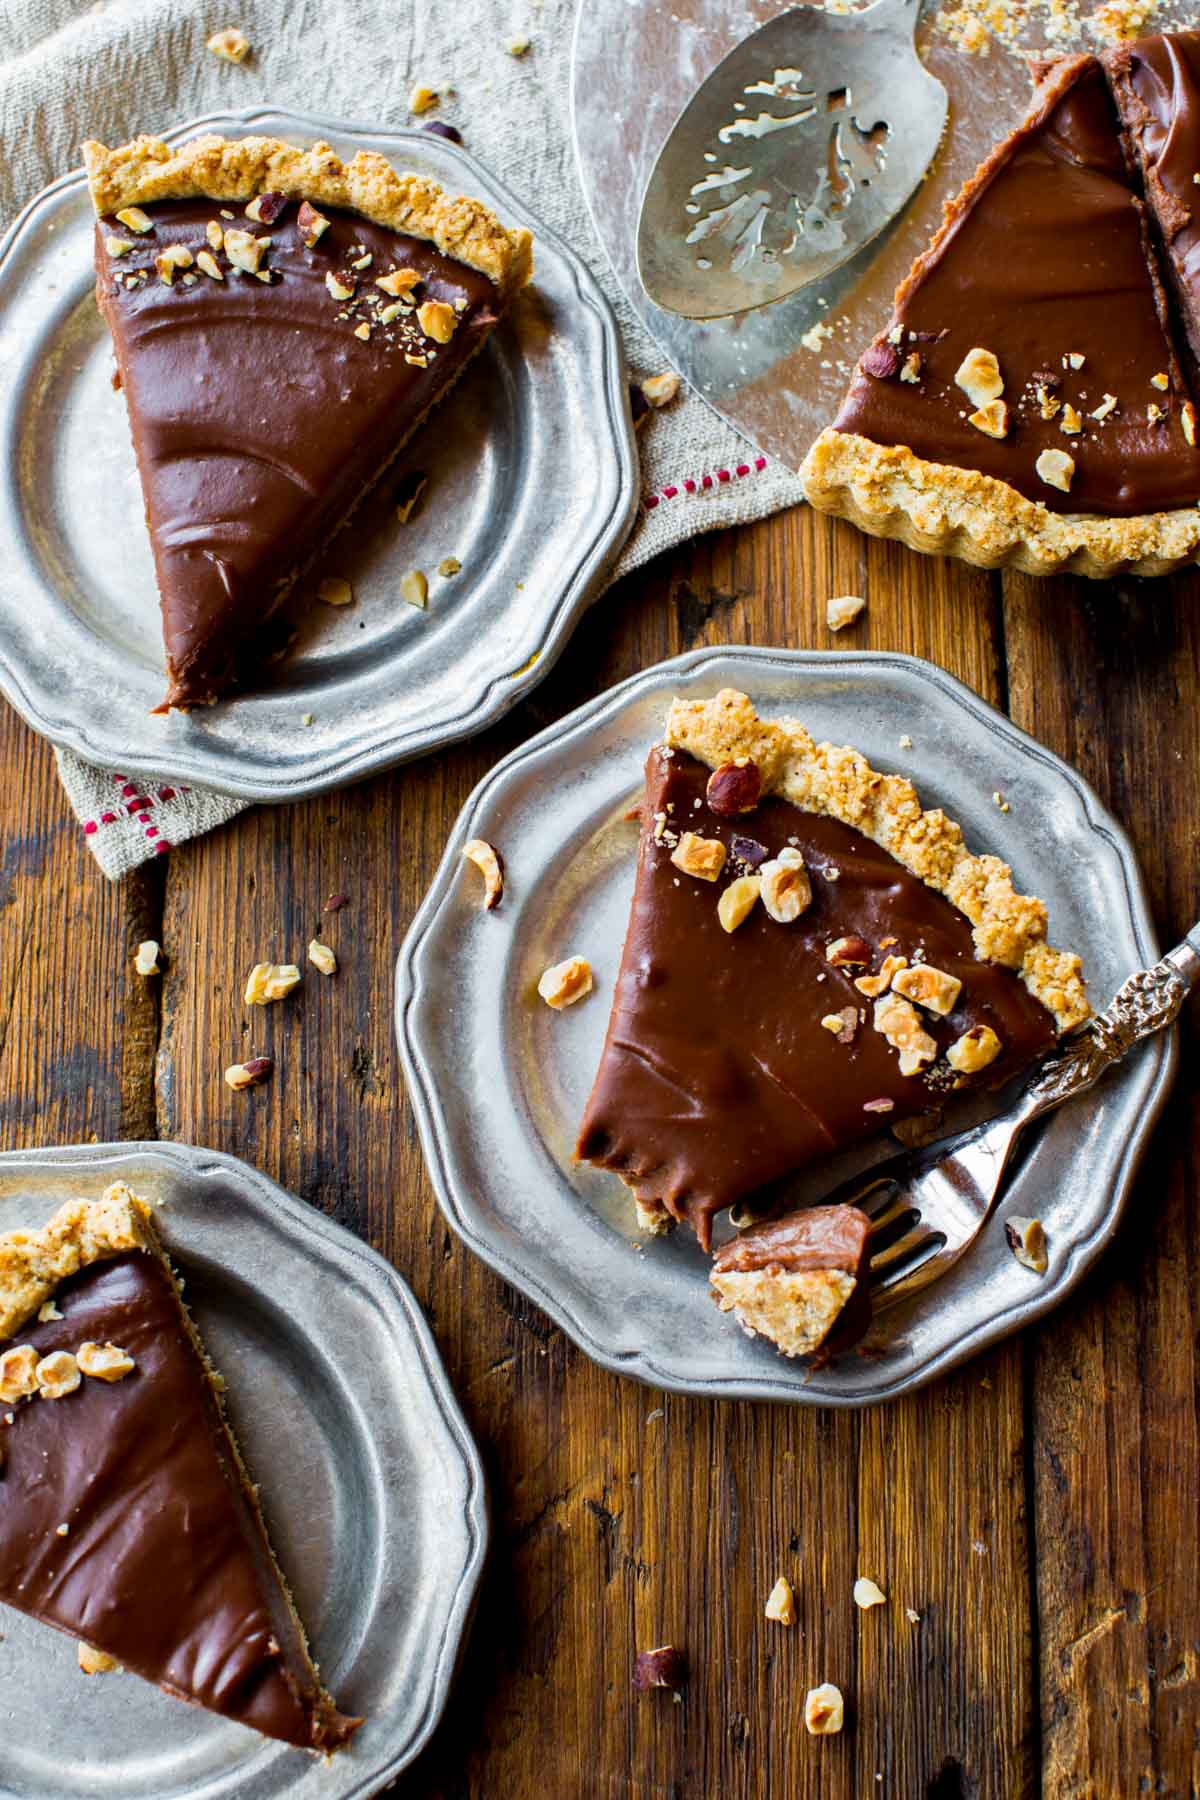
Also: make ahead recipe alert! Since this tart sets up in the refrigerator—and tastes best cold—you can essentially make it days in advance and let it hang out in the fridge until you need to serve it. You’ll love that!
Have leftover Nutella? Try my Nutella brownies or Nutella crinkle cookies next!
This recipe is part of Sally’s Pie Week, an annual tradition where I share a handful of new recipes that fit into the pie/crisp/tart category. Join the community below!
Print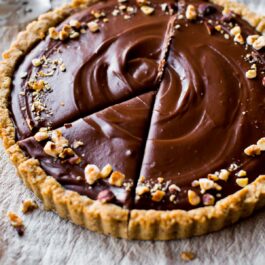
Nutella Tart with Toasted Hazelnut Crust
- Prep Time: 30 minutes
- Cook Time: 20 minutes
- Total Time: 4 hours, 30 minutes
- Yield: 8-10 servings
- Category: Tart
- Method: Baking
- Cuisine: American
Description
This unbelievably rich and creamy Nutella tart is complete with a toasted hazelnut crust. The perfect make ahead, irresistible dessert!
Ingredients
Toasted Hazelnut Crust
- 1 cup (120g) chopped unsalted hazelnuts
- 1 cup (125g) all-purpose flour (spooned & leveled)
- 2 Tablespoons (25g) granulated sugar
- 1/2 teaspoon salt
- 1/2 cup (8 Tbsp; 113g) unsalted butter, cold and cubed
- 3 Tablespoons (45ml) ice water
Nutella Filling
- 2 Tablespoons (14g) cornstarch
- 2 cups (480g) heavy cream
- 3/4 cup (225g) Nutella
- 1/8 teaspoon salt
- 1 teaspoon pure vanilla extract
Instructions
- I encourage you to check out the step-by-step photos below this recipe before beginning.
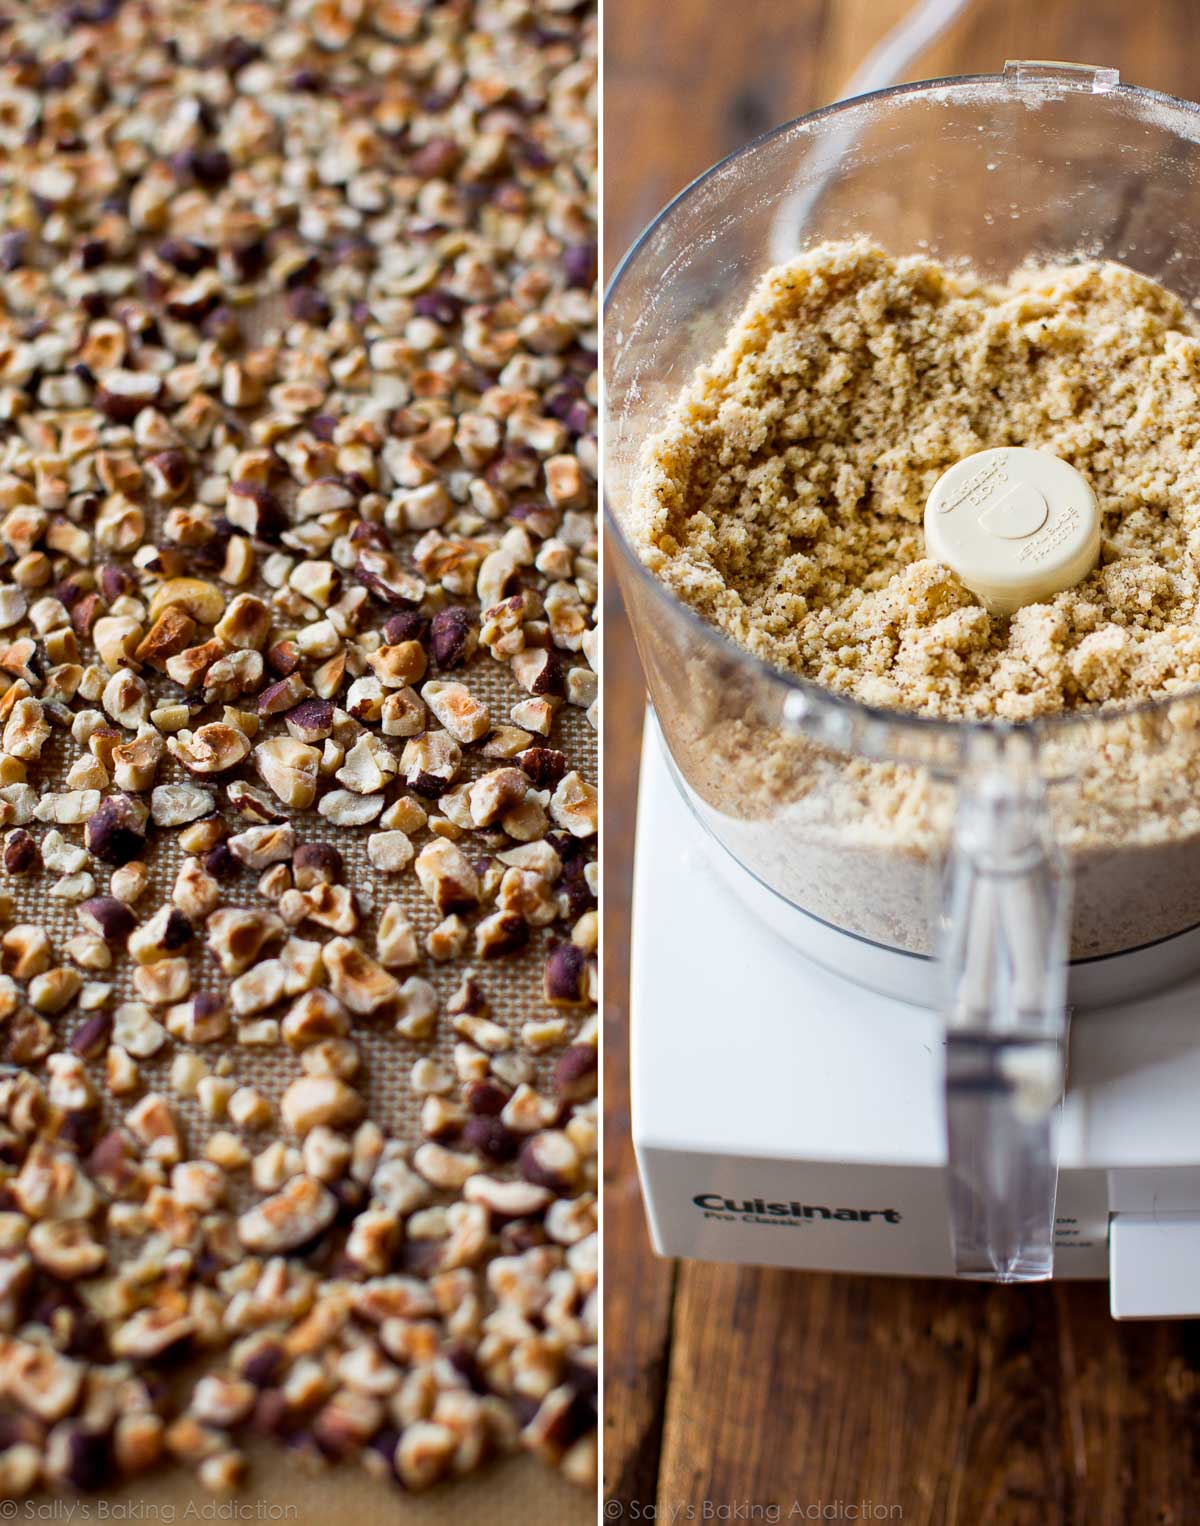
- Preheat the oven to 300°F (149°C). Spread chopped hazelnuts out onto a parchment paper or silicone baking mat lined baking sheet. Toast until slightly darkened, about 5-7 minutes. Allow to cool down for 5 minutes. Turn the oven up to 350°F (177°C)
- For the crust: Using a food processor, pulse 3/4 cup of the toasted hazelnuts, the flour, sugar, and salt together until it reaches the consistency of coarse meal. (Reserve 1/4 cup of the nuts for topping.) Add the cubes of cold butter and pulse until the mixture turns into pea-sized crumbs.
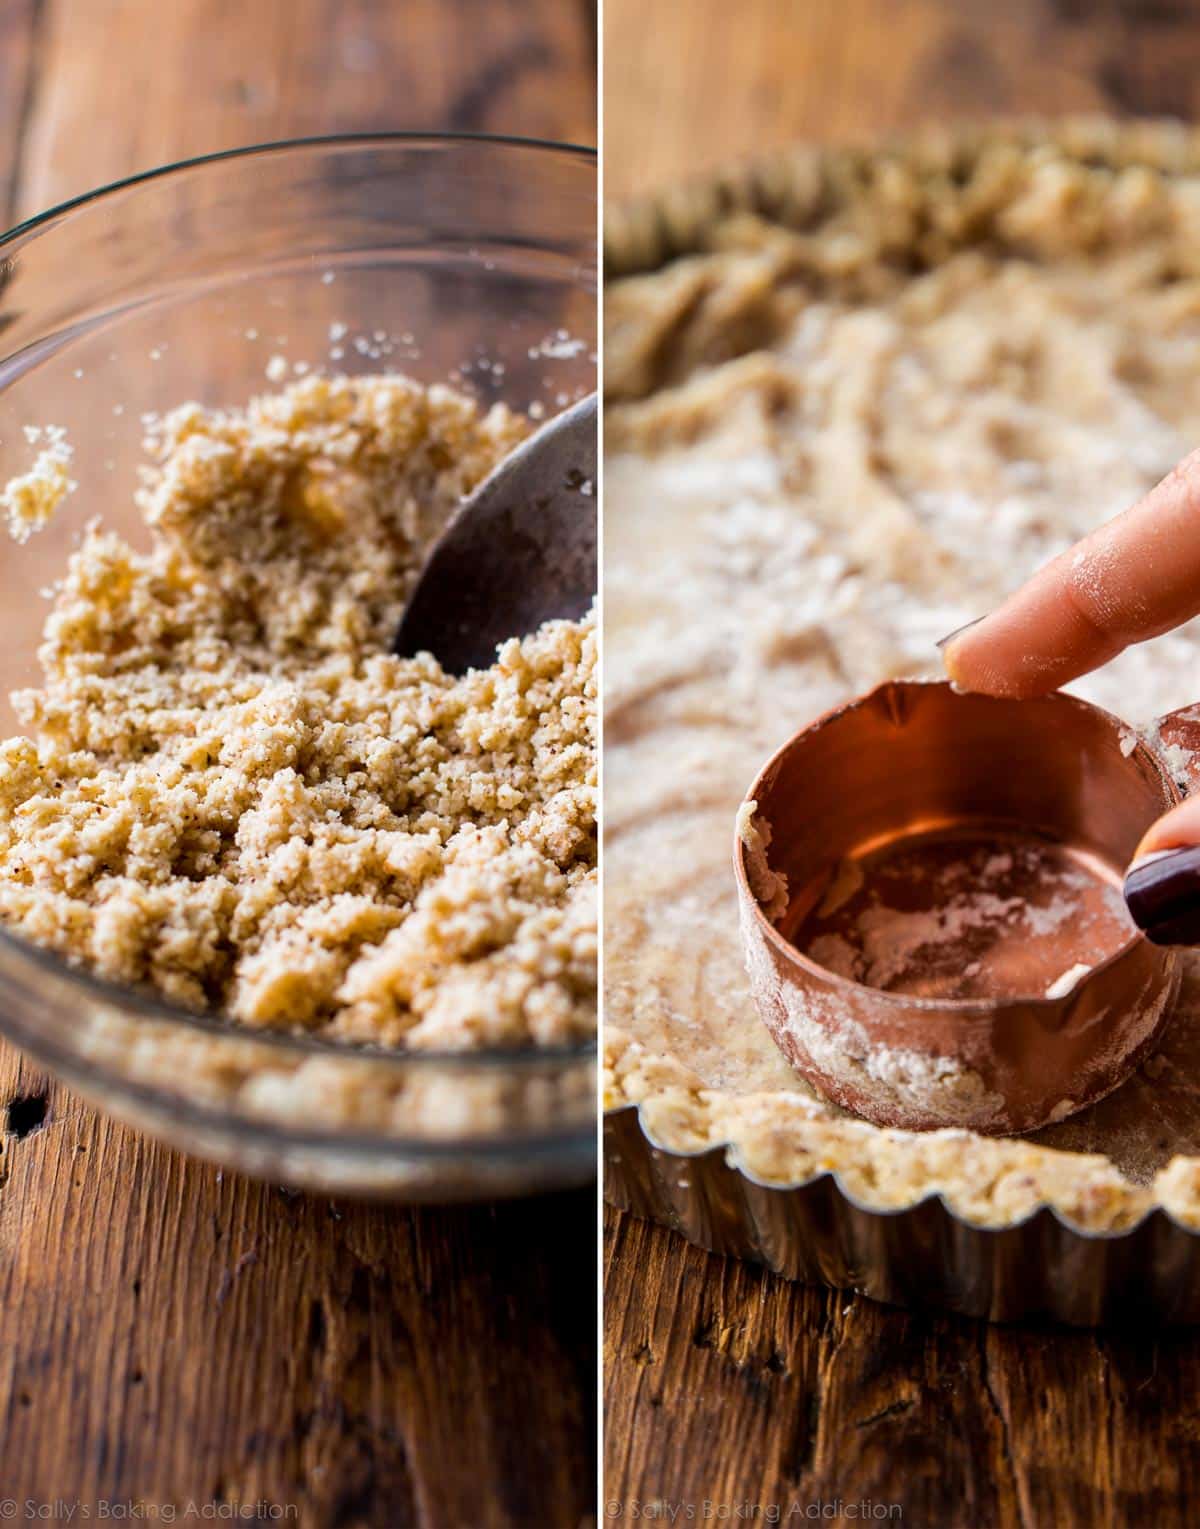
- Transfer mixture to a large bowl. Using a silicone spatula or wooden spoon, slowly stir in 3 Tablespoons of ice water. You only want to add enough water to bring the dough somewhat together. Using floured fingers or the bottom of a flat and lightly floured measuring cup, press the dough evenly into a 9-inch tart pan. You want it extremely tight in the pan. You’ll need to use pie weights for the next step, so line the crust with aluminum foil or parchment paper and add pie weights.
- Bake (with pie weights) for 18-20 minutes. Remove from the oven and place on a wire rack so it can slightly cool as you prepare the filling.
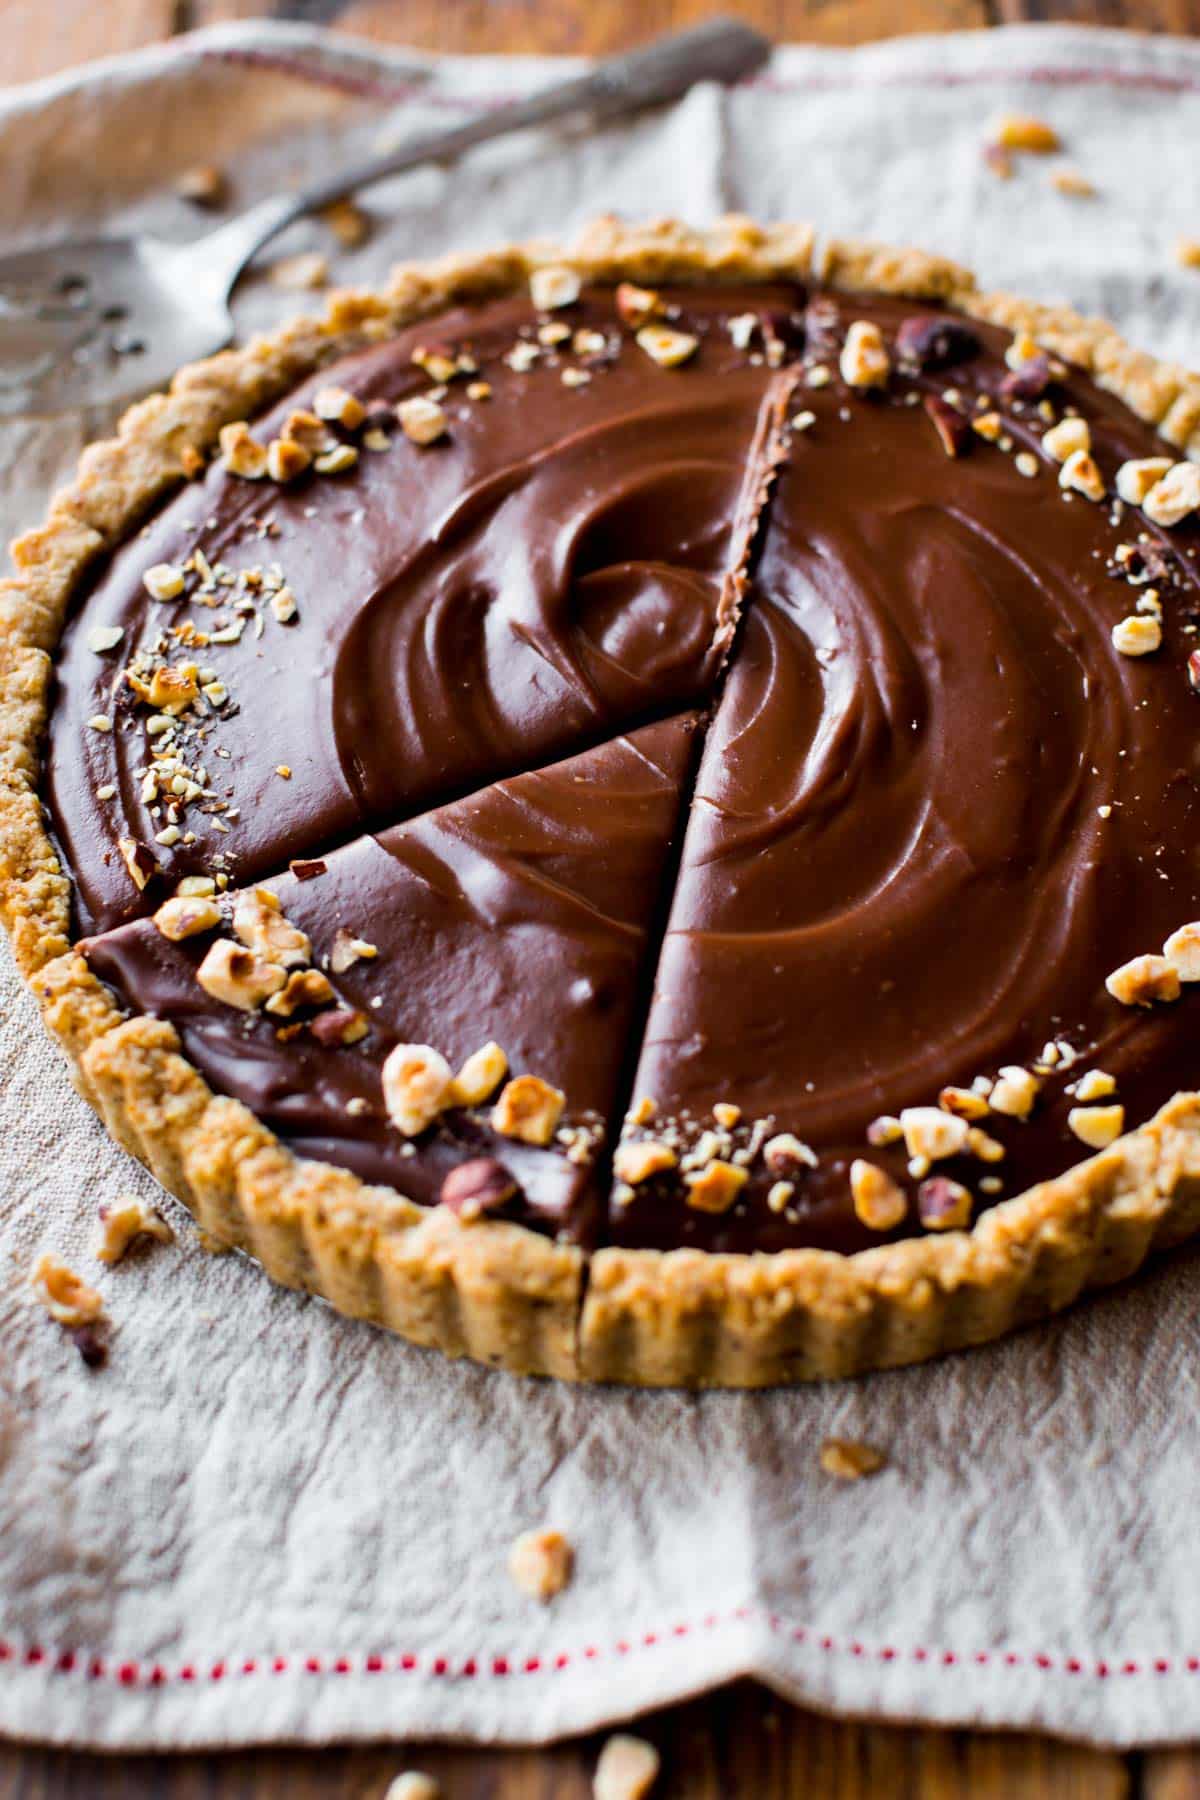
- For the filling: Whisk the cornstarch and 1/2 cup of the heavy cream together in a small bowl. (You want a little cream mixed with the cornstarch to avoid white cornstarch lumps in your filling.) Combine the cornstarch mixture, the rest of the heavy cream, Nutella, and salt into a medium saucepan over medium heat. Whisk to combine all of the ingredients and bring to a boil. While constantly whisking, allow to boil for 3 minutes as it thickens. Remove from heat, whisk in the vanilla, then pour into the crust, swirling the top for a pretty pattern (if desired!).
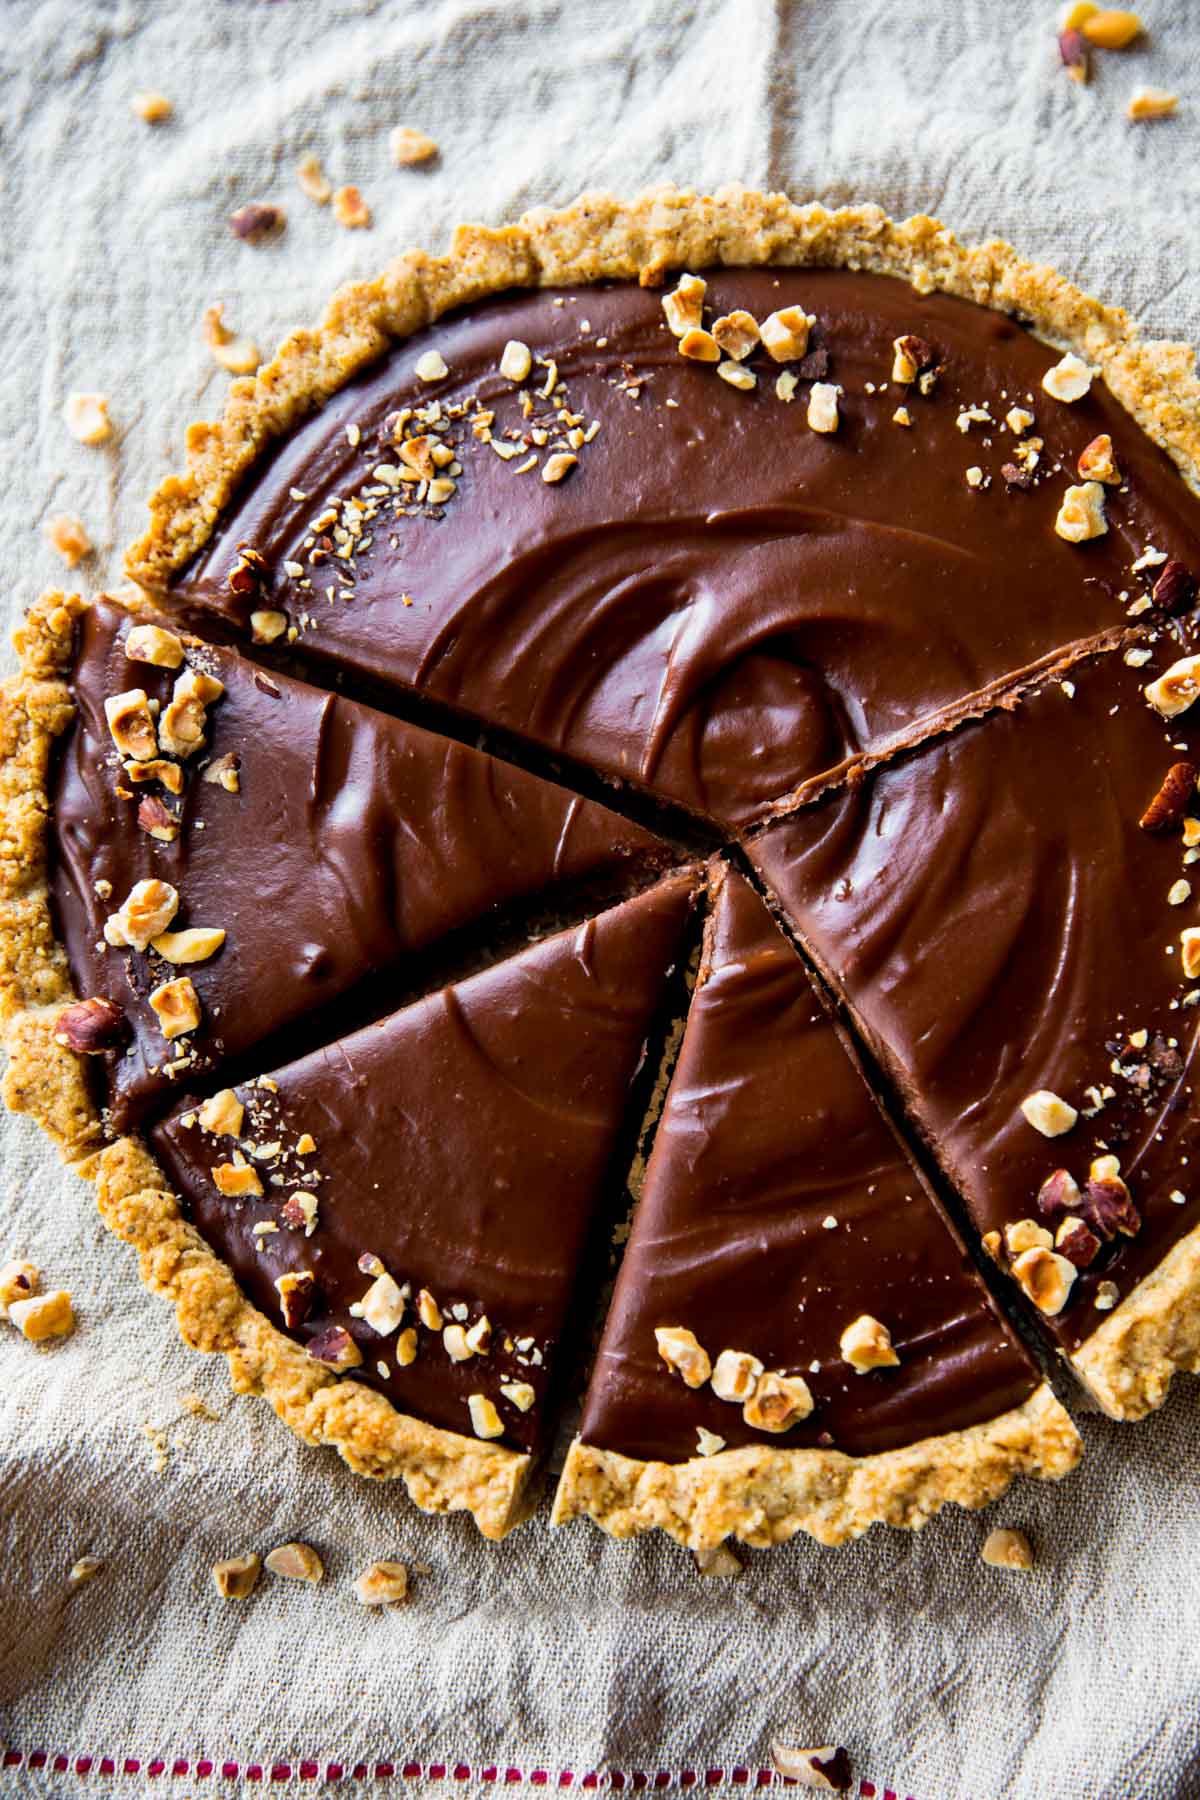
- Chill in the refrigerator for 3-4 hours or until set. Top with remaining hazelnuts.
Notes
- Make Ahead Instructions: This is the perfect recipe to make ahead of time, especially when you are entertaining. You can prepare the entire dessert, cover tightly, and keep in the refrigerator for 3 days before serving.
- Special Tools (affiliate links): Baking Sheet | Silicone Baking Mat or Parchment Paper | Food Processor | Glass Mixing Bowls | Silicone Spatula or Wooden Spoon | 9-inch Tart Pan | Pie Weights | Whisk
- Smaller Tarts: To make smaller, individual size tarts—simply press crust into small tart pans. It will make about 8-10 depending on the size you’re using. Pre-bake crust until golden brown on the edges and spread in the filling.
- Adapted from Food Network.
The crust is made from hazelnuts, flour, a little sugar, salt, cold water, and cold butter. Remember the cardinal rule for making pie/tart crust from scratch? Cold is best. The chopped hazelnuts are toasted before you mix them with the other ingredients. And by “mixing” I’m referring to your food processor. You want to break down those hazelnuts into a crumb-like texture, pulsing them with a few of the other crust ingredients as well as the butter.
Transfer the crust dough to a large mixing bowl, then slowly mix in ice cold water. You’ll only need about 2-3 Tablespoons, no more. It will still be a little sandy, but that’s ok. It will come together when you press it into the pan. The next step is to pre-bake the crust. You’ll need a 9-inch tart pan. Here is the tart pan I own and love, if you don’t have one yet! If you ever want to make my spiced pumpkin tart, cranberry curd tart, or lemon blueberry tart, you’ll need one. You can also make small individual tarts if you’d like. See my recipe note above. 🙂
To press the crust into the tart pan, use a floured flat-bottomed measuring cup. This is the best trick I learned! You can really pack the crust down and around the edges, especially if you keep your measuring cup floured.
Perfect!
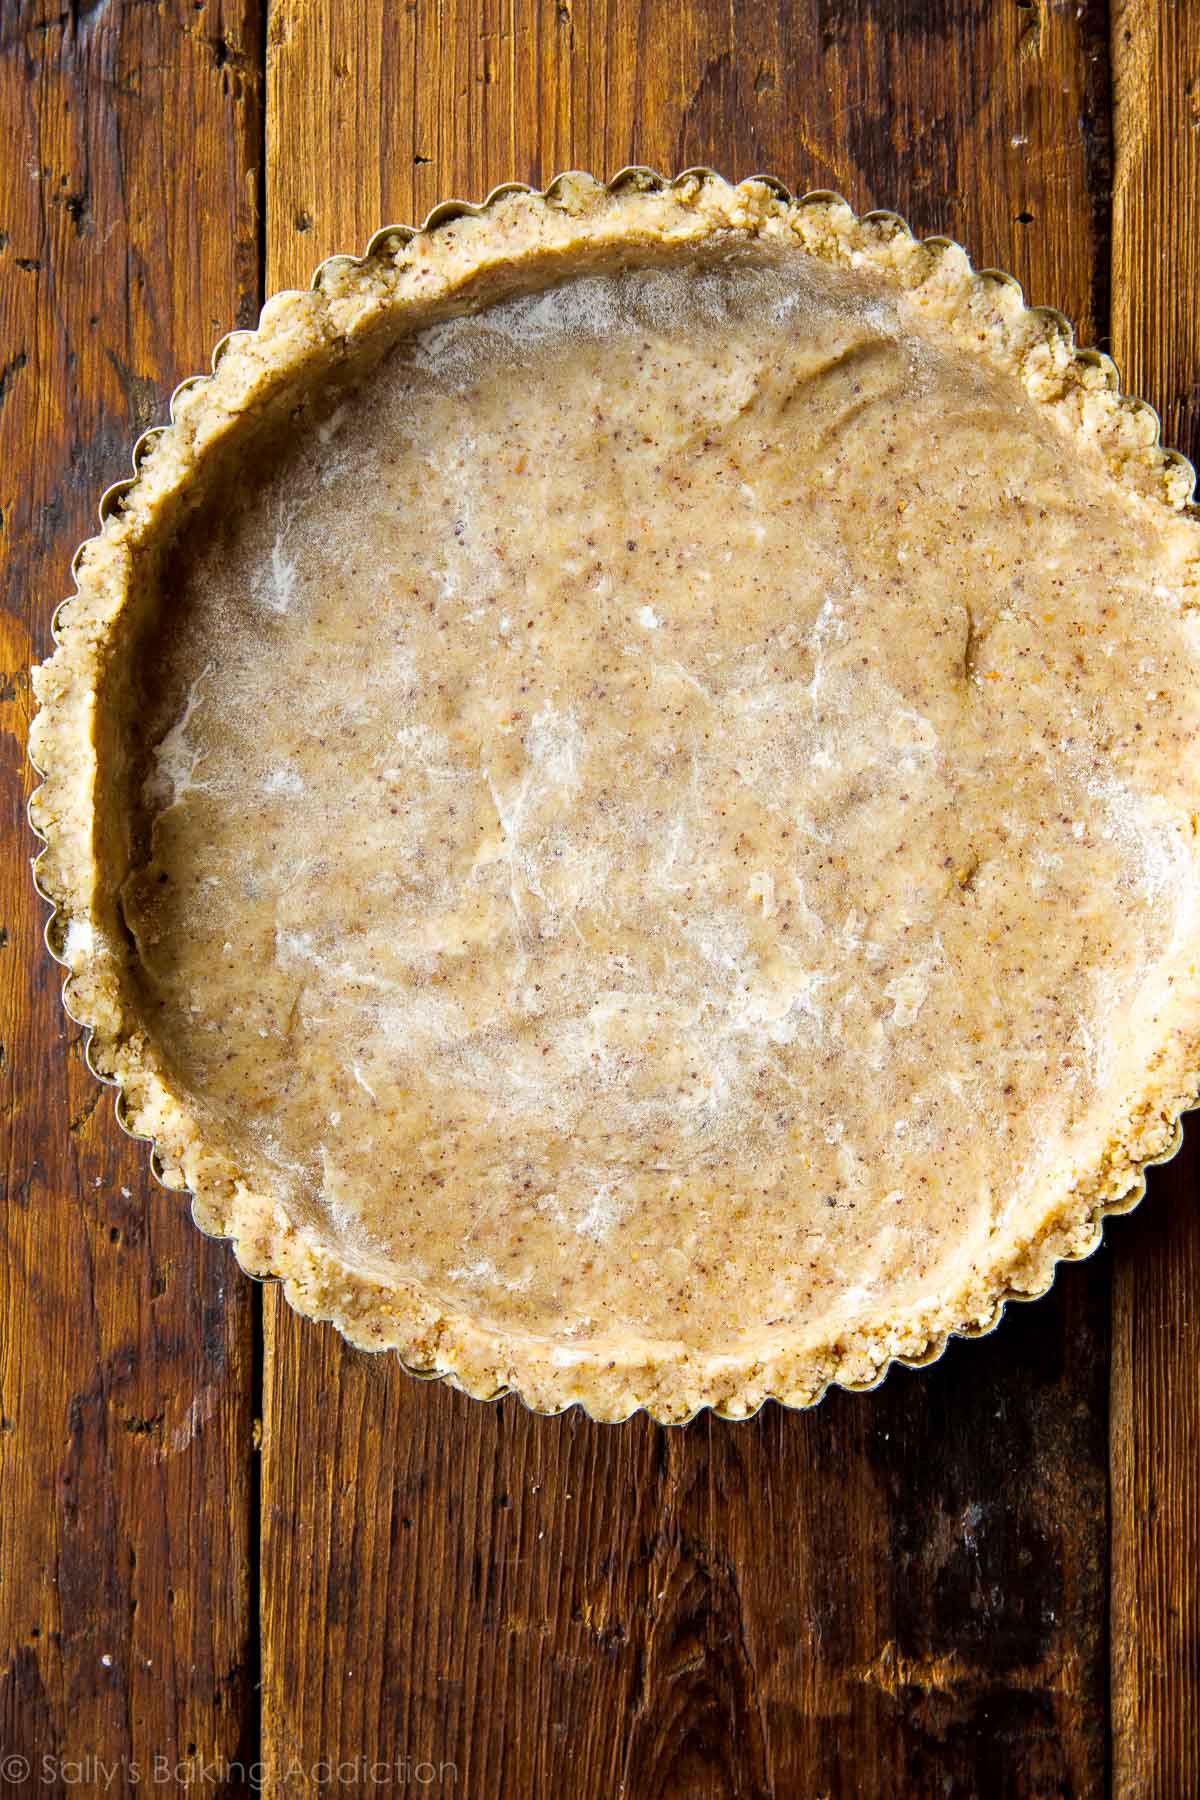
Bake the crust for about 20 minutes. You’ll need pie weights (or dried beans!) for this step.The reason? The added weight on the dough ensures that the crust holds its shape, does not shrink down, and remains firmly planted in the pan.
As the crust cools, begin the Nutella filling. This is the easiest part!
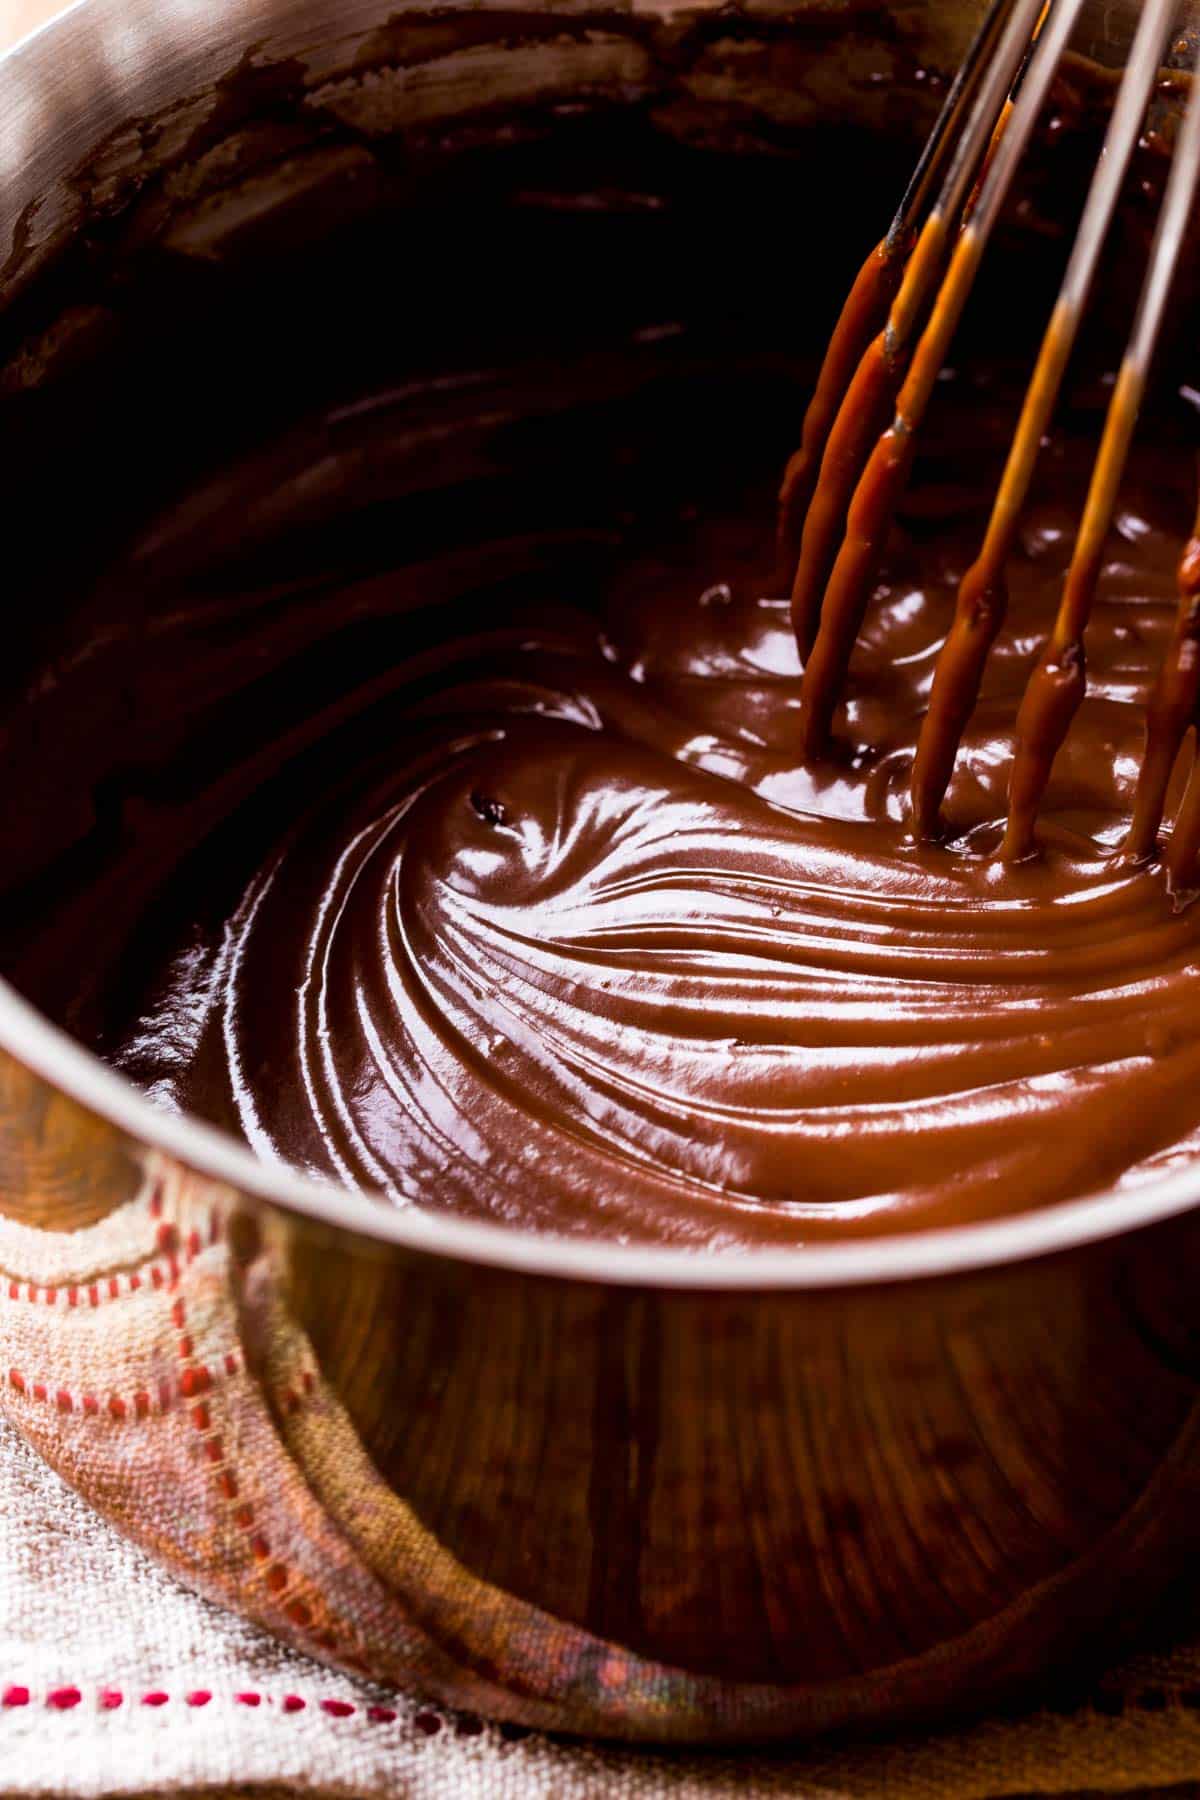
Combine all of the filling ingredients except for the vanilla extract. Whisk and bring to a boil. Stir in the vanilla.
There, you’re done.
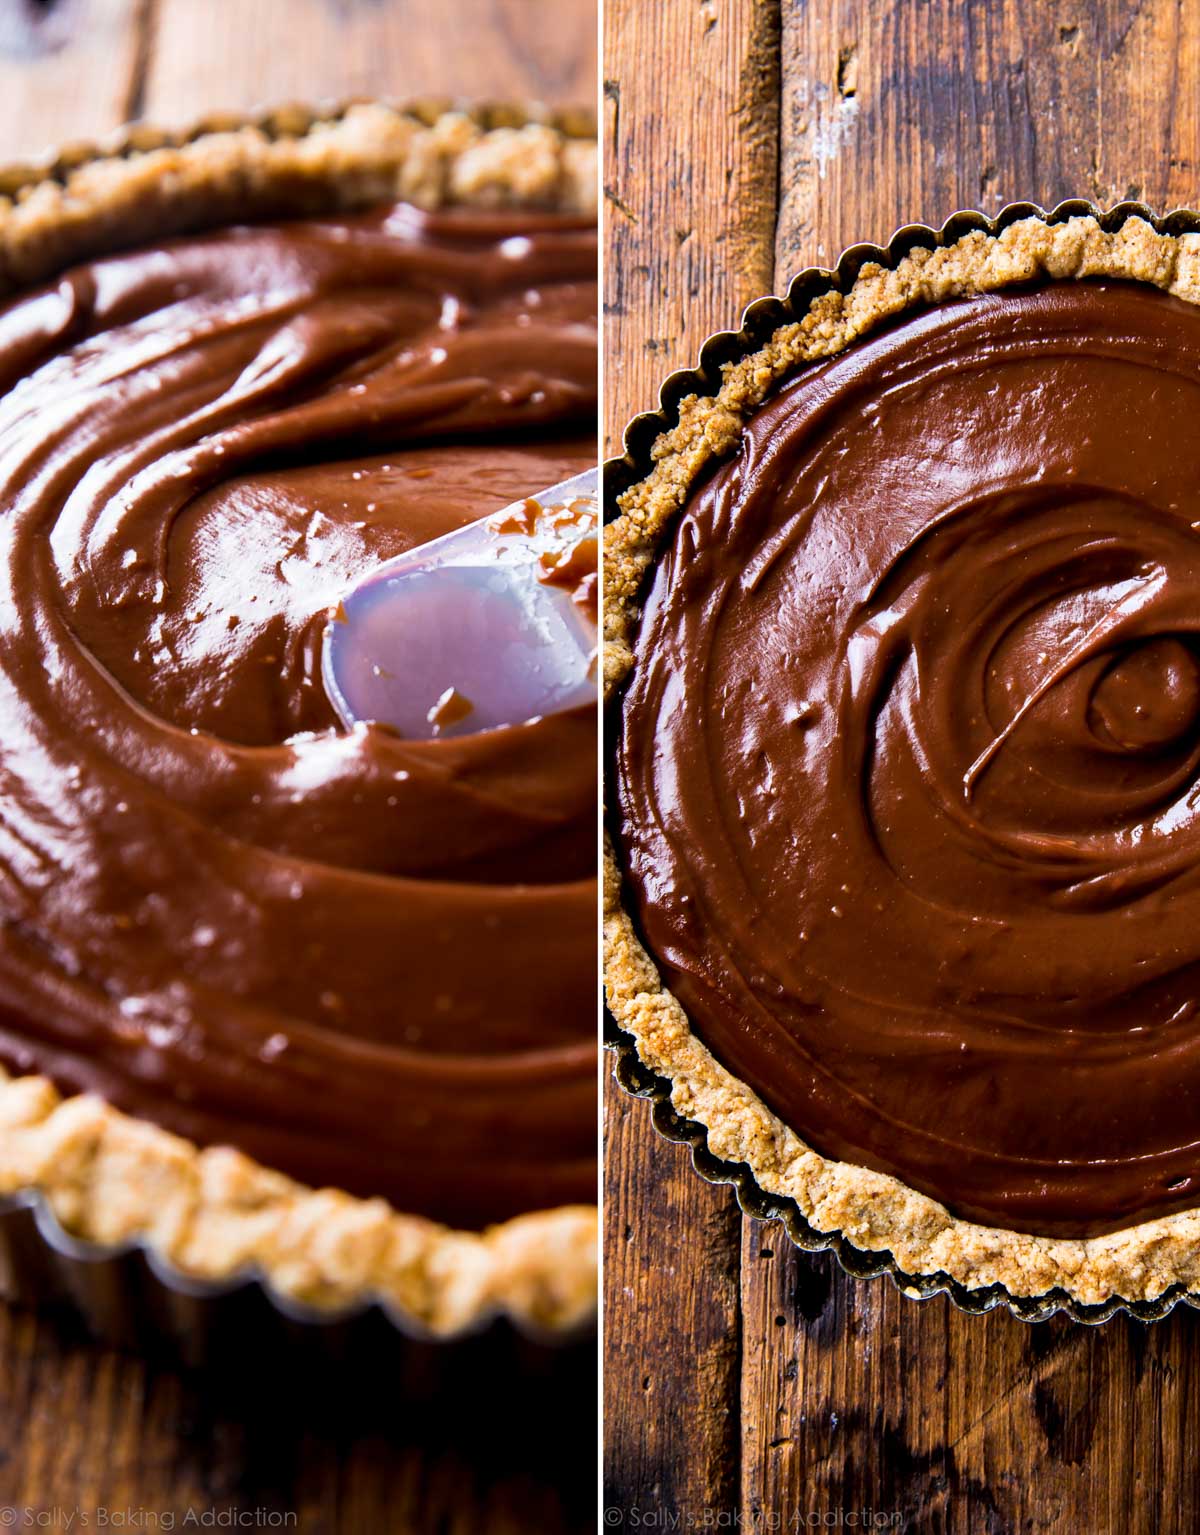
Spread into the crust and put the refrigerator to work!
A few hours later, dig in.


Reader Comments and Reviews
hi, can I leave the completed tart with filling in freezer a day prior to consuming it? will it turn soft?
Hi Emily, after thawing, the crust may be a little softer than intended, but shouldn’t be soggy. There won’t be much change to the filling.
HI for Smaller Tarts: how long is the baking time for the crust ? thanks looking forward to bake this for my son’s birthday . Thanks
Hi Marianne! The bake time will be shorter, but we aren’t sure of the exact time. Pre-bake crust until golden brown on the edges and spread in the filling.
Hi Sally … can I use a mixer to grind the hazelnuts???
Hi Belmera, You will want to use a food processor or something with a sharp blade so that it will chop the hazelnuts to consistency of coarse meal in step 3.
Hi there!
This pie is delishhhhhh. Just one comment, I noticed my crust was very hard. It made it difficult to cut through. Still delicious but I’m wondering if you knew why the crust turned out so hard?
Hi Amanda! Letting the tart warm just a bit after chilling may help the crust soften up a bit. Otherwise you can try packing in the crust slightly less densely next time. We definitely want a sturdy crust to support the filling in this tart!
Hey
does this recipe freeze and defrost well?
Hi, I wanted to know if I could make the Pie crust without Hazelnuts as I don’t have them
Hi Emaan, you can try replacing the hazelnuts with peanuts or another type of nut, or you can even try this graham cracker crust instead.
Is there a substitution or change I could do if I don’t have pie weights?
Hi Christina, you can use dry beans instead if you have them!
Hi Sally, I am thinking of making this using my new to me perforated 3 inch tart rings and baking them on a perforated silicone mat lined baking sheet. Is there anything I need to know and do you think this can work? Thank you!
Hi Michelle, We’ve never tried it but I can’t see why it wouldn’t work. I’m unsure of the exact bake time the crust will need. Let us know if you give it a try!
Hi Sally,
I’ve a few questions before I embark on this tart.
1) Can I check if heavy cream is the same as whipping cream?
2) Also, does the crust need to be cooled completely before pouring in the hot ganache?
3) I’ve a 10 inch pan. should I do 20% more of your to recipe?
Look forward to your advice soon as I’ll be making it tomorrow.
Thanks!
cheers
Karen
Hi Karen, I’m just seeing your comment/question now so my apologies for the delay responding to you. I’m glad to help. 1) Heavy cream and heavy whipping cream are the same. Whipping cream (without “heavy” in the title) has a lower milk fat percentage. Make sure you’re looking for the term “heavy” in the title. 2) It doesn’t need to be completely cool. 3) This will fit into a 9 inch tart pan, it will just be a little thinner. Or you can make adjustments to yield more if desired.
Hi. The crust was not cooked after 20 mins. I have a thermometer in my oven and used a 9” pan. Any ideas?
Hi Jen, Just a few ideas: Did you turn the heat in your oven up to 350 after toasting the hazelnuts? Did you use a metal tart pan? If using a glass pan the bake time can be longer. And all ovens are different so it’s ok if yours takes a bit longer to bake 🙂
Hi,
I saw your blog post about blind baking pie crust, and I wanted to know that in this particular recipe, once the edges are browning and I take out the pie weights, how much longer do I have to bake the crust?
And could I make this in a regular aluminum 9 inch pan? Will it be okay to transfer out of the pan once it’s chilled?
Thanks so much!!
Hi Lizzy, simply follow these exact instructions. You only bake it for 18-20 minutes (with the weights). Then add the filling. For this particular recipe, there is no need to bake it longer (without the weights).
Hi do you think it’s possible to substitute all-purpose flour with almond/ hazelnut flour?
Hi Emily, I haven’t tested this recipe with alternate flours but let me know if you do!
Hi Sally! I’m thinking of making mini tarts. Could I use a cupcake/muffin tray as I do not have tart moulds?
Hi Sails, You can but you will want to use cupcake liners as they may be difficult to remove from the pan without them. I’m unsure of the exact bake time the crust will need.
I made it over the weekend and we loved it! So creamy and rich!
Hi! This looks amazing. Could you substitute the cream for a cashew milk or other nut milk?
Hi Katie! No, you need cream for this Nutella ganache filling. For a nondairy alternative, try full fat canned coconut milk. (Shake it up before using.)
Can I make this in an 11” pan? I realize the crust will be thinner and the filling won’t be as deep.
Definitely!
Loved this recipe. I have an obsession with Nutella and pretzels so I put some chopped pretzels in the filling and it was soooo good. Thanks again for this recipe.
The instructions were easy to follow and the result was a beautiful, delicious tart! I rarely bake, but I made this for my husband’s birthday and it looked so impressive that I felt like a pro. Thanks for the great recipe!
This was FANTASTIC! I made it on Friday night for dessert on Saturday night with friends. It was pretty easy to make, super impressive to look at, and so tasty! Everyone loved it! And it wasn’t too rich either which was nice. I’m pinning it to my faves board so I can make it again and again!
I left it in the tart pan in the fridge overnight. When I took it out I let it sit on the counter for about 10 minutes so it wasn’t so cold and I could get it out of the pan easily. Then I just popped it back into the fridge until we were ready to eat it.
When can I take it out of the pan? I want to make 2 but I only have one pan 🙁
Hi Meredith! After it’s fully chilled, about 3-4 hours. 🙂
This looks beautiful! We are traveling a few hours to Thanksgiving, do you think we could make this the night before and just bring it in the car or does it need to remain refrigerated?
Hi Shelby! As long as the Nutella Tart gets into the refrigerator for a couple hours before serving, you’re fine! 🙂
Hello Sally,
Planning on making this for Thanksgiving. I know you keep the tart in the fridge, but do you eat it cold from the fridge or let it out for some time to get to room temperature?
Thanks! Looks amazing!
Laura.
Hi Laura! Best to slice when it’s cold, though serving cold or at room temperature is OK.
Can I sub another flour to make it gluten free?
Hi Stacy! I haven’t tested anything myself, but some readers have used hazelnut flour. Grind hazelnuts into a super fine powder. Let me know what you try!
Hi Sally, any other options for a pie crust besides using hazelnuts?
Any other nut would be great!
This looks delish, but I’d like to ask if there could be an alternative to Nutella. I like Nutella but choose not to buy it as they use palm oil in it. Was hoping you knew something else I could use. Thanks
Hi Vicki! You could make a ganache filling or a chocolate pudding pie instead.
I already have an 11 inch tart pan. Not wanting to buy a 9″ pan, what changes or modifications, other then doubling recipe and discarding the extra could I do to fit my 11″?
You can prepare the recipe as is in your larger pan. The tart will be a little thinner. Only bake the crust for 15 minutes or so.
I just made this with my 9 year old son and 7 year old daughter, and it was the star of the Thanksgiving day dessert table! It was as simple, and decadent as it appears. And we made it two days in advance, which was super since we hosted Thanksgiving this year. Totally a recipe keeper. Thanks.
How should the crust look when it’s done? Will it still be a bit doughy?
Shouldn’t be doughy! It will be toasted and golden brown.