

This is a full page dedicated to homemade individual no-bake cheesecake jars! Use this simple no-bake recipe when you need a quick and crowd-pleasing 30 minute dessert. Have fun with different flavors and toppings, too!
No bake cheesecake jars are a fun individual dessert to serve when you’re short on time and don’t feel like turning on the oven. There’s literally no baking involved and the entire dessert takes around 30 minutes. You only need a handful of familiar ingredients and some cute little jars. Individual desserts have been all the rage the past several years and this mason jar dessert trend isn’t disappearing any time soon.
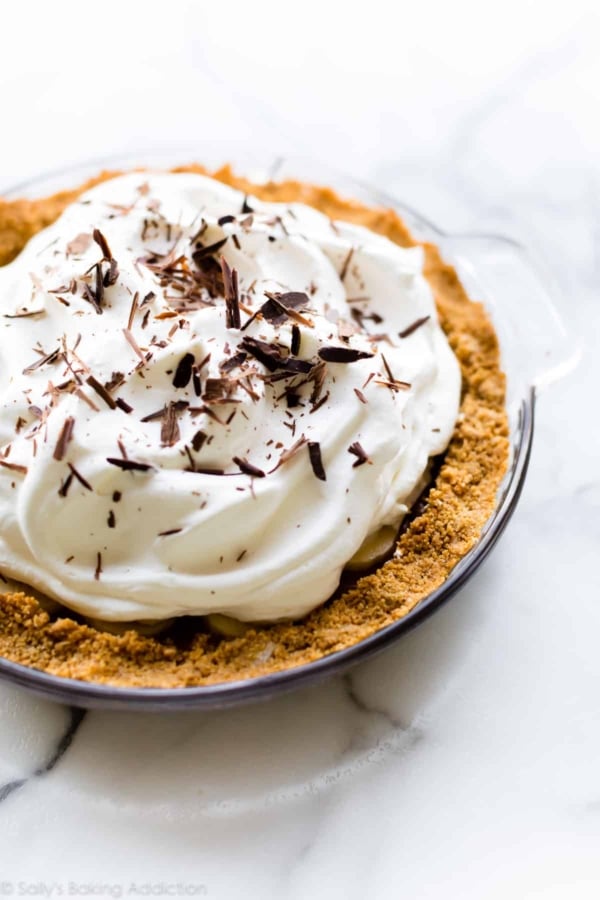
I’ve published no-bake cheesecake, classic baked cheesecake recipe, and even an easy cheesecake pie on my blog, all of which take hours to either bake, cool, and/or chill. Shortcut cheesecake, here we come!
Why You’ll Love Individual No-Bake Cheesecake Jars
If you’ve ever enjoyed my no-bake cheesecake recipe or mini no-bake cheesecakes, you know you’re in for a real treat with this jar version. You see, no-bake cheesecake (either served as a whole or in jars) is a lot easier than baked cheesecake. Without eggs and baking, there’s no way to mess up this dessert. You can’t over-bake it, you can’t over-whip the eggs, and there’s no cheesecake water bath involved. It’s easier and quicker than strawberry cream cheese pie, with all of the flavor and texture. If summer was a dessert, it would be no-bake cheesecake jars.
Here’s what I appreciate and know you will too:
- Easy recipe
- Creamiest cheesecake filling
- Few tools required—just a mixer and a couple bowls
- Ready in 30 minutes
- Unlimited flavors & topping options
- Convenient to transport to parties, BBQs, baby showers, & other events
- Did I mention no baking?
Video Tutorial: No Bake Cheesecake Jars
Before we get to the written out recipe, let’s review each layer. Even though this is a simple dessert, it’s important you familiarize yourself with the process before starting.
3 Layers in No-Bake Cheesecake Jars
- Buttery Graham Cracker Crust
- No-Bake Cheesecake Filling
- Topping
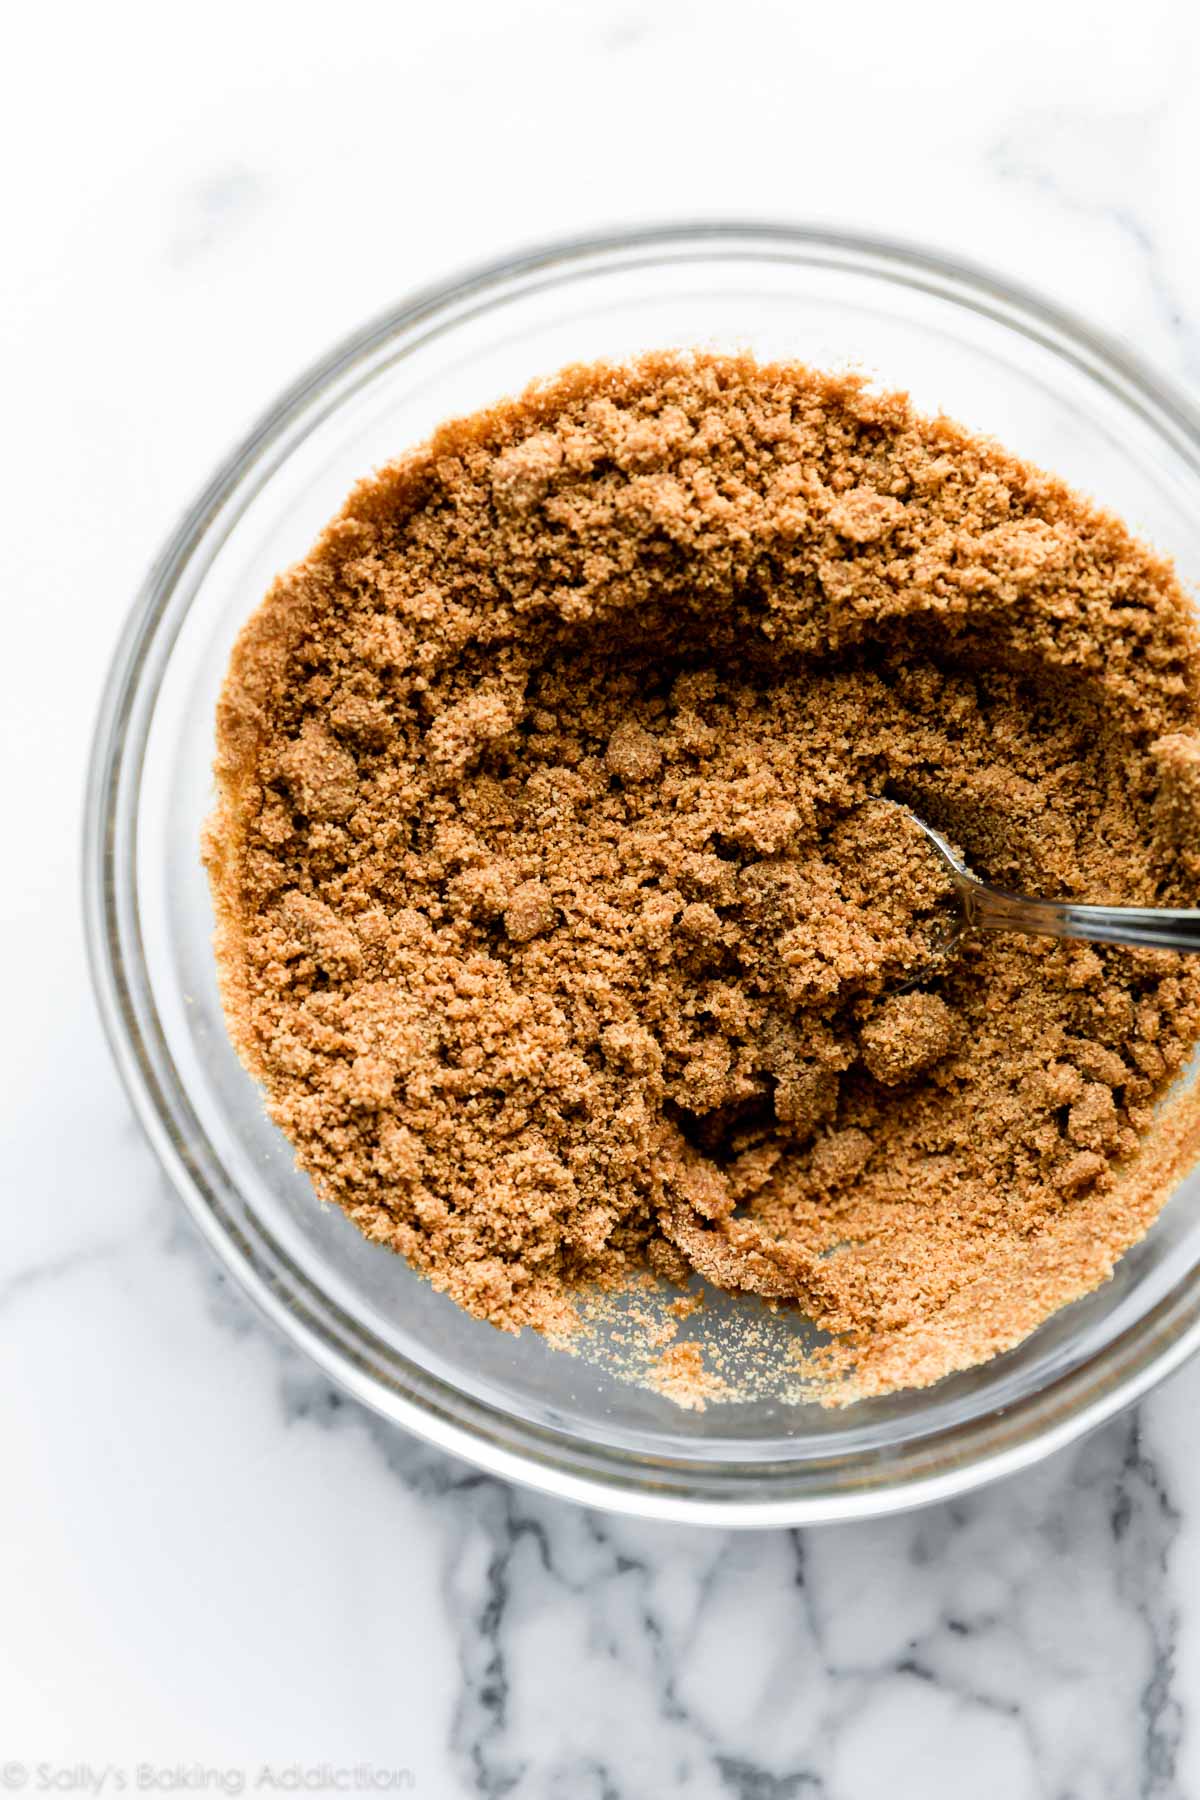
The graham cracker crust doesn’t need much explanation. You only need graham cracker crumbs and melted butter. Mix the two together, then layer into the individual jars. Again, there is NO BAKING so you do not need to pre-bake this graham cracker crust.
If you use certified gluten free graham crackers, you can add these cheesecake jars to your list of go-to gluten free dessert recipes, too.
2 Parts to Cheesecake Filling
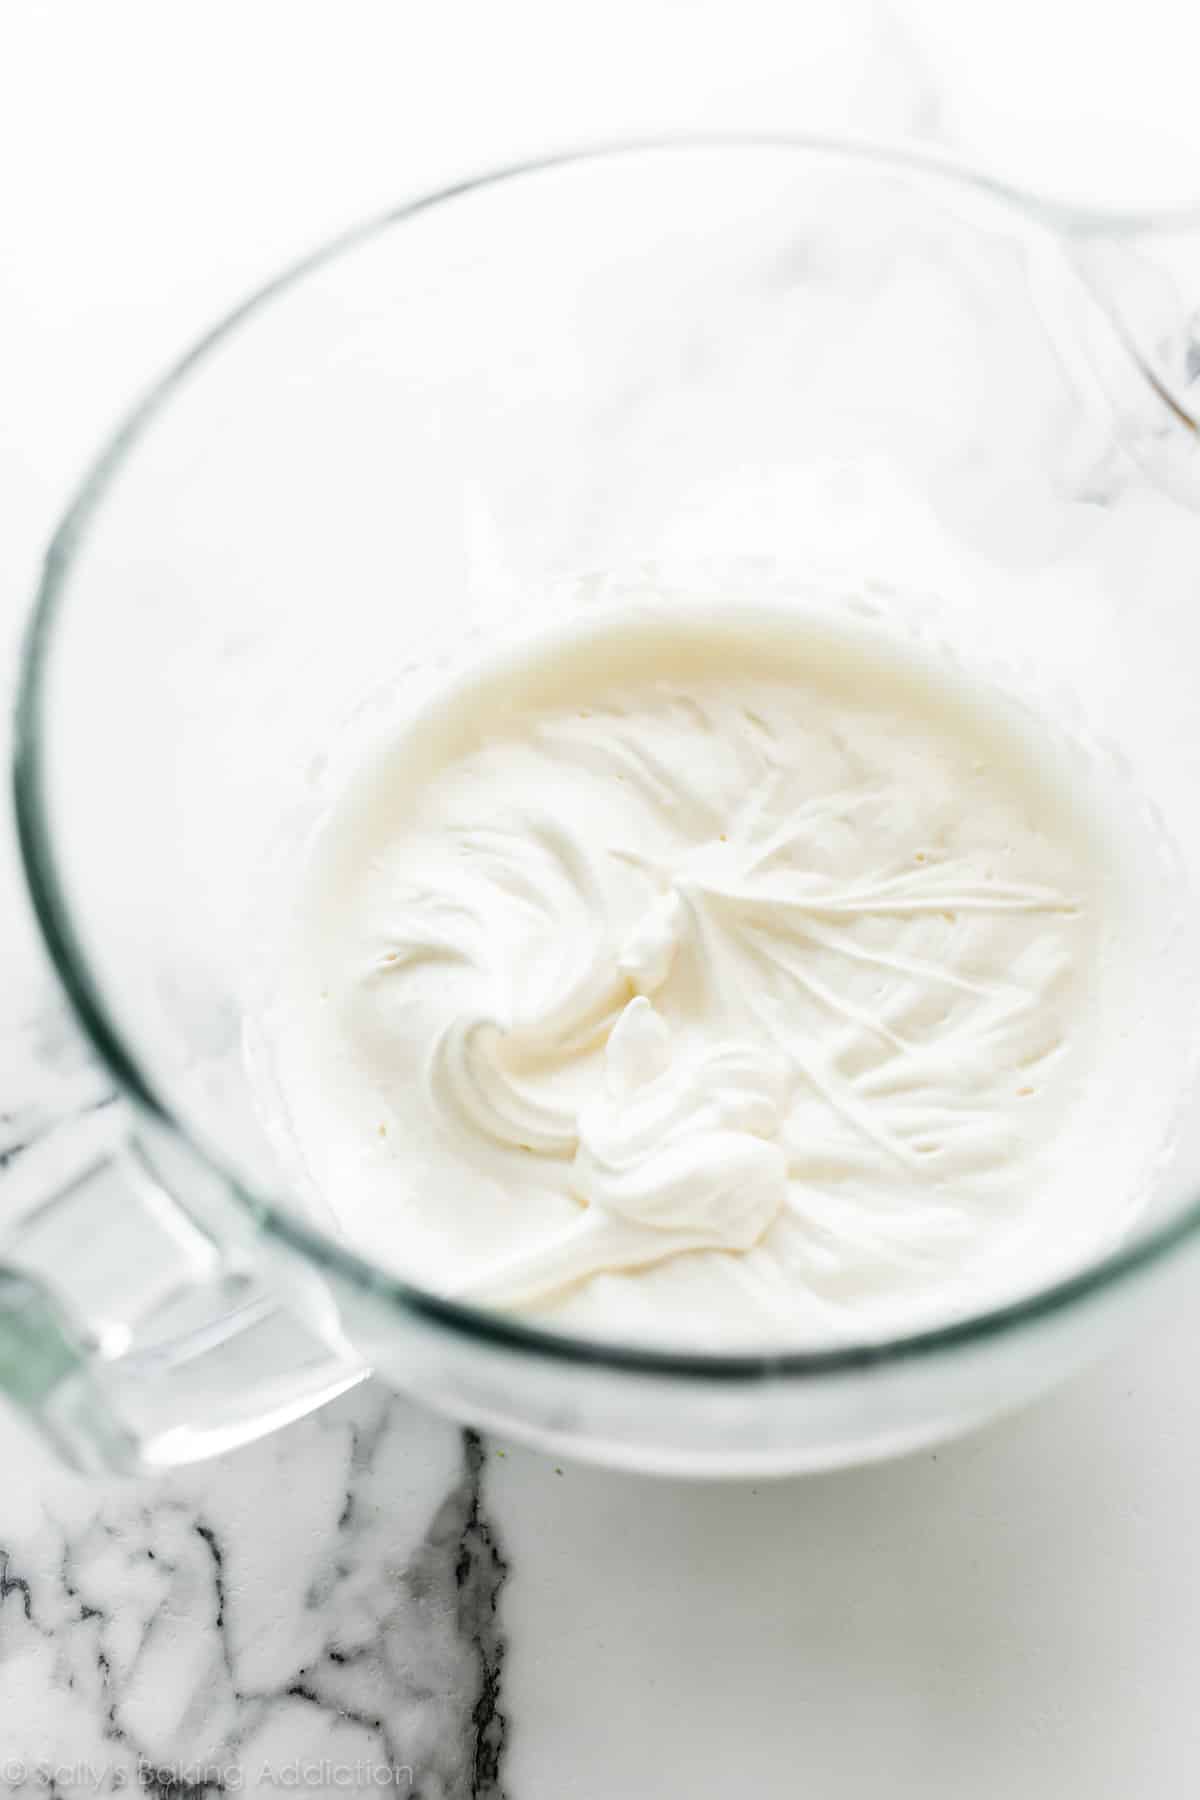
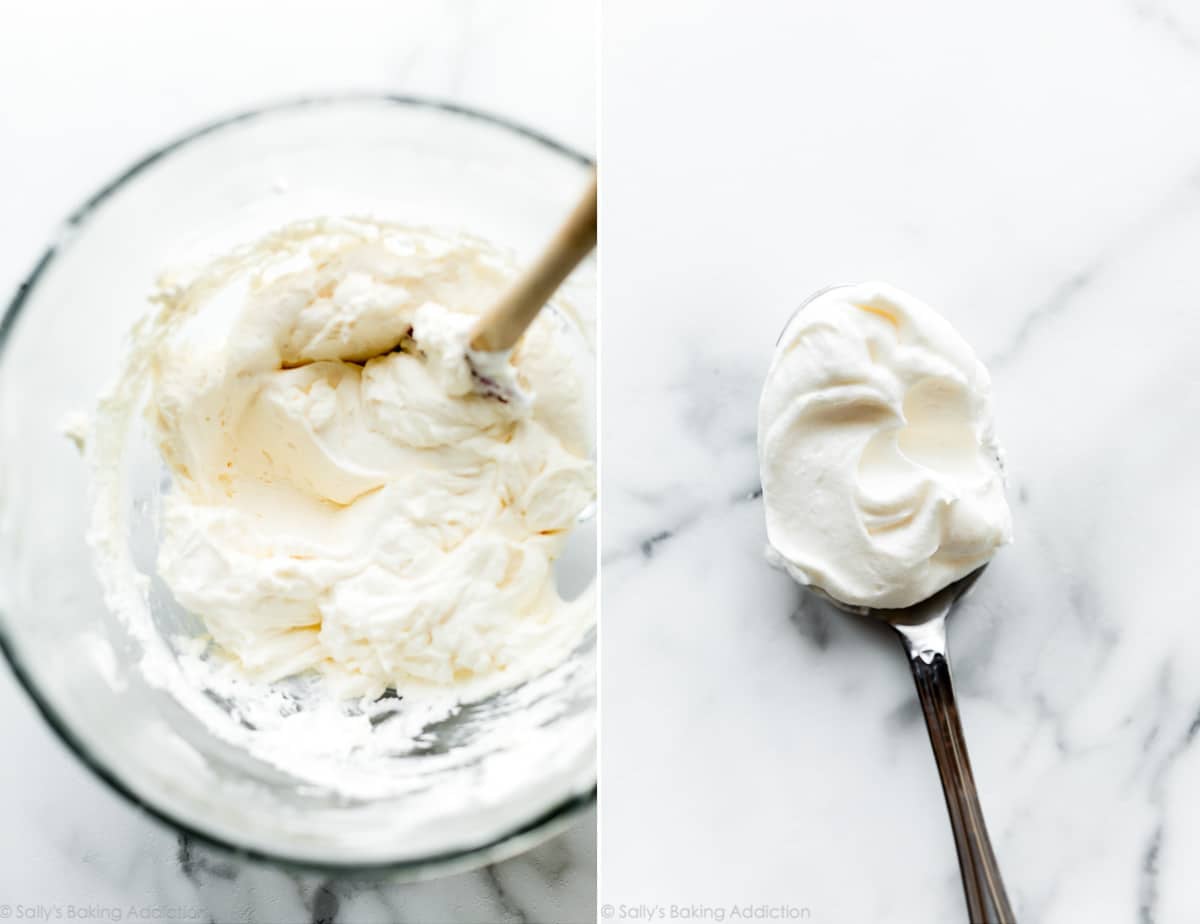
There are 2 parts to the cheesecake filling. First, whip heavy cream into stiff peaks. You’re essentially making whipped cream without sugar or flavor. Set that aside. Then beat the remaining cheesecake filling ingredients together. Finally, fold in the whipped cream. Whipping the cream 1st is imperative because it supplies all the deliciously fluffy and creamy texture. This no-bake cheesecake jar filling almost tastes like cheesecake mousse—it’s so light—and we have the whipped cream to thank for that. 🙂
Cheesecake Jar Filling Ingredients
- Heavy Cream: Whip into stiff peaks. Set aside.
- Brick Cream Cheese: Use full-fat brick cream cheese, not cream cheese spread. I recommend this for all of my no-bake and baked cheesecake recipes, including mini cheesecakes and white chocolate raspberry cheesecake bars.
- Sugar: Sugar sweetens the cheesecake jars. This is a lightly sweetened dessert, so you only need 1/3 cup of sugar in the entire filling.
- Sour Cream: Sour cream is a must-have ingredient in this recipe. Even though you only need 2 Tablespoons, it promises a tangy cheesecake flavor and ultra creamy texture. In fact, I don’t make regular cheesecake without it.
- Vanilla Extract: Vanilla extract adds flavor.
- Fresh Lemon Juice: Lemon juice adds a little brightness and slight flavor.
Here’s the heavy cream beaten into stiff peaks:
Here’s the cheesecake filling after you fold in the whipped cream. It’s airy, light, and fluffy:
Filling Flavors
The pictured no bake cheesecake jars are plain, but you can definitely add some flavor! Add these ingredients when you beat the cream cheese, sugar, sour cream, and vanilla extract together. I recommend leaving out the lemon juice if making the peanut butter, Nutella, chocolate, or coconut variations.
- Peanut Butter: 1/3 cup creamy peanut butter
- Nutella: 1/3 cup Nutella
- Lemon: 2 extra teaspoons lemon juice + 1 teaspoon lemon zest
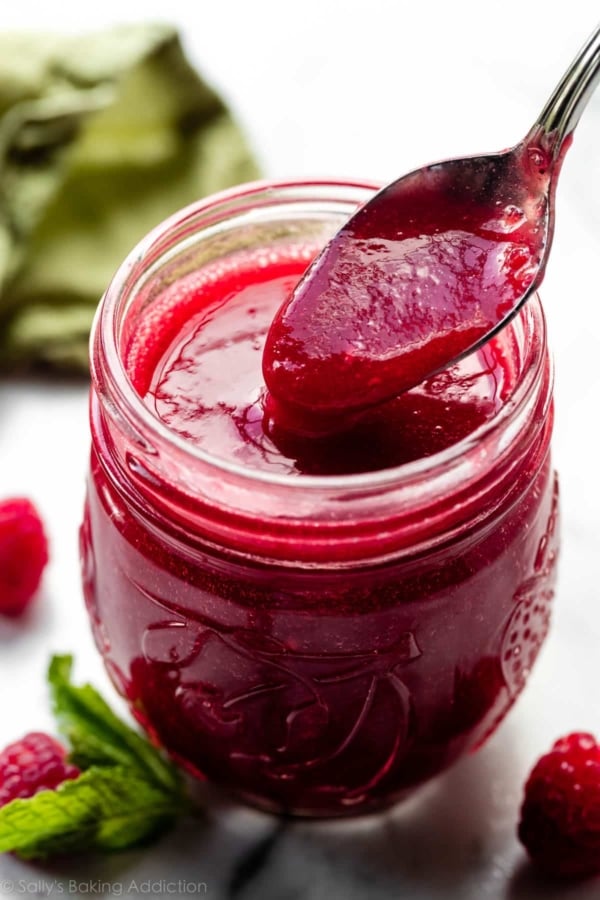
- Raspberry: 1 and 1/2 Tablespoons raspberry preserves
- Chocolate: 1 and 1/2 Tablespoons unsweetened cocoa powder or chocolate ganache and replace graham crackers with Oreos or chocolate graham crackers
- Coconut: 1 teaspoon coconut extract
- Key Lime: replace lemon juice with lime juice and add 2 more teaspoons of lime juice, plus 1 teaspoon lime zest
Toppings
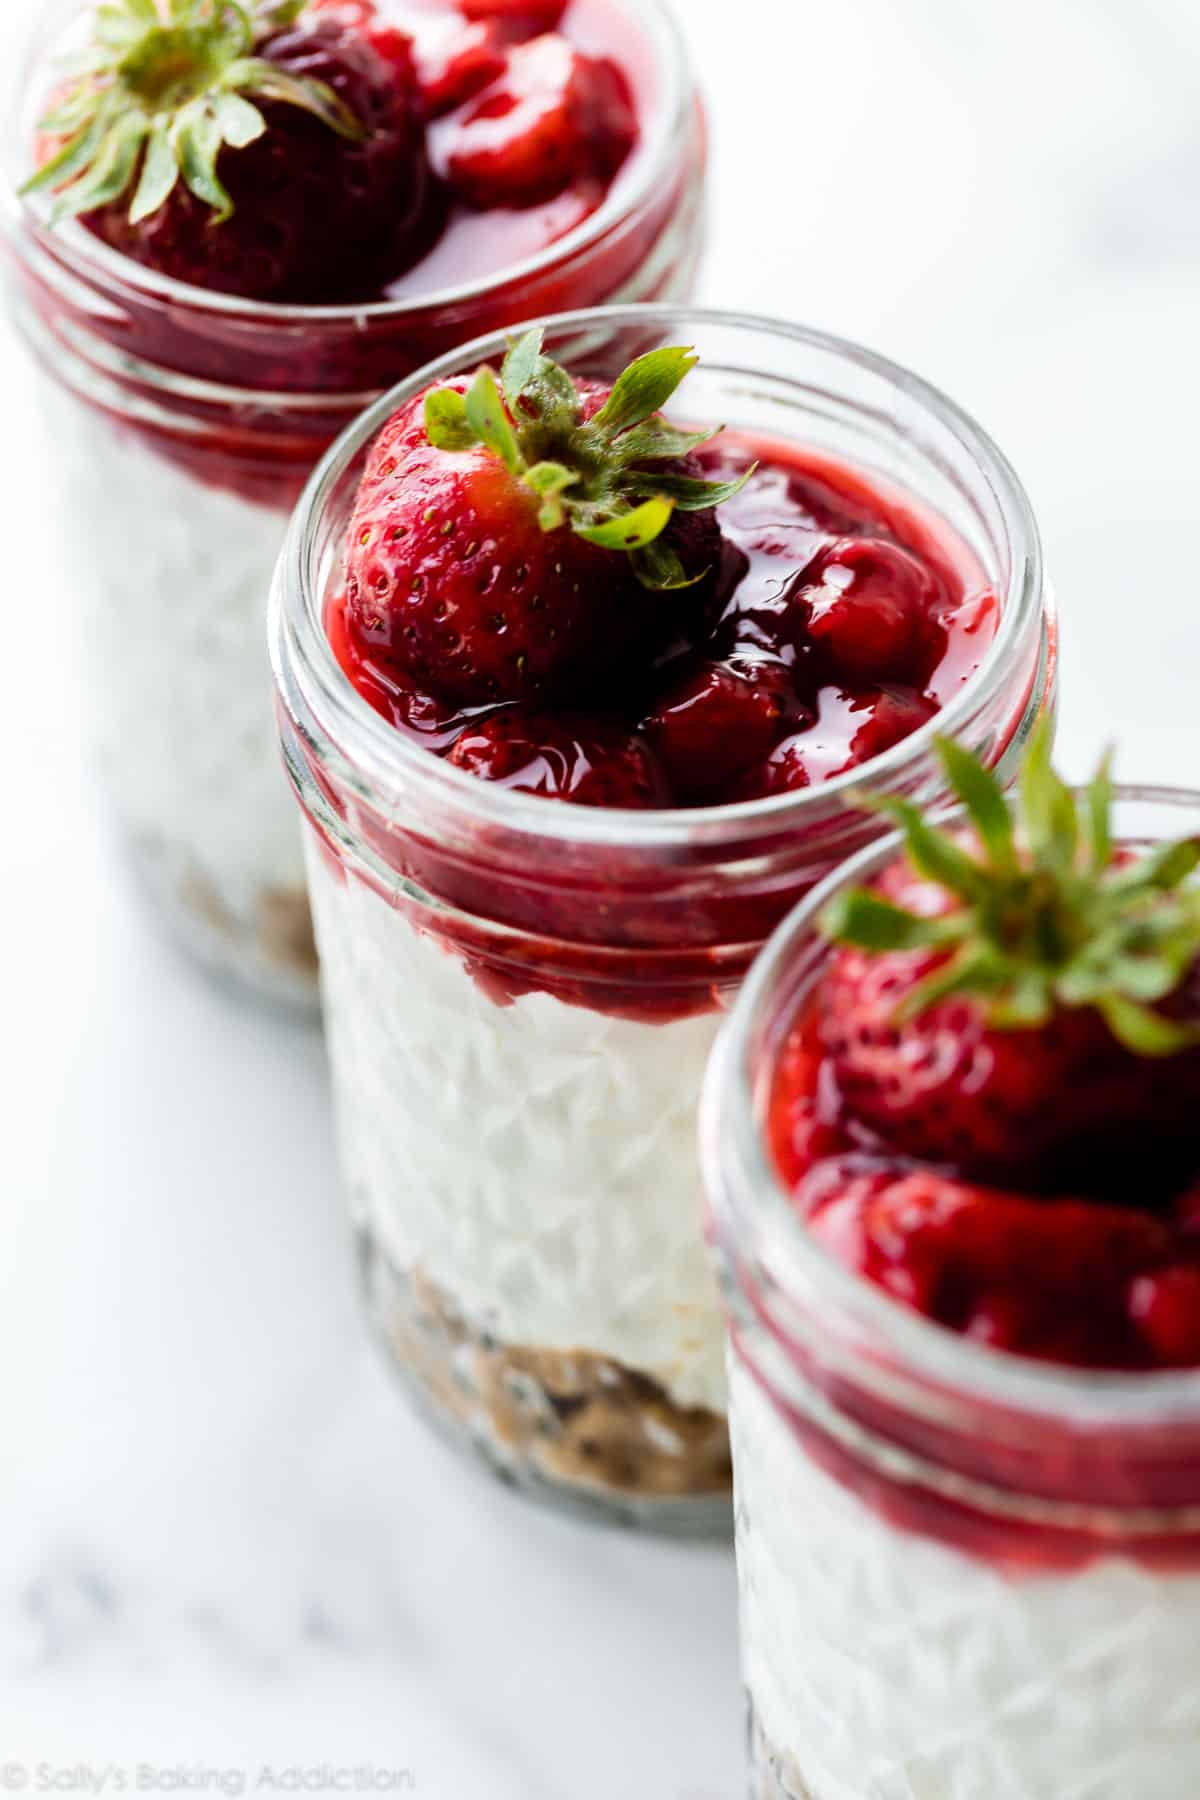
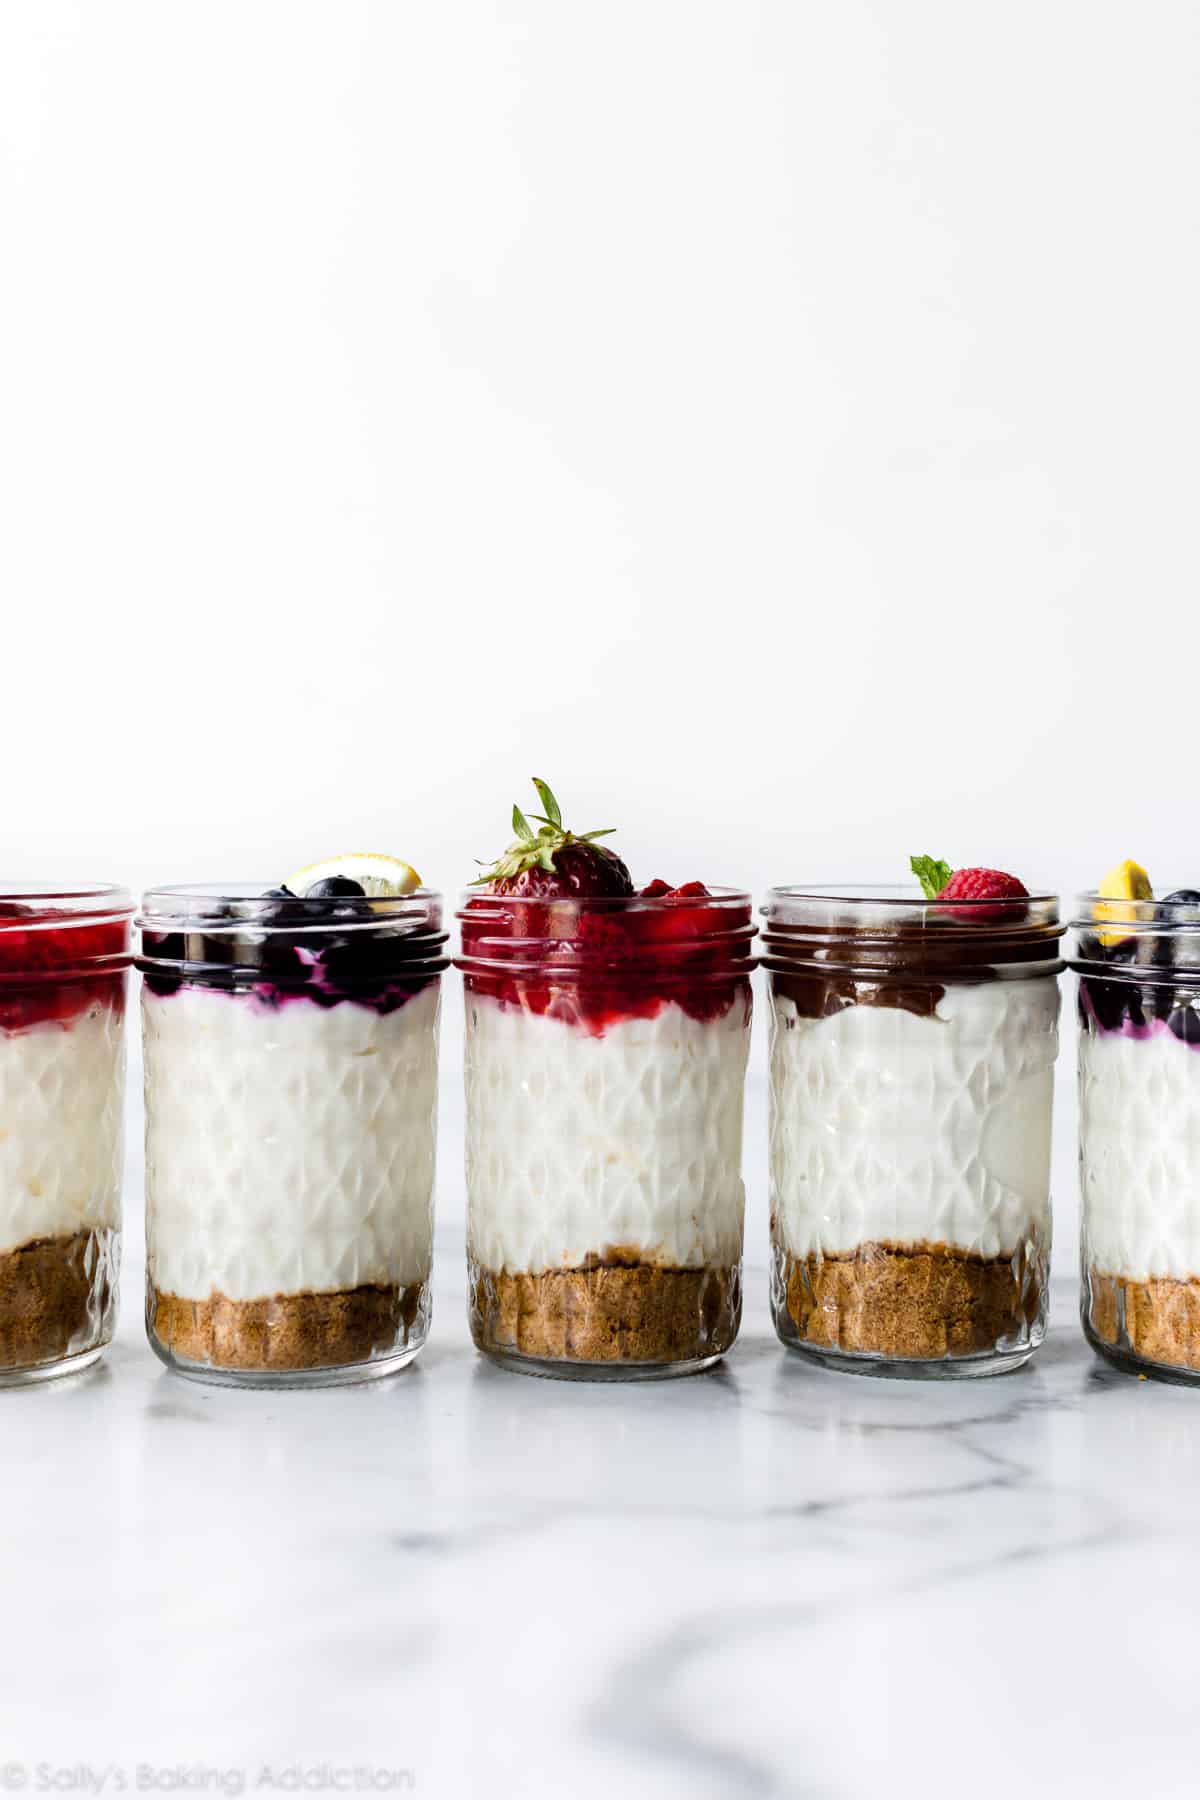
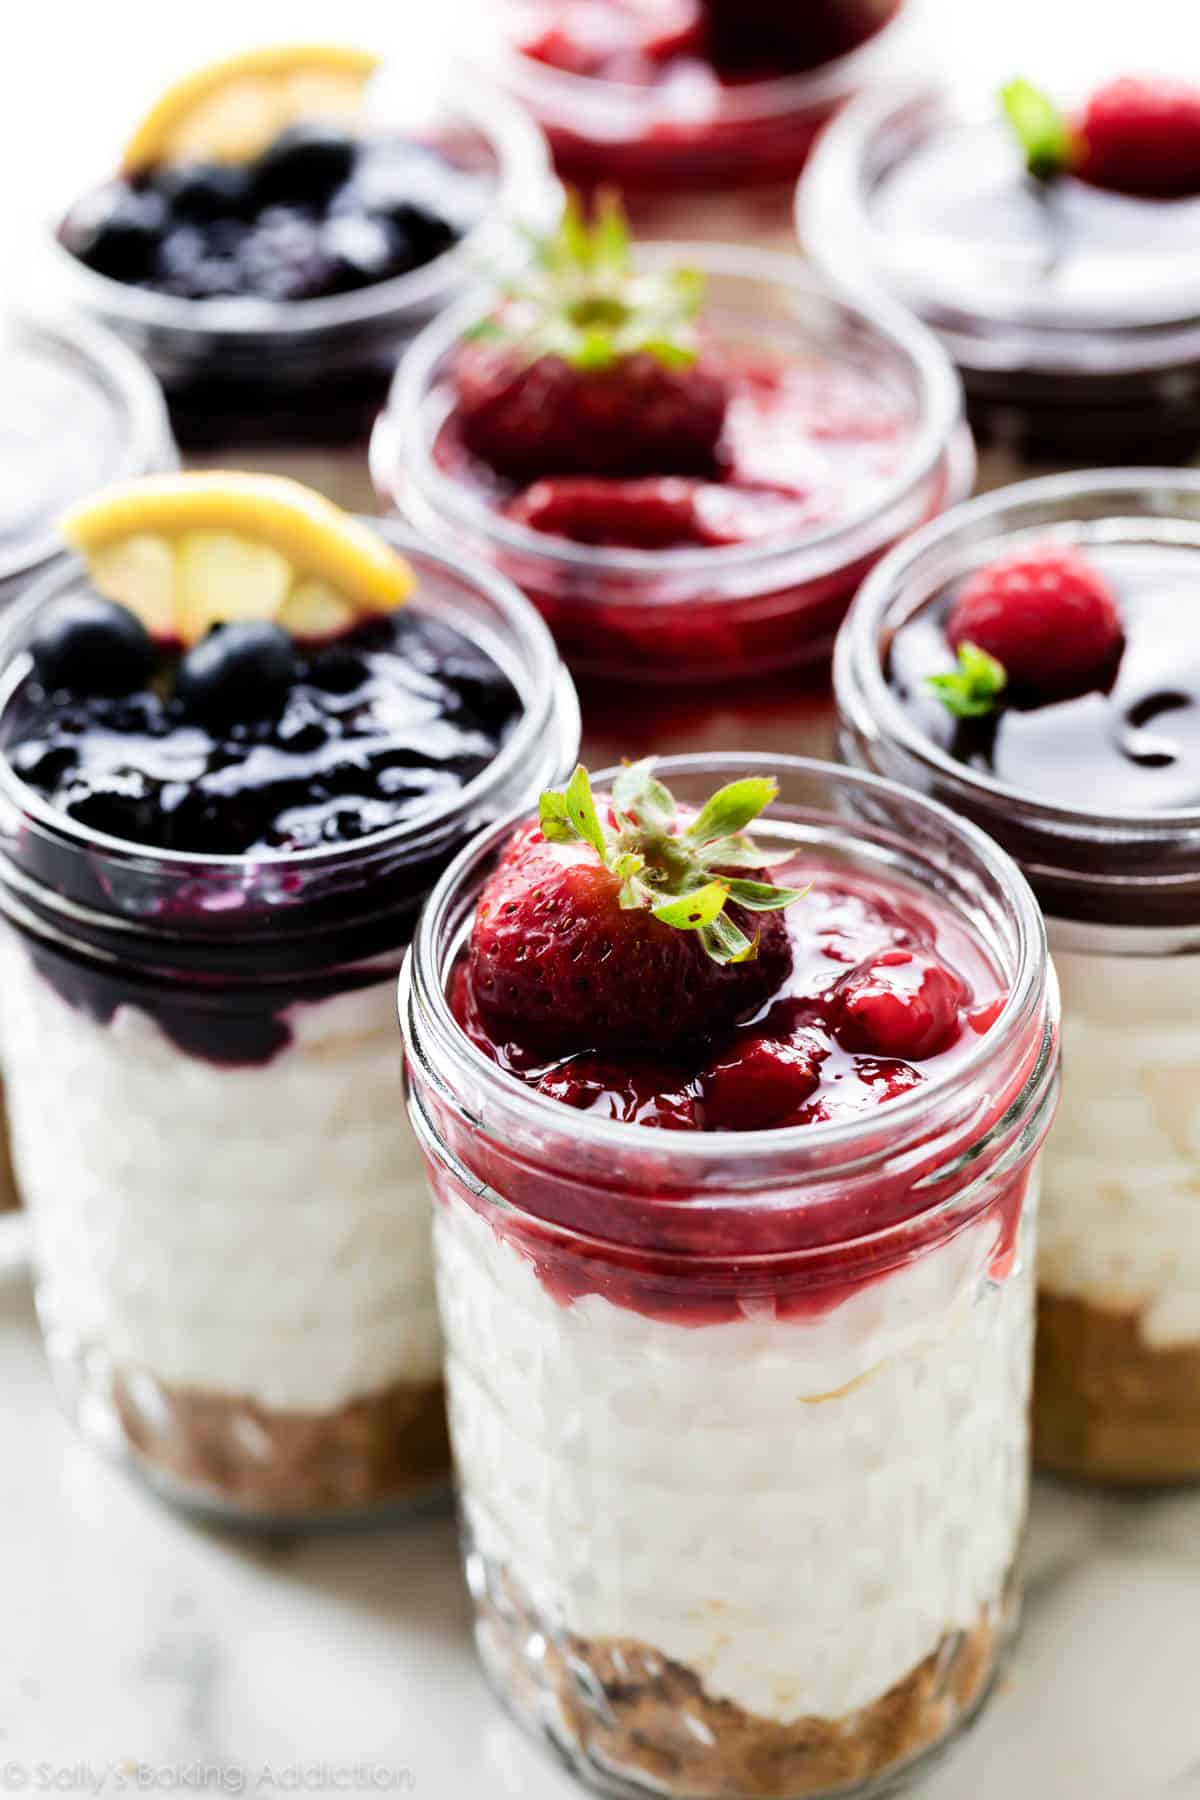
Last layer! Finish the no-bake cheesecake jars with your favorite toppings. This recipe yields about 6 8-ounce cheesecake jars, so you can layer each with a different topping.
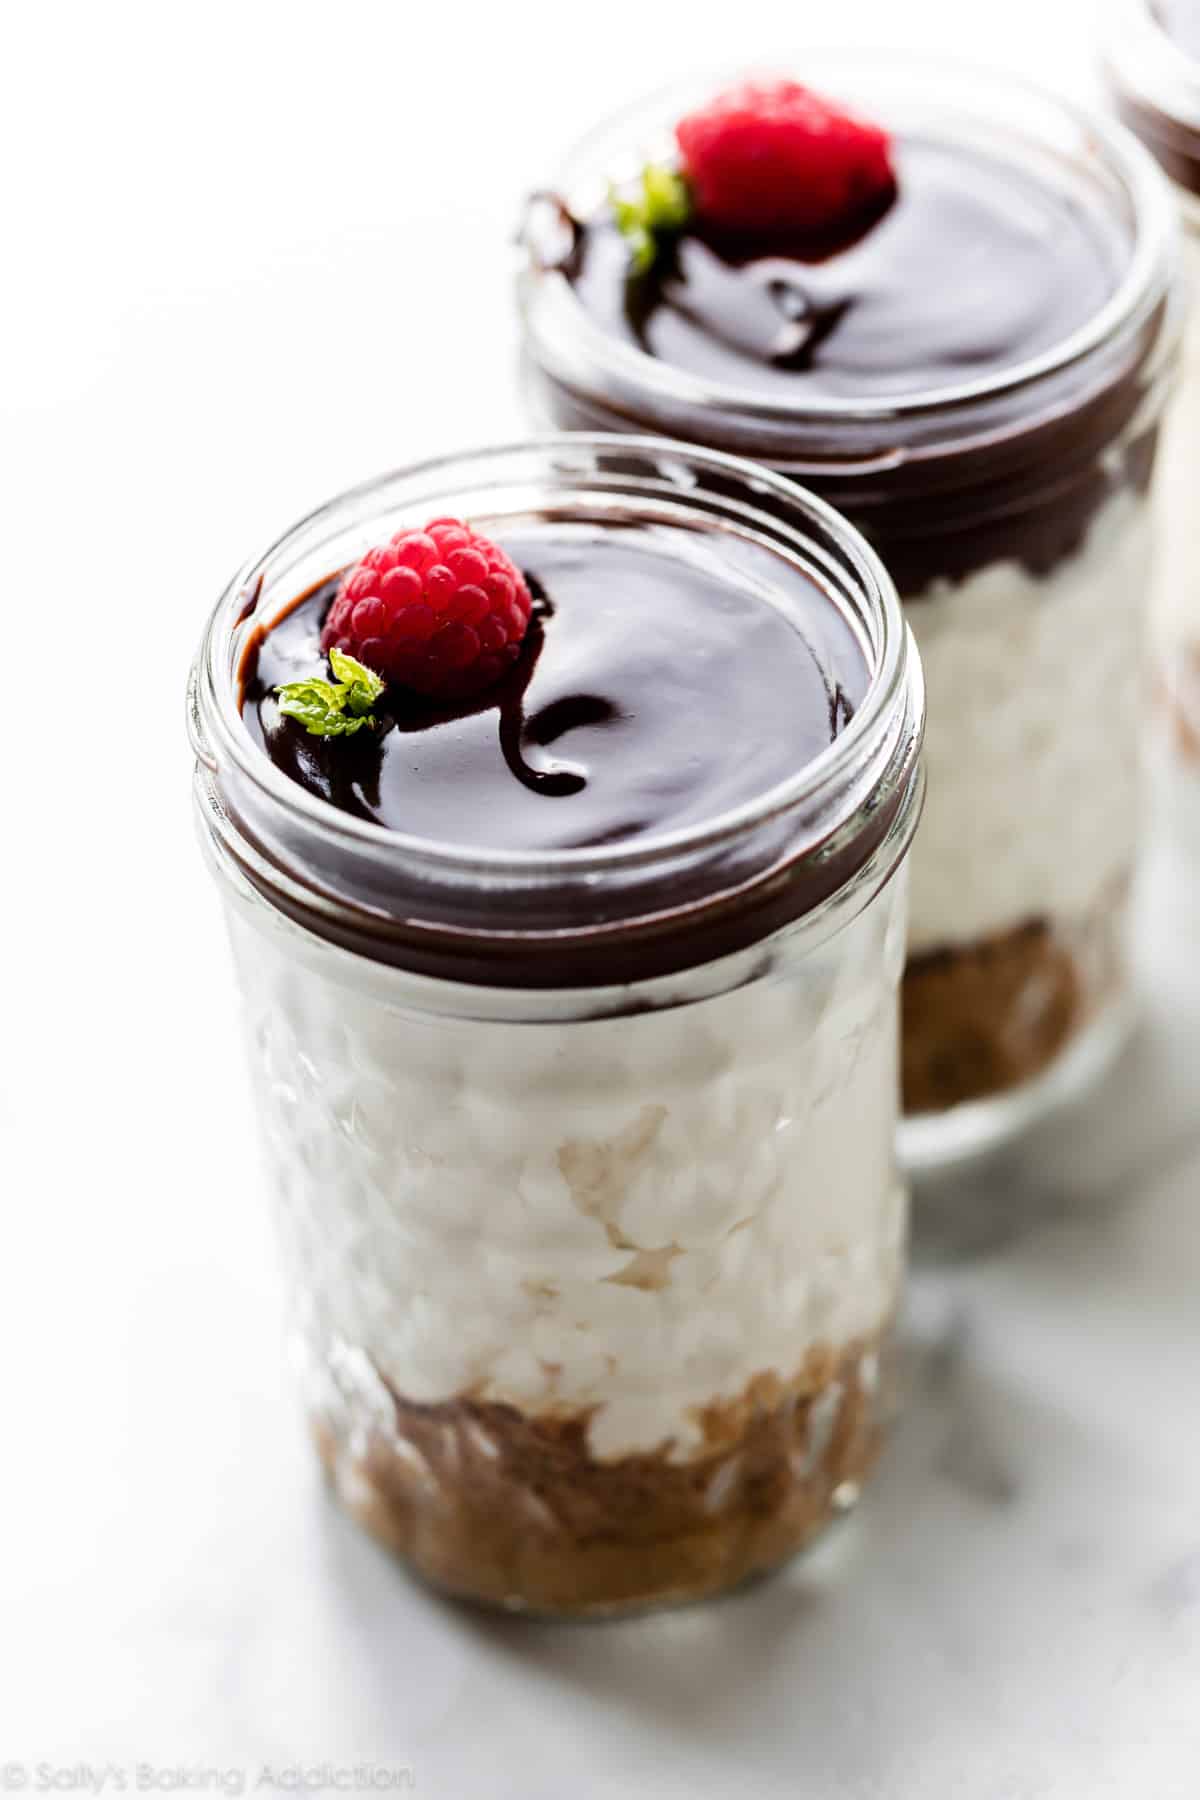
- Chocolate Ganache (pictured with raspberries & mint)
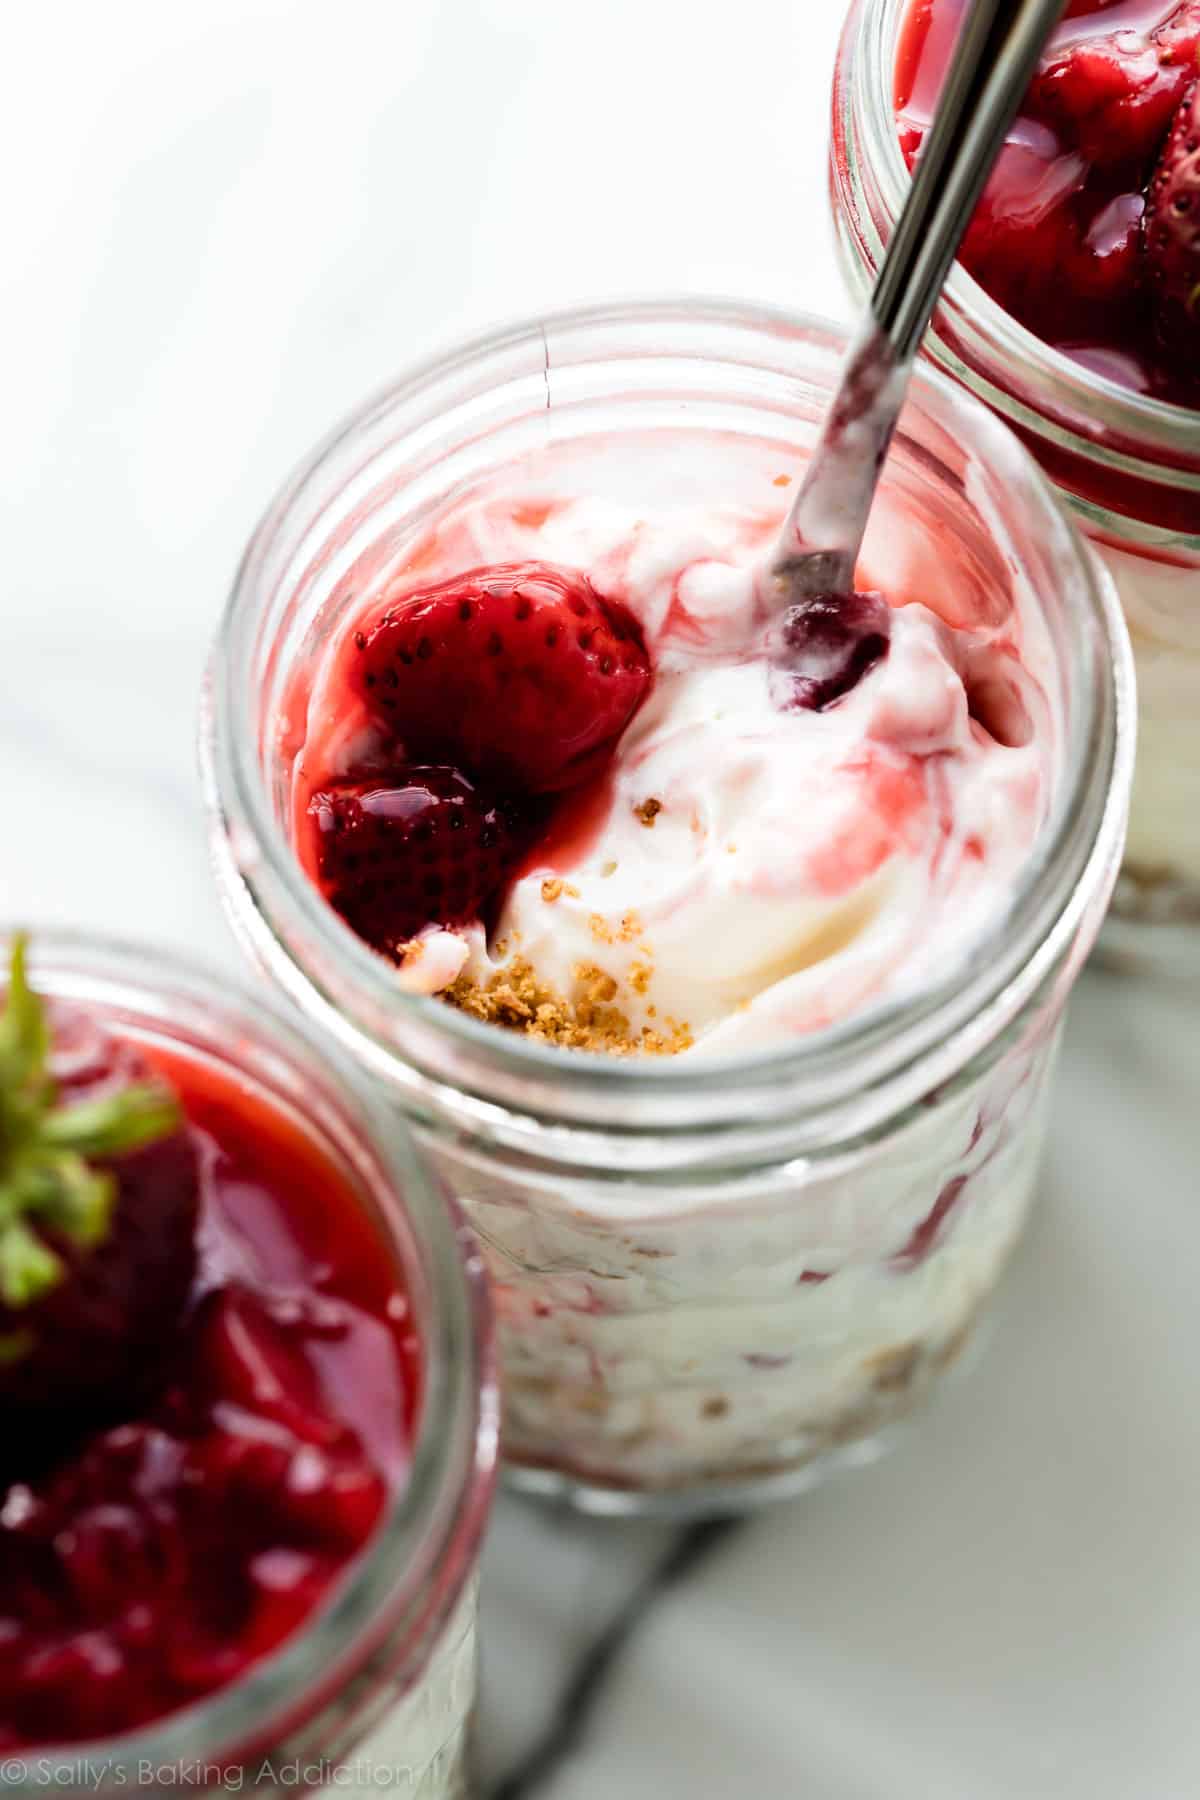
- Strawberry Topping (pictured)
- Blueberry Sauce Topping (pictured with fresh blueberries and lemon slice)
- Whipped Cream
- Hot Fudge Sauce
- Lemon Curd
- Salted Caramel
And let’s not forget garnishes like sprinkles, berries, lemons, mint, etc!
Jars for No-Bake Cheesecake Jars
8 ounce jars, as pictured, are a pretty generous serving size. Feel free to use smaller jars like we do for homemade dirt pudding, or even use this recipe as a trifle. Whichever size jar, I highly recommend using wide mouthed jars so you can easily spoon the layers inside. These are all affiliate links.
- 8 ounce glass jars (pictured)
- 8 ounce glass jars (vintage fruit design)
- 6 ounce glass jars (hexagon shape)
- 6 ounce glass jars (smooth surface)
If you don’t have jars, use custard cups or bowls. Same taste, different delivery. This cheesecake filling also works in place of pastry cream in homemade mille-feuille. No matter how you serve it, these are always fun to serve at bridal showers, baby showers, for tea parties, Mother’s Day, Father’s Day, wedding celebrations, BBQs, graduation parties, and more. A crowdpleaser every time!
See Your No-Bake Cheesecake Jars!
Many readers tried this recipe as part of a baking challenge! Feel free to email or share your recipe photos with us on social media. 🙂
Print
No Bake Cheesecake Jars
- Prep Time: 30 minutes
- Cook Time: 0 minutes
- Total Time: 30 minutes
- Yield: 6 8-ounce jars or 10 6-ounce jars
- Category: Dessert
- Method: Mixing
- Cuisine: American
Description
This jar dessert recipe combines a 2 ingredient graham cracker crust with an easy no-bake cheesecake filling. For best results, read through the recipe and watch the video tutorial above before beginning. See blog post for cheesecake filling flavors and see recipe notes or blog post for topping and garnish suggestions.
Ingredients
- 2 Tablespoons (28g) unsalted butter, melted
- 1 cup (100g) graham cracker crumbs (about 8 graham crackers)
- 1 cup (240ml) heavy cream or heavy whipping cream, cold
- 8 ounces (226g) full-fat brick cream cheese, softened to room temperature
- 1/3 cup (65g) granulated sugar
- 2 Tablespoons (30g) sour cream, at room temperature
- 1 teaspoon lemon juice
- 1/2 teaspoon pure vanilla extract
- toppings & garnishes (see note)
Instructions
- Have your jars ready to go and lined up. This recipe yields about 6 8-ounce jars or 10 6-ounce jars.
- Crust: Melt the butter in the microwave in a medium heat-proof bowl or use the stove. Stir in the graham cracker crumbs. The mixture will resemble wet sand. Spoon a generous spoonful into each jar, about 2 Tablespoons into the 8-ounce jars and 1 and 1/2 Tablespoons into the 6-ounce jars. If there’s any crust leftover, sprinkle into the jars to use up or discard. Set jars aside.
- Filling: Using a hand mixer or a stand mixer fitted with a whisk attachment, whip the cold heavy cream into stiff peaks on medium-high speed, about 3-4 minutes. Set aside.
- Using a hand mixer or a stand mixer fitted with a whisk or paddle attachment, beat the cream cheese, sugar, sour cream, lemon juice, and vanilla extract together on medium-high speed until smooth and creamy. Make sure there are no large lumps of cream cheese. If there are lumps, keep beating until smooth.
- Using your mixer on low speed or a silicone spatula, fold the whipped cream into the cheesecake filling until combined. This takes several turns of your silicone spatula. Combine slowly as you don’t want to deflate all the air in the whipped cream.
- Layer a couple large spoonfuls of filling on top of the crust in the jars. Use about 1/4 – 1/3 cup filling in the 8 ounce jars and 3 Tablespoons (or however much you can pack in!) into the 6 ounce jars. Make sure to leave room for the topping.
- The cheesecake jars are at room temperature at this point, but if you’d like to serve chilled, chill for at least 30 minutes and up to 3 days before adding the topping. (Cover if chilling for longer than 30 minutes.) I recommend adding the topping when serving or up to 2 hours in advance. The topping can seep down into the layers, so that’s why I recommend adding it soon before serving.
- Spoon topping and garnishes on top of filling, then serve.
- Cover and store leftover cheesecake jars in the refrigerator for up to 5 days.
Notes
- Make Ahead Instructions: These cheesecake jars can be made 1-3 days in advance. They can be refrigerated in step 7 for up to 3 days before serving. You can also make & layer the crust 1-2 days ahead of time. Another way to make these cheesecake jars ahead of time is to freeze them before adding the toppings. Seal jars with the lids and freeze up to 3 months. Thaw in the refrigerator before topping and serving. You can also freeze the cheesecake filling as a whole. Cover tightly and freeze up to 3 months. Thaw in the refrigerator before layering on top of crust.
- Special Tools (affiliate links): 8-ounce Glass Jars (pictured), 8-ounce Glass Jars (vintage fruit design), 6-ounce Glass Jars (hexagon shape), or 6-ounce Glass Jars (smooth surface) | Glass Mixing Bowls | Electric Mixer (Handheld or Stand) | Silicone Spatula
- Toppings: Chocolate Ganache, Strawberry Topping, Blueberry Sauce, Whipped Cream, Cherry Pie Filling, Lemon Curd, Salted Caramel, Hot Fudge Sauce
- Garnishes: Fresh berries, chopped fruit, nuts, chocolate chips, lemon slices, lime slices, shredded coconut, sprinkles, mint, or whatever you desire.
- More Cheesecake Jars: This recipe can easily be doubled, tripled, or quadrupled. Keep in mind the whipping and beating times will increase with the added volume.


Reader Comments and Reviews
Made the recipe yesterday, and loved that this was a quick and easy dessert to make. We stuck to classic cheesecake with strawberry topping, and it was delicious. Next time I would love to mix it up with some peanut butter and chocolate flavors.
Such a tasty recipe! I couldn’t choose which flavor to make so I ended up making four: key lime, raspberry, peanut butter, and lemon. They turned out so good!! And it was so fun making them in individual cups.
Love it. I really had fun making them. I did three different toppings. Lemon curd, which I had frozen after June challenge. So tasty blueberry sauce. And chocolate ganache with raspberry and mint. Thank you!
This baking challenge could not be more perfectly timed! Cheesecake is my absolute favourite dessert and it is my birthday so I treated myself to these as the dessert in my work lunches for the week! I haven’t made any form of cheesecake before, so this was an easy and great way to expand my baking experience. I went pretty simple with plain cheesecake and your salted caramel recipe as the topping but, since I used a larger size of mason jars, they are not the prettiest dessert I have ever made. However, they are still delicious and I will definitely be making these again!
Very easy and quick to make! I tried using mason jars and it worked, but with the narrow opening the end result wasn’t very pretty. They still taste great though!
These were super easy and yummy! I made it with Sally’s blueberry sauce which was easy to make as well. Will be saving this and making again!
This is chilling in the fridge—sooo light and fluffy but not too sweet! Can’t wait to try it when it chills all the way! Just made strawberry compote and letting it cool too. Perfect summer dessert
Made the recipe today, loved it! I made a strawberry topping (Sally’s recipe as well), and it was so good !! Super easy and fun to make !
Delicious and so quick and easy! I made mine Nutella with ganache topping. I would say I made them to share with others but really I’m hoarding them all to take to work all week 🙂
I made an Oreo crust, chocolate cheesecake with a chocolate peanut butter ganache and chopped on cups. My only negative comments is it definitely took me longer than half an hour. But I may not be as organized as some
My 4-year-old helped me with the majority of this recipe. It was so much fun to work with him. ☺ We chose peanut butter cheesecake with Sally’s homemade whipped cream topped with Reese’s peanut butter cups. Easy and delicious! Thanks for the recipe and memories. ☺
Hi Sally, I halved the recipe and made in 3round glass. Though my cheesecake consistency was a bit off, the family loved it. In a few minutes the jars were empty, i guess that tells how good these were.
Crumbs were made of almond thins and topping with fresh mango,salted caramel, butterscotch chips n chocolate chips.
Just made these yesterday and they were good. I divided my cheesecake filling in half and did half chocolate half original. I topped each one with your salted caramel recipe. Will definitely make again!
This recipe is super easy and super delicious. The tough part is waiting for it to set up without digging in. I made a them in jars which i loved this idea for taking it to the lake or beach as a treat or getaway for yourself and friends. This is another go to for auick and easy but delicious cheesecake. Plus it is no bake you can’t beat that.
This recipe was so easy to make and the end result was delicious! At first I thought it was a lot of steps but it was super easy! The cheesecake is delicious and I topped with fruit and my homemade lemon curd! Will definitely make again. Thank you for posting this recipe and giving all the options we can customize it with! I’m trying Nutella cheesecake next!
Great recipe!! The cheesecake filling was so smooth and having them in jars made it easy to make multiple toppings and let people choose their flavors. Can’t wait to try this recipe with seasonal flavors like pumpkin and peppermint! Best of all, it was kid-approved as my girls said it was the best thing they had ever eaten! Thanks, Sally!
Thank you Sally for an easy and beautiful dessert for summer (or any time!). I followed your recipe but at the suggestion of my friend used mascarpone instead of cream cheese…very light and yummy. Topped it with your strawberry compote recipe which I made a day ahead. Can’t wait to try again with a different topping.
Hi Sally!
I made these no-bake cheesecake jars yesterday! The recipe was delicious 🙂 I folded in some chopped/crumbled raspberries before layering in the jars, which turned out with great flavor and a beautiful pink and white swirl effect! Sublime flavor and a wonderful texture. I’m also a big fan of graham crackers, so I’m sold the moment you post a recipe containing them 😉 Thanks for another great recipe!
Hi Sally!
I’m making these this weekend. I think I’m going to make a few different variations but I def want some to have your blueberry sauce. Is the sauce something I can make ahead of time?
Hi Nikki! Yes, absolutely. You can make the blueberry sauce a few days ahead. Cover and refrigerate until ready to use. It will thicken in the refrigerator, so warm it up slightly (in the microwave or on the stove) before spooning into the jars.
I made a chocolate swirl version of these cheesecake jars by doing an Oreo crust, a chocolate cheesecake filling with ganache swirled throughout it, and then more ganache and chopped Oreos on top. The cheesecake filling was almost mousse-like in texture, which I personally love, although some of my family said they prefer “real” cheesecake. But really, Sally, I liked these very much! The mousse-y texture made them delightfully airy and light, perfect for summer. I can’t wait to email you my pictures and enter in the baking challenge! Very excited, as it’s the first time I’ll be entering in the challenge! If I do win, the first thing I would buy on Amazon would be your cookbooks! I’ve been wanting them for a long time 🙂
I think I used jars that are too big, but the finished product was delicious. Easy to make this gluten free for my guest tonight. Great presentation!
This is a very simple and delicious recipe! I used homemade gluten free gingerbread cookie crumbs for the crust which complemented the cheesecake filling. Enjoy that the recipe is versatile for various crust and topping options.
Oh my god Sally, this is heaven in a jar. The cheesecake filling is so light & fluffy and I loved how quick and simple this dessert was to put together. Will definitely make this again!
So simple and so delicious. Just to give you some further ideas:
For the cookie crust you can use conflakes, pretzel sticks, ladyfingers, amaretti, or any other cookie.
For the topping I used leftover apricot crumble and it was soo delicious!
What a fun challenge!
Made it tonight and it was a hit! It was so smooth and creamy. They loved how fluffy it was. I made two of them with Nutella and it was so delicious. I already have a request from my fiancé to make the full cheesecake with the leftover ingredients 🙂 Id say it was a success! Thanks Sally.
So yummy and so easy!!! I made about 21 jars for a dinner party with no toppings and had bowls of lemon curd, chocolate ganache, raspberry sauce and sliced strawberries so guests could top their own jars!! So fun!!!!
Hi Sally! I was wondering wether you think a strawberry shortcake version of these cheesecake jars could work out? I was thinking maybe using arrowroot biscuits for the crust, and maybe soak them in a little milk first to soften them. For the filling, I thought I might use some strawberry jam as well as fold in chopped strawberries, and then finish it off with a strawberry topping or whipped cream. Thoughts?
Hi Erin! That sounds REALLY good. I don’t think you would need to soak the biscuits first– the filling on top should soften the crumbs a bit.
This recipe was so simple and delicious! I made the strawberry compote and blueberry toppings and then layered the jars with both of them for a festive red-white-and-blue look. I’ve made both the full cheesecake recipe and this one, and I can’t tell much difference between the two taste-wise, but this one doesn’t have to chill for 8 hours! It was perfect. Thank you, Sally!
I adapted this for a 4th of July dessert. Since I had a pound cake already on hand, I made the cheesecake mixture and topped slices of cake with that delicious, creamy filling and added mixed berries on top. Loved by all and so beautiful! Thought your readers might like to hear about an alternative way to serve this. Thanks for the inspiration!
I just made the filling and served it as “cheesecake mousse”. It was such a deliciously creamy, quick dessert to whip up. Holy cow, Sally, incredible.