

This homemade cinnamon swirl bread recipe is a family favorite and requires only a handful of basic ingredients (just 8!). It’s soft and tender with the most unbelievably gooey cinnamon swirl inside. Each yeasted bread slice tastes fabulous on its own, but try it toasted with some honey butter… unbelievable! For a no-yeast version, see my cinnamon swirl quick bread.
I originally published this recipe in 2015 and have since added new photos and made a few changes to the recipe steps, which are outlined in the post below.
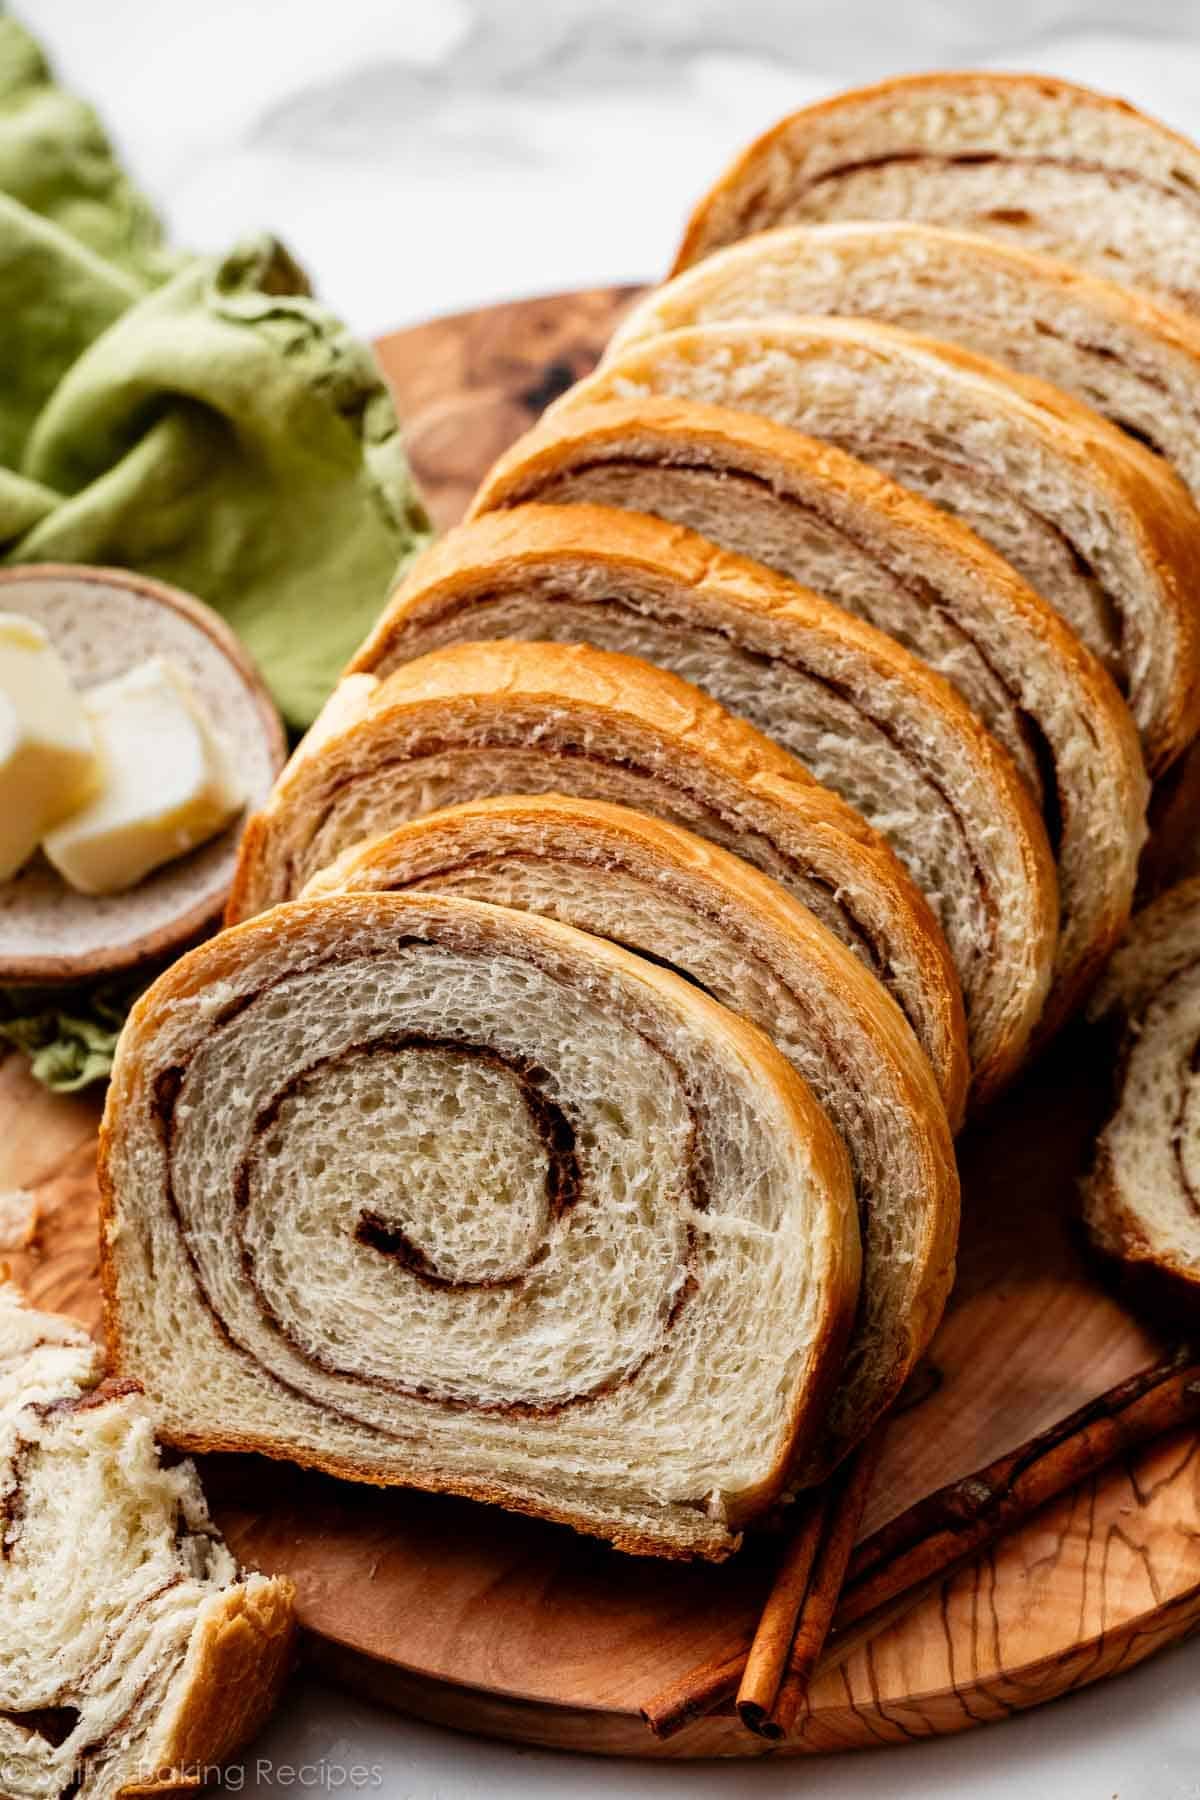
Homemade cinnamon swirl bread is one of life’s greatest treasures. Hot & fresh out of the oven, the smell alone will captivate a large crowd. The bread is buttery soft and the hypnotizing swirls are deliciously sweet. This recipe is basically a simplified version of my cinnamon crunch bread.
You know I love a good cinnamon sugar swirl (I mean, have you tried this cinnamon swirl banana bread??) But honestly, there is nothing on earth quite like the craft of homemade yeast bread. Isn’t it so satisfying? That’s why I have so many homemade yeast bread recipes on this website. Everyone’s favorite!
One reader, Michelle, commented: “One of the best recipes for cinnamon swirl out there. The bread is fluffy like you would find in a bakery and it has just the right amount of cinnamon and sugar, without being too gooey. We made our first loaf last night and by morning it was gone, so we have to make a second loaf. ★★★★★”
Baking with Yeast Guide
Are you a yeasted bread beginner? Reference this Baking with Yeast Guide whenever you work with baker’s yeast. I include practical answers to all of your common yeast questions.
Updated & Improved Cinnamon Swirl Bread Recipe
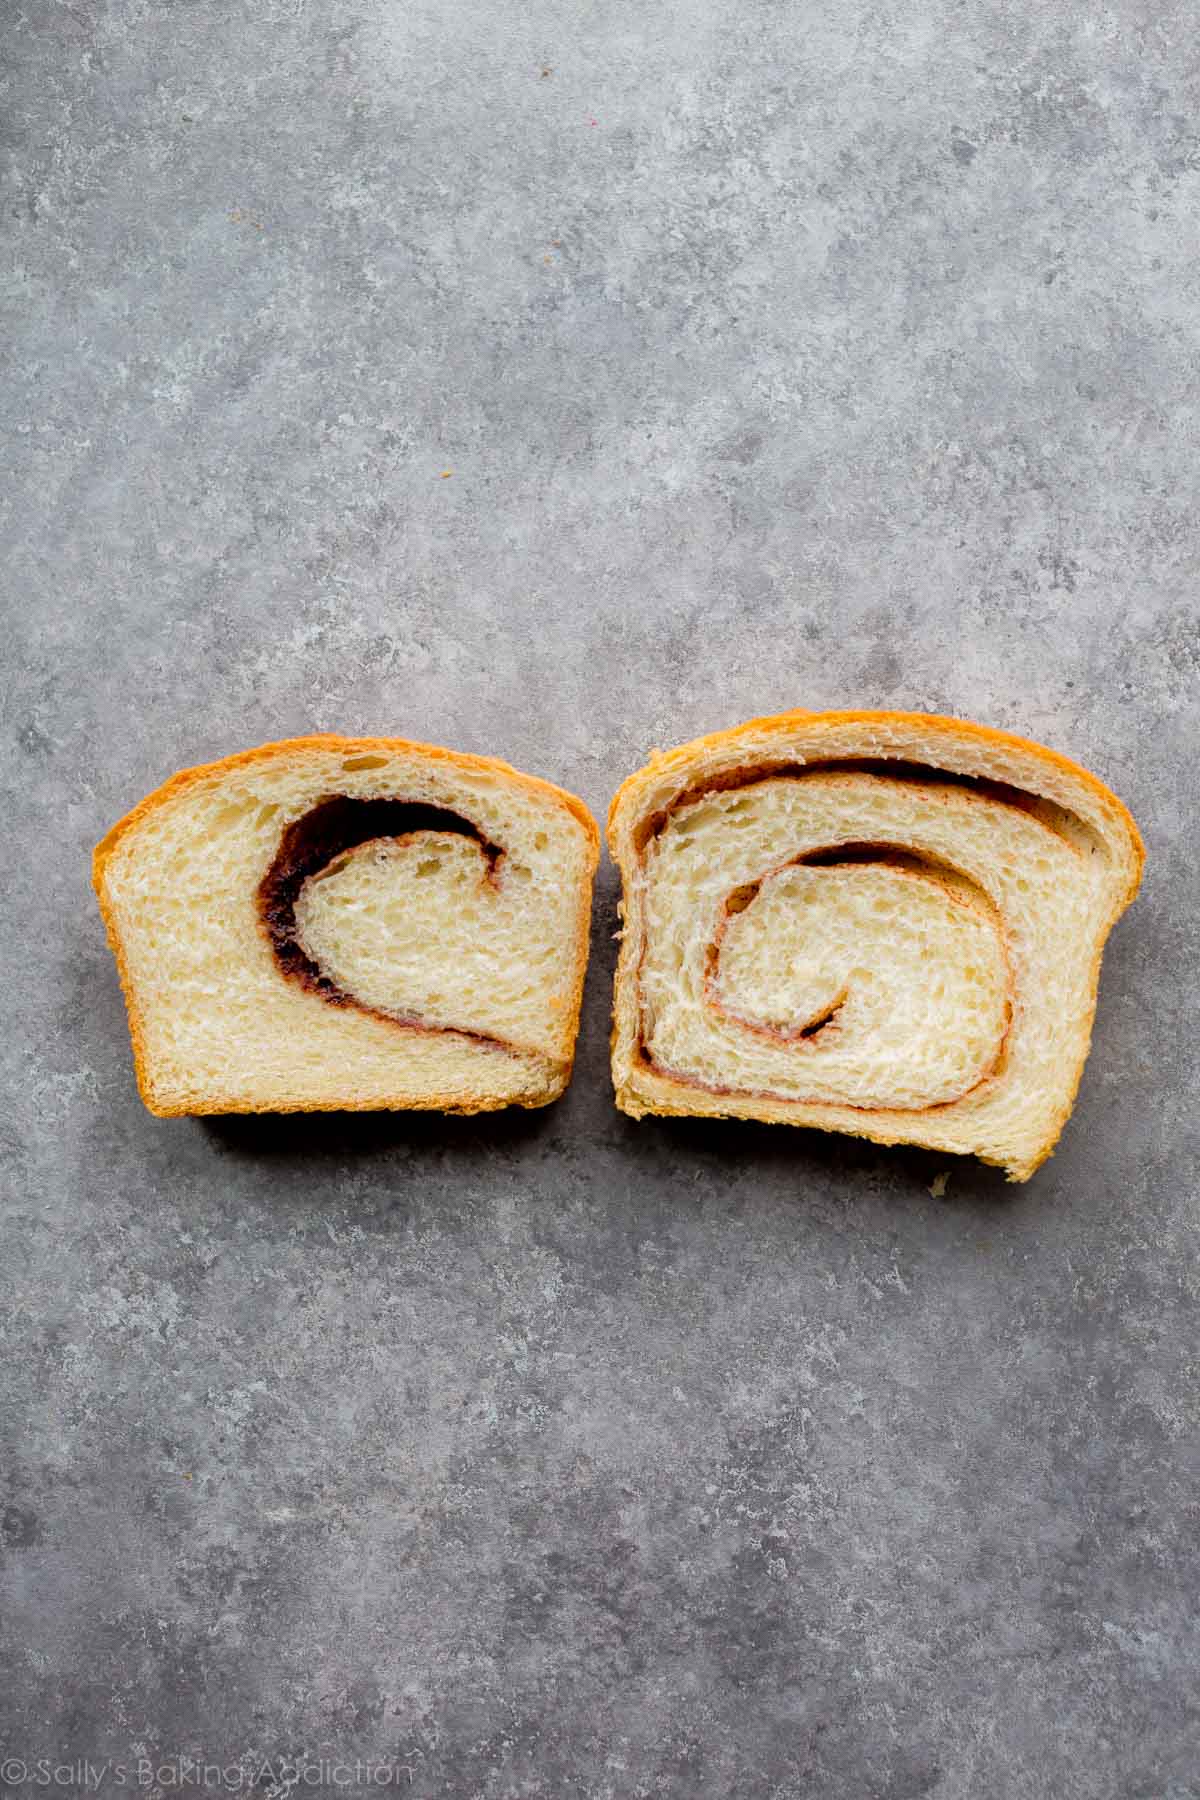
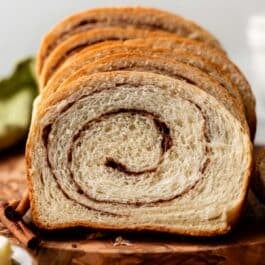
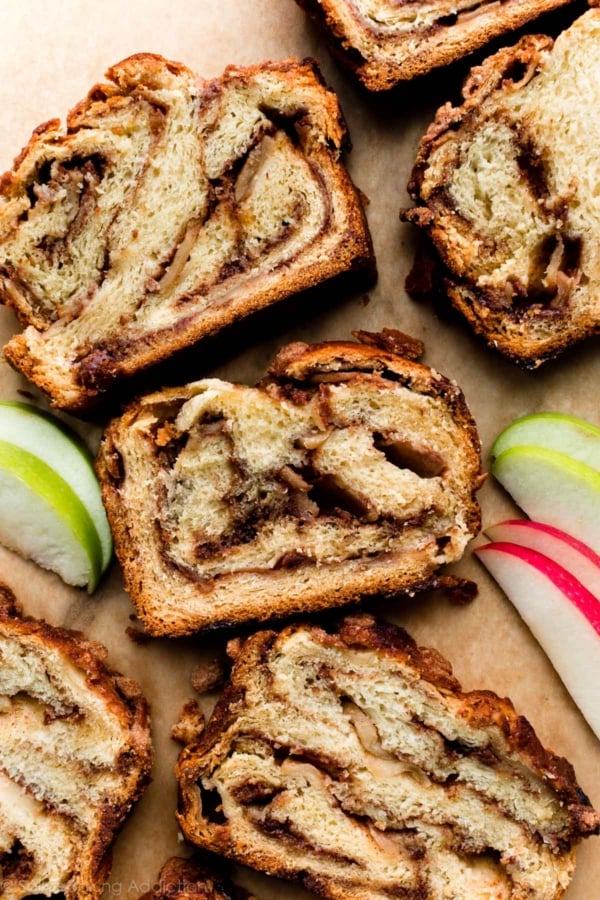
This recipe has seen some updates over the past decade, and I want to show a quick comparison photo. When I first published this recipe, I shaped the dough into a thick square and rolled it up. This gave me very little swirl inside the baked bread. Now I roll it out into a thinner 8×20-inch rectangle. I brush the rolled-out dough with egg white, and sprinkle the cinnamon sugar on top. The egg white helps the cinnamon sugar stick, and helps prevent large air gaps in the baked bread.
This method produces more swirls in each slice. The loaf also rises taller as it bakes. I still can’t believe the BIG difference these SMALL changes make. Look at the slices:
How to Make Yeasted Cinnamon Swirl Bread
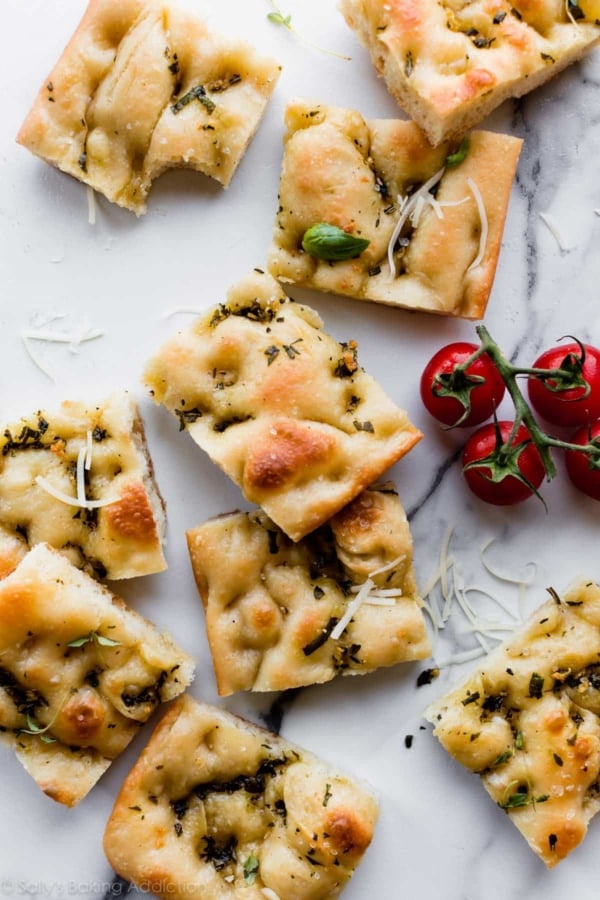
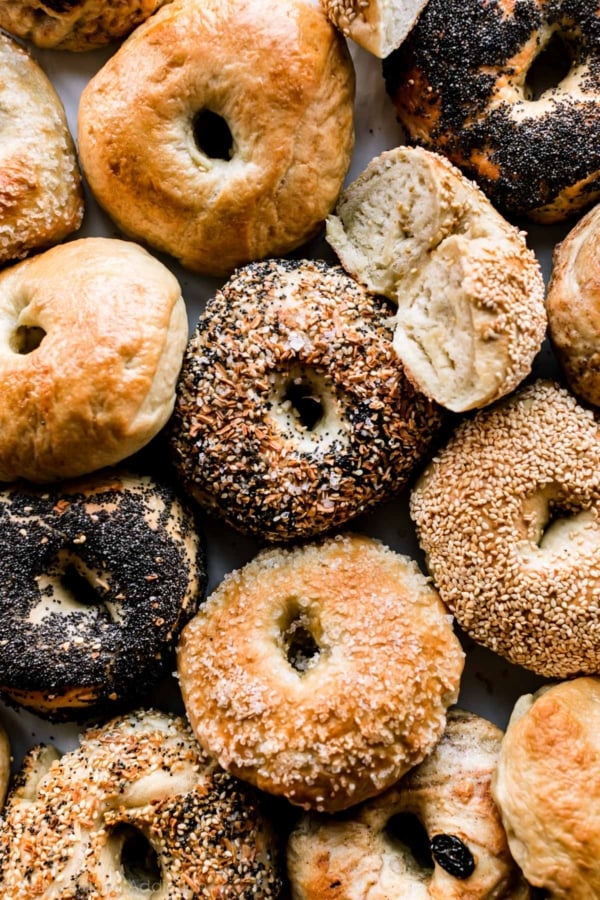
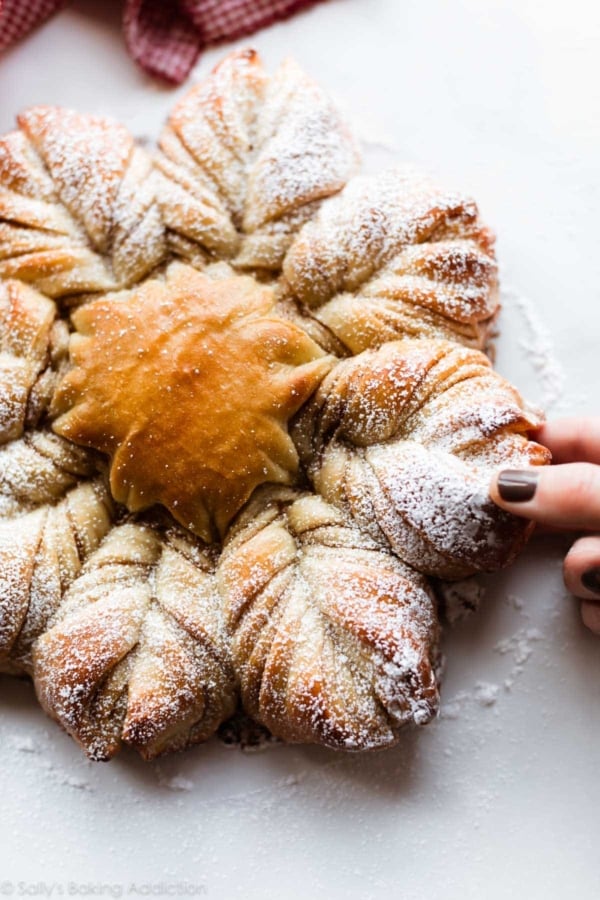
Today I’m teaching you how to become a bread-baking professional (well, close to it!). This recipe is very similar to my sandwich bread recipe, but it’s a little sweeter. Follow my tips and soon you’ll bake homemade croissants or croissant bread, homemade bagels, cheese bread, and even star bread. With only a handful of basic ingredients, your kitchen will transform into a bread bakery!
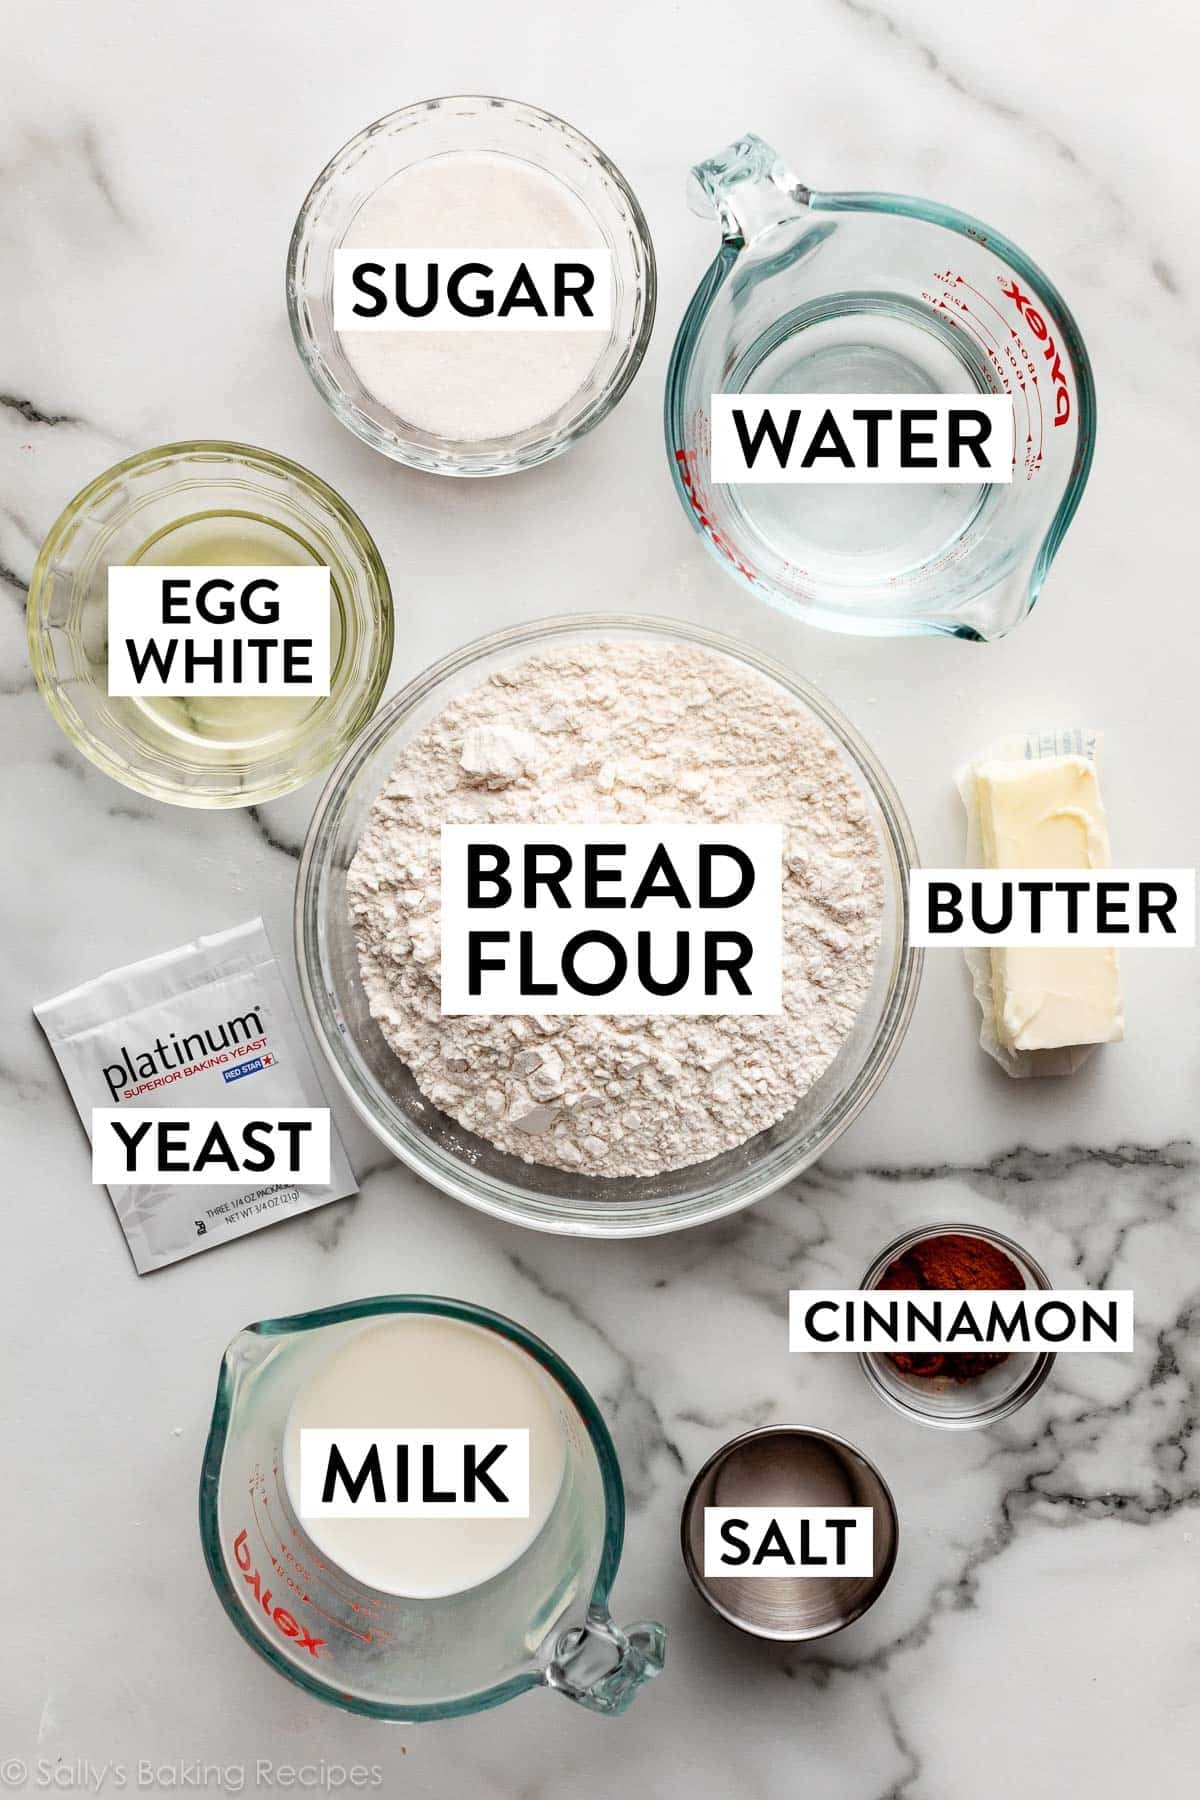
- Prepare the Dough: The first step is to mix the bread dough. You need yeast, sugar, water, milk, butter, bread flour, and salt. The thing about homemade bread is that the ingredients are SO basic, but throw the word “yeast” in there and many feel intimidated. I promise it’s not difficult to throw this dough together. As long as you give the yeast, sugar, water, and milk a few minutes to sit before adding the other ingredients, you’re on the right track!
- Use Bread Flour: All-purpose flour doesn’t have enough strength to support the rise and structure of cinnamon swirl bread. Bread flour is sold right next to the all-purpose flour in the baking aisle, and if you need some recipe inspiration for your leftover bread flour, try any of these recipes.
- Knead the Dough: Do you know how to do this? If not, I have an entire tutorial and video for How to Knead Dough.
- First Rise: The dough must rise twice. After you knead the dough, let it rise until doubled in size.
- Swirl the Dough: After the dough rises, punch it down, then roll it out. Brush with egg white, sprinkle with cinnamon and sugar, and roll back up.
- Second Rise: Place the rolled dough into a loaf pan and let it rise for 1 more hour.
- Bake: Pat yourself on the back because—congratulations!—you’re a bread baker with the simplest yet tastiest homemade cinnamon bread recipe in the world.
These Step-by-Step Photos Will Help:
These are the ingredients you need:
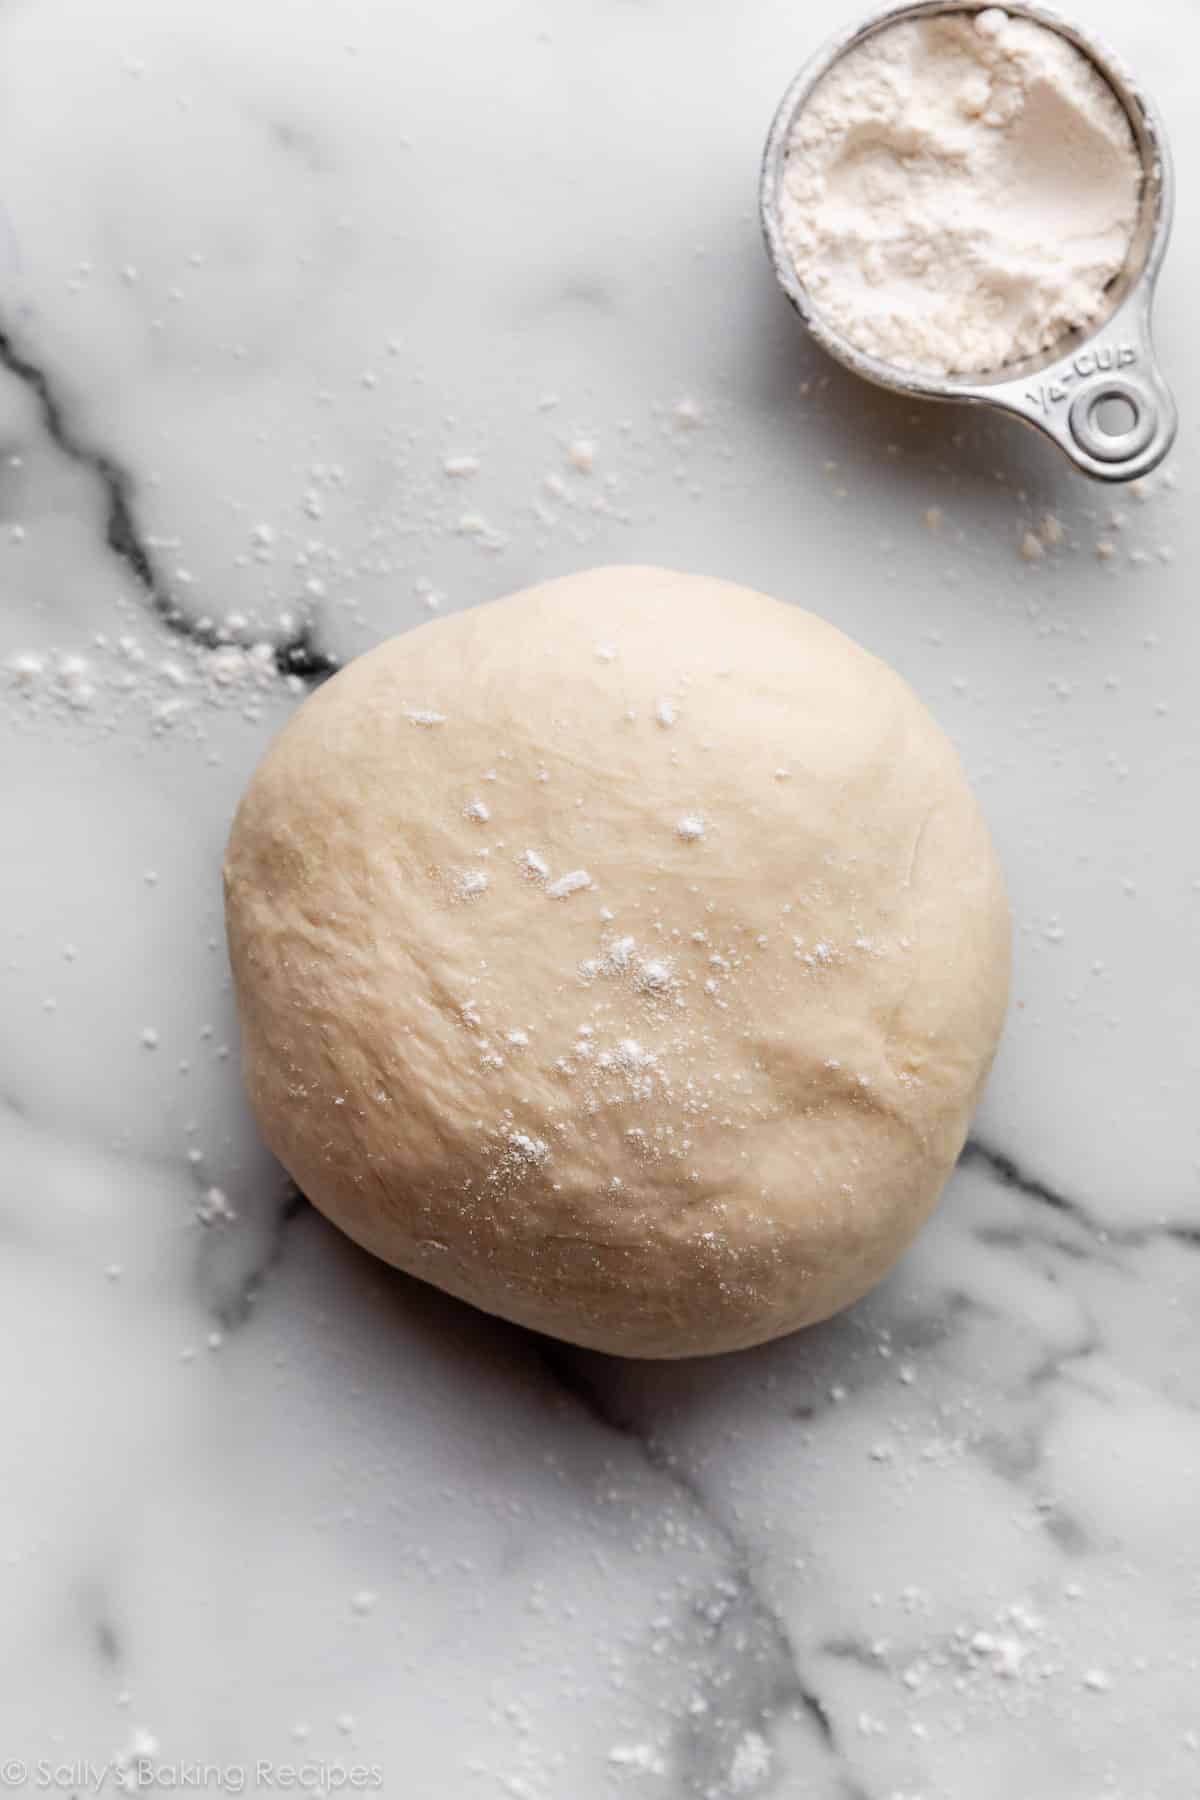
Here is the dough after kneading:
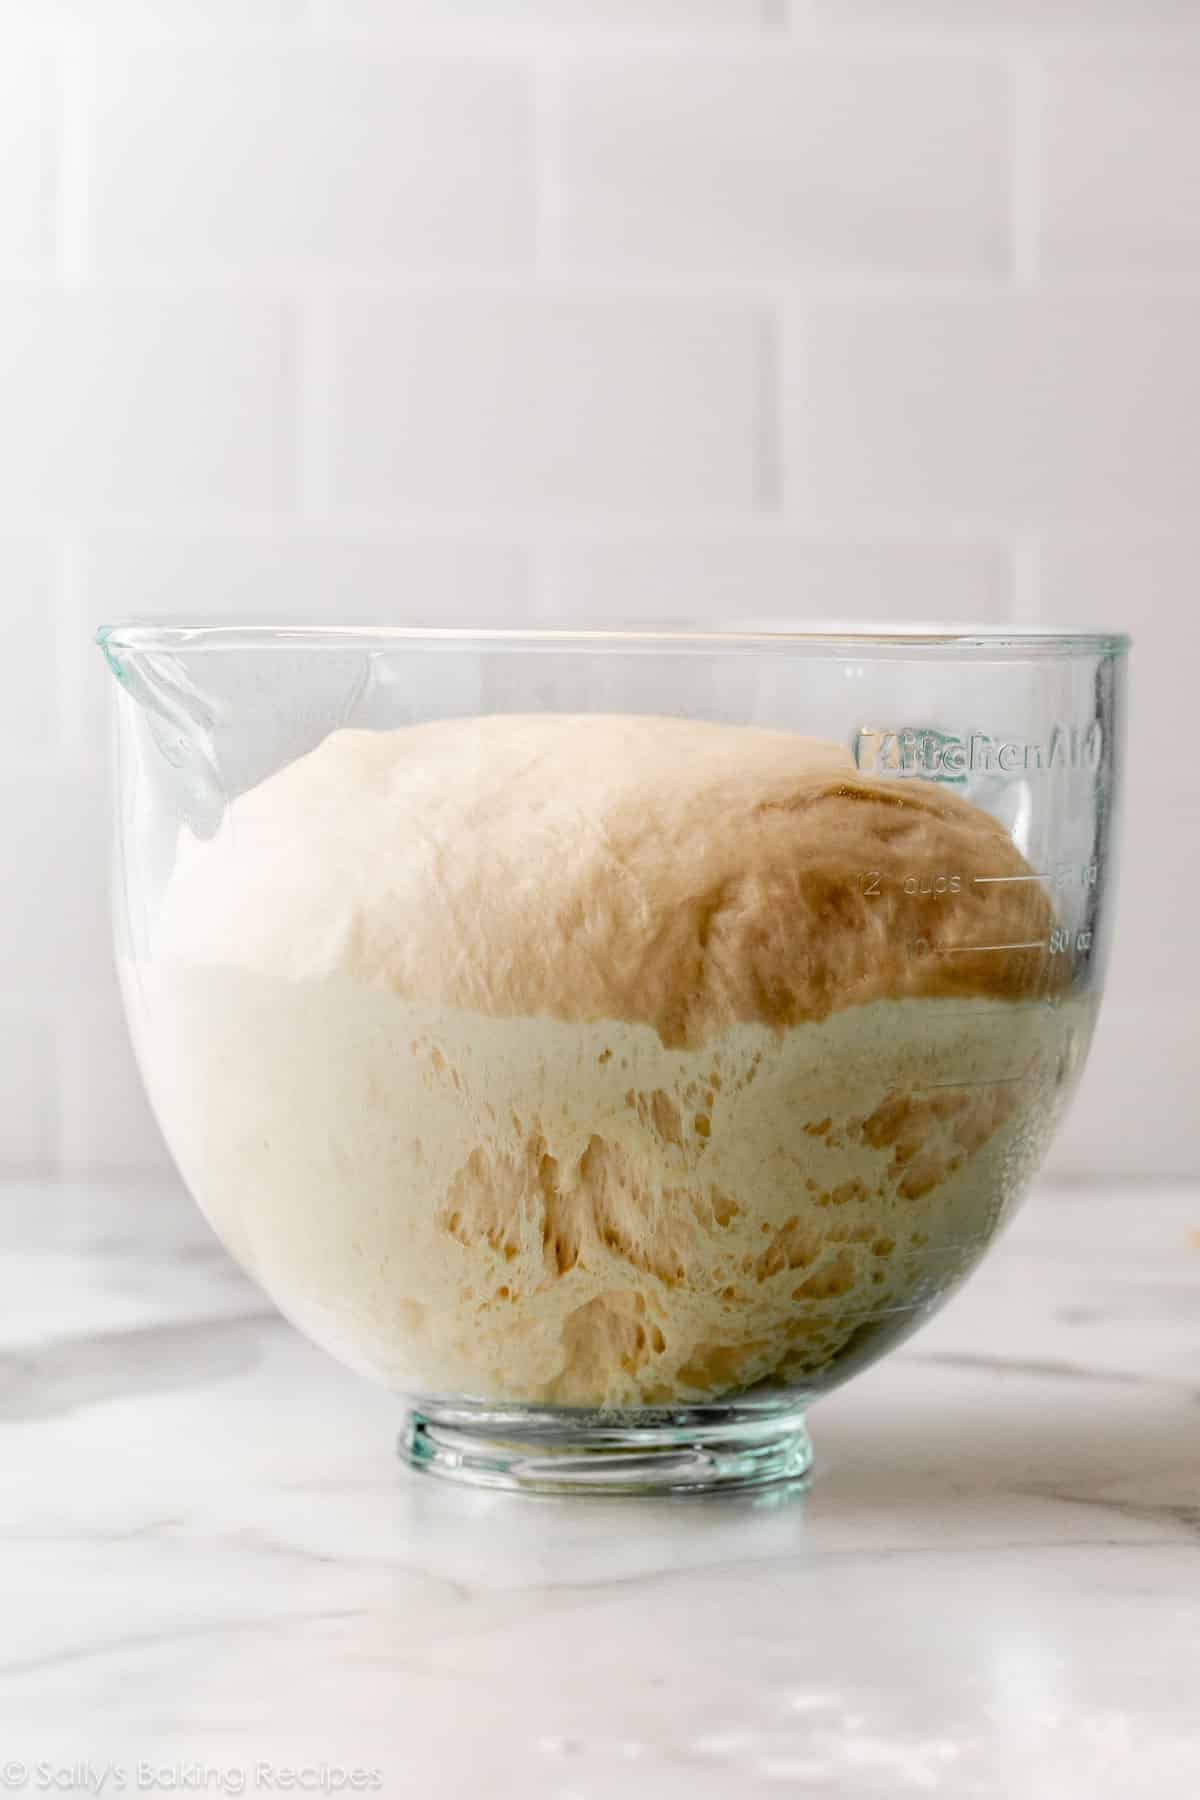
Let the kneaded dough rise until doubled in size, like this:
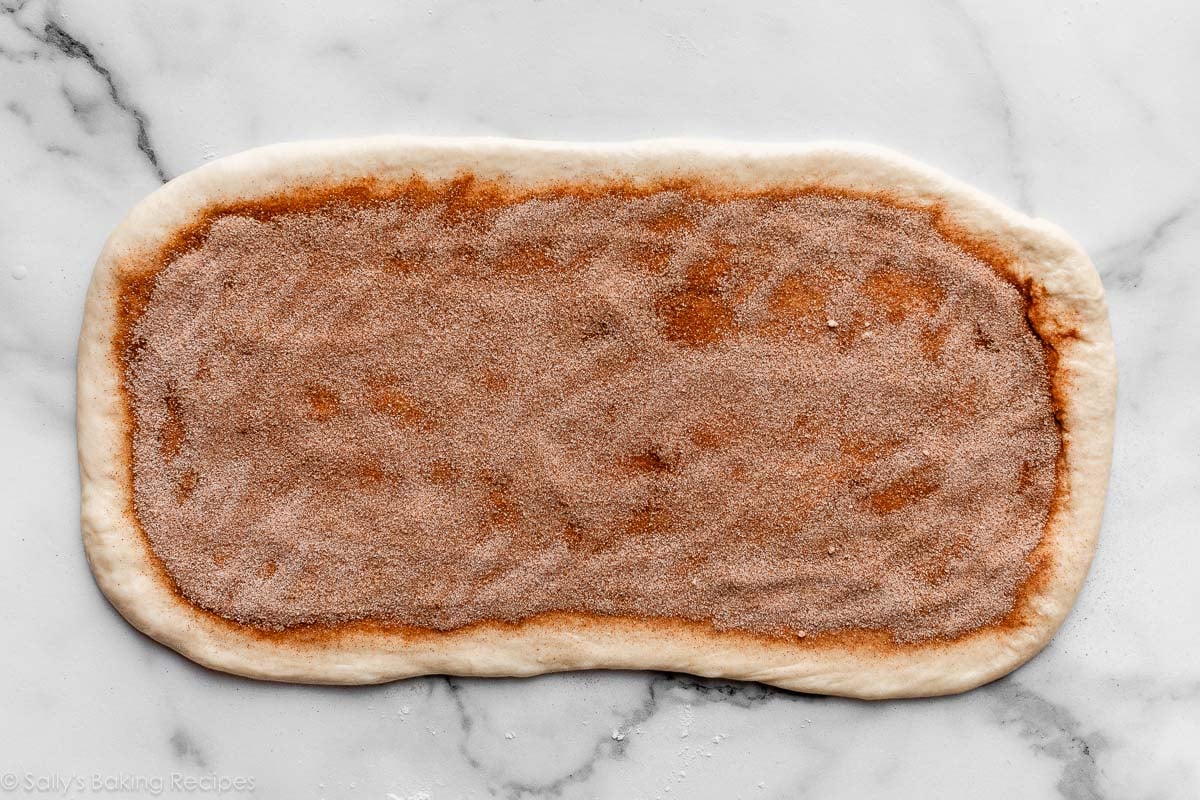
Punch it down to release the air, and roll it out into an 8×20-inch rectangle:
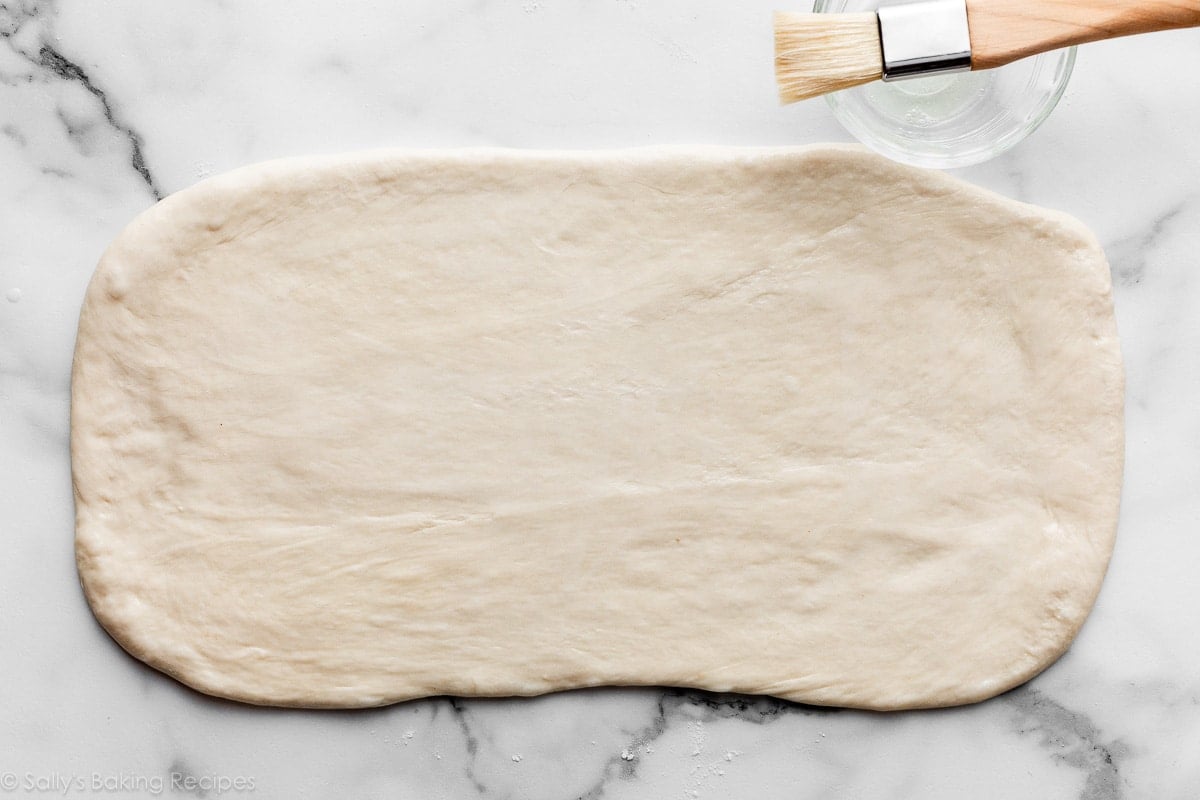
Using a pastry brush, brush the surface with a beaten egg white. Sprinkle cinnamon sugar on top:
Roll it up into a 9-inch log, place into a loaf pan, and let it rise once again. Here is the dough before and after this 2nd rise:
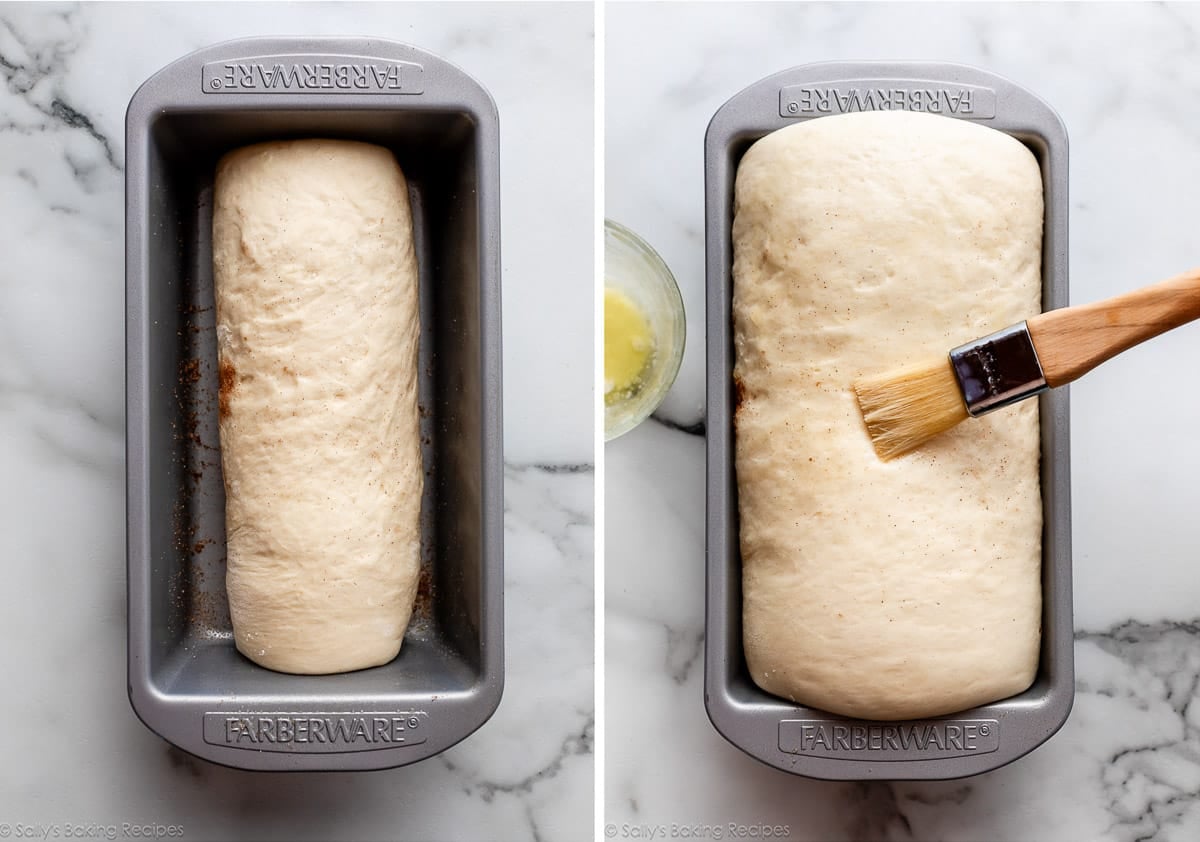
Before baking, lightly brush the top of the loaf with melted butter.
The bread takes about 40 minutes in the oven. Use an instant-read thermometer to check the internal temperature of the baked bread. This guarantees you won’t under-bake or over-bake the bread. The bread is done when the center is 195–200°F (90–93°C). An instant-read thermometer is an incredibly helpful bread-baking tool; you can also use it at the very beginning of the bread-making process to check the liquids are warmed to the right temperature to activate the yeast.

Gaps can form between the dough and cinnamon swirl in your homemade cinnamon swirl bread. It’s happened to me plenty of times! It’s the moistened dough separating from the dry cinnamon-sugar mixture as it bakes. To help prevent this, make sure you are brushing the dough with egg white before adding the cinnamon sugar. Additionally, you can use a toothpick or thin skewer to poke 3 holes in the top of the risen loaf right before baking; this will help steam escape.
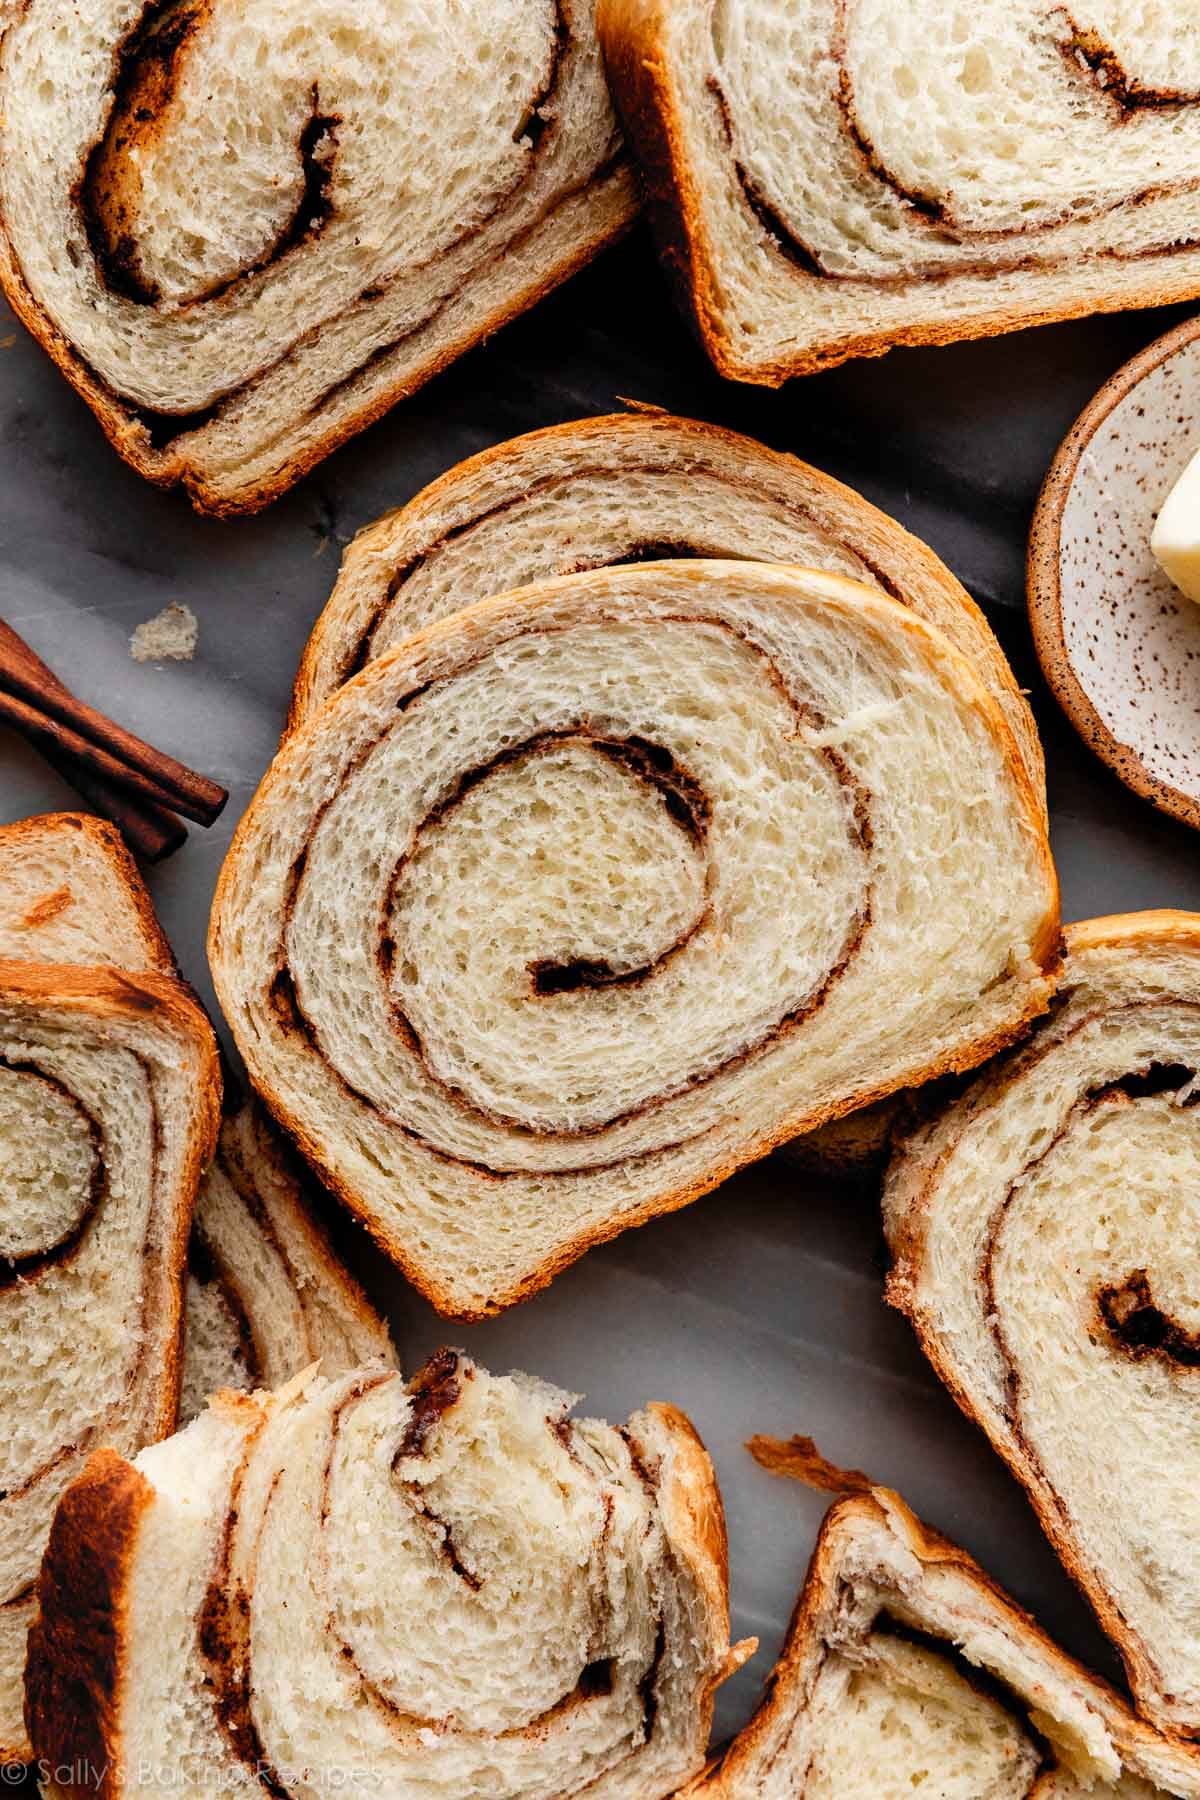
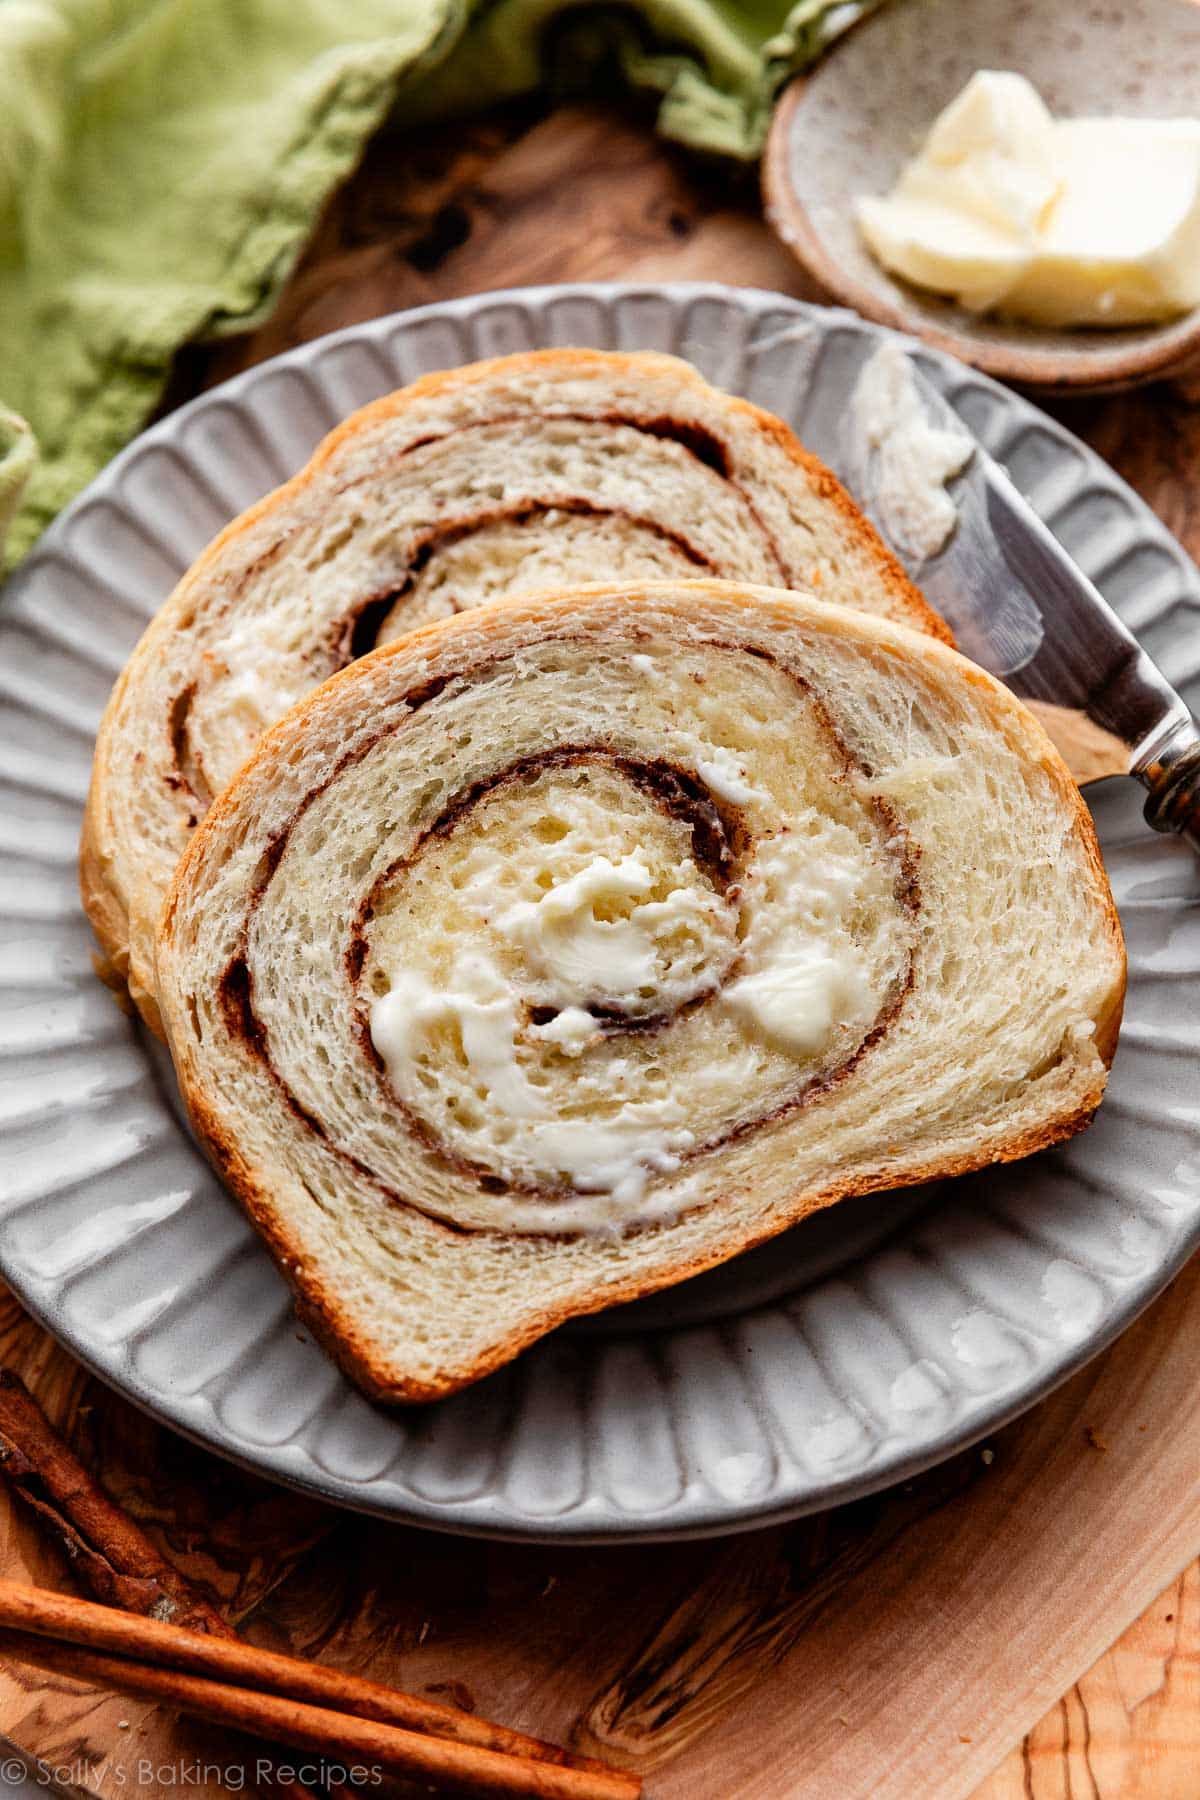
I still can’t decide which is best: the smell of homemade cinnamon swirl bread baking, the buttery and fluffy interior, or the hypnotizing, gooey, sticky, delectable cinnamon swirl.
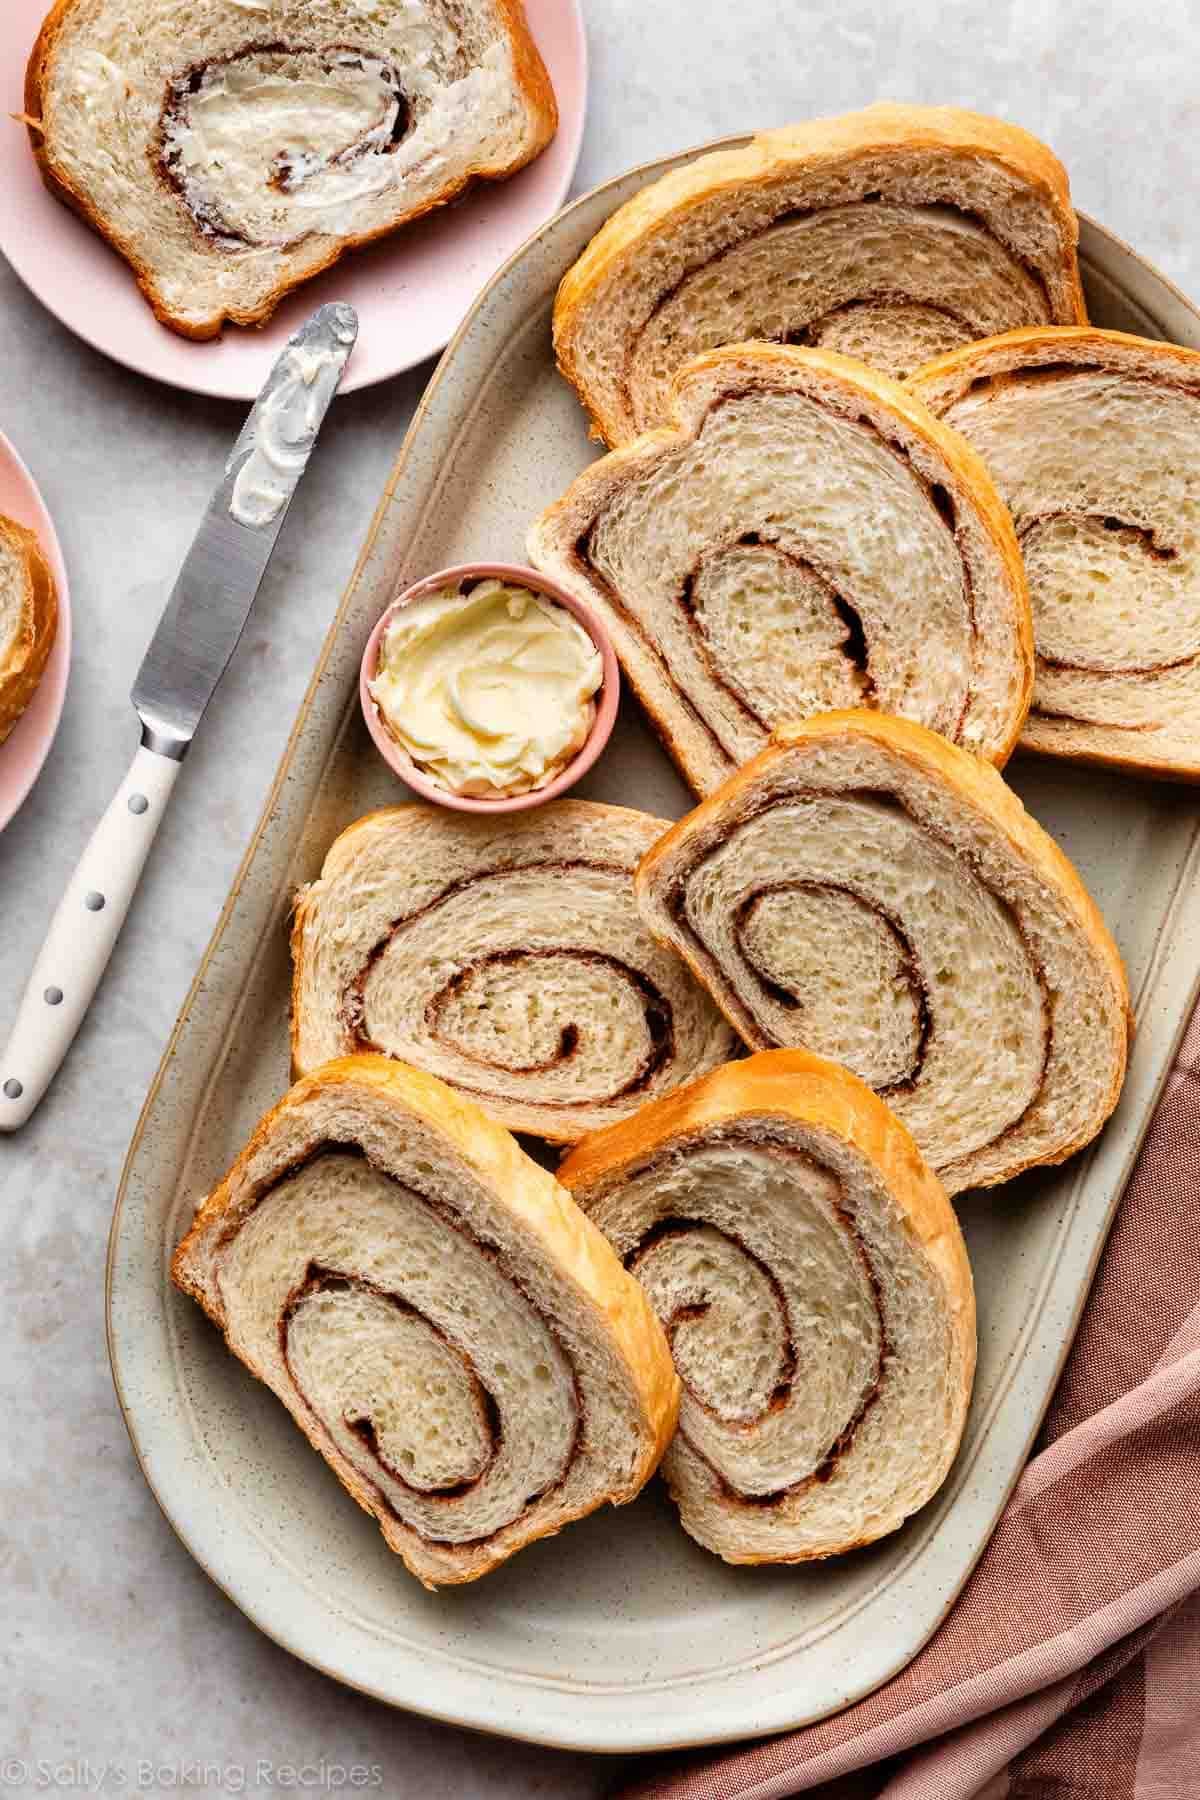
Try it with a swipe of homemade honey butter or cinnamon butter. And, you’ll definitely want to use this bread to level up your French toast game, especially if you use it for apple cider French toast!
Become a Bread Baker with My Approachable Recipes:
- Homemade Bread Bowls
- Multigrain Bread (so soft!)
- Whole Wheat Bread
- Soft Pretzels & Soft Pretzel Rolls
- Homemade Breadsticks
- Dinner Rolls
- No-Knead Honey Oat Bread
- Homemade Pizza Dough
- Homemade Flatbread Pizza
- Cinnamon Raisin Bagels
Here are all of my bread recipes and video tutorials.
Homemade Cinnamon Swirl Bread
- Prep Time: 3 hours, 30 minutes
- Cook Time: 40 minutes
- Total Time: 4 hours, 45 minutes
- Yield: 1 loaf
- Category: Bread
- Method: Baking
- Cuisine: American
Description
This homemade cinnamon swirl bread recipe is a family favorite and only requires a handful of basic ingredients. It’s soft and fluffy with the most unbelievably gooey cinnamon swirl inside! See recipe Notes for freezing and overnight instructions. You can also reference my Baking with Yeast Guide for answers to common yeast FAQs.
Ingredients
- 1/2 cup (120ml) water, warmed to about 110°F (43°C)
- 1/2 cup (120ml) whole milk, warmed to about 110°F (43°C)
- 2 and 1/4 teaspoons (7g) instant or active dry yeast (1 standard packet)*
- 1/4 cup (50g) granulated sugar, divided
- 4 Tablespoons (1/4 cup; 56g) unsalted butter, softened to room temperature and cut in 4 pieces
- 3 cups (390g) bread flour (spooned & leveled), plus more as needed
- 1 teaspoon salt
For the Swirl & Topping
- 1 egg white, beaten
- 1/4 cup (50g) granulated sugar
- 2 teaspoons ground cinnamon
- 1 Tablespoon (14g) unsalted butter, melted
Instructions
- Prepare the dough: Whisk the warm water, warm milk, yeast, and 2 Tablespoons of sugar together in the bowl of your stand mixer fitted with a dough hook attachment. Loosely cover and allow to sit for 5–10 minutes until foamy and frothy on top. *If you do not own a stand mixer, you can do this in a large mixing bowl and in the next step, mix the dough together with a large wooden spoon or silicone spatula. It will take a bit of arm muscle. A hand mixer works, but the sticky dough repeatedly gets stuck in the beaters. Mixing by hand with a wooden spoon or silicone spatula is a better choice.*
- Add the remaining sugar, the butter, 1 cup flour (about 130g), and the salt. Beat on low speed for 30 seconds, scrape down the sides of the bowl with a silicone spatula, then add another cup of flour. Beat on medium speed until relatively incorporated (there may still be chunks of butter). Add the remaining flour and beat on medium speed until the dough comes together and pulls away from the sides of the bowl, about 2 minutes. If the dough seems too wet to a point where kneading (next step) would be impossible, beat in more flour 1 Tablespoon at a time until you have a workable dough. Dough should be soft and a little tacky, but still manageable to knead with lightly floured hands.
- Knead the dough: Keep the dough in the mixer and beat for an additional 8–10 full minutes, or knead by hand on a lightly floured surface for 8–10 full minutes. (If you’re new to bread-baking, my How to Knead Dough video tutorial can help here.) If the dough becomes too sticky during the kneading process, sprinkle 1 teaspoon of flour at a time on the dough or on the work surface/in the bowl to make a soft, slightly tacky dough. Do not add more flour than you need; you do not want a dry dough. After kneading, the dough should still feel a little soft. Poke it with your finger—if it slowly bounces back, your dough is ready to rise. You can also do a “windowpane test” to see if your dough has been kneaded long enough: tear off a small (roughly golfball-size) piece of dough and gently stretch it out until it’s thin enough for light to pass through it. Hold it up to a window or light. Does light pass through the stretched dough without the dough tearing first? If so, your dough has been kneaded long enough and is ready to rise. If not, keep kneading.
- 1st Rise: Lightly grease a large bowl with oil or nonstick spray. Place the dough in the bowl, turning it to coat all sides in the oil. Cover the bowl and allow the dough to rise in a relatively warm environment for 1.5-2 hours or until double in size. (I always let it rise on the counter. Takes about 2 hours. For a tiny reduction in rise time, see my answer to Where Should Dough Rise? in my Baking with Yeast Guide.)
- Grease a 9×5-inch loaf pan. (I usually use this one or this one.)
- For the swirl: In a small bowl, whisk 1/4 cup (50g) sugar and the cinnamon together.
- Shape the dough: When the dough is ready, punch it down to release the air. Lightly flour a work surface, your hands, and a rolling pin. Roll the dough out into a large 8×20 inch rectangle. It does not have to be perfect—in fact, it will probably be rounded on the edges. That’s ok! Using a pastry brush, brush the surface with beaten egg white, then sprinkle on the cinnamon-sugar, leaving a 1-inch border uncovered. Roll it up into an 8-inch log. Place the loaf, seam-side down, into the prepared loaf pan. If any cinnamon-sugar filling spilled out of the sides, don’t waste it! Sprinkle it on top of the bread in the loaf pan.
- 2nd Rise: Cover the shaped loaf and allow to rise for 1 hour, or until it’s about 1 inch above the top of the loaf pan.
- Adjust oven rack to a lower position and preheat oven to 350°F (177°C). (It’s best to bake the bread towards the bottom of the oven so the top doesn’t burn.)
- After the dough rises, melt the remaining 1 Tablespoon of butter. Lightly brush the melted butter on top of the shaped loaf before baking. Bake for 35–45 minutes, or until golden brown. Check on the bread about halfway through baking—if the top of the loaf is browning too quickly, tent with aluminum foil. To test for doneness, if you gently tap on the loaf, it should sound hollow. For a more accurate test, the bread is done when an instant-read thermometer inserted into the center of the loaf registers 195–200°F (90–93°C).
- Remove from the oven and allow bread to cool for a few minutes in the pan on a cooling rack. Remove loaf from the pan and cool it directly on a cooling rack for at least 10 minutes before slicing. Feel free to let it cool completely before slicing, too.
- Cover leftover bread tightly and store at room temperature for 6 days or in the refrigerator for up to 10 days.
Notes
- Overnight Instructions: Prepare the dough through most of step 4, allowing the dough to rise overnight in the refrigerator instead of in a warm environment. The slow rise gives the bread wonderful flavor! In the morning, let the dough sit on the counter until it comes to room temperature, then continue with step 5. I don’t recommend shaping the bread the night before as it will puff up too much overnight.
- Freezing Instructions: Baked bread freezes wonderfully! Wrap the loaf in plastic wrap, then a layer of aluminum foil. Freeze for up to 3 months. Thaw overnight in the refrigerator or at room temperature, then warm to your liking. You can also freeze the bread dough. After punching down the dough in step 7, wrap the dough tightly in plastic wrap, then a layer of aluminum foil. Freeze for up to 3 months. Thaw overnight in the refrigerator, then bring to room temperature. Once at room temperature, punch the dough down again to release any air bubbles. Continue with the rest of step 7 (shaping the dough).
- Special Tools (affiliate links): Electric Stand Mixer | Glass Mixing Bowl | Wooden Spoon or Silicone Spatula | Rolling Pin | Pastry Brush | 9×5-Inch Loaf Pan | Instant-Read Thermometer | Cooling Rack
- Milk: Whole milk or 2% milk are best. I don’t suggest a lower-fat milk. Readers have used nondairy milks with success, but I haven’t personally tested it.
- Yeast: I always use Red Star Platinum yeast, an instant yeast. You can use active dry yeast instead, with no changes to the preparation. Rise times will be slightly longer. Reference my Baking With Yeast Guide for answers to common yeast FAQs.
- Flour: Higher-protein flour like bread flour is best for this bread recipe because of its strong gluten formation and high rise. All-purpose flour may yield a flimsy bread.
- Whole Wheat Flour: I don’t recommend whole wheat flour because it doesn’t have the same baking properties as white flour or bread flour (the gluten levels are different). If you wish to use whole wheat flour, try my recipe for whole wheat bread instead, and feel free to add the egg white/cinnamon swirl to that dough instead.
- Can I Add Raisins? Yes, you can add 3/4 cup (about 110g) of raisins to the cinnamon-sugar mixture. Sprinkle it over the egg white-brushed dough.
- Bread Machine Questions: I don’t own a bread machine so I have not tested it, but some readers have reported success in the comments section.
- Prevent Large Gaps: Gaps can form between the dough and cinnamon swirl in your homemade cinnamon swirl bread. It’s happened to me plenty of times! It’s the moistened dough separating from the dry cinnamon-sugar mixture as it bakes. To help prevent this, make sure you are brushing the dough with egg white before adding the cinnamon-sugar. Additionally, you can use a toothpick or thin skewer to poke 3 holes in the top of the risen loaf right before baking; this will help steam escape.


Reader Comments and Reviews
I’m really enjoying your recipes. No longer intimidated working with yeast! Thanks so much! Delicious cinnamon swirl.
Hi, is there a way to adjust this recipe for using a breadmaker? I’m afraid my arthritic hands are just not able to knead and handle the dough effectively. Thanks for all the great recipes you share!
Hi Janice, we’re sure you could, but we don’t have a bread maker and have not tested it. Let us know if you do!
This is my first bread EVER and this was an extremely easy recipe to follow. I just finished the recipe minutes ago, and it tastes delicious. I feel like a pro! I definitely recommend especially if you’re a novice!
Hello! For some reason my dough isn’t rising very quickly! My kitchen is a bit cool and I have it on the stove under the hood light! Should I just leave it until it doubles in size even if that takes longer than 2 hrs? Thanks
Hi Patti, were happy to help troubleshoot. Was your water + milk too hot by chance? If the liquid is too warm it can kill the yeast and prevent the dough from rising properly. You can try extending the rise time by just a bit, or you might wish to try again with fresh yeast. We hope you enjoy the bread!
I made this bread today and it was delicious but even with using the egg white, I still had a large gap. Do I need to use the whole egg white?
Hi Amy, When rolling the dough up, be sure to roll it very tightly. And we find that if we really coat the dough heavily in the egg white, the sugar has more to stick to, and gaps are less likely to form. You want it sticky inside. We’re glad you enjoyed the bread!
I am making this today. Can I sprinkle toasted pecans on top of the cinnamon sugar before rolling up the dough or would it be better to sprinkle on top before baking?
Hi Susan, sprinkling nuts on top of the cinnamon sugar filling should work just fine. Let us know how it goes!
I am making this recipe today. Can the topping for your cinnamon crunch bread recipe be used on top of this recipe before baking?
Hi Susan, we’re sure that could work, but with this being a lighter/softer bread, you may find it hard to slice the bread and have the pieces keep their shape with that particular topping. Let us know if you try it!
This cinnamon swirl bread is outstanding. I was trying to duplicate the Pepperidge Farms raisin cinnamon swirl bread so I added 1/2 cup raisins during the kneading process. It is 100 times better -it’s nice and soft, great toasted or as is with peanut butter for lunch. 🙂
This recipe is GREAT! The bread turned out perfectly and the kitchen smells amazing.
Great out of the oven, even better toasted for breakfast.
Hi Sally, I make a lot of bread (including cinnamon swirl raisin) and I don’t proof instant yeast with the sugar/water the way I do when using active yeast. I add the instant yeast with the flour and other dry ingredients and skip the step that is required with active yeast. I know this is common practice and not just something that I do. Could you update your instructions please for those of us who use instant yeast? It will save us time and that unnecessary step.. Thank you!
I didn’t proof the yeast either, I use Red Star as well…no “knead” to lol…awesome recipe!
I made this for the first time today, and it is so delicious! I will definitely make it again. It was easy to make, and as promised, my house smelled amazing while it was baking. We just cut it, and my daughter is already on her third slice. Between her and my son, there may be very little left by tomorrow morning.
It is VERY good. Nicely done!
First time making this evening and it was delish!! I followed the recipe and everything worked out great. I did have to use a glass loaf pan but I lowered the temp to 325 and cooked for 50 mins. I will make again.
First time making Cinnamon Bread and so glad I came across this recipe. It couldn’t be any more perfect. Insanely delicious and directions were clearly written. Made a loaf yesterday and eaten up quickly so I am making another one today this time adding brown sugar to the swirl mix. Definitely a keeper, thank you for this recipe!
This is one of my favorite recipes by far. I make it at least once or twice a month! I do have a question though – I have a few ripe bananas that I want to get rid of and am wondering how I can incorporate them into this recipe. Do you have any ideas/guidance?
I’ve made your banana swirl bread as well, but I love this recipe more!
Hi Skyla! We would make the banana bread swirl recipe if you want to add bananas. Glad you love this one!
Could I throw raisins into the mix? If so, what step should I add them in? Thank you! Very excited to try this!
Hi Kailyn, See recipe Notes for details on adding raisins. Enjoy!
The measure of a loaf is texture and flavor. This loaf delivered on both.
This was the most delicious bread I ever made thank you for the rrcipe
I loved this recipe but wanted to know if you’ve tried doubling it or if you can give any tips on adjustments when doubling?
Hi Natalia! We recommend making two batches for best results.
Love your recipes! Question: could I use melted butter or another substitute in place of brushing with an egg white? At over $7 a dozen in my area, eggs are like gold these days….
Hi Toni, water, milk, or melted butter would work just fine instead of the egg wash. Enjoy!
I love this recipe and so do my kids. I make it as often as I can. No issues with the recipe at all. It’s so simple and so yummy. Thank you Sally!
I tried this recipe and I loved it! Will definitely make again.
Hey there! For some reason I had a huge hole in the bread and the swirl won’t stay together when cut. What might have happened?
Hi Samantha! Make sure to roll the bread tightly (without any air pockets) when shaping.
I’m looking for a recipe like this for small gifts for a group of about 40. Could this dough be cut into smaller portions for the 6″ bread pans? If so, how many could I make from 1 recipe? Possibly 4?
Hi Jodi, you can definitely split the recipe to make smaller loaves. The bake time will depend on the size of your pans. Keep an eye on them and use a toothpick to check for doneness.
Can I make this recipe with mostly bread flour and just a bit of whole wheat flour?
Hi Nicole, we don’t recommend whole wheat flour because it doesn’t have the same baking properties as white flour or bread flour (the gluten levels are different). You could try using just a bit, but the bread will still be dense. If you wish to use whole wheat flour, try our recipe for whole wheat bread instead, and feel free to add the egg white/cinnamon swirl to that dough instead.
I have now made this loaf twice in the span of 1 week… the first we used to make french toast… it was perfect..the second loaf I accidentally added a whole stick of butter… I was broken hearted as I thought it was ruined… wrong.. it came out like a giant cinnamon roll!
This reminded me of buttery cinnamon toast my mom would store buy when I was a kid. This recipe was easy to follow and the came out better than I imagined! I let it 2nd rise longer than 1 hour and it was just perfect
Hi Sally! I baked this bread and it came out tasting great! However, I must have went wrong somewhere and am hoping you have some advice for me! The dough rose SUPER slowly…it didn’t rise that much after the 2 hour first rise and the second rise took 3 hours. Even then I think it could have rose a bit more and it didn’t rise in the oven either. Came out looking exactly as it did went I put it in to bake. Fortunately it still came out tasting good 🙂 but I’d love to make it again with proper rises!
Hi Amber, was the dough over kneaded by chance? That can often be the culprit when bread does not rise properly. These posts on baking with yeast and how to knead dough will be helpful to review. Thank you for giving this recipe a try!
Loved the recipe and so very easy! Wondering if I could divide the dough in 1/2 and make two (2) mini loaves?
Sure!
If you divide in half, what size pan would you use to bake it?
Hi Amy, we aren’t sure how to halve this recipe; we recommend making the whole loaf and then freezing half to enjoy another time.
I love this recipe. But I do have a question about the butter. The ingredients call for 4 Tbsp. of butter, then in Step 2 of the recipe it says to add the butter. Okay, no problem until Step 10 where it says, “After the dough rises, melt the remaining 1 Tablespoon of butter.” What remaining tablespoon of butter? I added all the butter in Step 2. A bit confusing, but I just melted 1 more tablespoon of butter. My question is: should I add only 3 Tbsp. of butter to the other ingredients in Step 2? This recipe produces such good results I feel the on-line recipe should be corrected.
Hi Judi! There’s a second section of ingredients for the swirl & topping underneath the main ingredients 🙂