

Homemade chocolate mousse is proof that simple ingredients can turn into something truly special. With the pure flavor of real chocolate and its smooth, velvety texture, this mousse strikes the perfect balance between rich and light. You need just 6 ingredients and there’s no baking required. This is a wonderful make-ahead dessert recipe!
Like crème brûlée, tiramisu, or chocolate soufflé, chocolate mousse sounds like something only a restaurant pastry chef could make, but it’s surprisingly approachable in your home kitchen.
Made with just a handful of simple ingredients, it delivers big chocolate flavor and a cloud-like texture that melts on your tongue. It’s decadent but not heavy, and deeply chocolatey without being overly rich or sweet.
And while it’s elegant enough to serve at a dinner party, it’s also easy enough for a beginner to manage.
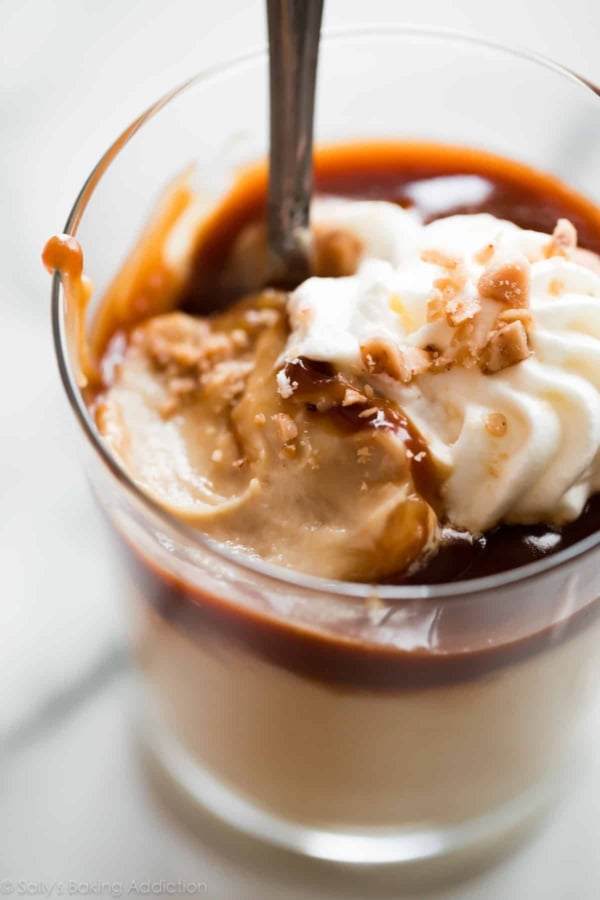
Serve it plain, topped with whipped cream, or finished with fresh berries and chocolate shavings. However you dress it up, this is one of those desserts that makes people pause mid-bite and say, wow—you made this?
Why You’ll Love This Recipe:
- Ultra-smooth and velvety texture
- Pure chocolate flavor from real chocolate
- Only 6 ingredients
- No baking required
- Naturally gluten-free recipe (but always check ingredient labels)
- Perfect make-ahead dessert for entertaining
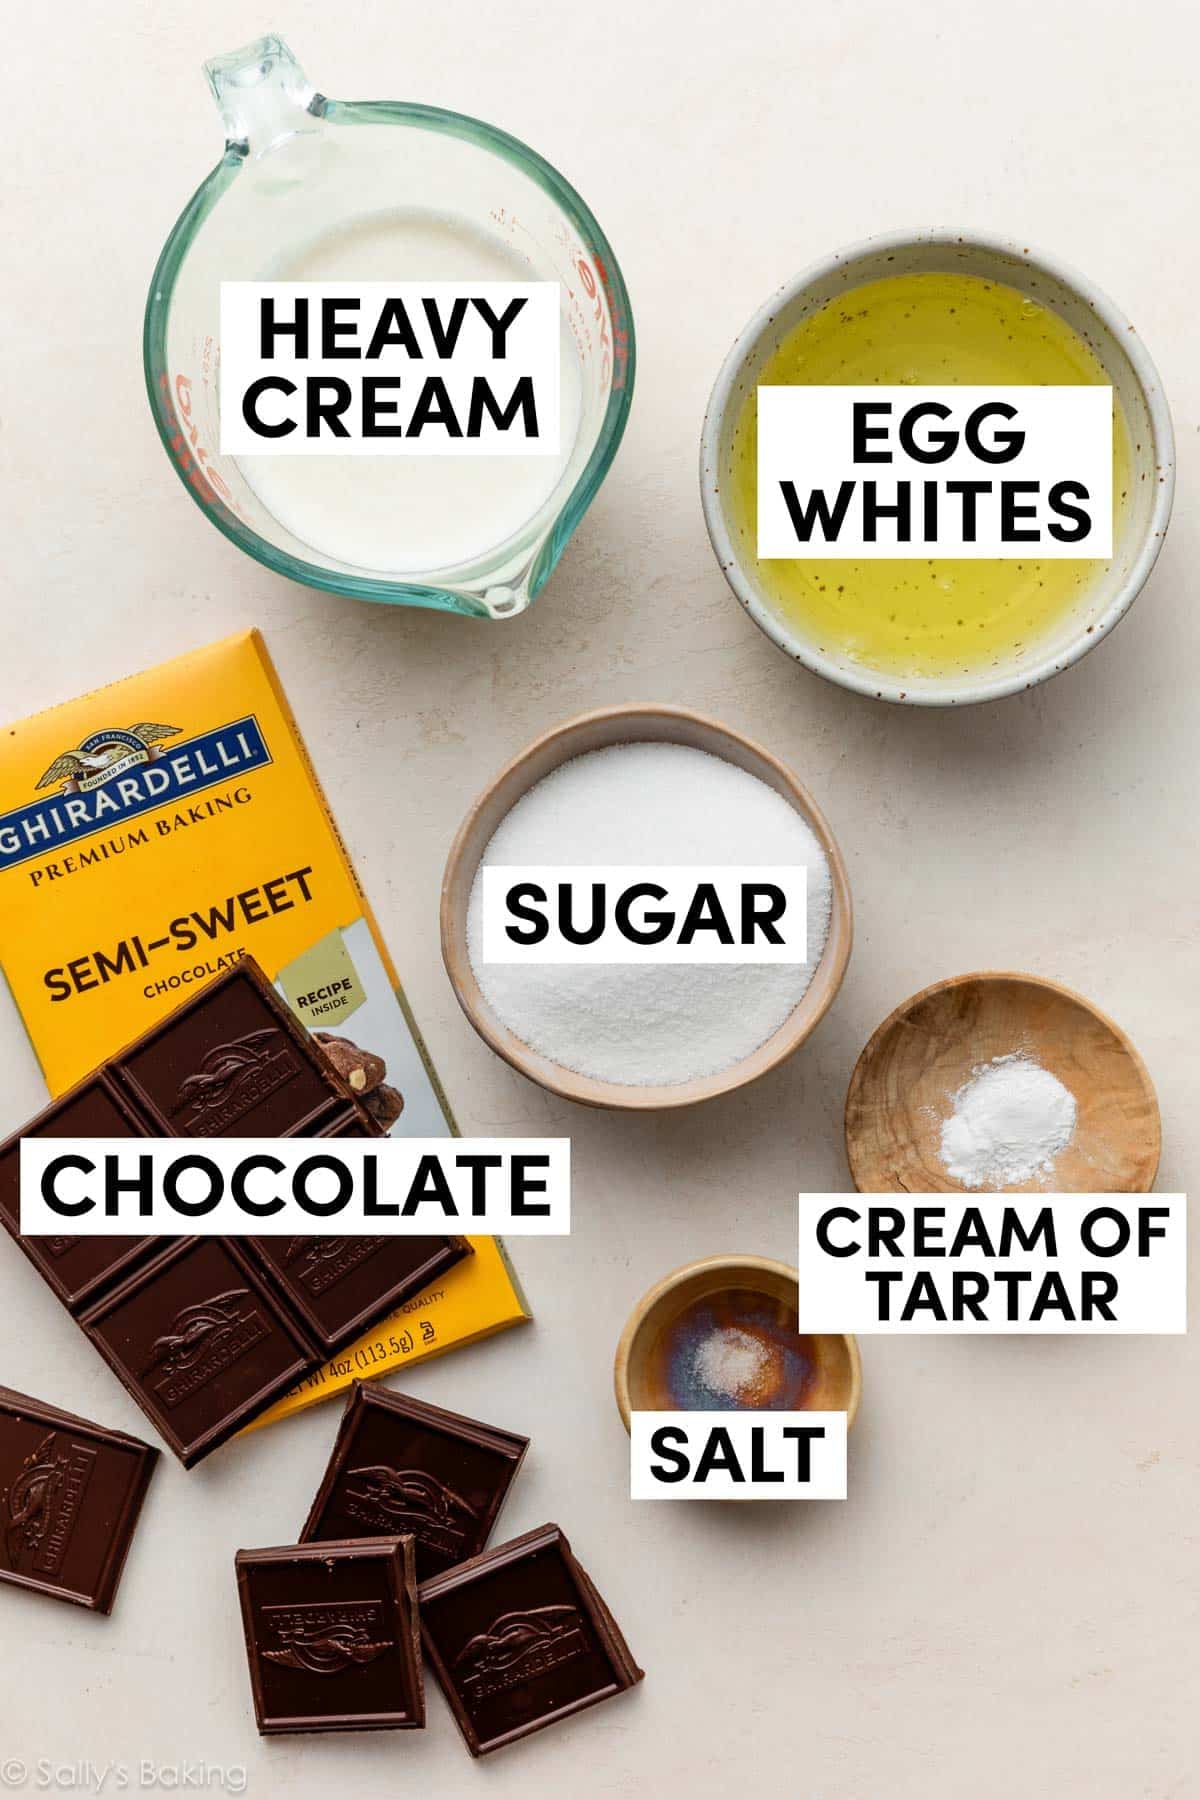
You Only Need 6 Ingredients
- High-Quality Chocolate: Use semi-sweet or bittersweet chocolate bars. Look for them in the baking aisle of the grocery store, near the chocolate chips. Baking chocolate is typically sold in 4-ounce bars (you’ll need 2). I like Ghirardelli and Baker’s brands.
- Heavy Cream: This is combined with the chocolate to make chocolate ganache first. Have some heavy cream left over? Make some whipped cream for topping the mousse when you’re ready to serve dessert!
- Egg Whites: A main component of the meringue. You’ll cook these on the stove so you don’t have to worry about consuming raw eggs.
- Sugar: Granulated sugar is cooked with the egg whites to sweeten the meringue. You don’t need much; this mousse isn’t overly sweet.
- Cream of Tartar: Key for getting the meringue to whip into those glossy peaks.
- Salt: Just a pinch, to make the chocolate flavor pop.
In Photos: How to Make Chocolate Mousse
There are many ways to make chocolate mousse, from traditional French pastry-kitchen methods to streamlined approaches designed for home cooks. Today’s version uses approachable steps, and a process that works beautifully in home kitchens. It still delivers that signature airy texture and rich chocolate flavor—just with a simpler method.
If you’ve ever made this sky-high chocolate mousse pie, which I also included in my cookbook, Sally’s Baking 101, this process will seem familiar, but today’s homemade chocolate mousse is even simpler. 🙂
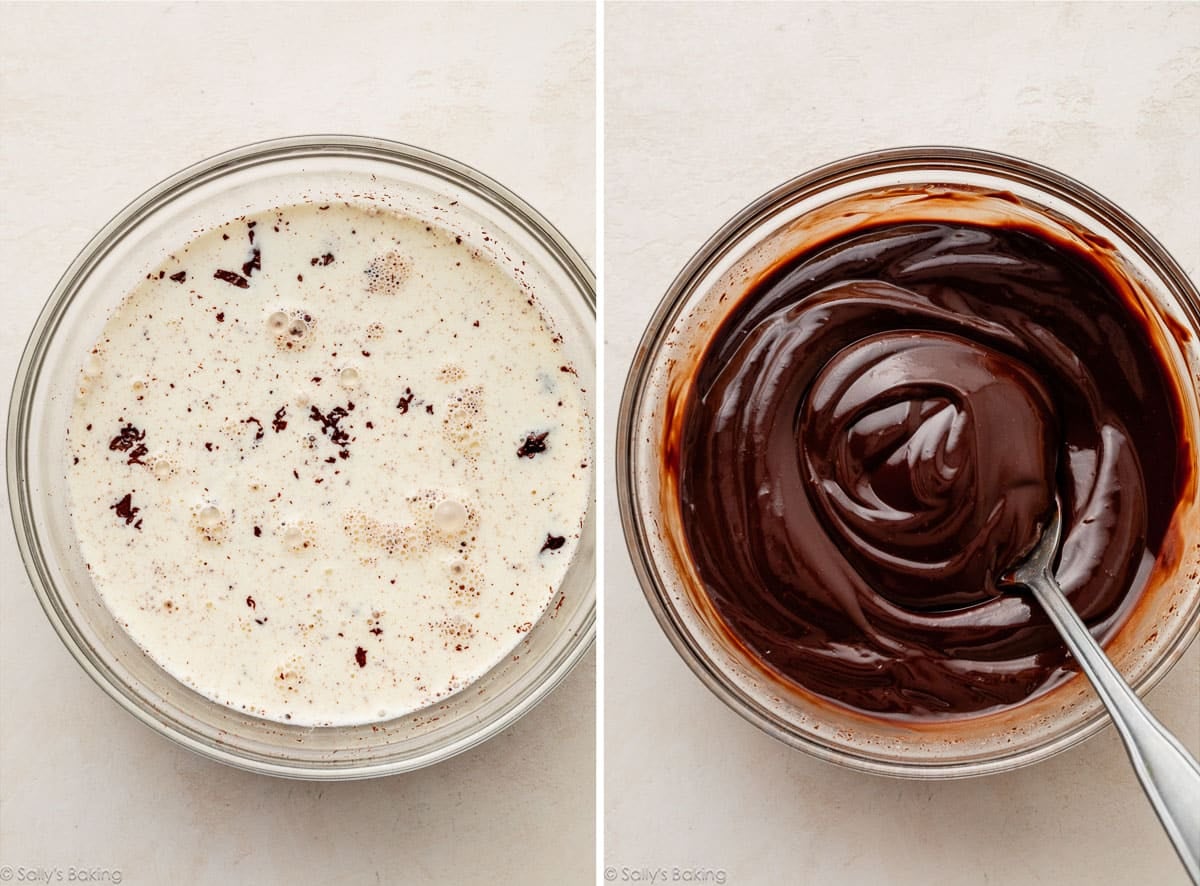
First, melt the chocolate with the cream. You are essentially making chocolate ganache, though the ratio of chocolate to cream is a bit different for the mousse.
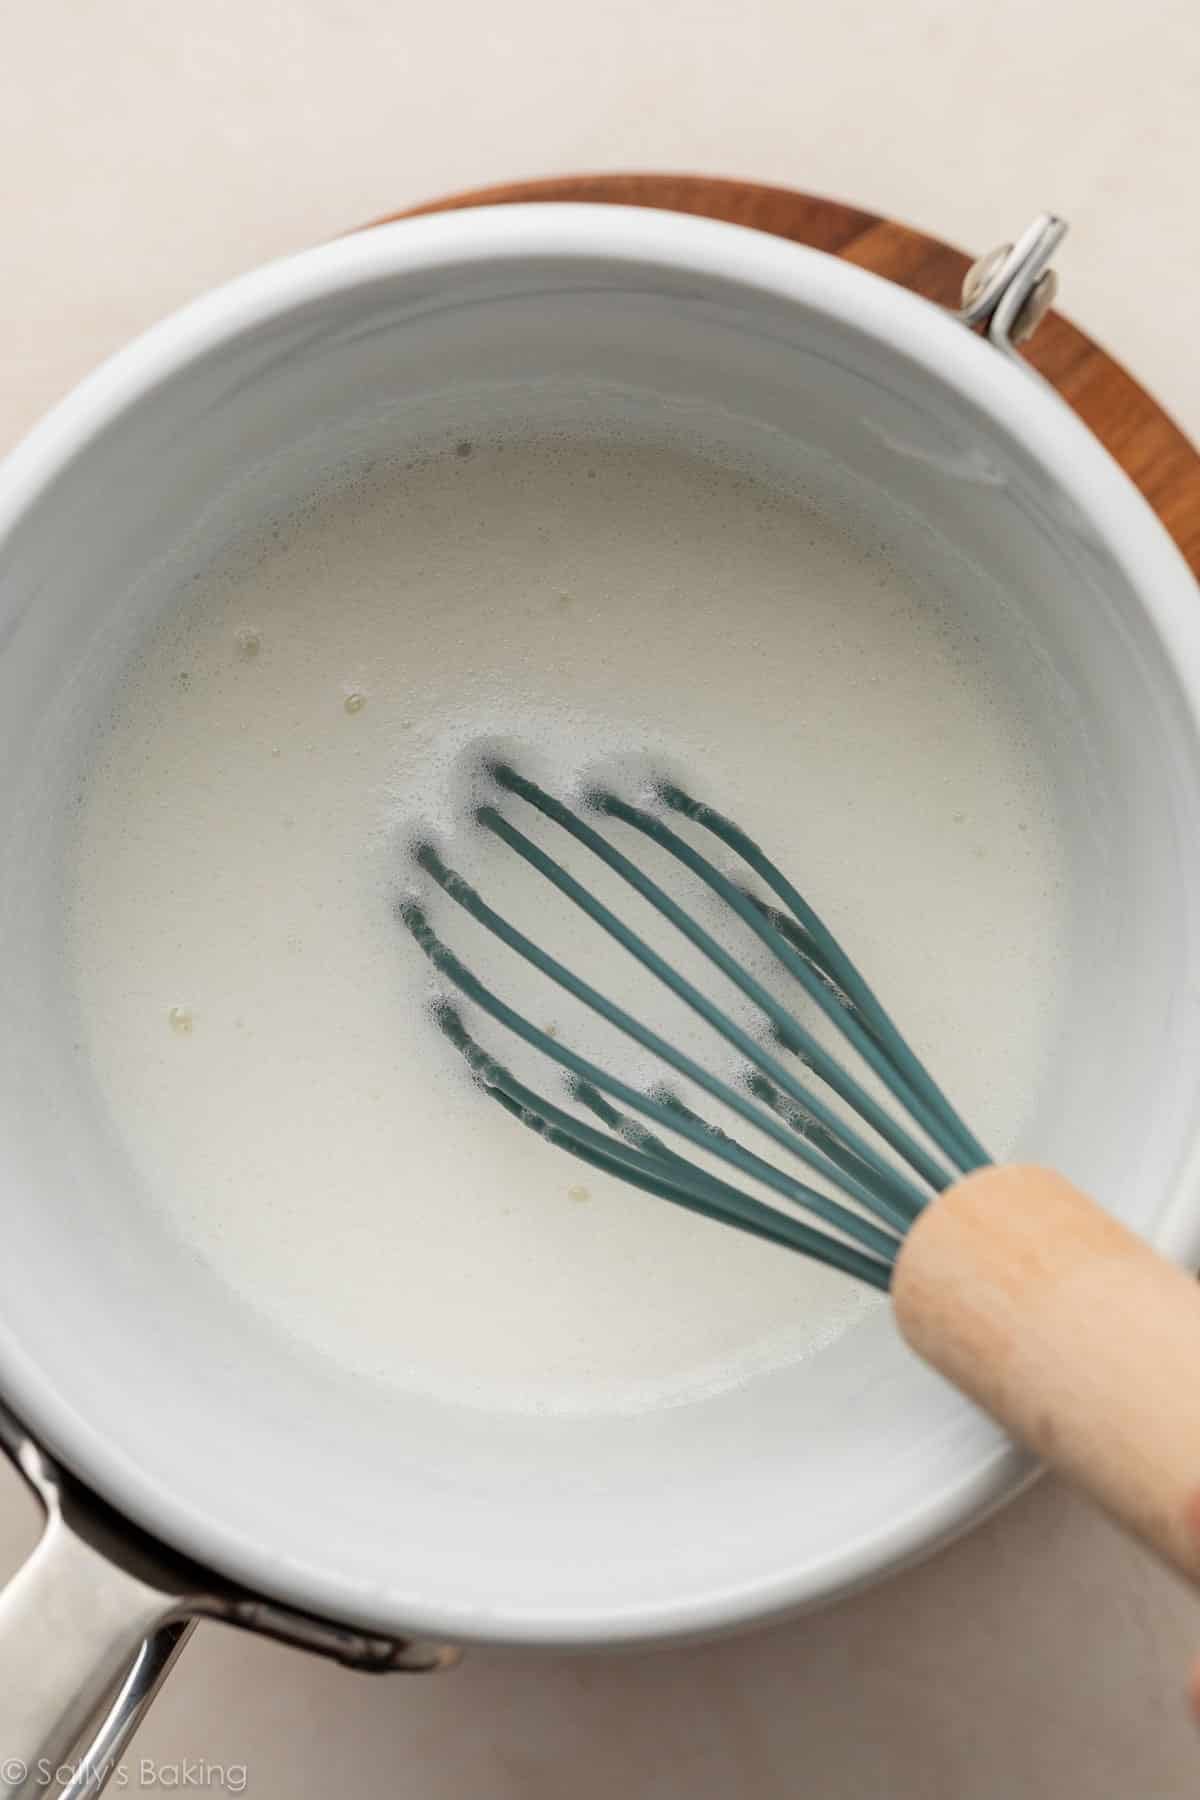
Prepare the meringue base. Whisk (constantly!) the egg whites, sugar, cream of tartar, and salt in the top pot of a double boiler, or a heatproof bowl set over a pot of boiling water. Cooking the egg whites to a temperature of 160°F (71°C) kills any bacteria so you don’t have to worry about raw eggs.
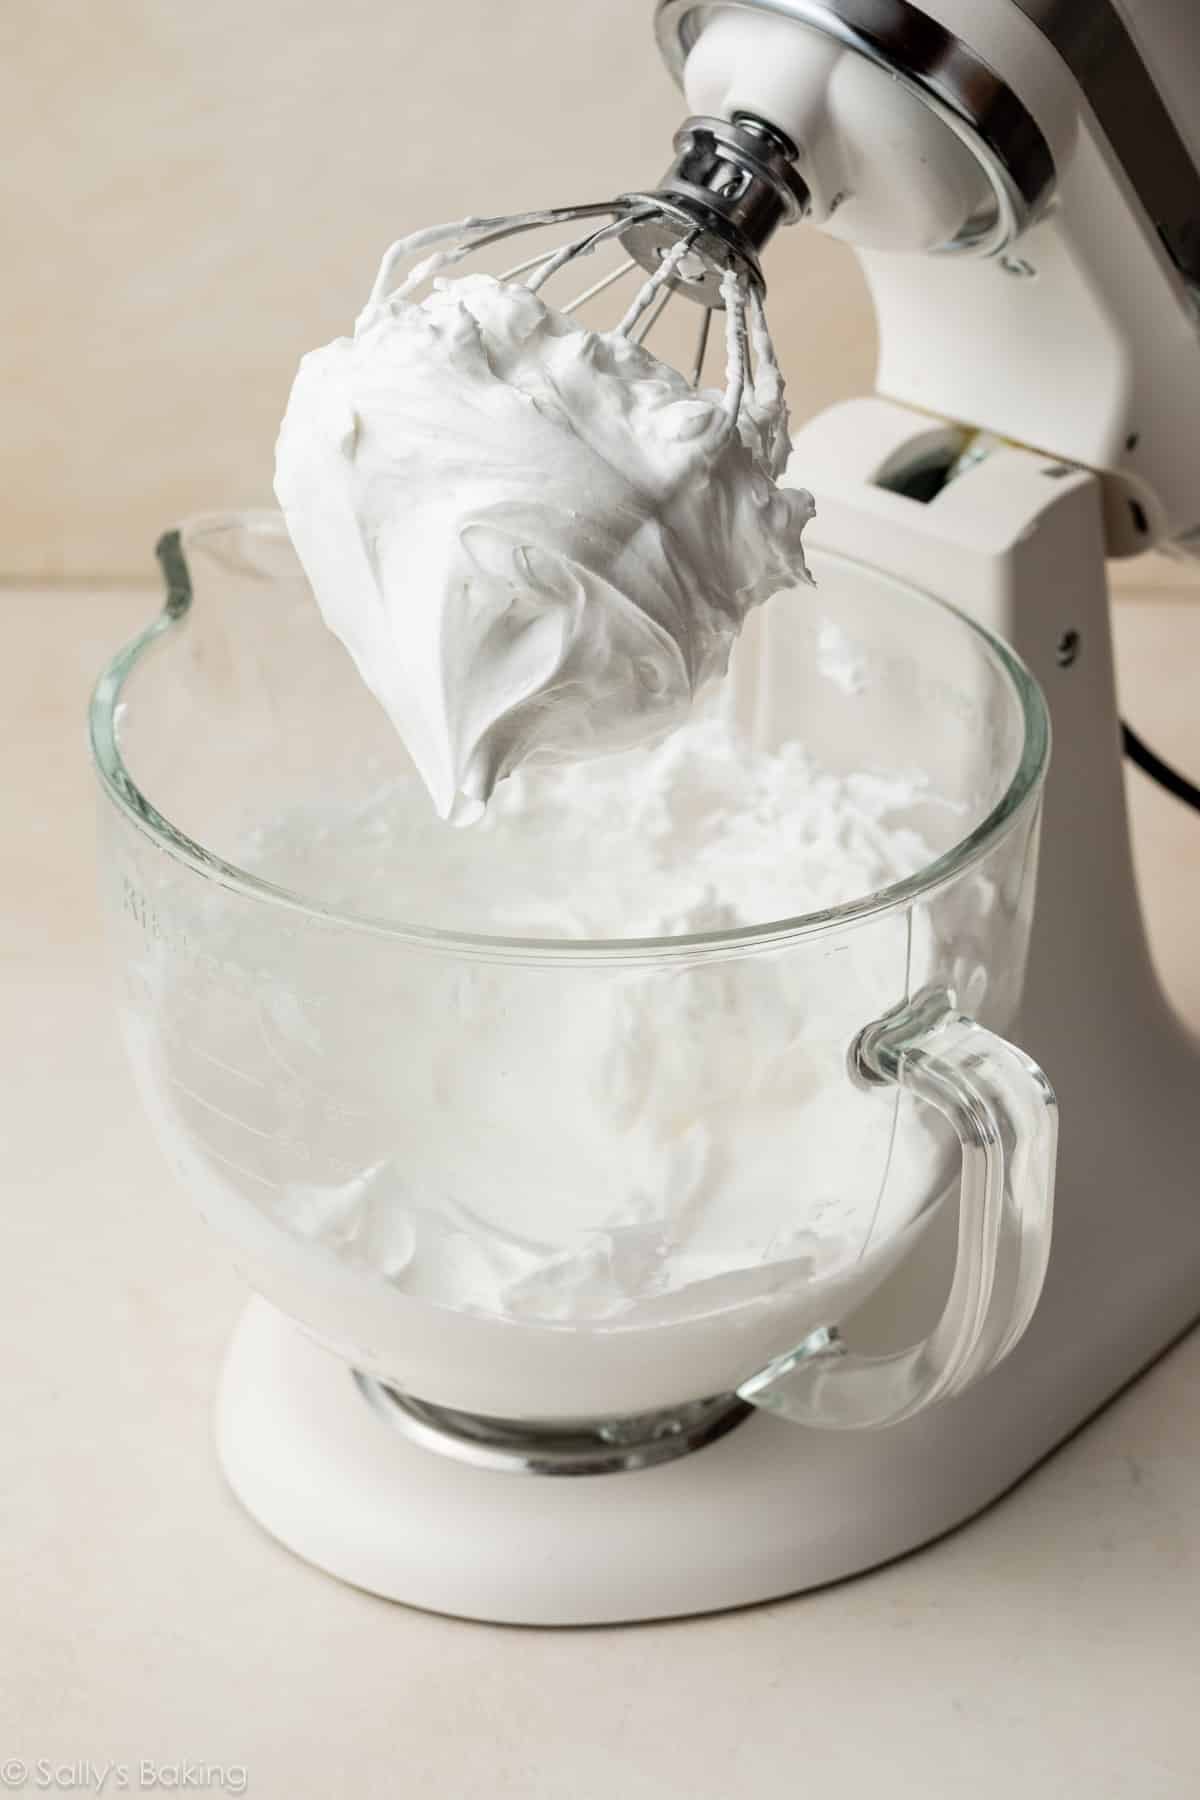
Whip the meringue. You want to reach the point of stiff, glossy peaks—just like when we make marshmallow creme, Swiss meringue buttercream, or pavlova. If you turn the mixer’s whisk attachment upside down, the peaks shouldn’t droop at all.
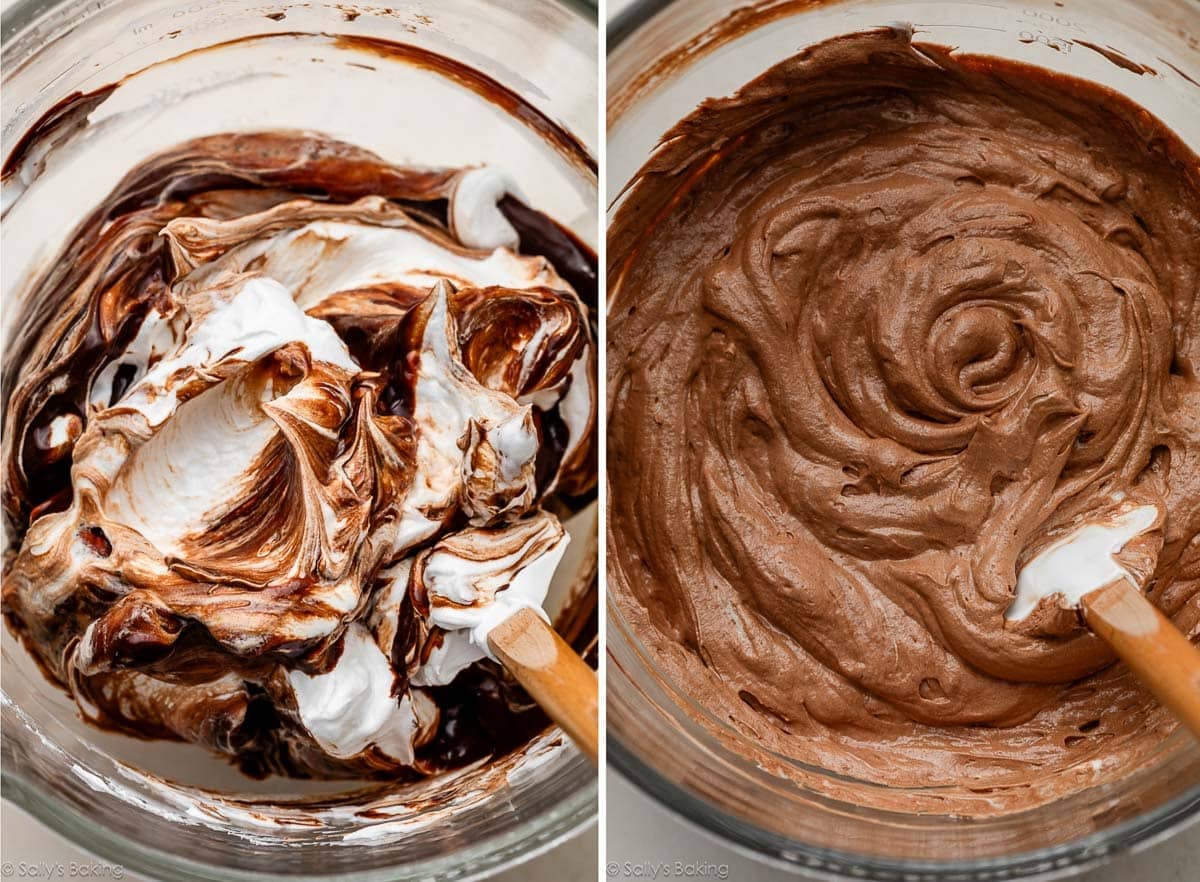
Fold the chocolate ganache and meringue together. This will take quite a few turns of your spatula. Take your time here and fold gently—it will come together, I promise!
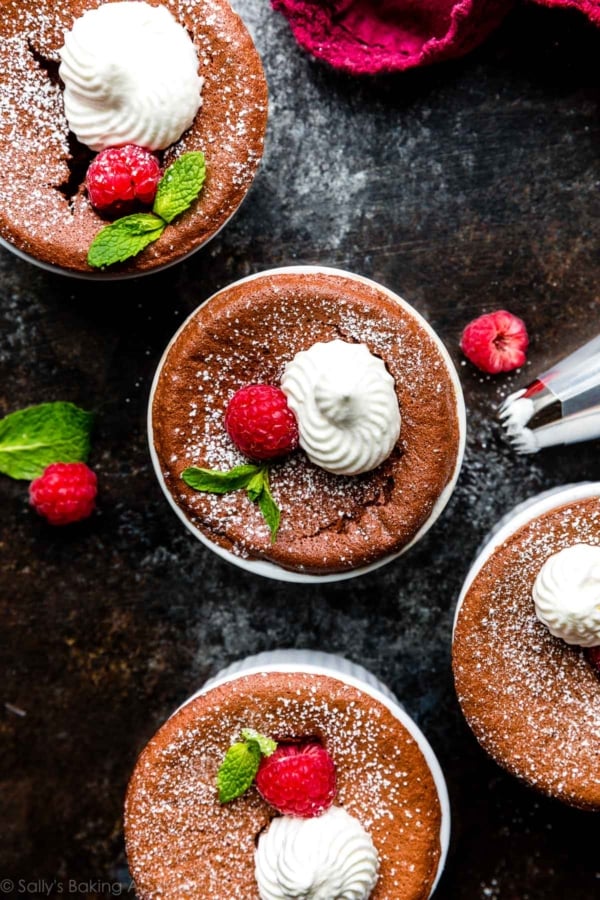
Pipe or spoon into dessert cups. For the pictured mousse, I used Ateco 808 large round piping tip. This recipe makes enough mousse for 4–6 servings, depending on the size of your dessert glasses (or ramekins or jars).
Then, you’ll simply refrigerate until the mousse has set and is luxuriously spoonable, at least 4 hours, or overnight.
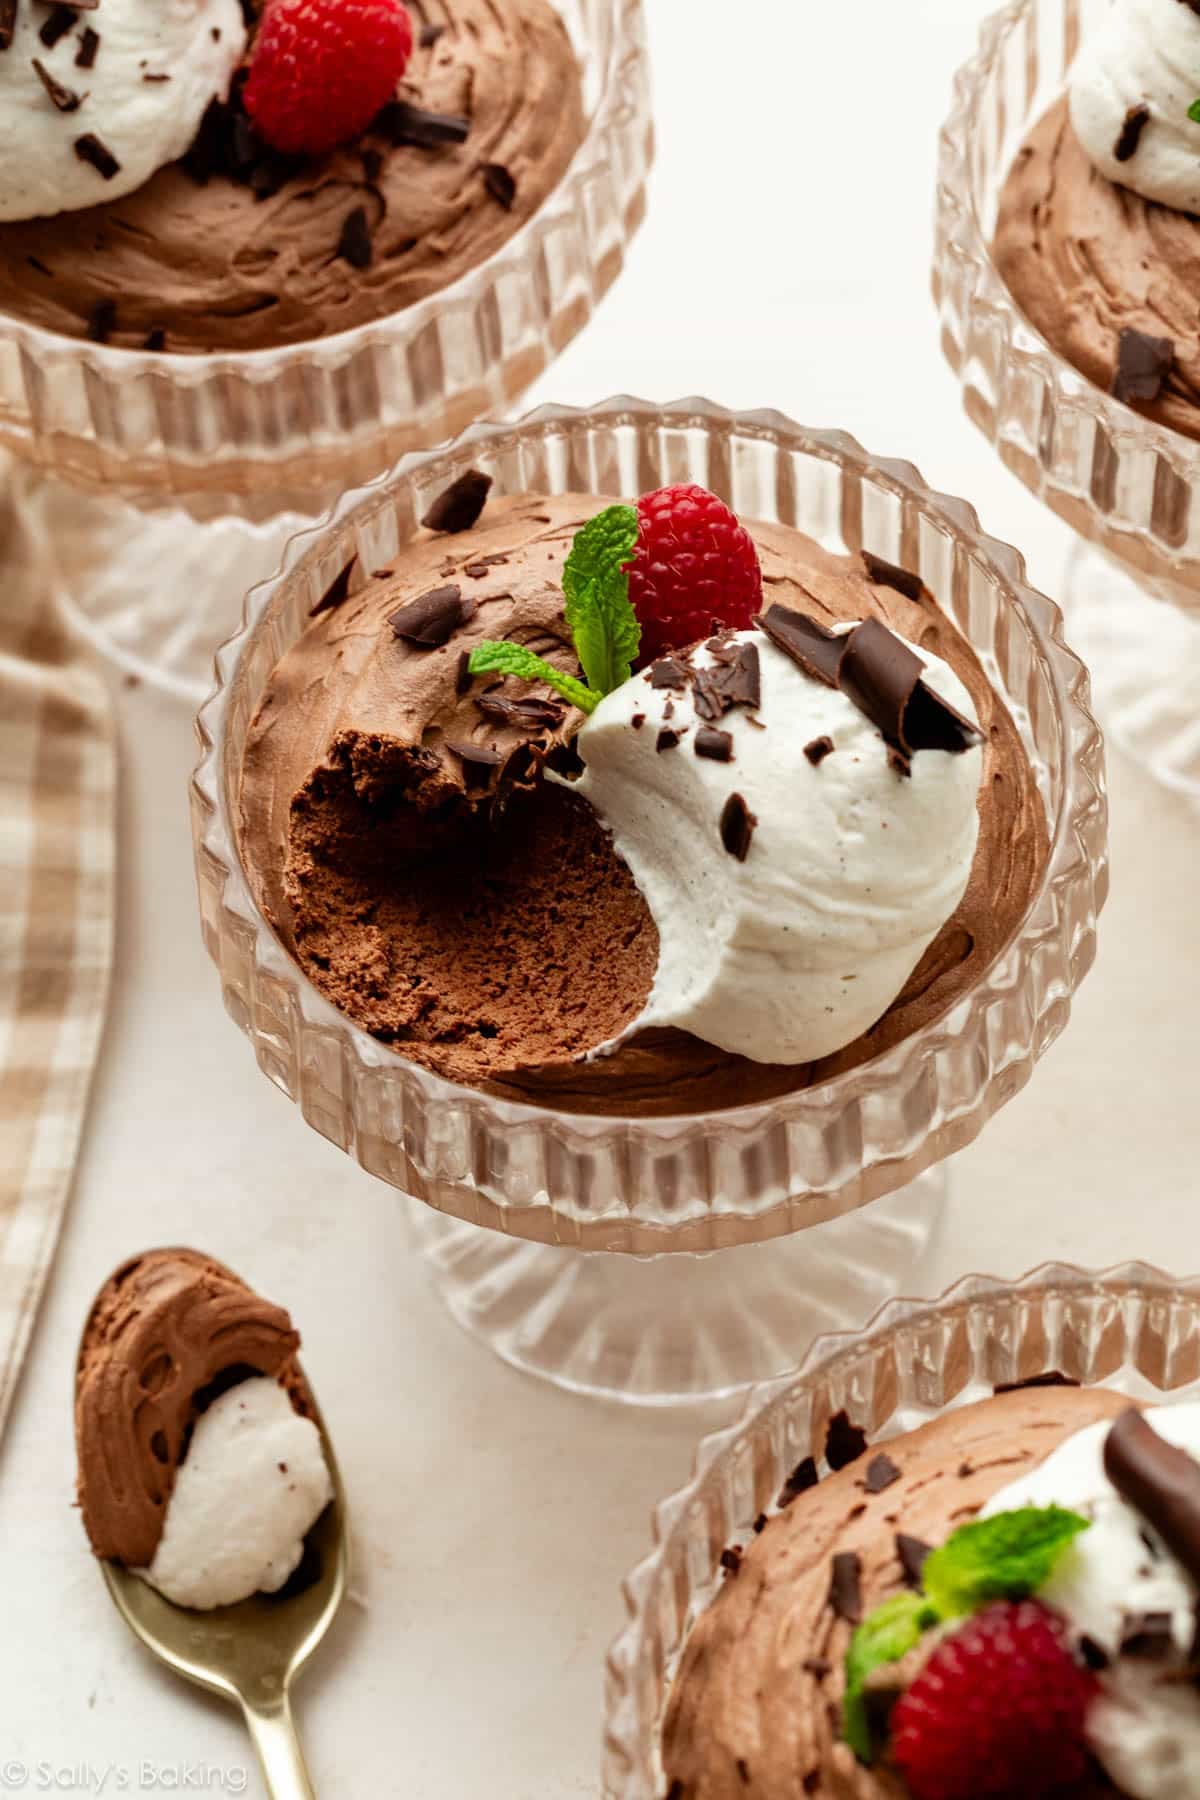
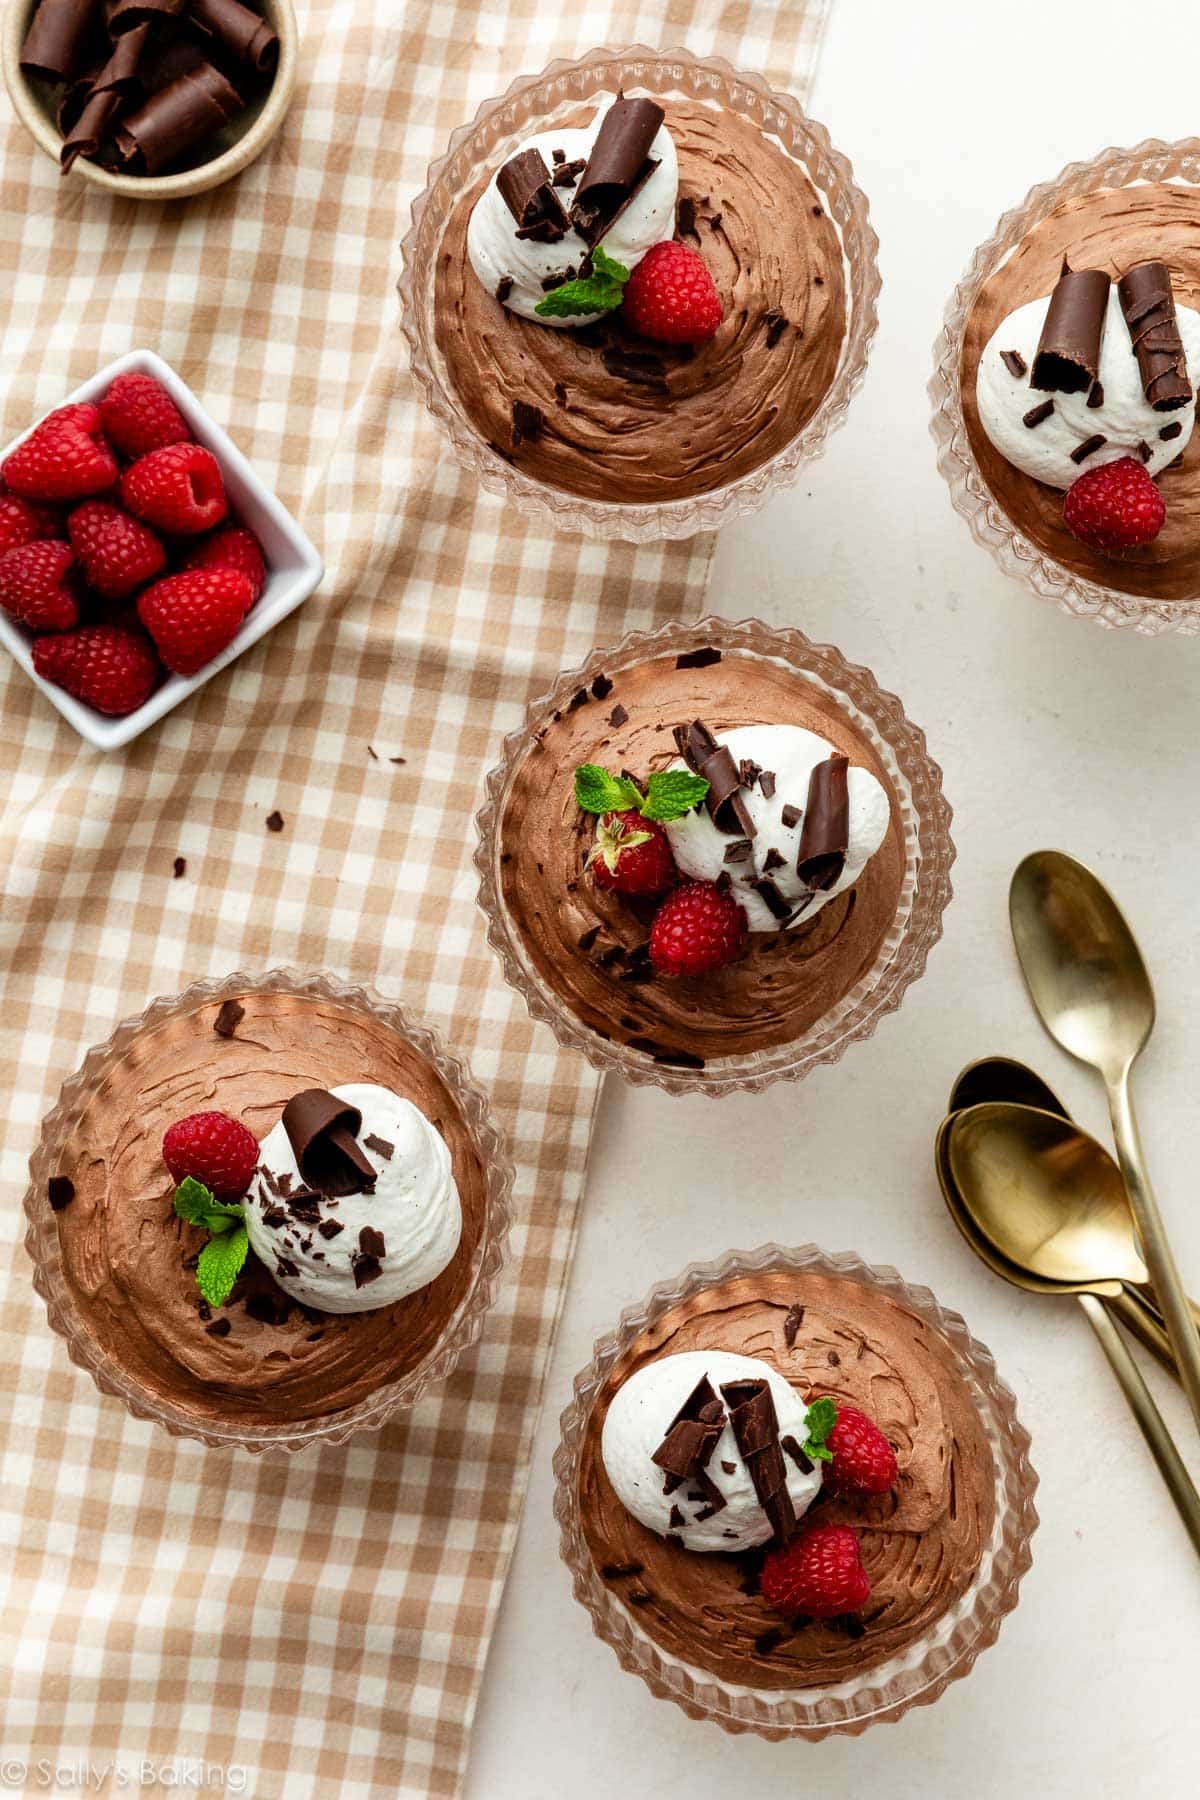
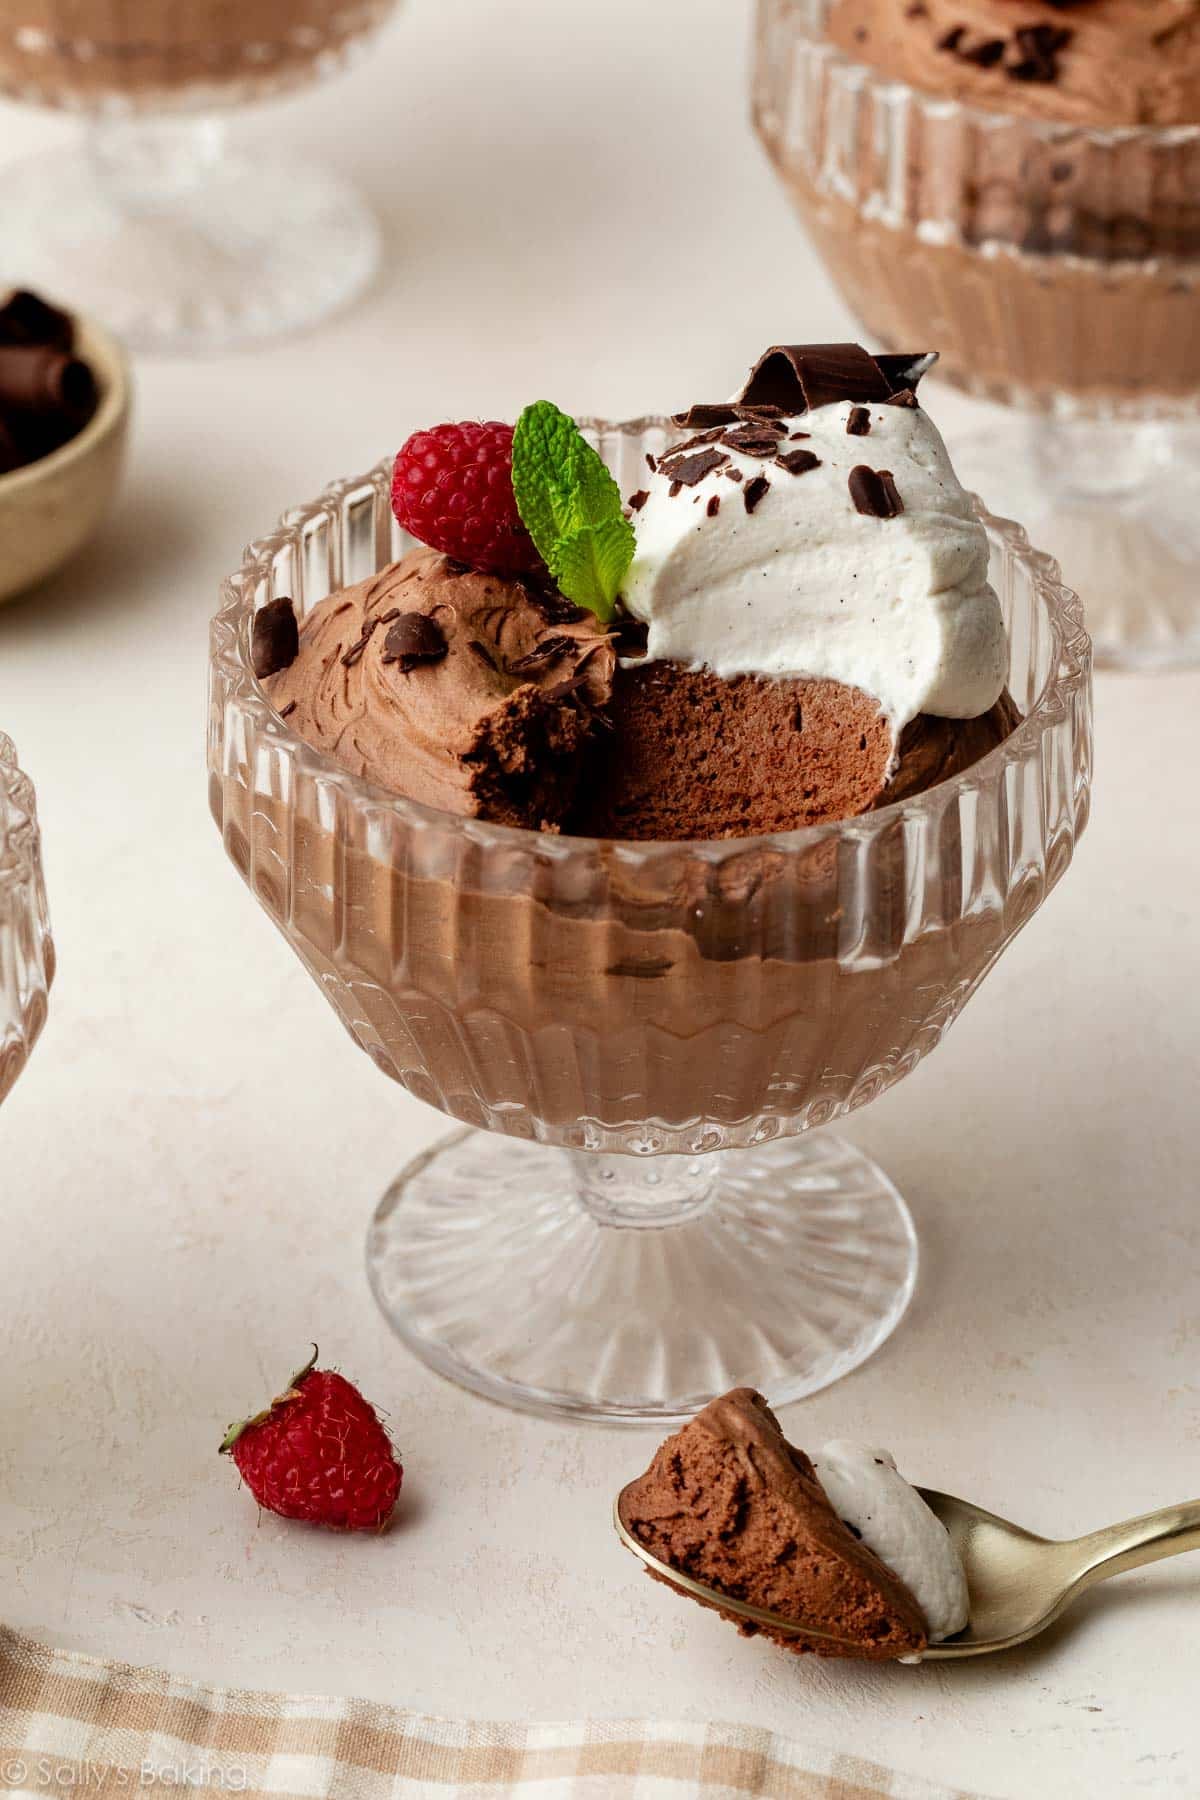
Garnish and serve. Whipped cream, chocolate curls or shavings, raspberries, fresh mint… all simple garnishes that make for an elegant presentation!
Success Tips for Perfect Chocolate Mousse
- Use quality chocolate. This is the primary flavor so it really shines through.
- Fold gently and patiently. This keeps the texture airy and smooth.
- Chill for at least 4 hours for best consistency.
If you’re looking for a dessert that’s elegant, timeless, and guaranteed to impress, this homemade chocolate mousse is it!

Homemade Chocolate Mousse
- Prep Time: 35 minutes
- Cook Time: 10 minutes
- Total Time: 4 hours, 45 minutes
- Yield: 4-6 servings
- Category: Dessert
- Method: Cooking
- Cuisine: French
Description
Homemade chocolate mousse is proof that simple ingredients can turn into something truly special. With the pure flavor of real chocolate and its smooth, velvety texture, this mousse strikes the perfect balance between rich and light.
Ingredients
- 8 ounces (226g) semi-sweet chocolate, finely chopped (two 4-ounce bars)
- 2/3 cup (160g/ml) heavy cream
- 4 large egg whites* (120g)
- 1/2 cup (100g) granulated sugar
- 1/4 teaspoon cream of tartar
- pinch of salt
Instructions
- Place chopped chocolate in a medium heatproof bowl. Heat the cream in a small saucepan over medium heat until it begins to gently simmer. (Do not let it come to a rapid boil—that’s too hot!) Pour over chocolate, then let it sit for 2–3 minutes to gently soften the chocolate.
- With a metal spoon or small silicone spatula, slowly stir until completely combined and chocolate has melted. Set aside to slightly cool.
- Place egg whites, sugar, cream of tartar, and salt in a heatproof bowl. Set bowl over a saucepan filled with 2 inches of simmering water. Do not let the bowl touch the water. (You can use a double boiler if you have one.) Whisk constantly until sugar is dissolved and mixture has thinned out, about 4 minutes. The mixture will be thick and tacky at first, then thin out and appear frothy on top. To test that it’s ready, you can use your finger or an instant-read thermometer. Lightly and quickly dip your finger (it’s very hot, be careful) and rub the mixture between your thumb and finger. You shouldn’t feel any sugar granules. If using a thermometer, the temperature should read 160°F (71°C).
- Remove from heat and pour into a heatproof mixing bowl. (No need to let it cool down before continuing.) Using a handheld or stand mixer fitted with a whisk attachment, whip on high speed until stiff glossy peaks form, about 7 minutes.
- Pour the chocolate ganache into the meringue and gently fold together with a silicone spatula until completely combined.
- Spoon or pipe the mousse into dessert dishes, ramekins, or jars. Refrigerate for at least 4 hours or up to 48 hours. After about an hour in the fridge, cover the mousse.
- Top with whipped cream, chocolate curls, raspberries, and/or fresh mint to serve.
Notes
- Make-Ahead Instructions: Because this mousse needs to chill for several hours or overnight, it’s perfect for making a day or two ahead of time. Freezing leftovers is a great idea—simply allow to thaw overnight in the refrigerator before enjoying. Or enjoy frozen!
- Special Tools (affiliate links): Glass Mixing Bowls | Saucepan | Double Boiler | Whisk | Instant-Read Thermometer | Electric Mixer (Handheld or Stand)
- Chocolate: I recommend using pure chocolate baking bars, in either semi-sweet or bittersweet. You can find them right next to the chocolate chips in the baking aisle. They are sold in 4-ounce (113g) bars. I like Baker’s or Ghirardelli brands.
- Egg Whites: The egg whites are gently cooked in step 3 to 160°F (71°C), which is considered safe to eat. You can use a candy thermometer or instant-read thermometer to determine their temperature. You can use pasteurized egg whites, though keep in mind they may never reach the volume of unpasteurized egg whites. For best success, I recommend using fresh eggs instead of carton egg whites. Here are all my recipes using leftover egg yolks. Tip: Eggs separate much easier when they’re cold.
- Cream of Tartar: This is key for stabilizing those egg whites.
- Chocolate Curls: Here’s how to make chocolate curls; for a shortcut method, run a vegetable peeler down the long side of a chocolate bar.


Reader Comments and Reviews
Super easy! Love make ahead desserts!
Rich and delectable dessert, simple yet fancy for a special occasion. Thanks for the invitation and details to make and enjoy such a treat, Sally!
Rich and Delicious! Another beautiful yet easy, special occasion dessert recipe from Sally. ♥️
This was really good! My only thing was I used 85% dark chocolate so it was a little bitter, but very tasty and easy to make! I had no idea mousse had egg whites, I totally learned something today!
So delicious and smooth! The chocolate flavor is much richer than your average mousse. Loved by all!
Super tasty! And not hard to make. Hard to wait to eat it but the waiting paid off!
I LOVE chocolate mousse and this recipe did not disappoint! It manages to be both light/airy and decedent at the same time. I will absolutely make this again.
Could you sub a little Bailey’s Irish Cream for some of the heavy cream?
Hi Naomi, we haven’t tried that, but let us know if you do!
This mousse was delicious! I’ve never tried to make anything like this before and while it was involved it wasn’t overly difficult. I will absolutely make it again! (And I hope I will get better at piping in the process!)
I made the oatmeal pies and they were delicious! Crunchy, chewy with a hint of caramel from the molasses, they were perfect in every way. The cookies were delicious on their own but when sandwiched with vanilla buttercream to another delicious oatmeal cookie, they were the perfect afternoon treat!
Recipes are easy to follow and result in impressive results.
Made it for Valentine’s Day
Used this mousse to top my birthday cheesecake and it was perfect – so perfect I almost forgot to snap a photo! We were snacking on the leftover mousse for a couple of days, it was so smooth an chocolate-y!
This was delicious! I was surprised how much it needed that time in the fridge – the “fresh” mousse wasn’t very exciting, but after sitting it was excellent.
Delicious, chocolatey, and rich perfection
First time making a mousse, and it wasn’t as difficult as I thought it might be! Very decadent and very fancy, but little effort! Made for a memorable VDay dessert!
Easy to make and the results were delicious!
Absolutely delicious! Easy to follow instructions.
It was very simple to make the mousse and the results were delicious! It turned out thick and creamy, and a little goes a long way, making it perfect for small mousse cups when entertaining.
Hello Sally
Is it ok for me to double the recipe?
Hi Diane, You can absolutely double the recipe. The cooking time for the egg whites/sugar will take longer, and so will the whipping time. Should be just fine though!
Love your recipes because you are so encouraging and truly walk us through every step. I live at 7000 altitude and have not had consistent luck making meringue that has to be baked. Since this one is not baked, can I expect to be successful? Many thanks!
Hi Nancy! We wish we could say with certainty, but have no experience baking at high altitude and haven’t tried this recipe at high altitude either. Some readers have found this chart helpful: https://www.kingarthurflour.com/learn/high-altitude-baking.html Please do let us know if you give it a try!
So delicious
The mousse can out light and oh so chocolatey. The directors were clear and easy to follow. I will be making this again!
Delicious results with low effort. I scooped mine into mini ice cream containers to take to work and they were a hit.
This was easy to make and was very delicious and chocolaty. I will definitely make this again.
It was my first time making mousse and I knocked it outta the park !! Thanks Sally !!
The mousse was light and airy, and the instructions were clear. I would make this again.
My husband LOVED it!!
The recipe was easy, but it definitely took 30+ minutes to get the egg white mixture to stiff peaks.
Easy and delicious!
Delicious and fairly simple to make. I used bittersweet chocolate since we love dark chocolate. Pairs perfectly with Sally’s homemade whipped cream. I recommend using 6 individual dishes instead of 4 (recipe says it serves 4-6) since it is pretty rich.