

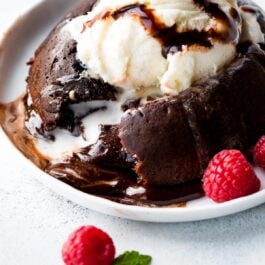
Chocolate lava cakes with their deliciously rich molten chocolate center come together with 6 simple ingredients. Ready in just 25 minutes, this surprisingly easy and quick dessert always impresses. If you don’t have ramekins, follow my instructions for using a muffin pan instead.
One reader, CB, commented: “Absolutely perfect! I made these for my family tonight and they were amazing. I included some raspberries, strawberries, and vanilla ice cream on the side. Perfect Valentine’s Day dessert! ★★★★★“
Today we’re making straight-up chocolate lava cakes. Even though peanut butter chocolate lava cakes are truly magical, I’ve received a lot of requests for a plain chocolate version.
Molten cakes are always a crowd favorite, and they’re infinitely better when made fresh at home. I included this recipe over on my Valentine’s Day dessert recipes page, but they’re just as rich and tasty without a holiday on the calendar. 🙂
Tell Me About These Chocolate Lava Cakes
- Flavor: There’s no doubt about it: rich chocolate is front and center in this lava cake recipe. They’re even more chocolatey than this reader-favorite chocolate cake!
- Texture: This lava cake pairs moist chocolate cake with an ooey-gooey molten center. Be careful not to over-bake these.
- Ease: The secret for making chocolate lava cakes? There is no secret. These lava cakes require zero complicated steps or special tools.
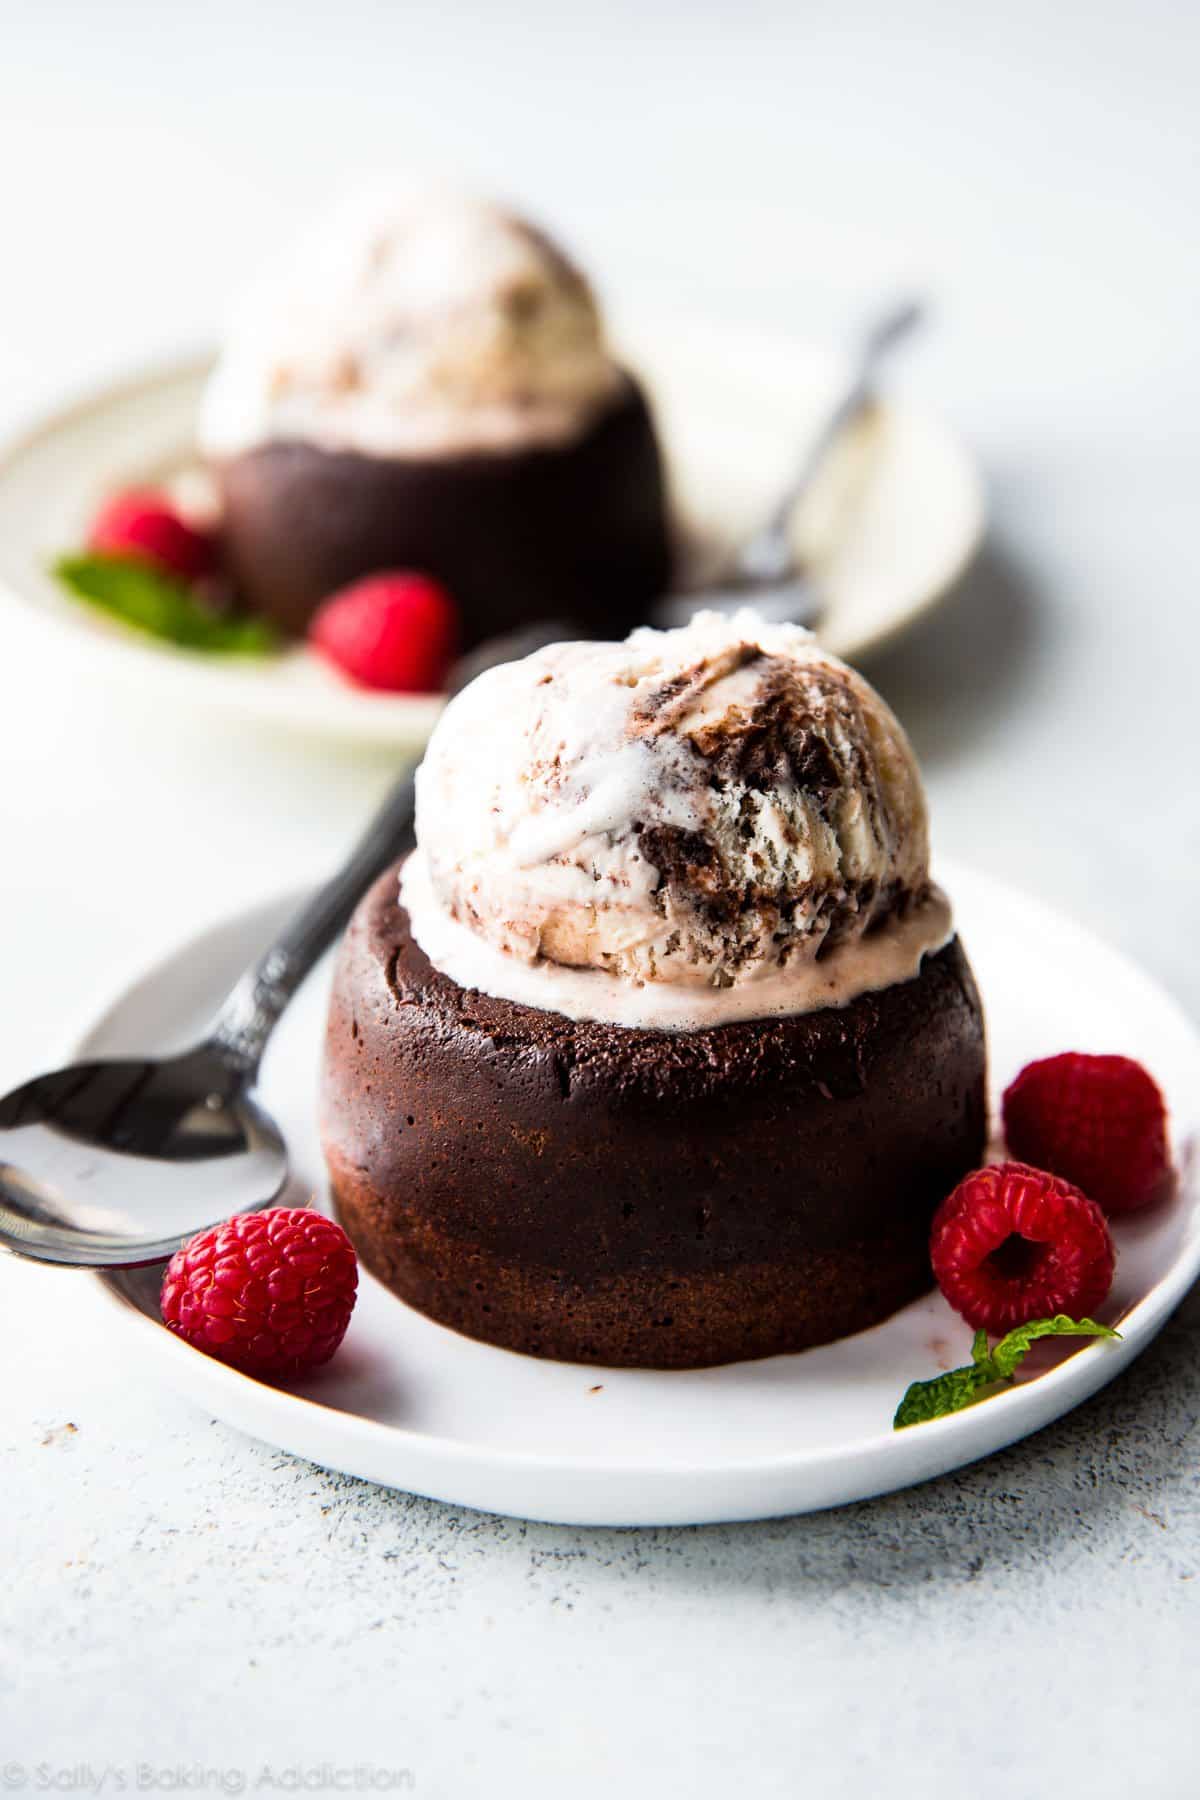
- Time: The best part about this recipe is that it whips up fast: Make a quick cake batter and bake in ramekins or a muffin pan. Then, serve immediately with your favorite toppings like ice cream, homemade whipped cream, or a drizzle of salted caramel. Dreamy!
If you prefer a gluten-free option, consider making this rich and fudge-like flourless chocolate cake.
In Short:
- Warm, rich chocolate cake
- Thick, gooey molten chocolate in the middle
- Quick and easy to make
- Only 6 ingredients
- No mixer required
- No cooling time!
Overview: How to Make Chocolate Lava Cakes
The full printable recipe is below, but let’s walk through it so you can see how easy these are to make.
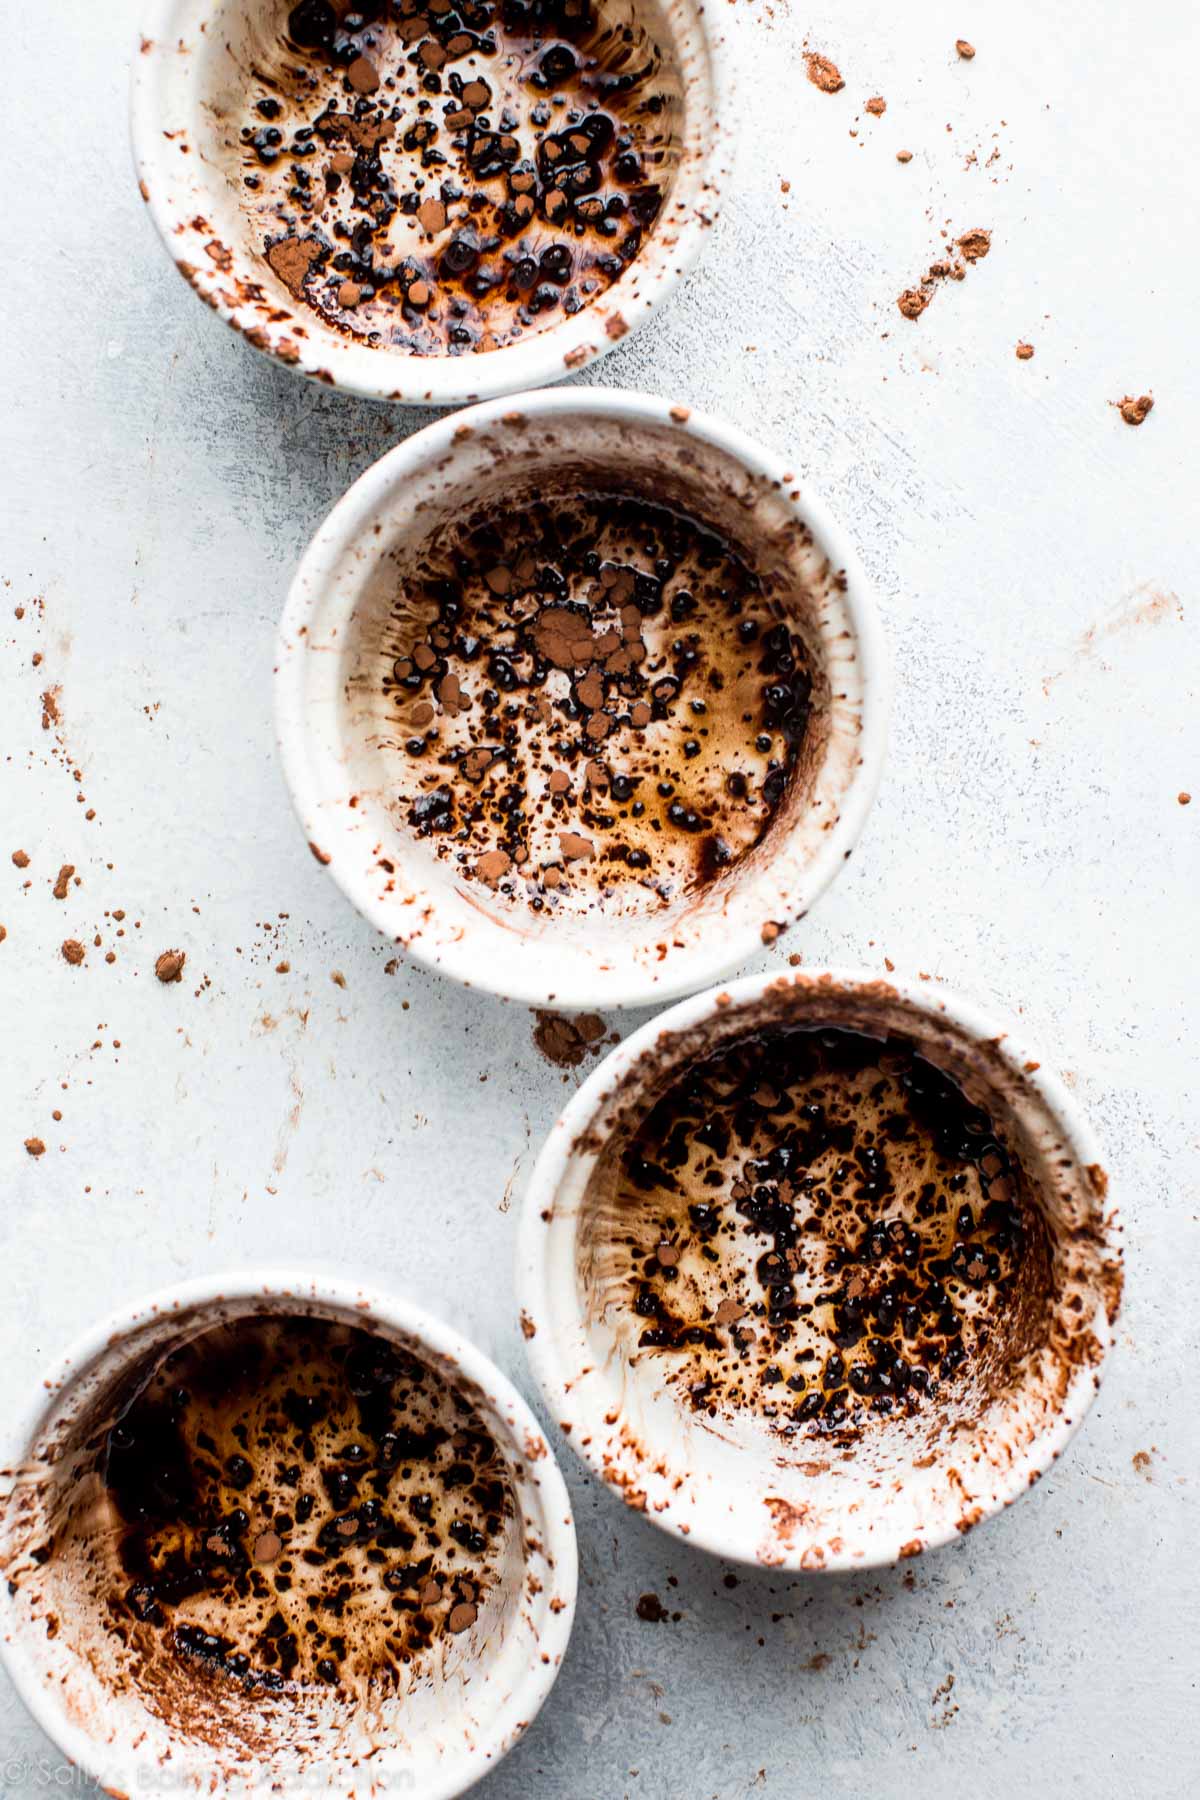
Prepare four 6-ounce ramekins. Grease each ramekin with a little nonstick spray and a dusting of cocoa powder before filling with batter. This preparation helps the baked lava cake release seamlessly from the ramekin onto the plate for serving.
Make the chocolate cake batter.
Spoon the batter evenly into each ramekin, and bake. The high oven temperature cooks the outside of the mini cakes but leaves the center gooey. The tops may look somewhat soft.
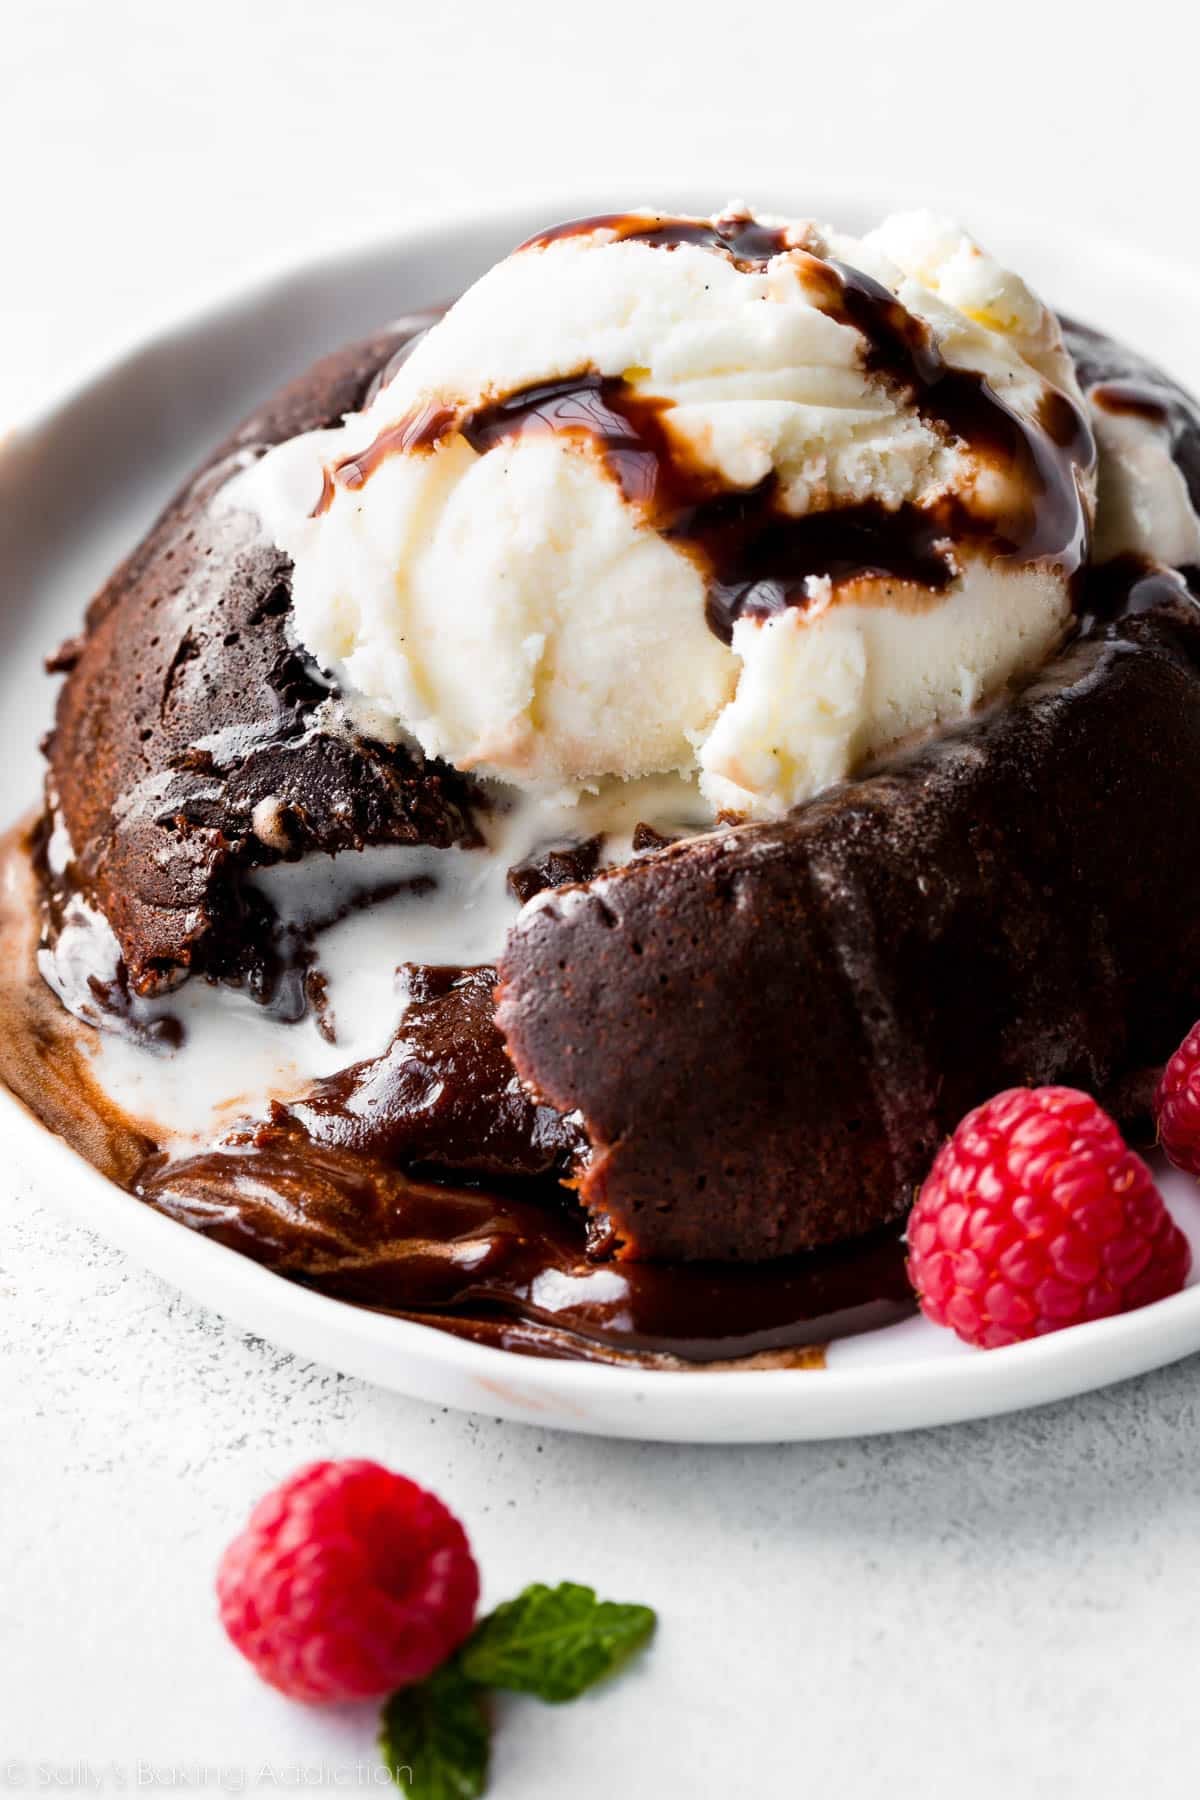
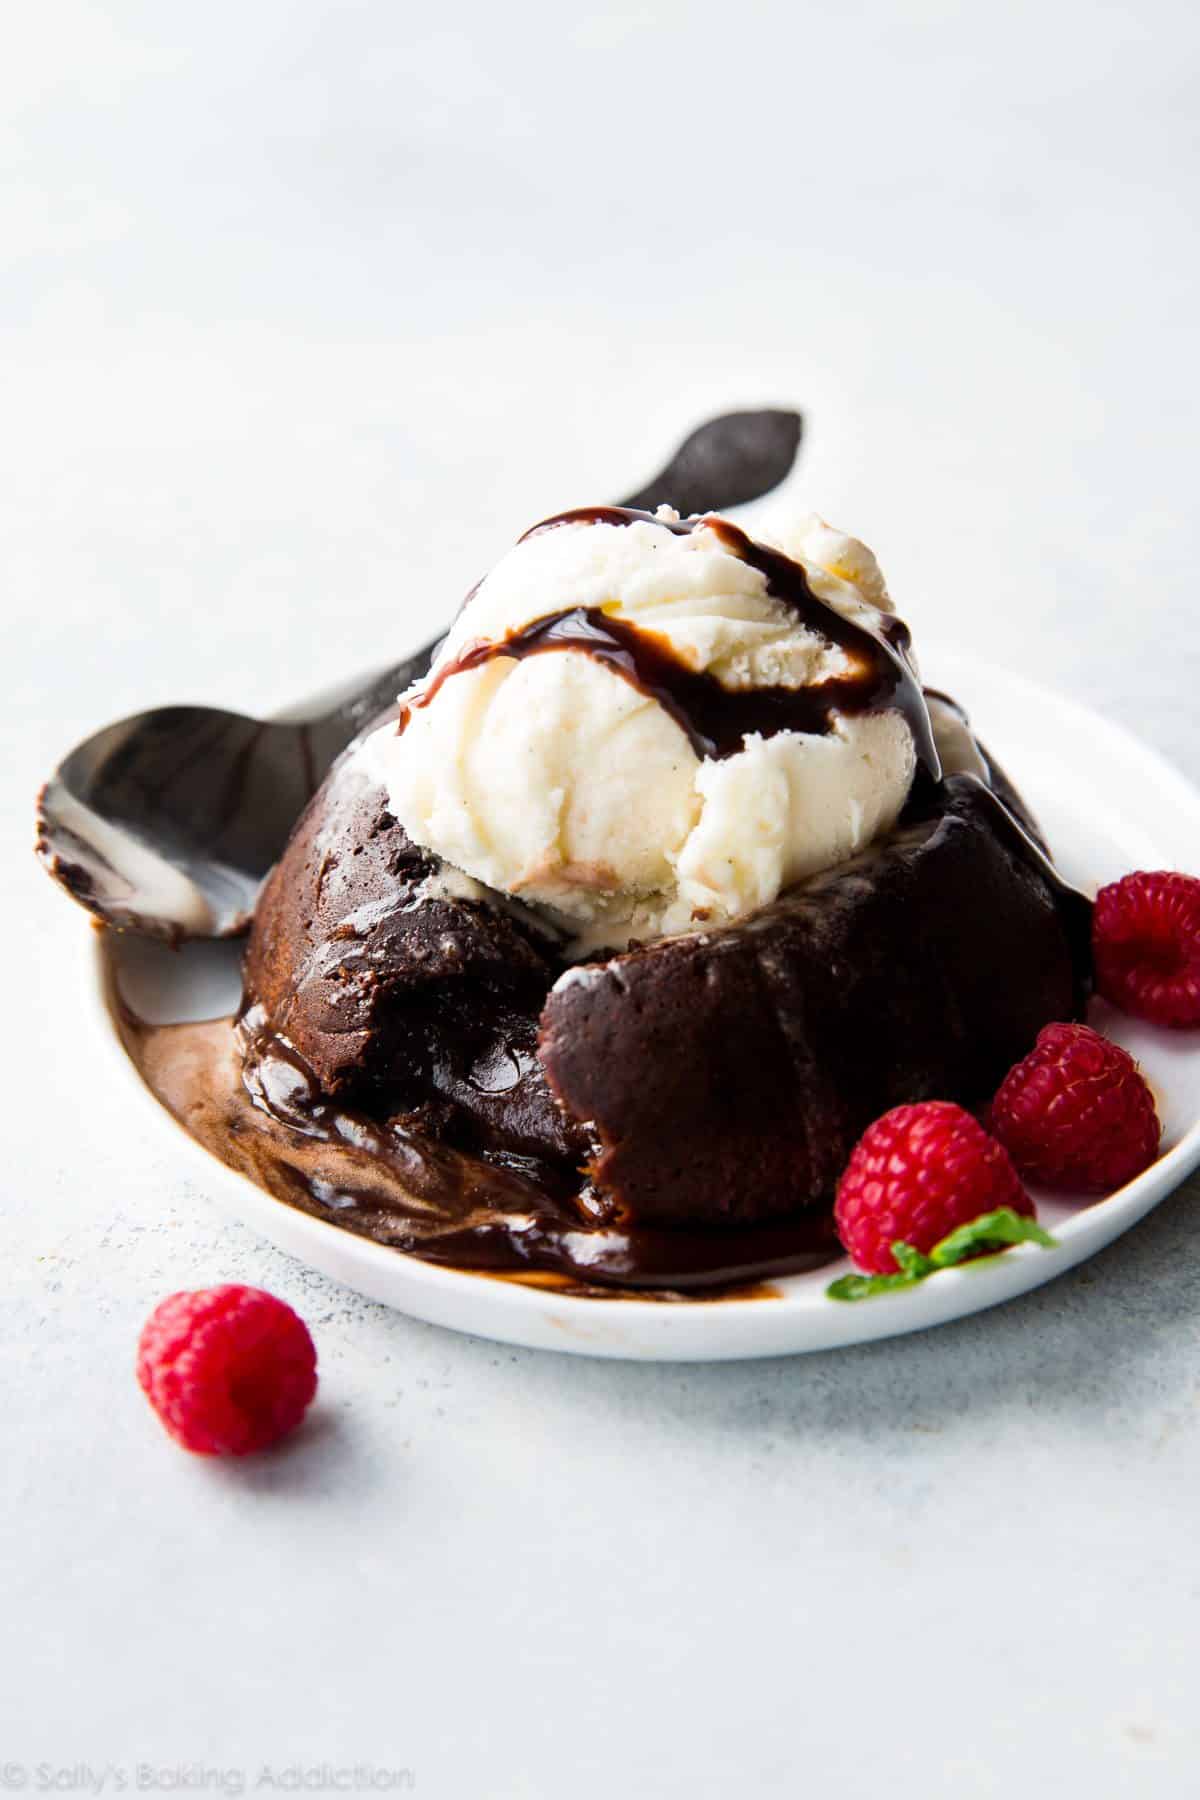
Invert the ramekins. Carefully flip the freshly baked lava cakes upside down onto plates, and dig in while warm!
If 4 or 6 lava cakes are simply too many, try this 2-serving recipe for chocolate fudge cakes instead!
You Can Make These in a Muffin Pan Instead
I highly recommend using 6-ounce ramekins for these lava cakes—they’re the perfect size to make 4 of these single-serving portions. Plus, you can use the same ramekins for most custard recipes, chocolate fudge cakes for 2, chocolate soufflé, peanut butter chocolate lava cakes, and lemon pudding cakes.
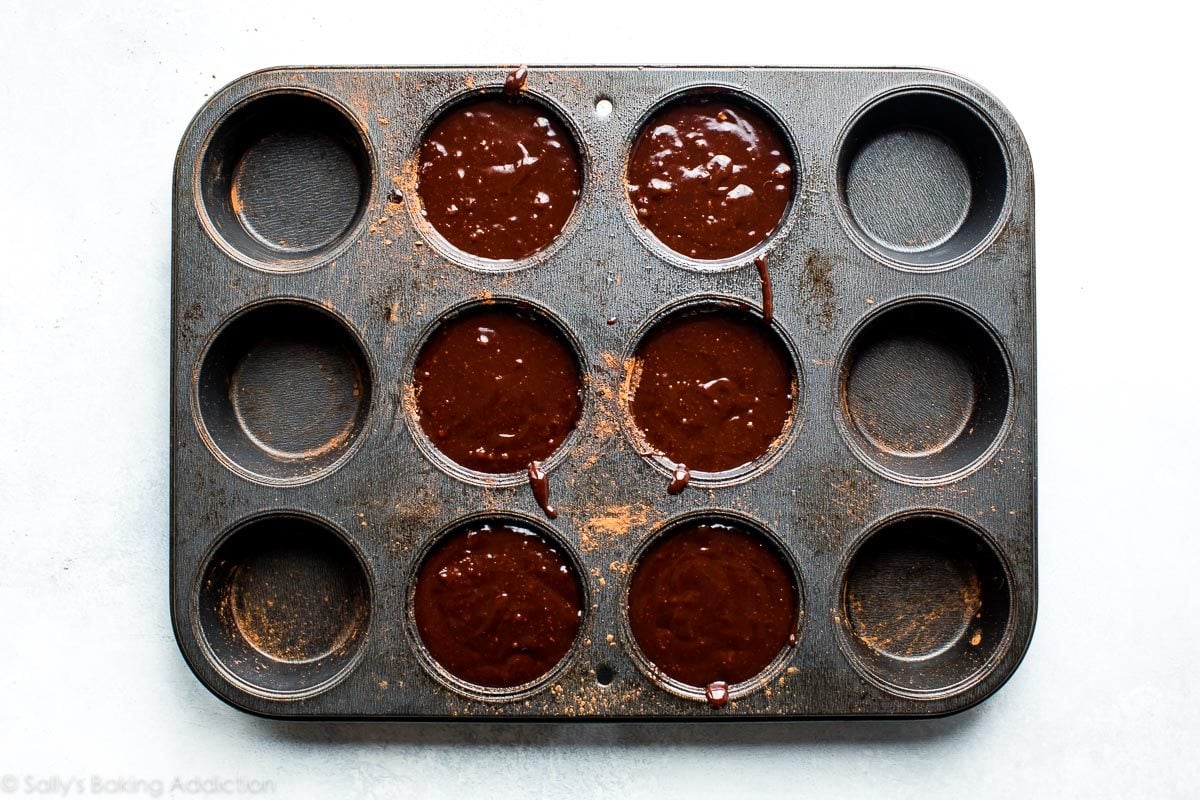
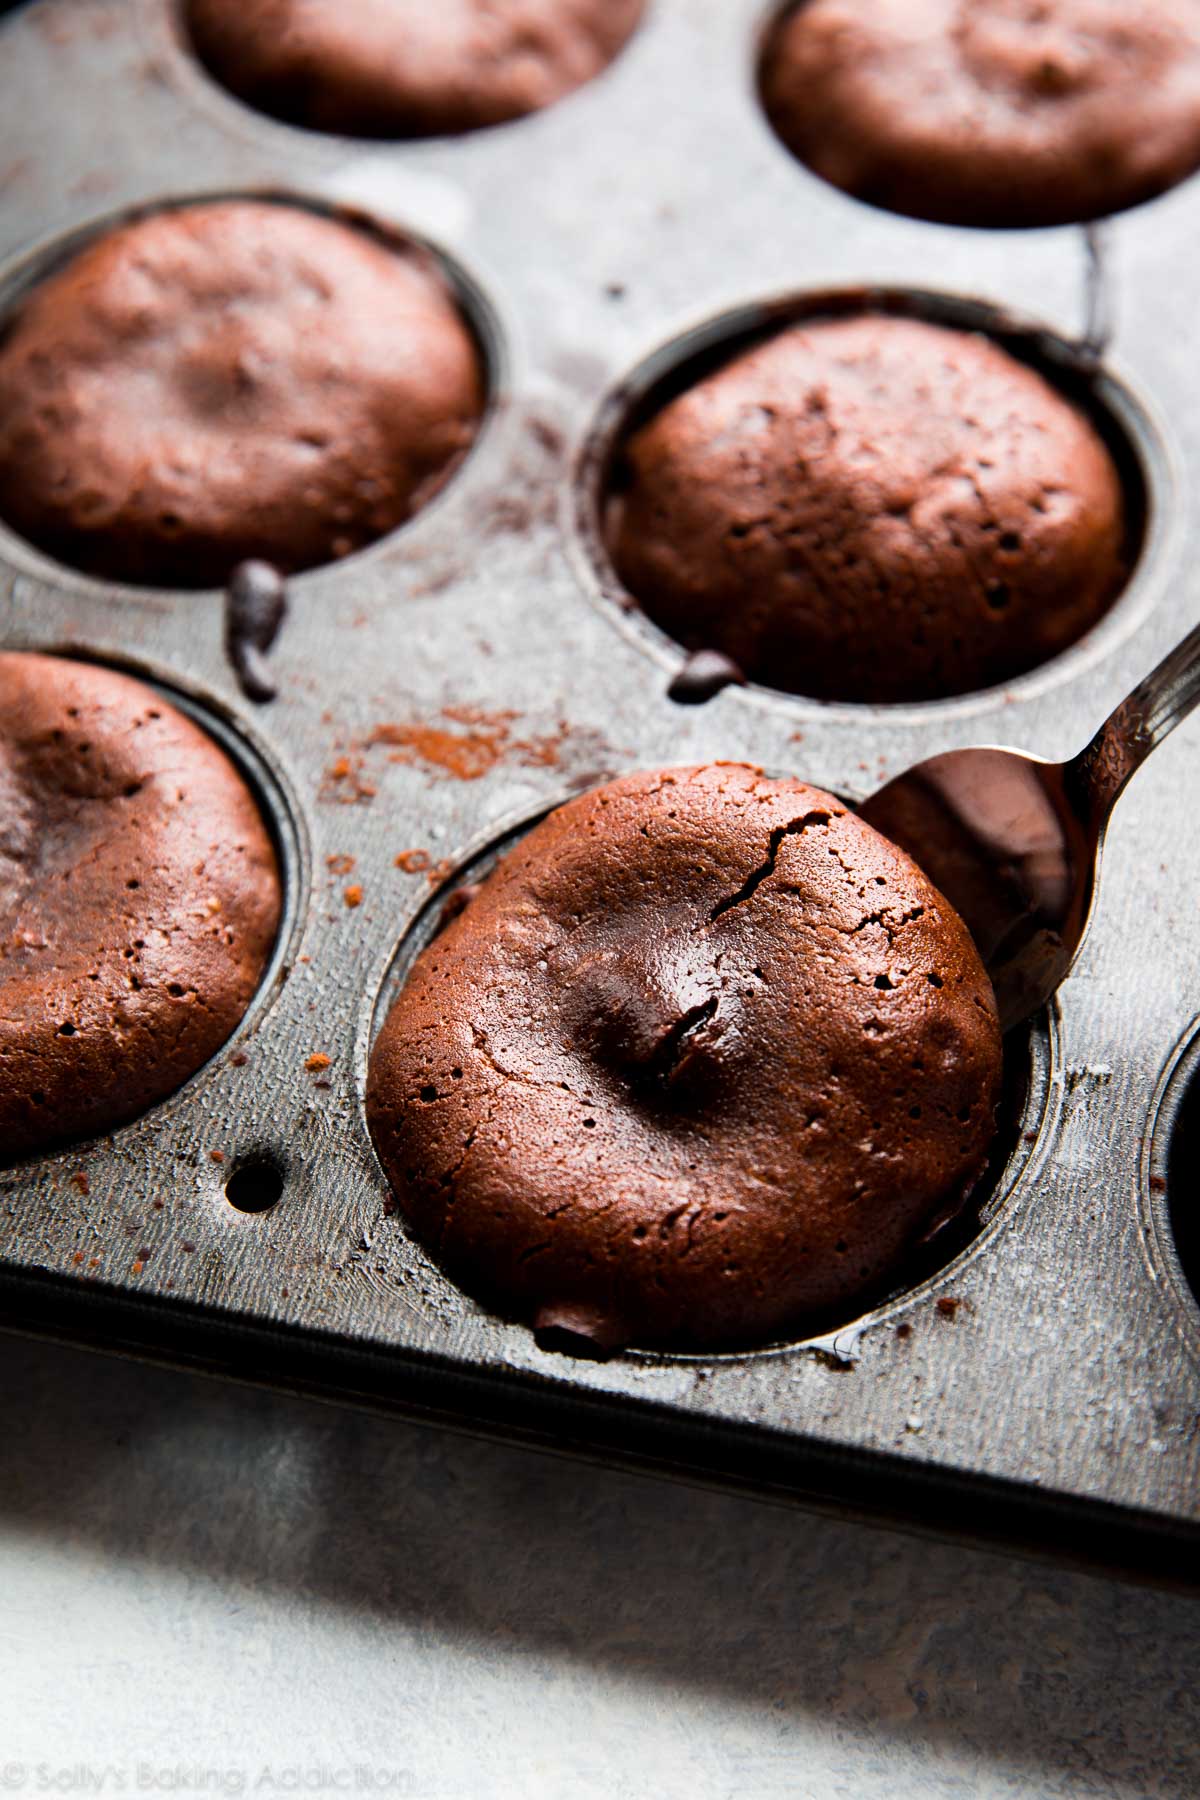
If you don’t have ramekins, you can use a standard muffin pan. Grease 6 muffin pan cups and dust with cocoa powder to prevent the lava cakes from sticking. Because your lava cakes will be slightly smaller, you’ll get 6 lava cakes instead of 4. Bake at 425°F (218°C) for 8–10 minutes. Use a spoon to release the cakes from the pan and place each upside down on plates.
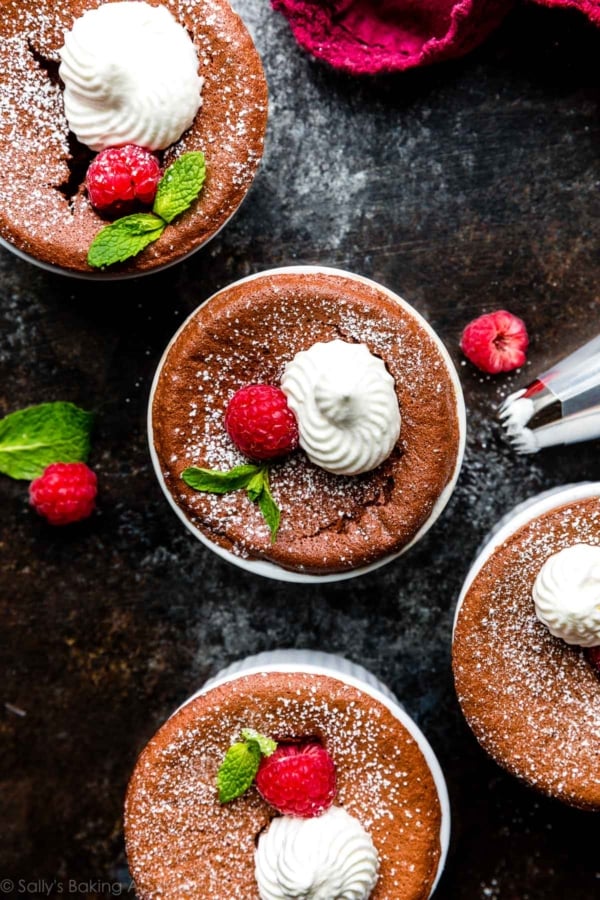
Optional Toppings
Once the warm lava cakes are inverted onto plates, the fun really begins! So many toppings pair wonderfully with these chocolate lava cakes. Here are a few of my favorites:
- Ice cream and/or whipped cream
- Raspberry dessert sauce or strawberry sauce
- Melted peanut butter or Nutella
- Salted caramel
- Mocha whipped cream from this flourless chocolate cake recipe
- Fresh berries
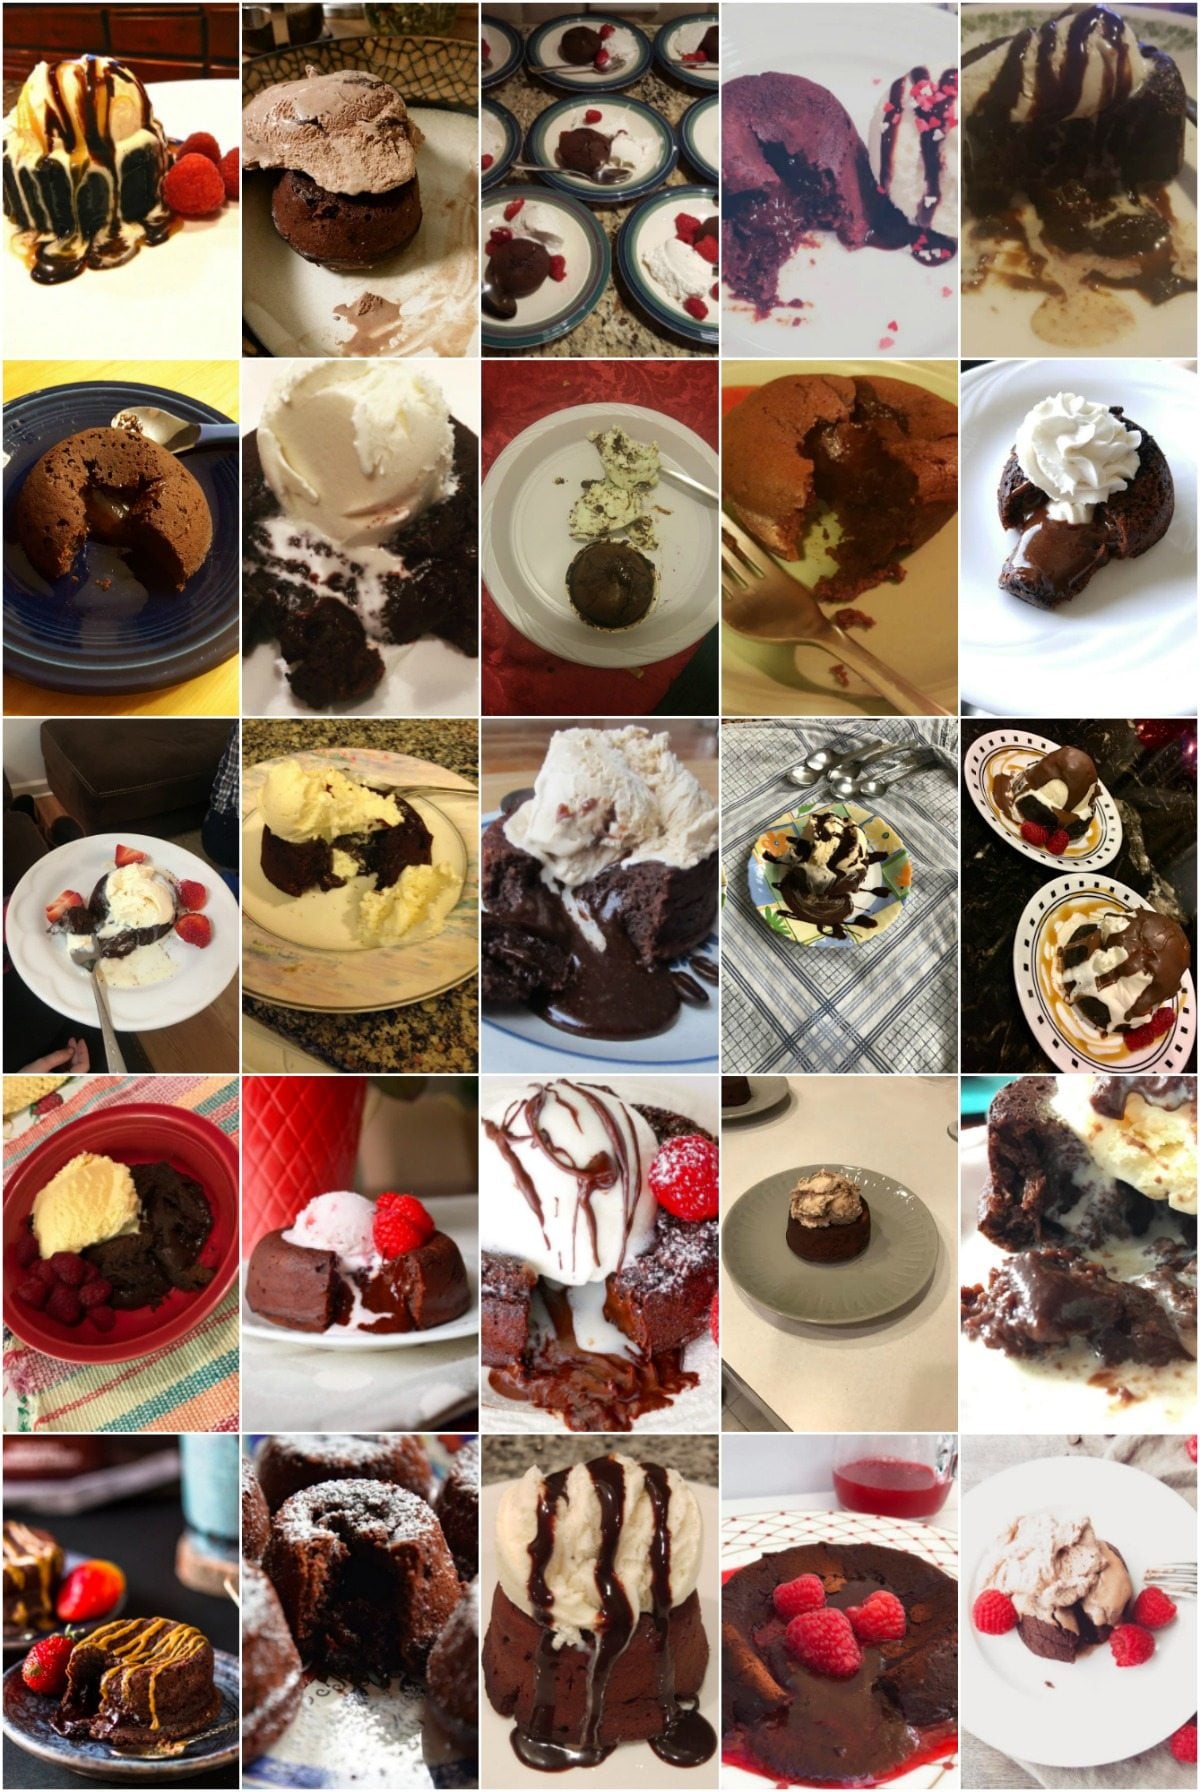
All of Your Chocolate Lava Cakes
Many readers tried this recipe as part of a baking challenge!
Chocolate Lava Cakes
- Prep Time: 10 minutes
- Cook Time: 14 minutes
- Total Time: 25 minutes
- Yield: 4 or 6 cakes
- Category: Dessert
- Method: Baking
- Cuisine: American
Description
Chocolate lava cakes with their deliciously rich molten chocolate center come together with 6 simple ingredients. Ready in just 25 minutes, this surprisingly easy and quick dessert always impresses. If you don’t have ramekins, follow my instructions for using a muffin pan instead.
Ingredients
- 6 ounces (170g) high-quality semi-sweet chocolate*
- 1/2 cup (8 Tbsp; 113g) unsalted butter
- 1/4 cup (31g) all-purpose flour (spooned & leveled)
- 1/2 cup (60g) confectioners’ sugar
- 1/8 teaspoon salt
- 2 large eggs
- 2 large egg yolks*
- optional for topping: ice cream, berries, and/or chocolate syrup
Instructions
- Spray four 6-ounce ramekins with nonstick cooking spray and dust with cocoa powder. This ensures the cakes will seamlessly come out of the ramekins when inverted onto a plate in step 7. Or spray half of a 12-count muffin pan and dust with cocoa powder. If baking in a muffin pan, the recipe will yield 6 cakes.
- Preheat oven to 425°F (218°C).
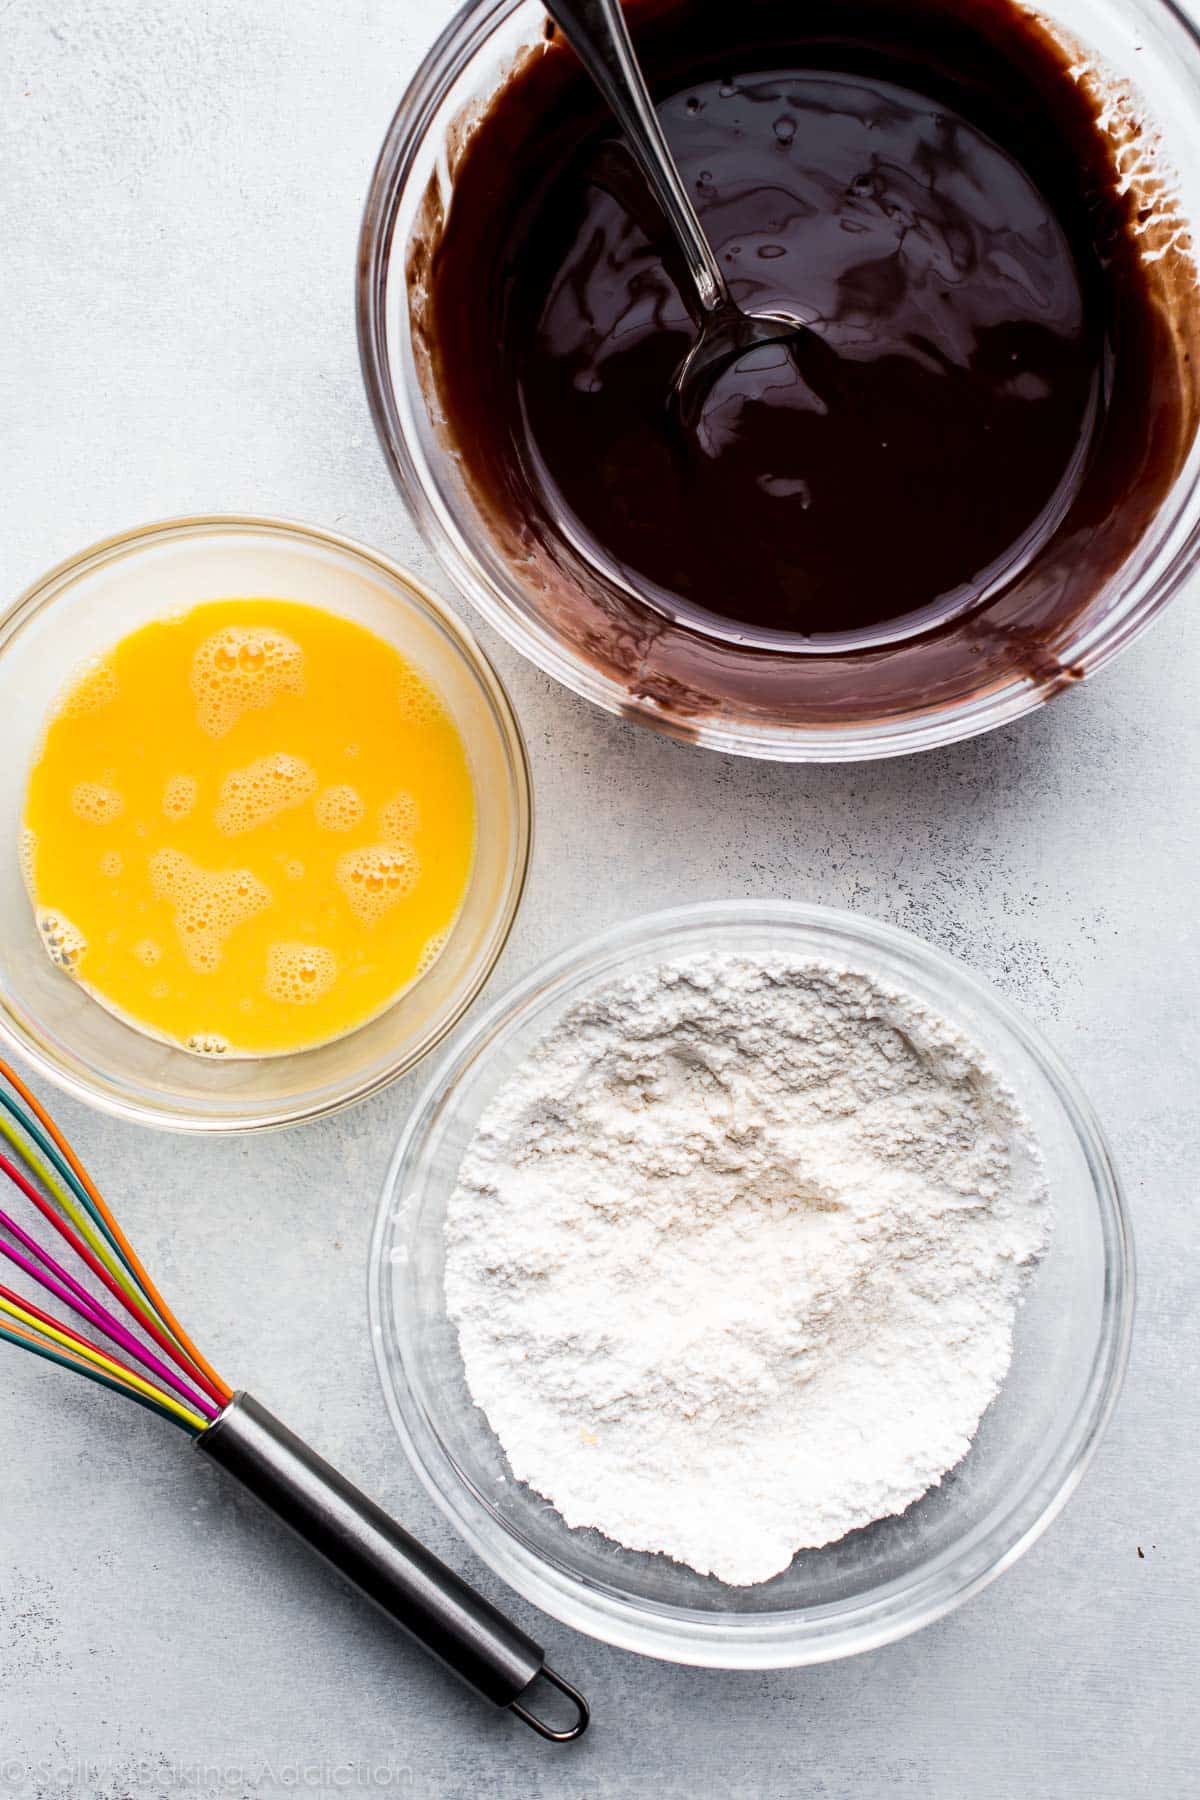
- Coarsely chop the chocolate. Place butter in a medium heat-proof bowl, then add chopped chocolate on top. Microwave on high in 10-second increments, stirring after each until completely smooth. Set aside.
- Whisk the flour, confectioners’ sugar, and salt together in a small bowl. Whisk the eggs and egg yolks together until combined in another small bowl. Pour the flour mixture and eggs into the bowl of chocolate. Slowly stir everything together using a silicone spatula or wooden spoon. If there are any lumps, gently use your whisk to rid them. The batter will be slightly thick.
- Spoon chocolate batter evenly into each prepared ramekin or muffin cup.
- Place ramekins onto a baking sheet and bake for 12–14 minutes until the sides appear solid and firm; the tops will still look soft. *If baking in a muffin pan, the cakes only take about 8–10 minutes.
- Allow to cool for 1 minute, then cover each with an inverted plate and turn over. Use an oven mitt because those ramekins are hot! The cakes should release easily from the ramekin. *If you used a muffin pan, use a spoon to release the cakes from the pan and place each upside down on plates.
- Add toppings. Serve immediately.
Notes
- Make Ahead & Freezing Instructions: You can prepare the batter through step 4. Cover tightly and refrigerate for up to 2 days. Allow to come to room temperature (takes a couple hours) before continuing with step 5. You can freeze the baked lava cakes for up to 3 months. Allow them to cool completely before freezing. Reheat in the microwave.
- Special Tools (affiliate links): 6-Ounce Ramekins or 12-count Muffin Pan | Glass Mixing Bowls | Whisk | Silicone Spatula or Wooden Spoon | Baking Sheet
- Chocolate: Make sure to use high-quality chocolate, not chocolate chips. You won’t have much “lava” with chocolate chips. I always use pure chocolate baking bars (found in the grocery store baking aisle), such as Baker’s, Ghirardelli, or Lindt. They’re typically sold in 4-ounce bars, so you will need 1 and 1/2 bars total.
- Eggs: For this recipe, you need 2 whole eggs plus an additional 2 egg yolks. (Use the 2 extra egg whites in an omelet or in any of these recipes with egg whites.) After 10–14 minutes in an oven this hot, the eggs should be cooked to 160°F, which is considered safe to eat. If you’re concerned, you can take the temperature with an instant read thermometer to be sure.


Reader Comments and Reviews
If love were a taste, these would be it! They are simply delicious!
Hi! I love your recipe, so simple and delicious! I have a question, somehow I bought 4 oz ramekins instead of 6 oz, do I adjust the bake time!?
Exactly. Just reduce the baking time. I’m unsure exactly how long the smaller cakes will take.
If I don’t have the nonstick cooking spray to spray the ramekin, what can I use?
Hi Bella! You can use melted butter.
Made last night. Big hit!!! Thanks!!!
An absolute winner!
Who knew these were so easy! The gooey center is to die for. Great easy recipe.
Just made a trial batch before my mother’s birthday–husband loved it and devoured it. I was thinking of making this batter prior to going to my mother’s and making them after dinner there — I know the notes say to bring to room temperature, but any guidance on how long to leave the batter out for? An hour?
Hi Paige! I wouldn’t leave the batter out for longer than about 2 hours. But use your best judgement, keeping in mind there is dairy and eggs in the batter.
Perfect recipe! You are amazing, Sally!
HELP!! I don’t know what I’m doing wrong! I’ve tried this recipe twice now and both times I never got the lava!! The first time It just came out like a fudge-y brownie, and I think I knew what I did wrong: ie I didn’t have 6 oz ramekins but I had 5 oz ones which I used, and then just used 5 of those instead of 4, I baked them towards the end of the recommended time frame (13 min) even though I know my oven runs hot and cooks quicker, and i had it cooling for almost 5 min (I got distracted) before transferring them out of the ramekins. The second time I attempted these I used a muffin tray and did the 8 minutes though when I checked them it looked liquidy on top so I kept it in for an additional minute before taking them out and transferring it to a plate. The second time it came out a little burnt and completely brownie like (no fudge aspect) with no lava, again. Both times it was still delicious and goes great with ice cream but its disappointing not having the lava in these lava cakes. What am I doing wrong? Obviously, the second time being burnt a little means I kept them in too long but should they then have little pools of liquid on the top when I take them out? Any advice would be great!
I recommend checking your oven with an oven thermometer, especially since you know it runs hot, and adjusting the dials. They should look soft on top, but not liquid. Sounds like the first time they would have turned out right with a minute less in the oven and turning them out right away!
Hi Sally! I have a bar of 70% chocolate. Do you think that’ll be too bitter?
Not at all. It will be dark, yes, but shouldn’t be overly bitter.
I am not sure what I did wrong, but this recipe just did not turn out. The cakes were bitter and did not lava at all. I used Ghirardelli semi-sweet baking chocolate and followed the recipe just as you said. The cakes just simply did not taste good at all. It’s like they were missing something perhaps a bit more sugar and some vanilla. I’m not sure.
Hi Sally!
I want to make this for a friend’s birthday and was wondering if you think this recipe would work as a whole cake instead of the individual ramekins? I love your recipes!
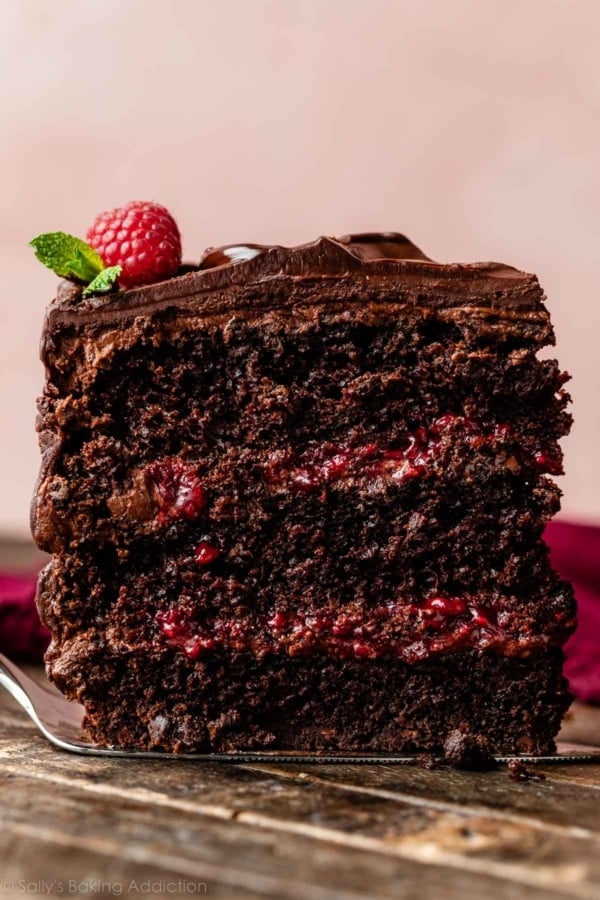
Hi Hannah! No, I don’t recommend using this recipe for a big cake. Instead, try my triple chocolate layer cake 🙂
I am thinking of making these for my New Year’s Eve party. This would require me making the battle ahead of time. I read the make ahead tips but was wondering, can I make the batter, spoon it into the ramikins, refrigerate them, and then put them in the oven the next day? Would that produce the same results or would it be better to wait to divide the batter into ramikins?
Hi Grace! You can divide up the batter and refrigerate overnight. Bring it all to room temp before baking though.
Hi! 🙂 I would love to sub something dairy free for the butter (was thinking coconut oil). Do you have any advice on the quantity of coconut oil to use and if this would work? Thanks!
I’m unsure of the outcome, but 1/2 cup of melted coconut oil could be subbed in.
I finally got a chance to make these last night and they turned out perfect. They were amazing! My family loved them!
Using this recipe, I baked the best lava cakes I have ever eaten! Sally, thank you so much for taking time to create this recipe and share it with us. Much appreciated!
Thank you so much for posting this recipe! The lava cakes were absolutely delicious:)
Love this recipe! Do you know if this would work with GF flour? have you ever tried it?
Thanks!
I’m not the best baker to ask about GF/wheat free baking. I have very little experience. Sorry!
Made these for dessert tonight. 12 minutes was the perfect amount of baking time to get just the right lava flow. They are literally sooo much better than any molten lava cake I’ve ever ordered in a restaurant. These will definitely earn me brownie points with dinner guests in the future! Thank you thank you for writing and posting such an easy-to-follow delicious recipe! Love the video too 🙂
I have made these 2 times in the last week! They are so easy and goooood. Love your recipes!
Made these for Valentine’s Day and they were amazing!! So easy and yummy … and I’m even a big chocolate fan. Thank you for the challenge, as I don’t think I would ever tried these otherwise. 🙂
LOVED THESE! I’ve never been a huge fan of lava cakes (a little too rich for me), but my hubby was all for this recipe for V-Day and we both thought they were fantastic! The flavor was much better than anything served at a restaurant and so easy to make. Thanks for another good one, Sally!
Hi Sally! Could I make this recipe in 8 oz ramekins? Would the bake time change? Thank you, your recipes are awesome. 🙂
Yes the baking time will be a bit longer, but I’m unsure of the exact amount. Maybe another 2 minutes?
I made these for my husband & 2 boys last night for Valentine’s Day & they were a HUGE hit!! I loved them, too!! Perfect chocolate dessert & very easy to make. Thank you for coming up with the idea for the baking challenge–I think it’s a great way for all of us to try new recipes & learn about the ingredients we’re using! Also cool that they may be related to the season. Thanks for all you do! I really love your stuff & so does my family!!
Made this tonight for my husband and boys and everyone loved it! I should have pulled them out at 12 minutes but gave them an extra minute. I struggled to get a grip on the ramekins because of my oven mitts, so I’ll have to figure out something there. But the recipe was great! Easy to make with delicious results.
Just wanted to check back in and let you know that they stole the show at our Valentine’s day dinner! 🙂 I served them topped with caramel ice cream and salted caramel sauce. Even my non-chocolate loving hubby enjoyed them!
I’ve never bothered with lava cakes before as I thought they wouldn’t work but these were sooo easy and delicious! Love your monthly baking challenge idea and can’t wait to see what you have next month!!
Delicious recipe, not too sweet which I loved. I overcooked mine but stayed in the time limit. Used muffin tin. Anything else one should look for to avoid over baking?
I’m happy you tried them! The tops will begin to crack quite a lot when overbaking.