

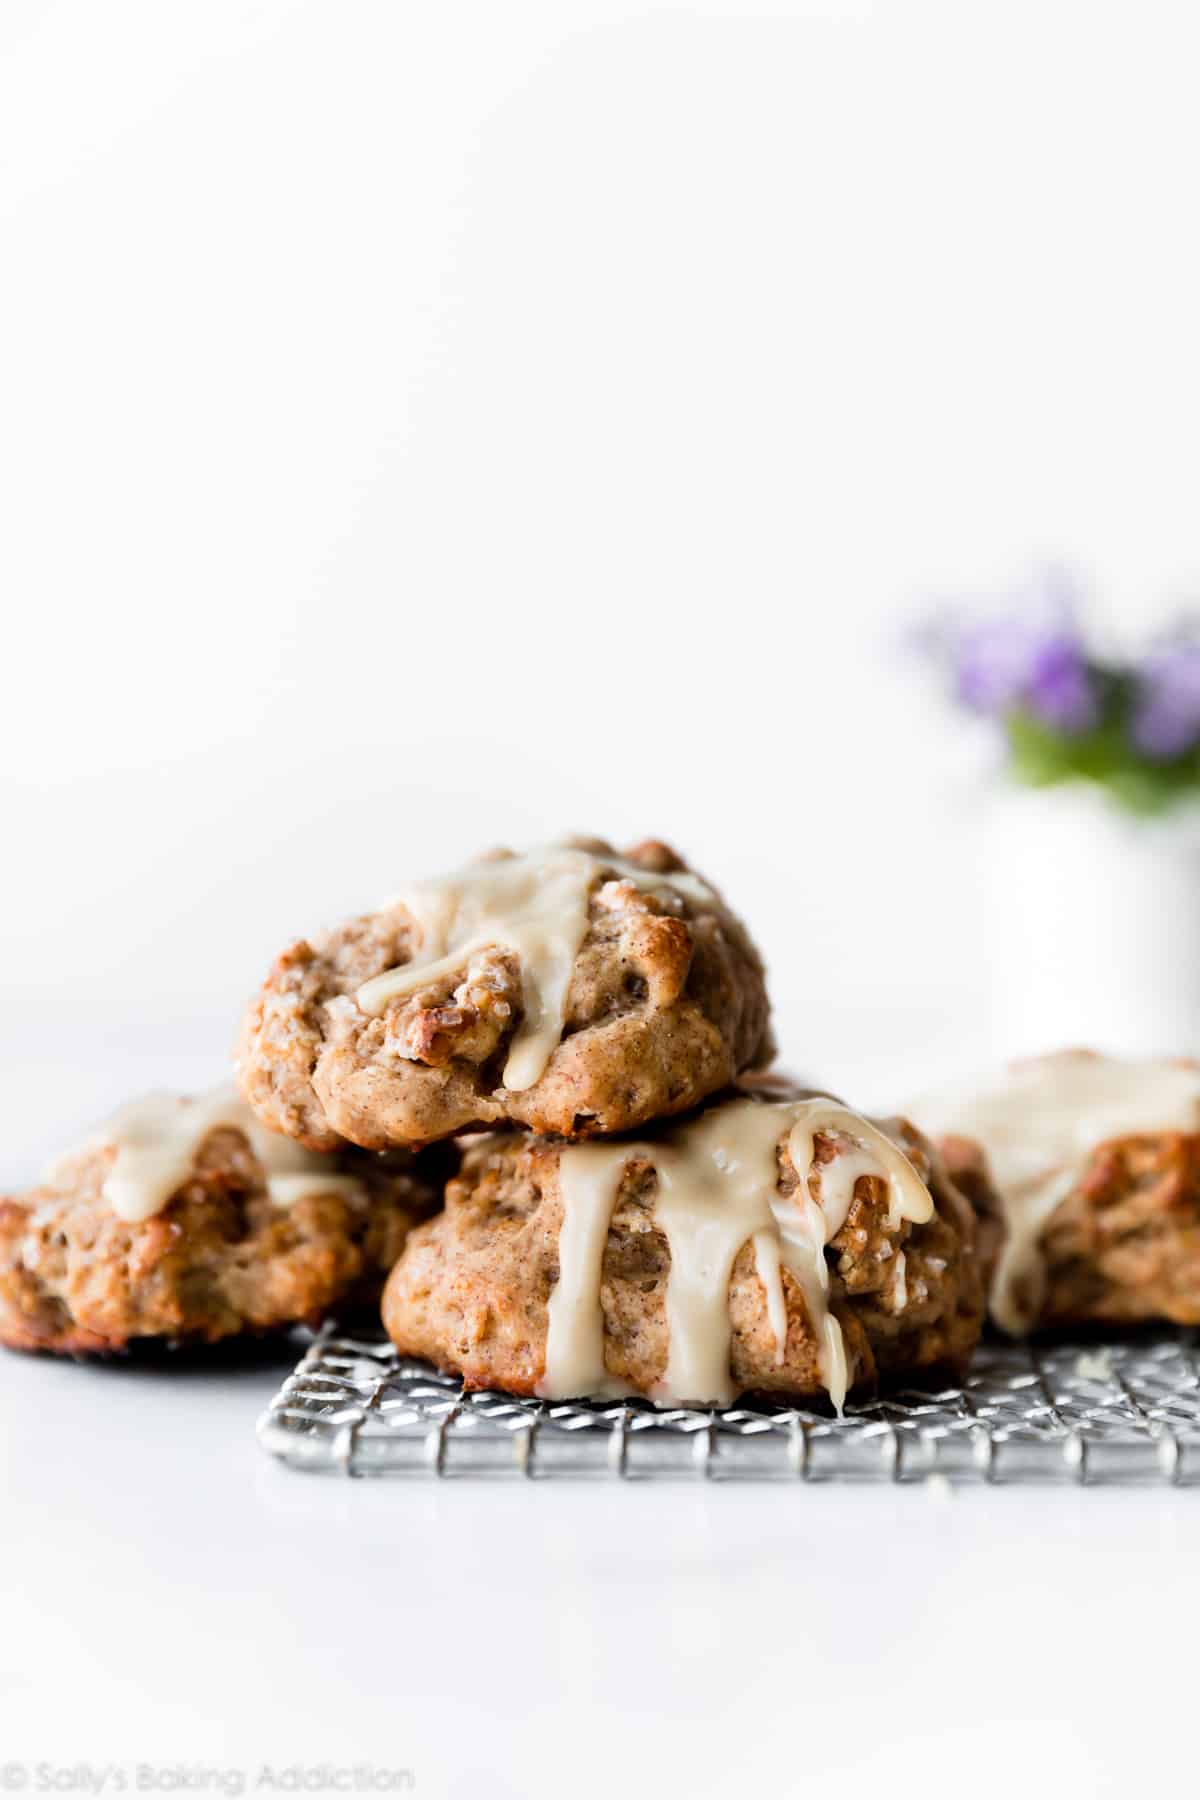
These banana nut scones are deliciously moist, flaky, and crumbly. Combining the flavor of banana bread and the texture of scones, this banana scone recipe is everything you crave for breakfast. Don’t skip the maple icing because it’s one of the best parts!

These banana scones were a complete spur-of-the-moment recipe. When I have a bounty of extra ripe bananas, I usually bake a couple loaves of banana bread or my favorite banana muffins. My mom was visiting, so I decided to try something new and special. We both love scones and banana bread, so I decided to combine the two.
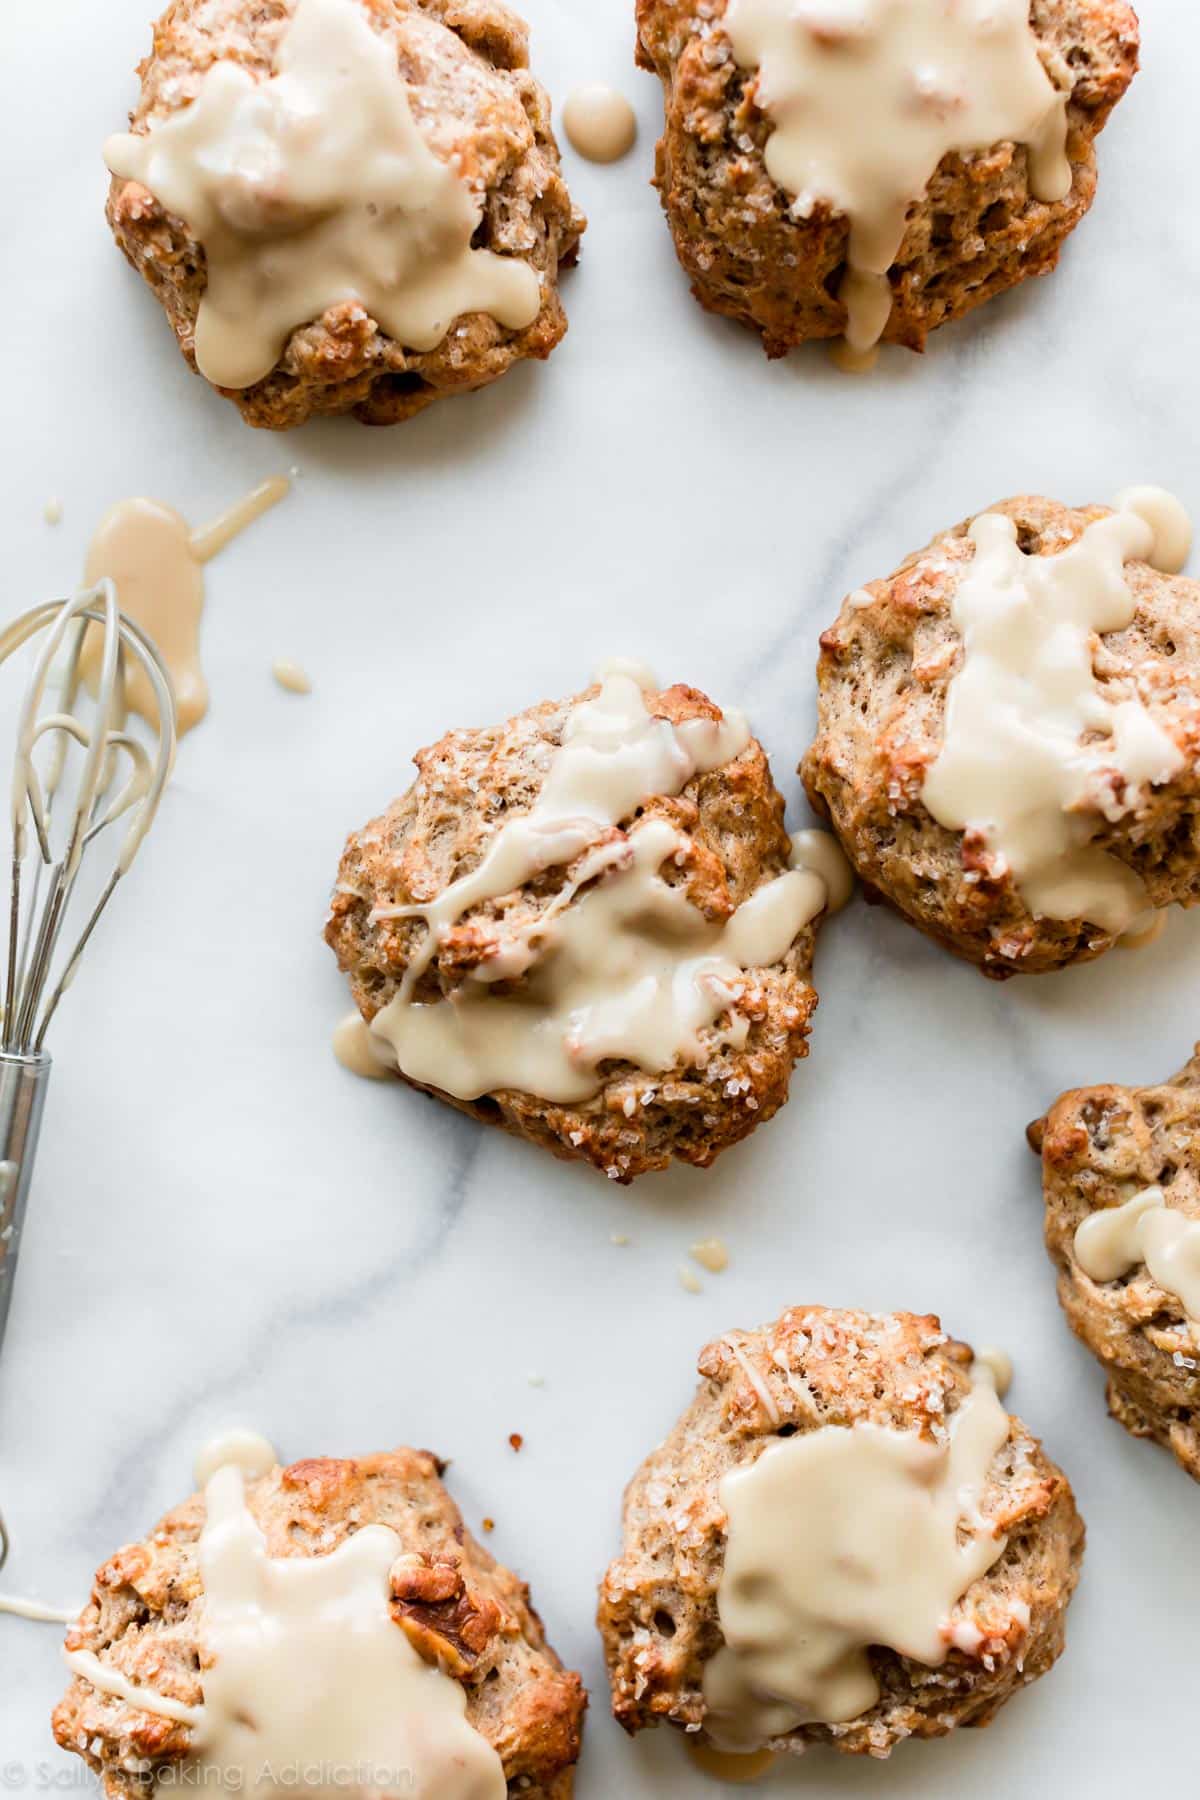
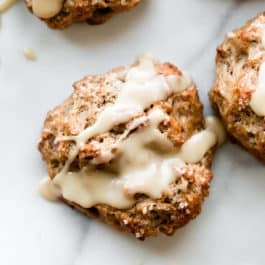
We ended up LOVING them, especially the walnuts in each bite. I tweaked the recipe a few times after that and I’m confident these are the best banana scones. They’re crumbly and flaky on the outside, but have that deliciously soft banana bread texture inside. We topped them with crunchy coarse sugar and a generous drizzle of maple icing.
These banana nut scones turned out 19385x better than I dreamed and instantly climbed to the top of my favorite scone list. Admittedly, I have about over a dozen favorite scone recipes, including these chocolate chip scones, apple cinnamon scones, and blueberry scones!
Banana Bread & Banana Muffins Vs. Banana Scones
What banana scones have that banana bread and banana muffins do not:
- Crackly crunchy top
- Irresistible crispy crumbles
- Nooks & crannies for delicious icing absorption
- Flaky center
Banana bread and banana muffins will never be banana scones!!!
Banana Scone Ingredients
You need a handful of basic ingredients for banana scones including flour, brown sugar, bananas, egg, butter, and a few others. The best performance award goes to the following 4 power ingredients: mashed bananas, yogurt, frozen butter, and brown sugar.
- Bananas: You need about 3 medium or 2 large ripe bananas. Make sure they are spotty brown. When mashed, they should yield 1 cup (230g). The most efficient way to mash bananas is to use your handheld or stand mixer. Try to rid all those banana lumps!
- Greek Yogurt: The first time I made these banana scones, I used heavy cream. Heavy cream is my favorite standard scone ingredient. The scones were good, but they spread all over baking sheet even though I increased the flour. Rather than add even more flavorless flour, I swapped the cream for yogurt. The yogurt helps keep the scones moist, a far cry from the cardboard scones we’ve all tasted before.
- Grated Frozen Butter: Not just cold butter—frozen butter. Why? It’s important to use cold butter in scone baking. When the little bits and pieces of butter melt as the scones bake, they release steam and create little pockets of air. As a result, the scones are a little airy on the inside while remaining crisp on the outside. You want the butter to melt in the oven, not before the scones even hit the oven. Frozen butter is easy to grate and grated butter is easy to cut into the dry ingredients. You’ll use frozen butter in these ham & cheese scones, too.
- Brown Sugar: Why use flavorless white sugar when you can use deliciously moist and rich-tasting brown sugar? I have the same mindset when making banana bread!
I call these power ingredients because they make a POWERFUL difference in how the scones taste. For mega banana scone success, I recommend you follow this recipe closely.
How to Make Banana Scones
- Mix the wet ingredients. This includes the mashed bananas.
- Mix the dry ingredients.
- Cut in the butter. You can use a pastry cutter, two forks, or your hands.
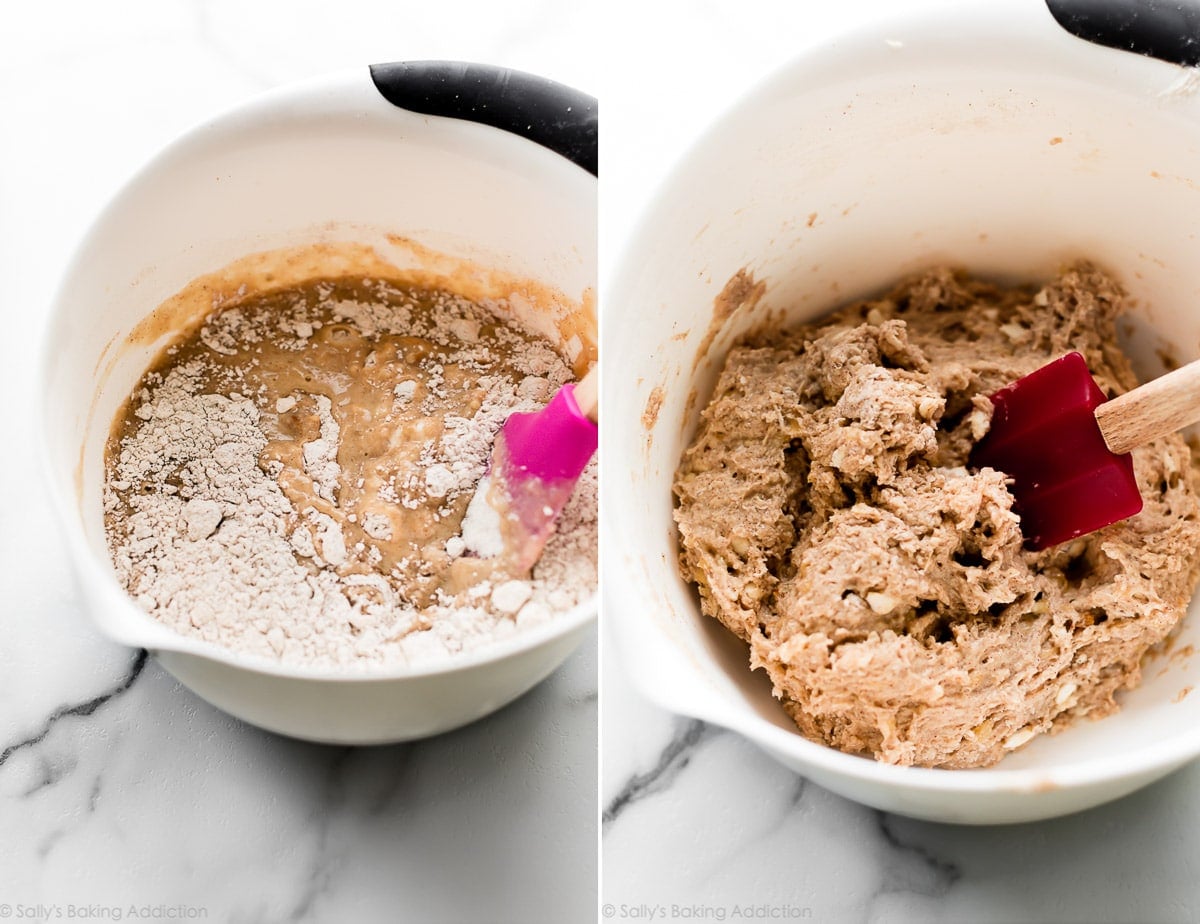
- Mix the wet & dry ingredients together.
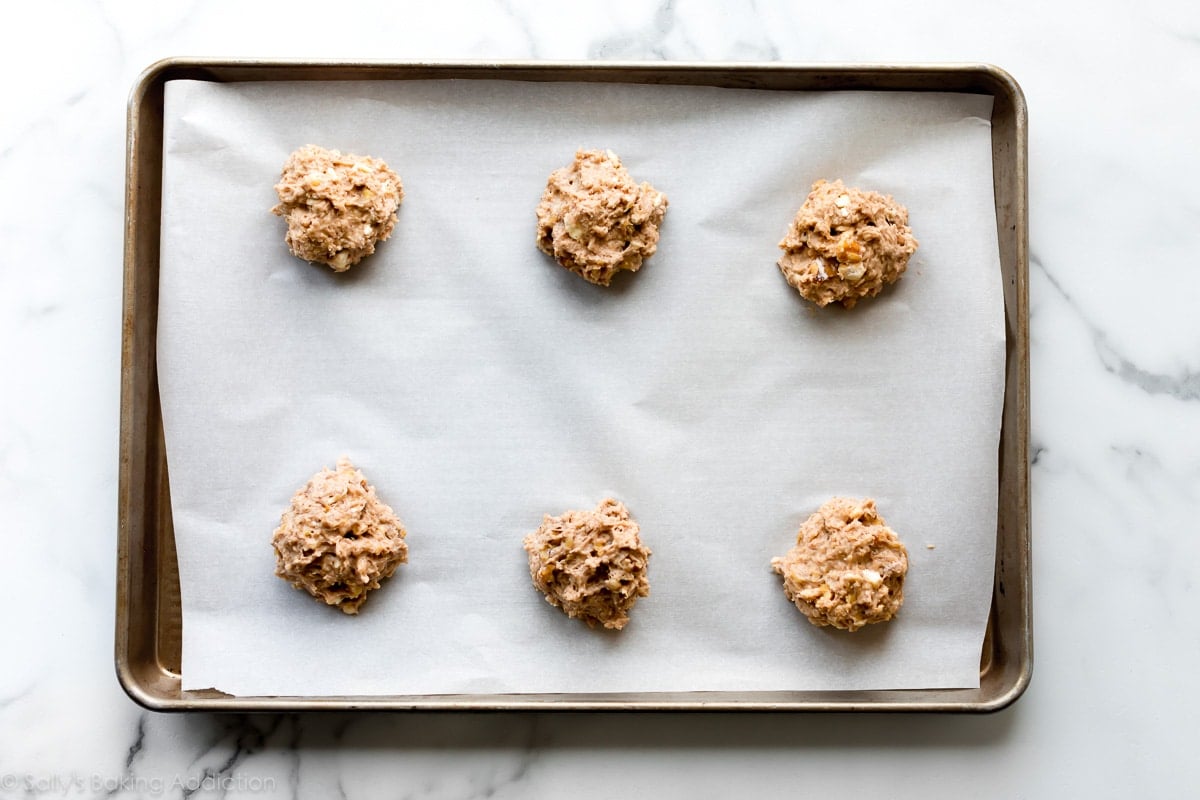
- Spoon dough onto baking sheets. Use a 1/4-cup measuring cup.
- Brush with milk and sprinkle with coarse sugar.
- Bake. Then drizzle with icing!
This banana scone recipe yields about 12 palm-sized scones. Expect a sticky and craggily dough. Like biscuits, avoid overworking the dough. You’ll notice that I brush the scones with milk before baking. This is an essential step! This layer of liquid “sets” on top and drizzles down the sides as the scones bake, creating an even crispier exterior.
How to Make Triangle-Shaped Scones
I make these as drop scones, but if you’d prefer to make them triangle shaped like we do in many other scone recipes, press the dough into an 8-inch disc and, with a sharp knife or bench scraper, cut into 8 wedges. For smaller scones, press dough into two 5-inch discs and cut each into 8 wedges.
Place the scones on a plate or baking sheet lined with parchment paper and refrigerate for 15–20 minutes before baking, to help set the shape. You can brush the scones with milk and top with coarse sugar either before or after refrigerating.
The baking time varies depending on size. See recipe Notes below for suggested baking times for 8 larger triangle-shaped scones as well as 16 mini scones.
Can I Use Frozen Bananas?
Yes and I do this often. Thaw the frozen bananas at room temperature. Drain off any excess liquid, mash, then use as instructed in the recipe below. See How to Freeze & Thaw Bananas for Baking.
My #1 Scone Trick
My #1 tip when making any scones is to keep the scone dough as cold as possible. If the scones are room temperature or warm going into the oven, they will overspread and the texture will be ruined. Don’t be afraid to refrigerate your wet ingredients as you’re working on the dry ingredients. And you can refrigerate the scone dough prior to baking too.
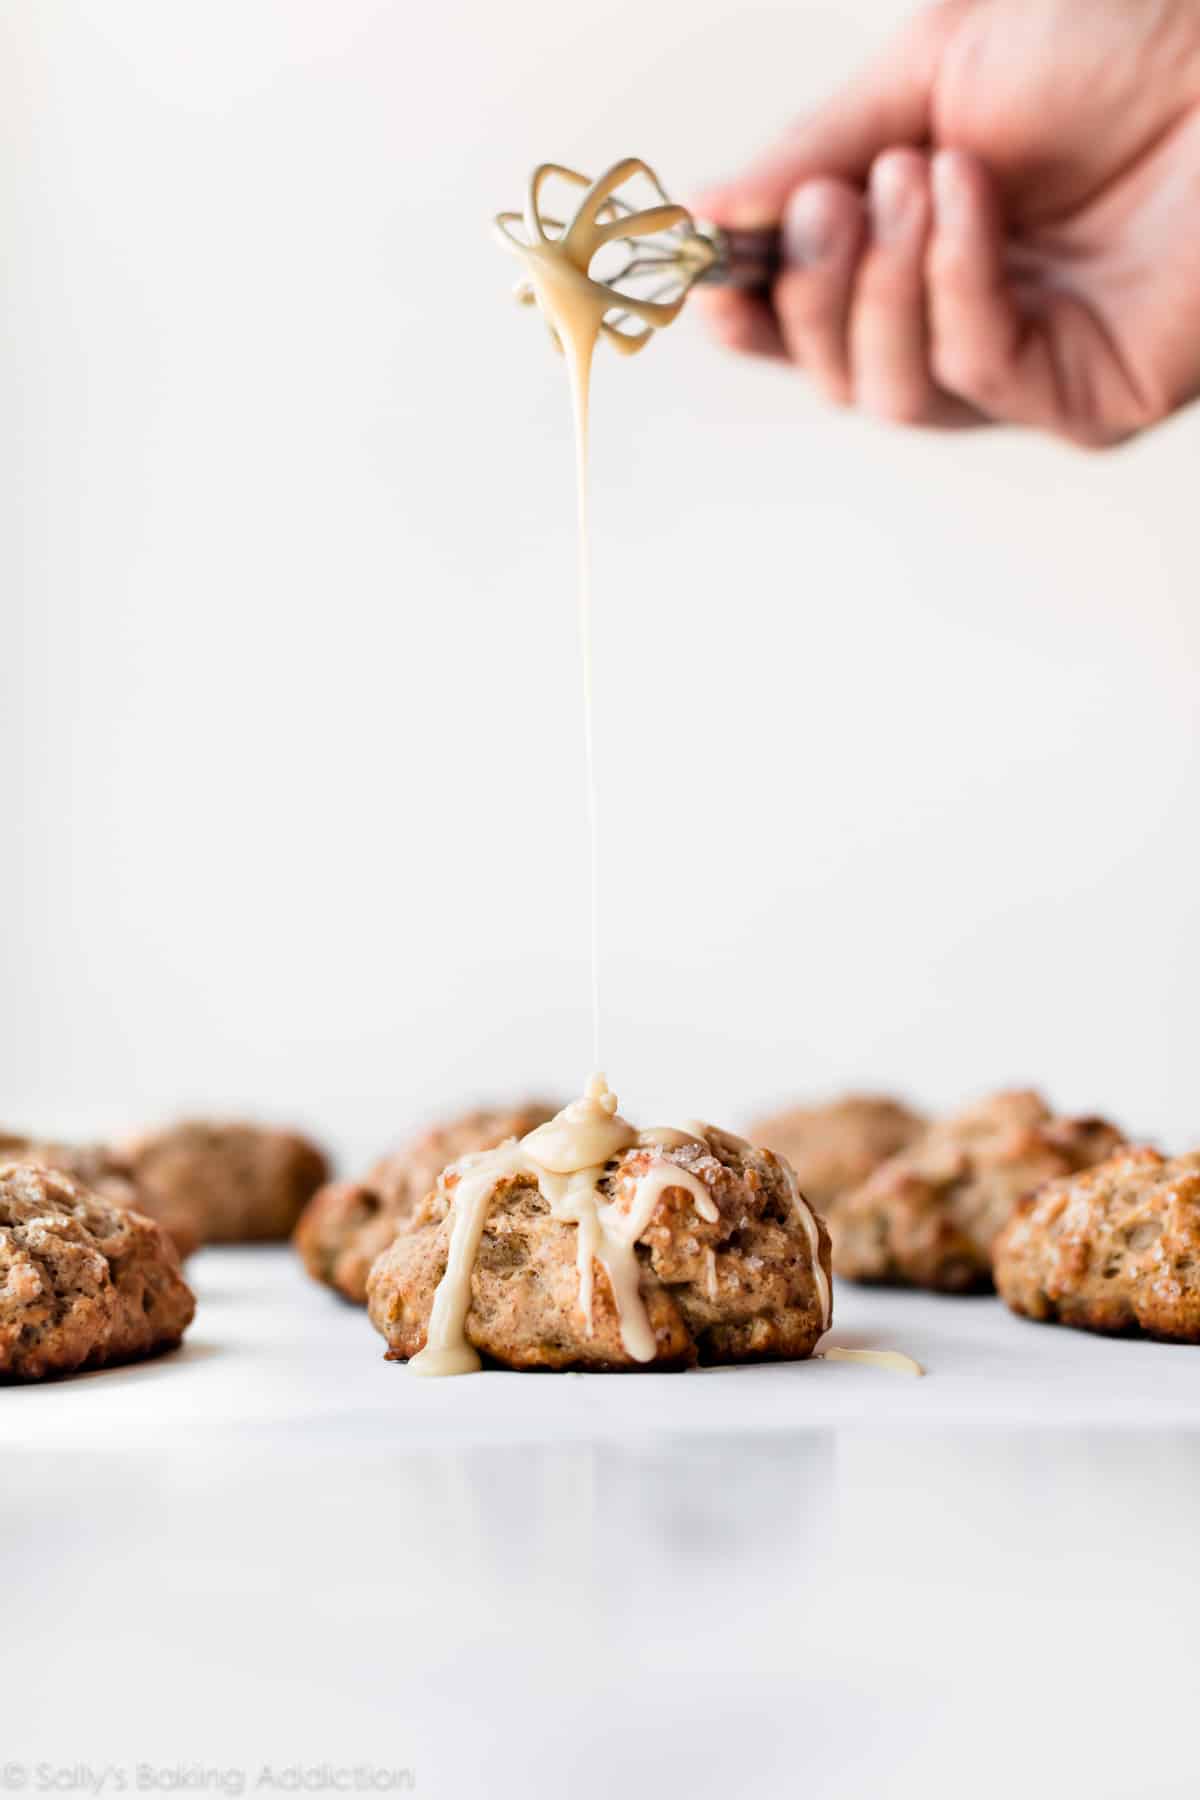
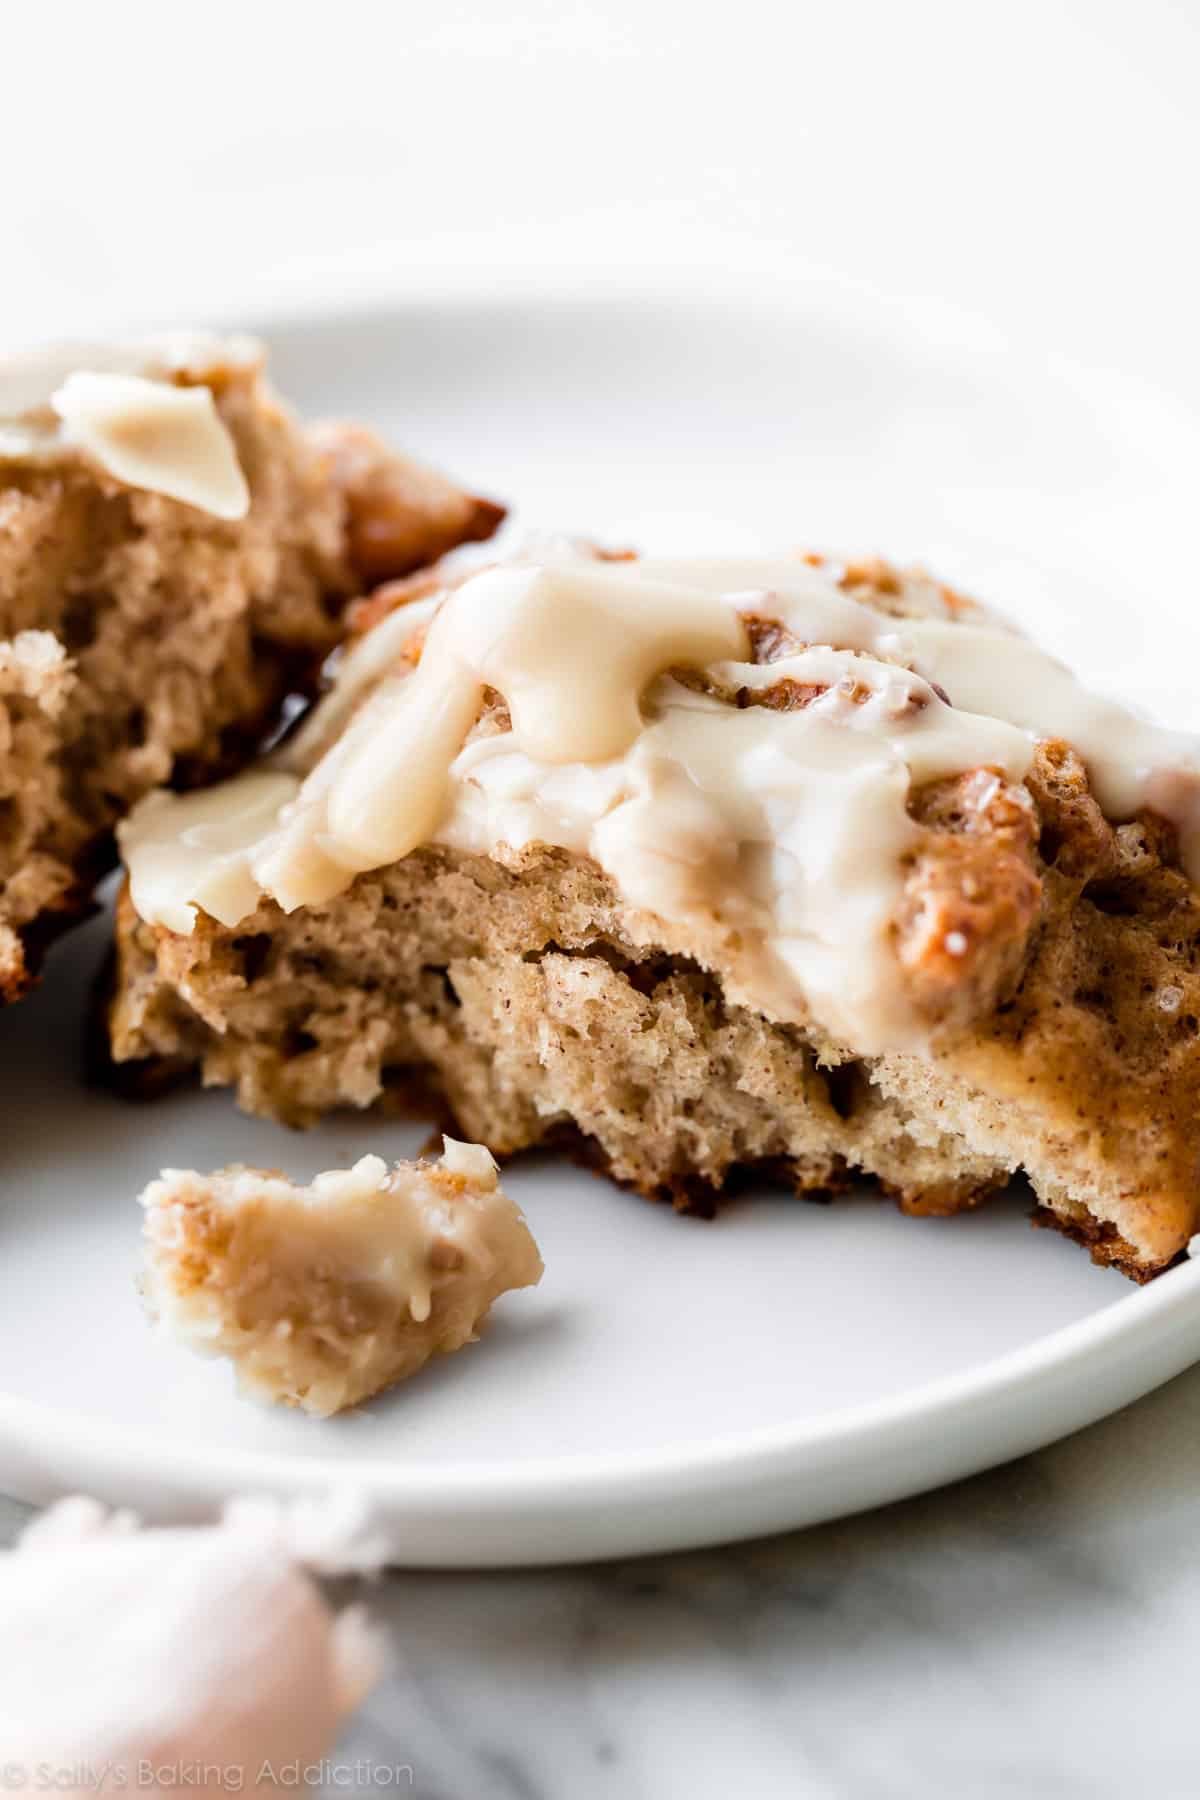
The Best Finishing Touch: Maple Icing
These banana scones have all the flavor from banana bread including cinnamon spice, brown sugar, and banana. Maple icing is the BEST finishing touch… because everything is better blanketed with maple!! Simply melt butter and maple syrup together, then whisk in sifted confectioners’ sugar. The icing seeps into all the cracks and crevices. That top maple-soaked surface is the best part!
This banana scone recipe yields such a unique texture—an incredible mash up of banana bread and scones. Get those bananas browning and start pre-heating your oven!
More Favorite Banana Recipes
- Banana Cake & Banana Cream Pie
- Banana Bread & Banana Muffins
- Banoffee Pie
- Chocolate Banana Muffins & Banana Chocolate Chip Streusel Muffins
Banana Nut Scones with Maple Glaze
- Prep Time: 30 minutes
- Cook Time: 25 minutes
- Total Time: 1 hour
- Yield: 12 scones
- Category: Breakfast
- Method: Baking
- Cuisine: English
Description
Deliciously moist, flaky, and crumbly banana nut scones with maple glaze. A tasty alternative to banana bread or banana muffins, and everything you crave for breakfast!
Ingredients
- 1 cup (230g) mashed bananas (about 3 medium or 2 large ripe bananas)
- 1/4 cup (60g) plain Greek yogurt (or any plain yogurt or sour cream)
- 1/2 cup (100g) packed light or dark brown sugar
- 1 large egg
- 1 teaspoon pure vanilla extract
- 2 and 1/2 cups (313g) all-purpose flour (spooned & leveled)
- 2 and 1/2 teaspoons baking powder
- 1 and 1/2 teaspoons ground cinnamon
- 1/8 teaspoon ground nutmeg
- 1/2 teaspoon salt
- 5 Tablespoons (71g) unsalted butter, frozen
- 1 cup (125g) chopped walnuts (optional)
- top before baking: 3 Tablespoons (45ml) milk and coarse sugar
Maple Glaze
- 2 Tablespoons (28g) unsalted butter
- 1/3 cup (80ml) pure maple syrup
- 1 cup (112g) sifted confectioners’ sugar
Instructions
- Preheat oven to 400°F (204°C). Line 2 large baking sheets with parchment paper or a silicone baking mat. Set aside.
- In a stand mixer or medium bowl with a handheld mixer, beat the mashed bananas, yogurt, brown sugar, egg, and vanilla extract together. Set aside.
- In a large bowl, whisk the flour, baking powder, cinnamon, nutmeg, and salt together. Grate the frozen butter (I use a box grater to grate it; a food processor also works for grating). Toss the grated butter into the flour mixture and combine it with a pastry cutter, two forks, a food processor, or your fingers until the mixture resembles coarse meal. Set aside.
- Drizzle wet ingredients over flour mixture, add the walnuts, and then toss the mixture together with a rubber spatula until everything appears moistened. Try your best to not overwork the dough at any point. Dough will be sticky and a little wet. Drop scones, 1/4 cup of dough each, at least 3 inches apart on the prepared baking sheet. Brush scones with milk, then top with a little coarse sugar if desired for extra crunch. Tastes great!
- Bake for 20–25 minutes or until lightly golden and cooked through. Remove from the oven and let cool as you make the icing. The scones taste even better after they cool down!
- Make the icing: In a small saucepan over low heat, melt the butter and maple syrup together, whisking occasionally. Once the butter has melted, remove from heat and whisk in the sifted confectioners’ sugar. Drizzle over scones.
- Scones are best enjoyed right away, though leftover scones keep well at room temperature or in the refrigerator for about 3–5 days.
Notes
- Make Ahead & Freezing Instructions: Some options here. The baking powder is initially activated once wet and if you hold off on baking, the scones won’t rise as much in the oven. However, the decrease in rise is so slight that it doesn’t make a noticeable difference. That being said, you can shape this scone dough into wedges and refrigerate overnight before baking. You can also freeze before baking. Freeze scone dough wedges on a plate or baking sheet for 1 hour. Once relatively frozen, you can layer them in a freezer-friendly bag or container. Bake from frozen, adding a few minutes to the bake time in the recipe below. Or thaw overnight, then bake as directed. You can also freeze the baked and cooled scones before topping with icing. To thaw, leave out on the counter for a few hours or overnight in the refrigerator. Warm in the microwave for 30 seconds or on a baking sheet in a 300°F (149°C) oven for 10 minutes.
- Special Tools (affiliate links): Electric Mixer (Handheld or Stand) | Glass Mixing Bowls | Box Grater | Pastry Cutter | Baking Sheet | Silicone Baking Mat or Parchment Paper | Pastry Brush | Coarse Sugar (optional)
- Frozen Bananas: You can use frozen bananas here. Thaw the frozen bananas. Drain off any excess liquid, mash, then use as instructed in the recipe. See How to Freeze & Thaw Bananas for Baking.
- How to Shape as Triangles: Instead of drop scones, you can make these as triangles. Press the dough into an 8-inch disc and, with a sharp knife or bench scraper, cut into 8 wedges. For smaller scones, press dough into two 5-inch discs and cut each into 8 wedges. Place the scones on a plate or baking sheet lined with parchment paper and refrigerate for 15–20 minutes before baking, to help set the shape. You can brush the scones with milk and top with coarse sugar either before or after refrigerating. The baking time depends on the size; 8 larger scones take around 25 minutes, and 16 mini scones take around 18–20 minutes.
See more scone recipes.
See more breakfast recipes.


Reader Comments and Reviews
I baked these at 390 degrees. They are delicious. I brushed with almond milk and sprinkled with coconut sugar before baking. This was my first time using parchment paper. They’re delicious.
Works great! I’m not the best cook and had a lot of very ripe bananas so I decided to try this out although I was missing a few ingrediants and boy, they don’t disappoint!!
Just made these this morning and came out amazing! I followed all your tips and mine finished perfectly at around 18 minutes. We also used vanilla greek yogurt to hit that vanilla flavor even more – they were perfect! Thanks so much Sally 🙂
I just made these for the second time the other day and they turned out great! The first time I made them, I forgot the baking powder and they ended up like little chewy banana flavored hockey pucks. The second batch was much better! Super fluffy and the maple glaze really makes them! I will definitely make these again!
I made these Saturday before Mother’s Day. I decided to put 1 cup pecans, and 1/2 cup semisweet chocolate chips to change it up a bit. I used a 1/4 cup ice cream scoop( largest one I have). They didn’t spread much( I refrigerated the dough) and were very rounded, so next 6 I made I pressed down a bit and they looked great! I baked them at 400 degrees for 20 minutes, and while the bottoms weren’t burnt, they were overly brown. I think the whole scone was overly brown. I brushed them with milk and sprinkled the white baking sugar on them. I used your vanilla icing. These scones were delicious! Everyone devoured them. Moist, perfect scone consistency! Loved the idea of grating the frozen butter. So much easier to combine it evenly with the dry ingredients. And refrigerated everything as I went along. GREAT IDEA! I will try a slightly lower oven temperature to keep from over browning… Sally, thank you for such delicious recipes. Wonderful!
These scones are delicious–as are all of your recipes! I love all the details and thoughtful tips that you include. I was running low on AP flour and used Cup4Cup (1:1 by weight) instead and the texture is still wonderful.
I read the other comments about the bottoms burning so I turned the temp down to 390 deg F but the bottoms still burned. My scones texture was of a light banana bread and less of a scone texture but it might because I mixed my dry and wet ingredients using a hand mixer (bread mixing attachments). I might have over mixed the dough.
I use double baking sheets and it helps them from getting too brown on the bottoms if your oven tends to do that.
These were delicious!
What a wonderful change to using ripe bananas. I get a little tired of banana bread/muffins and have enough in the freezer. These are incredible! Definitely a keeper! Thank you!
Thanks for a great covid-19 isolation recipe.
These are perfectly delicious.
Very tasty, even without the nuts!
When putting the dough on the pan does it need to be in more of a “ball shape”? I baked these today and they are DELICIOUS but they did a lot of spreading while baking and look more like cookies! Thanks!
Yes, I make them more of a ball shape than a flat cookie shape (see photo in the above post). Remember to keep your ingredients as cold as possible to help prevent spreading – you can even shape your dough and then place the entire baking sheet into the refrigerator for about 15 minutes before placing it in the oven. I’m so happy you thought they were delicious!
Made these last night since I had some aging bananas around and they are so good! I stuffed my face and then immediately made the pumpkin scone version after this. I did end up substituting with buttermilk since I didn’t have yogurt kicking around, but still tastes great
This recipe wasn’t good sadly. I barely mixed it and still refrigerated it before baking. It’s not the texture of a real scone. This is chewier. Flavors fine. More like a muffin. I bake for my job to clarify. I know what I’m doing this just wasn’t a good texture to me
I made these scones today, and they are delicious! What I love is the body of the scone is not overly sweet and the banana flavor is more apparent than the sweetness. The maple glaze gives it the right amount of sweetness. I sprinkled crush walnuts in addition to including in the batter. One comment is the cook time needed is on short side and I watched bottoms for burning as cooking on this higher heat can be tricky. I hope you enjoy making and eating these delicious scones. I am never disappointed with Sally’s Baking Addiction recipes!
Well, I’ve been baking scones for just a couple of years. There is some delicious recipes out there but my family says these are the best anywhere EVER!!!!! I got lucky, and they turned out perfectly my first time! Thank you!
My favorite scone recipe!
I’ve done them with cinnamon and flaxseed for a “healthy” version () and they turned out amazing! Everyone loved them. I followed the recipe closely except the first two times I did the milk/lemon juice thing instead of buttermilk. I feel like they were almost moister that way but I like cakier moist scones so I can’t complain. This last time I was adventurous and used 1/3 c brown sugar along with 2 tbsp maple syrup and 1/2 tsp maple extract mixed into the wet ingredients, plus pecans and the maple glaze. I had to add some extra flour to get them to the right consistency (ok, a ton of flour) because of the extra wet ingredients I’m guessing. Then I forgot to chill the dough and managed to cut mini scones by accident, ending up with about 20. They were dry and crumbly but still delicious (probably because of the flour-mountain lol). Will keep trying! What would you recommend for that substitution? bc I didn’t get the maple flavor very much either. Thanks for all the recipes !
Four bananas were languishing on my counter, so I appreciate the recipe which put them to good use. The maple icing was delicious!
Sally, can you substitute some of the flour with oats?
Hi Sally! I haven’t tested it, so I’m unsure. It will require playing around with the recipe. Let me know what you try!
These are excellent, even without the glaze!!!
Hi sally, I am someone who avoids dairy in her diet. What would you suggest as a workaround in place of yogurt, for this recipe and many others of yours (banana bread, cupcakes, etc)? I don’t want to miss out on the great recipes 🙂
Hi KT! A dairy-free coconut or soy yogurt alternative is generally OK to use.
These were an awesome alternative to banana bread! They were easy to make and came out nice and soft on the inside with a harder outside. The icing was my favorite park, it is TO DIE FOR!!!
These are delicious! I didn’t change a thing except substitute pecans for walnuts. Thank you!
I didn’t change a thing except substitute pecans for walnuts. Delicious!
Hi Sally. I would like to make these for my students, however my school is a completely nut-free zone. Would taking out the walnuts take away from the scone’s deliciousness? Any substitutes (eg. chocolate chips, something else)?
Not at all ruin the taste and texture. You can leave out the nuts OR replace with chocolate chips. (YUM!)
Hi Sally,
I made these this morning. As a professional baker, and knowing what the consistency of scone dough should look like, I found this dough to be overly moist. But, not to worry. Having had this happen many a time in my professional kitchen (humidity in the air or excess heat being thrown off by the large baking oven) I simply scooped them onto a parchment lined baking sheet (wax paper can be used for this part to save on parchment) and popped them into the freezer for about a half hour or so. Once the oven was ready to go, I removed them from the freezer, separated them out onto a clean sheet of parchment, sprinkled the top with some unrefined sugar crystals and put them straight in the oven. They came out great. The sugar crystals also help to make the top of the scone crunch up. Deb
I’m so glad they came out great! Thanks for the tip, Deb!
Hi, Sally can I shape these in a round disc and cut into 8 like regular scones?
Thanks!
Sure can!
I had some bananas I needed to use and have been wanting to make scones. I was excited to see you had a recipe for banana nut scones because that was what I was wanting to make. I also had a maple cream cheese glaze in my freezer I put on homemade cinnamon rolls, so you read my mind with this recipe. I made them in the classic wedge shape. They turned out great!
I love banana nut everything but sadly my husband is allergic to walnuts and pecans. What other nut goes good with bananas? These look and sound delicious!
chopped cashews or sliced almonds would definitely be my next choices!